This Post May Contain Affiliate Links. Please Read Our Disclosure Policy.
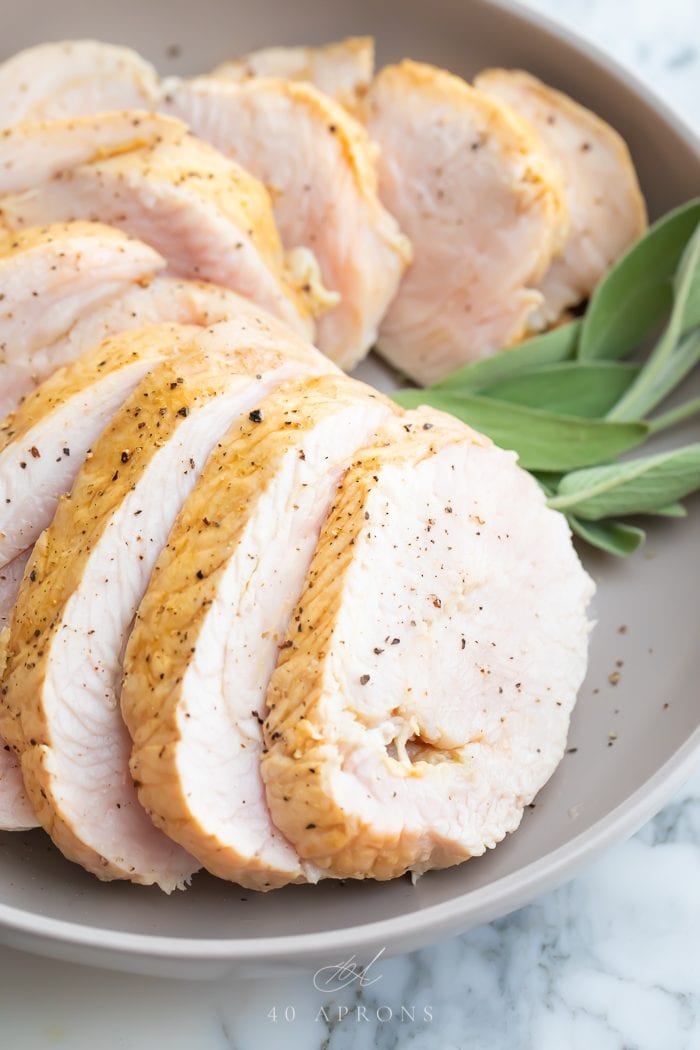
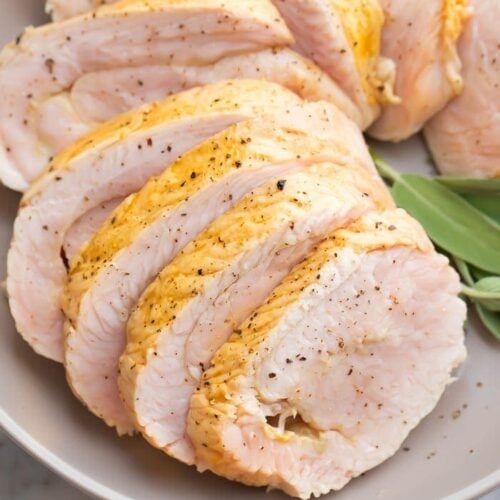
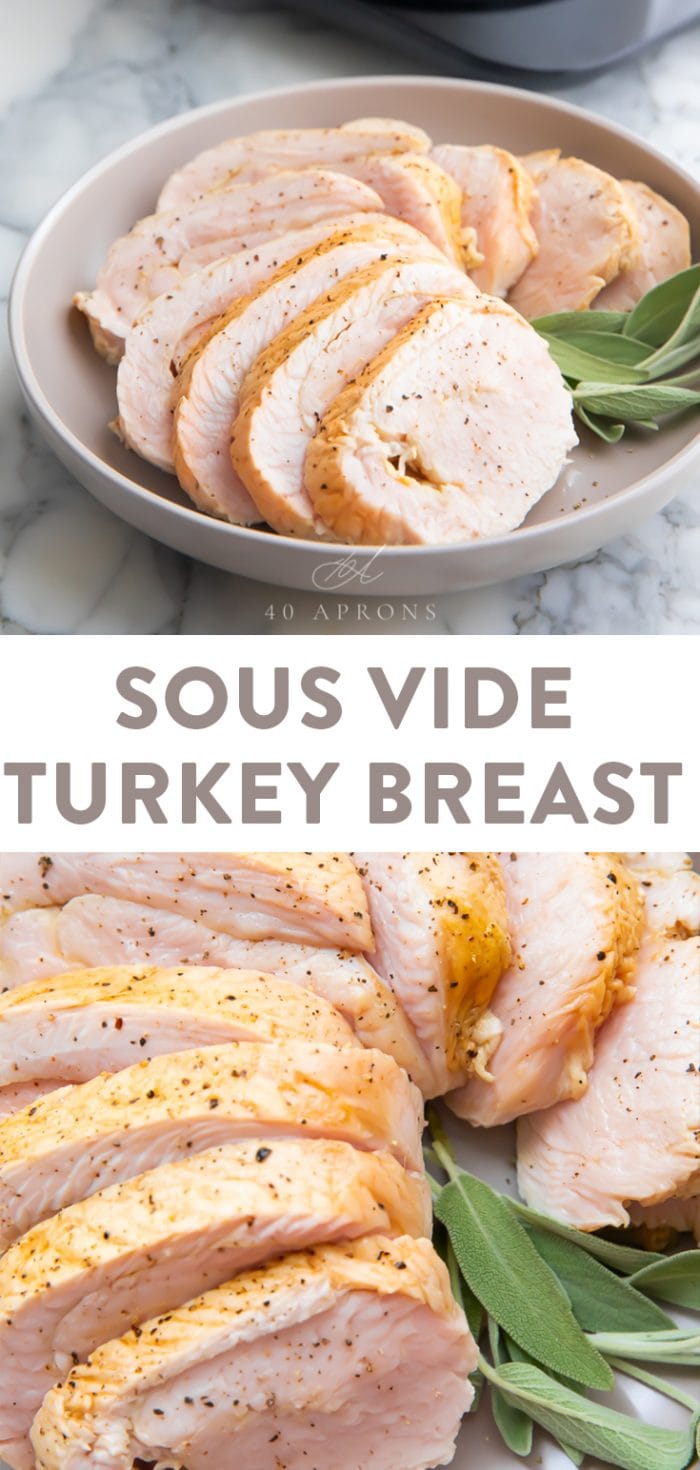
This sous vide turkey breast is tender, succulent, and juicy, made oh so easily with a Vermicular Musui–Kamado. Perfect for fall and holiday feasts, or anytime! Great sliced and on a sandwich or wrap, too.
This post is generously sponsored by Vermicular, but all thoughts and opinions are my own.
I’ve been waiting to share this with you for so long! If you haven’t tried experimenting with the precision cooking method at home yet, now’s the time! You can create restaurant style quality meals with ease. Even better… the Vermicular Musui–Kamado *cue Tchaikovsky’s Love Theme*.
Vermicular sent me their Musui–Kamado cast iron induction cooker, and I was so impressed by the quality of the finished dish. I raved about it so much to my dad and reluctantly let him borrow it for the weekend.
…that was over a month ago.
TLDR: We are in a full blown custody dispute right now. This is a really versatile product that will help you create unique and elevated dishes.
Why This Recipe is so Good
- The turkey breast is perfectly succulent and tender and only a handful of simple ingredients are needed.
- The turkey is wonderfully flavorful thanks to the precision cooking technique. And the Musui–Kamado doesn’t require vacuum sealing or a full water bath. It’s also way, WAY faster than using a traditional sous vide precision cooker, which I adored. The taste simply shocked me: real sous-vide tenderness without all the fuss or hours of bathing!
- It’s so quick and easy to get a restaurant style quality meal on the table in no time at all!
- The Musui–Kamado is perfect for cooks of all levels and is a simple way of creating a show stopping meal with very little effort!
- The turkey is wonderfully flavorful thanks to the amazing Musui’s seal which promotes steam convection, and as a result, helps regulate temperatures in the pot and balances out the moisture while the Kamado does most of the heat regulation (three dimensional heating + heat sensor).
How to Make It
This recipe was developed by Vermicular
Day 1
- Butterfly the turkey breast so it is an even thickness (you can ask your butcher to do this).
- Combine the ingredients for the brine mixture in a sealable bag or air tight container. Add the turkey breasts and leave in the refrigerator overnight.
Day 2
- Remove the turkey from the brine and pat dry using paper towels, discard the brine.
- Let the turkey rest at room temperature for about 30 minutes.
- Once it’s reached room temperature, roll up the turkey breast, making sure the thickness is even.
- Sprinkle your seasoning blend over the rolled turkey.
- Tightly wrap the turkey roll with plastic wrap and tie both ends.
- Repeat with the other breast.
- Add 2 tablespoons of water in the Musui–Kamado pot and lay parchment paper over the top.
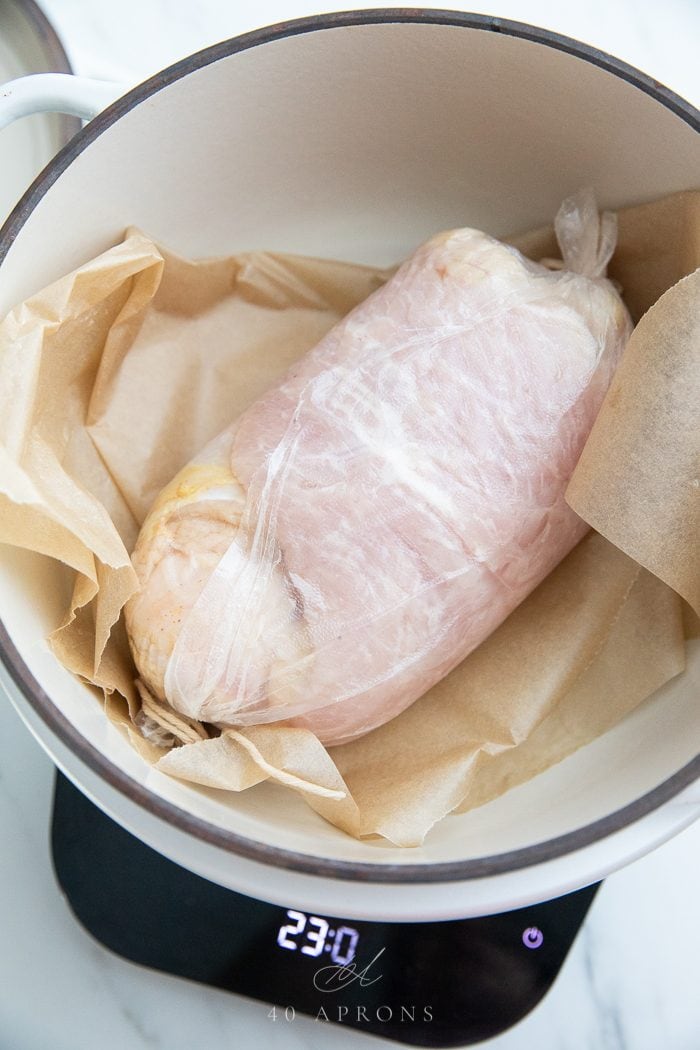
- Add the turkey rolls to the pot.
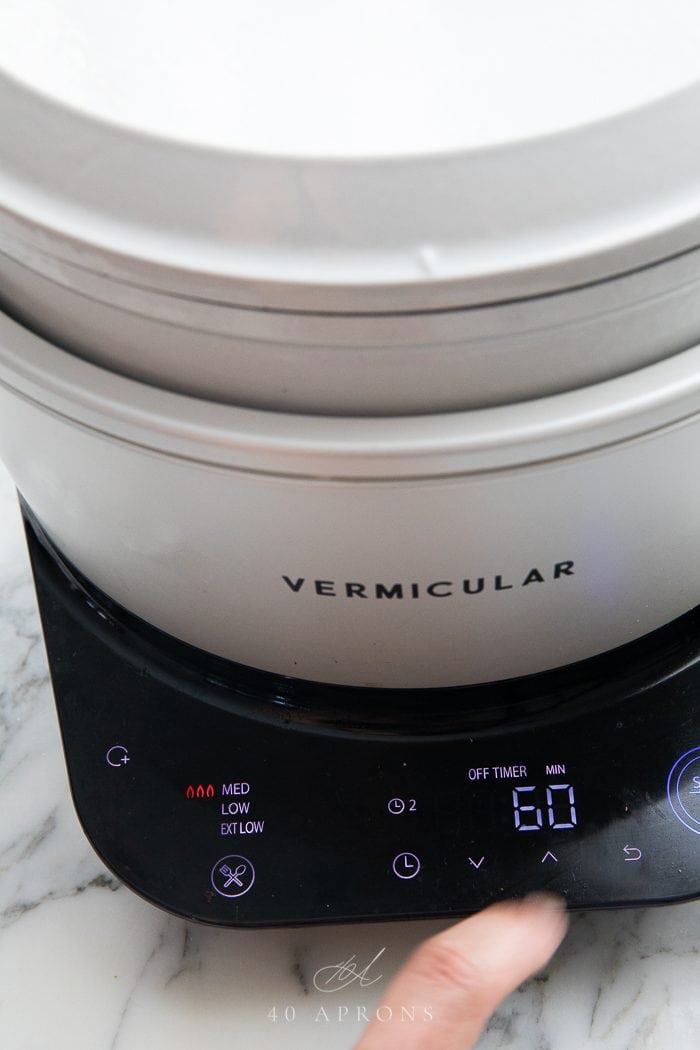
- Cover and steam over a medium heat for 3 minutes, then turn the temperature down to WARM [176°F] for another 20 minutes.
- Flip the turkey rolls, cover again and keep steaming for another 10 minutes.
- Remove from the pot and refrigerate the breasts well. Cut into bite-size pieces and serve.
How to Make This Recipe with a Sous Vide Precision Cooker
- Brine your turkey the day before.
- Set your Sous Vide Cooker to 145°F (62°C).
- Season the turkey breast with the seasoning blend and place in a large zipper lock or vacuum seal bag with olive oil. Vacuum seal the bag and place in the water bath and set the timer for 3 hours.
- After 3 hours remove the bag from the water bath. Remove the turkey breast from the bag and pat dry with paper towels.
- Finish it: heat a large cast iron skillet for 5 minutes on high heat then add the turkey and sear until golden brown on all sides, turning every 2-3 minutes, for about 5-8 total minutes.
What is the Musui–Kamado?
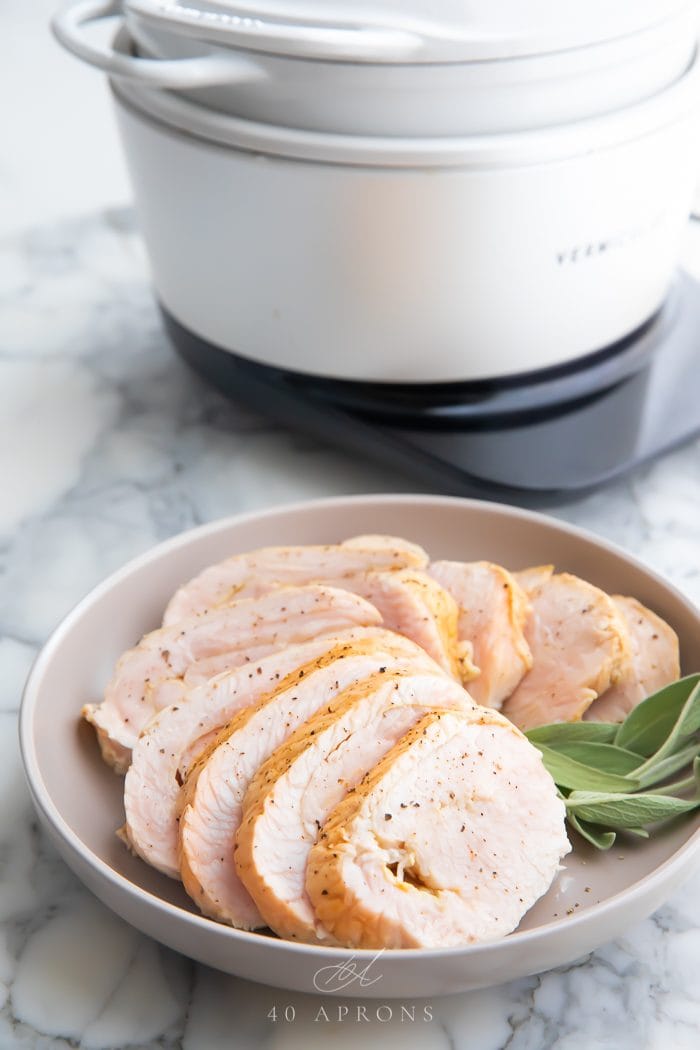
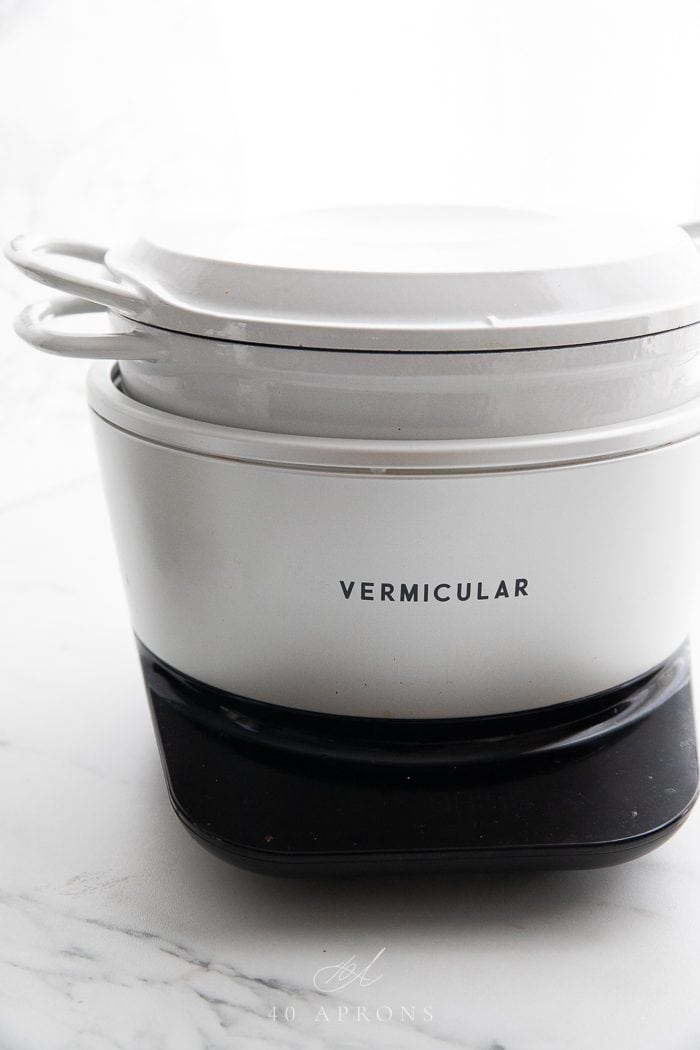
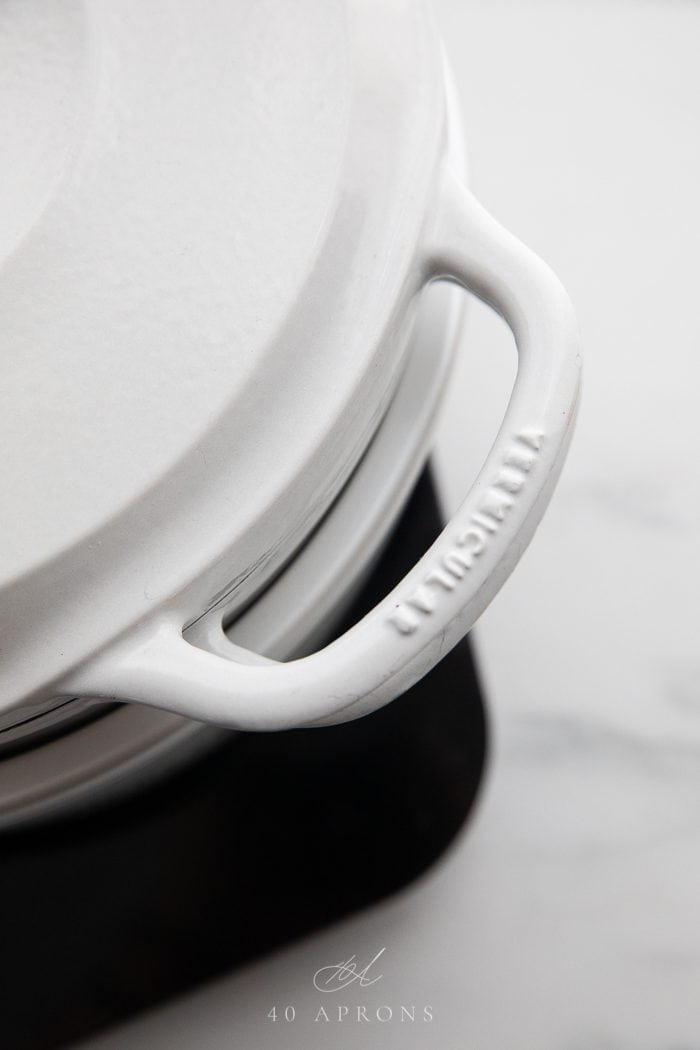
The Musui–Kamado cast iron induction cooker that I used in this recipe is from the Japanese company, Vermicular. Vermicular is the fastest growing kitchen brand in Japan and it officially launched in the US with this enamelled cast iron induction cooker.
The Musui–Kamado really is a one of a kind tool that combines decades of traditional Japanese craftsmanship with the best of modern technology. Simple to use for cooks of all levels, you can create a huge range of exceptional and flavorful dishes at the touch of a button. Say goodbye to that manual labor of vacuum sealing plastic bags.
Is using a sous vide the same as using a slow cooker?
You can use the Musui–Kamado pot like a slow cooker, but it’s so much more than that! It also acts as an immersion circulator which is the power that really makes this recipe possible, holding the star ingredient at a specific temperature and cooking it so evenly.
It really draws out the umami flavors of the food it cooks, which is part of what I love so much about it..
It can maintain a temp-specific water bath with the combo of its precision seal that promotes steam convection, three-dimensional heating (the surround heater of the Kamado that wraps around the sides of the Musui) and a heat sensor at the inside base of the Kamado that measures and manages temperature settings.
It has an adjustable temperature range and can reach heats of 445ºf and cook as low as 90ºf, and requires NO bags.
I can’t start to tell you how flavorful this sous vide turkey breast was. With a minimal amount of seasoning I couldn’t believe the finished result! I can’t wait to try more recipes in this, I think lamb is next on the menu!
Why Is This Cooking Method So Great?
- Food cooked sous vide style is so flavorful and this turkey breast is no exception! The meat doesn’t lose any moisture, so it is perfectly succulent and tender.
- The three-dimensional heating, precision seal, and steam convection of the Musui–Kamado produce a way more flavorful finished product than traditional turkey-in-a-bag water bath sous vide method. I may never go back!
- Because of the precise temperature control you get with the Musui–Kamado, you will have perfect results every single time.
- This precision cooking method also uses the ingredients’ natural moisture to cook, amplifying the turkey’s natural flavor. It’s like a concentration of flavor.
- It’s a healthier way of cooking, because the food retains its flavor you don’t need to add salt and fat to the meat. It’s perfect for those on a paleo, low carb or Whole30 diet.You can cook amazing quality meals in no time at all!
- You can cook amazing quality meals in no time at all! Seriously, the food tastes so amazing all thanks to the dancing steam that is contained within the food.
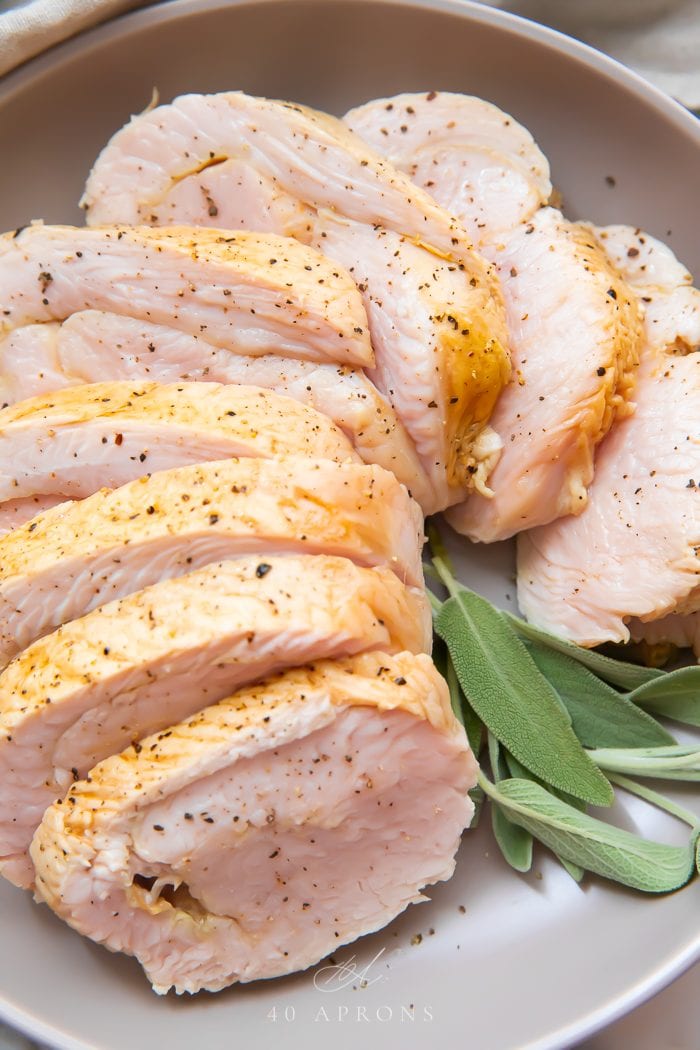
Serving Suggestions
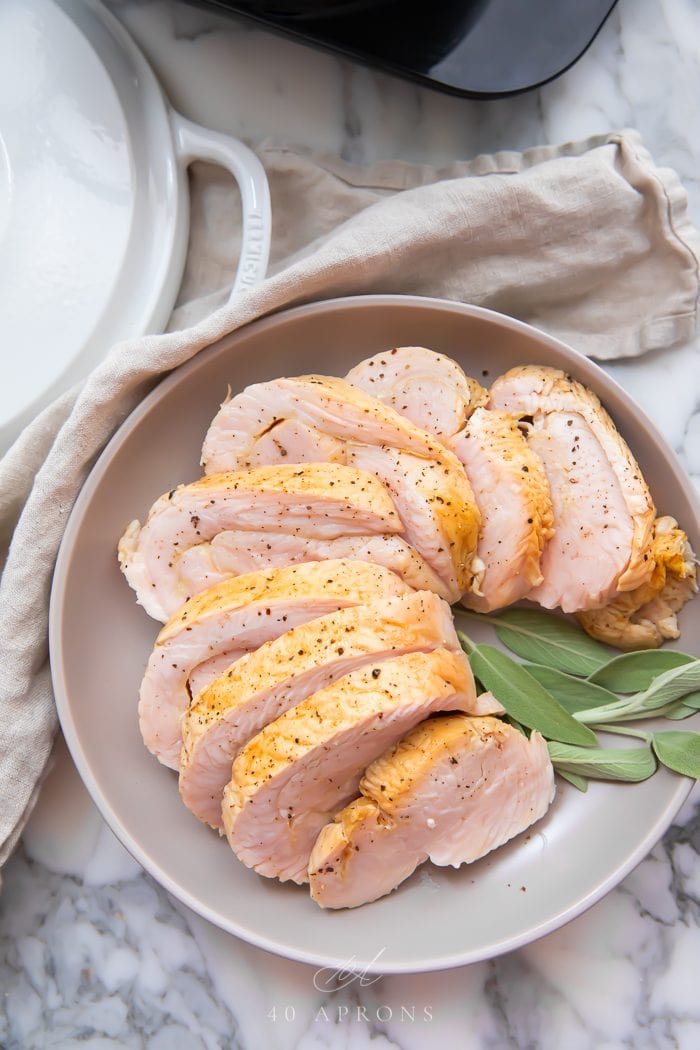
This turkey breast will make the perfect centrepiece for your Thanksgiving or Christmas meal, but it’s so easy to make I’m sure you will be enjoying it all year round! It’s great to serve alongside all of your usual favorite sides, like;
- Crockpot Mashed Potatoes
- Sweet Potato Casserole
- Whole30 Green Beans
- Miso Roasted Brussel Sprouts
- Paleo Gravy
It’s also great to add to sandwiches and wraps, or even sliced on a salad!
Chef’s Tips
- Brining the turkey breast really adds another level of flavor and helps to keep that meat tender, so i recommend you don’t skip this.
- Use your favorite seasoning blend for the turkey, pepper, rosemary, oregano and thyme are all great options.
- Let the turkey come to room temperature before wrapping it.
- Be sure to wrap the turkey tightly in plastic wrap with no gaps.
Why should I use the Musui–Kamado Precision Cooker?
We loved the innovative Musui–Kamado so much that we decided to test out corned beef with it. (See the video here).
- Not only did the corned beef release such an amazing flavor and texture profile, but the steam that was trapped within the cast iron Dutch oven flavored the veggies to a perfect extent.
- This precision cooker cooks rice in an AMAZING way!
- Set the Musui–Kamado to the preferred temperature, walk away, and allow the built in timer to do the work.
- We love the Musui–Kamado because unlike traditional sous vide cooking, this precision method does NOT require any additional steps such as vacuum sealing a bag. Wow!
Be sure to check out these other delicious turkey recipes!
Hey – you’ve made it this far, and now we’re best friends! If you make this recipe, I’d love for you to give it a star rating ★ below. Make sure you follow me on Instagram, Pinterest, and Facebook, too!
Sous Vide Turkey Breast
Equipment
- Vermicular Musui-Kamado precision cooker
Ingredients
- 2 turkey breasts skinless, butterflied
- Seasoning blend
Brine Mixture
- 100 ml water
- ½ teaspoons kosher salt
- 1 teaspoon sugar
Instructions
Day 1
- Butterfly the turkey breast so it is an even thickness (you can ask your butcher to do this).
- Combine the ingredients for the brine mixture in a sealable bag or air tight container. Add the turkey breasts and leave in the refrigerator overnight.
Day 2
- Remove the turkey from the brine and pat dry using paper towels, discard the brine. Let the turkey rest at room temperature for about 30 minutes.
- Once it's reached room temperature, roll up the turkey breast, making sure the thickness is even. Sprinkle your seasoning blend over the rolled turkey then tightly wrap the turkey roll with plastic wrap and tie both ends. Repeat with the other breast.
- Add 2 tablespoons of water in the Musui–Kamado pot and lay parchment paper over the top. Add the turkey rolls to the pot.
- Cover and steam over a medium heat for 3 minutes, then turn the temperature down to warm [176°F] for another 20 minutes. Flip the turkey rolls, cover again and keep steaming for another 10 minutes.
- Remove from the pot and refrigerate the breasts well. Slice into 1/2-3/4" pieces and serve.
Approximate Information for One Serving
Nutrition Disclaimers
Number of total servings shown is approximate. Actual number of servings will depend on your preferred portion sizes.
Nutritional values shown are general guidelines and reflect information for 1 serving using the ingredients listed, not including any optional ingredients. Actual macros may vary slightly depending on specific brands and types of ingredients used.
To determine the weight of one serving, prepare the recipe as instructed. Weigh the finished recipe, then divide the weight of the finished recipe (not including the weight of the container the food is in) by the desired number of servings. Result will be the weight of one serving.
Did You Make This Recipe?
Tag @40aprons on Instagram and be sure to leave a review on the blog post!




Never Miss A Meal!
New Recipes Straight To Your Inbox
A curated selection of our most recent recipes, delivered straight to your inbox once a week.
Thank you!
You have successfully joined our subscriber list.