This Post May Contain Affiliate Links. Please Read Our Disclosure Policy.

There’s no lack of Christmas cookies adorning Pinterest and Google, from peppermint Hershey’s kisses drops to any and all variety of whoopie pie–they’re all there. Cookies with this mix-in, that mix-in; you can find it all! But lately I’ve been craving a good, old fashioned sugar cookies, decorated with a gentle festivity and perfectly sweet icing.
This, of course, is the type of cookies they actually eat in the North Pole, at least according to Norman Rockwell, the definitive brand of sweet to leave for Old Saint Nick to ensure maximum gift efficiency.
What Makes This Recipe So Good
w
Buttery and sweet–but not too sweet, a soft texture, and icing that sets for a satisfying contrast, this is the only Christmas sugar cookie recipe you’ll ever need. The icing mimics the look of a royal icing, but it’s insanely easy to whip together while the cookies are cooling.
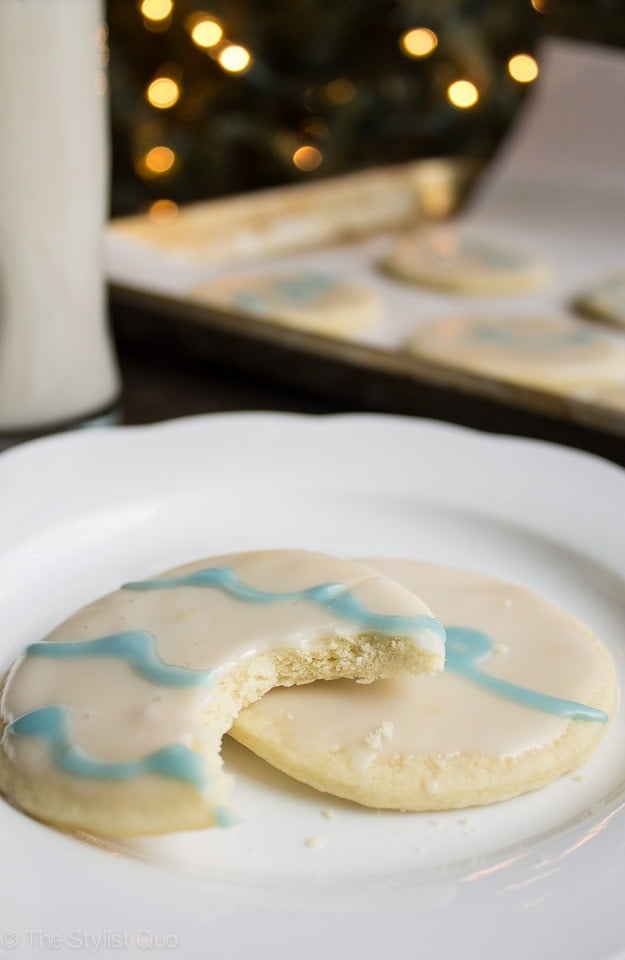
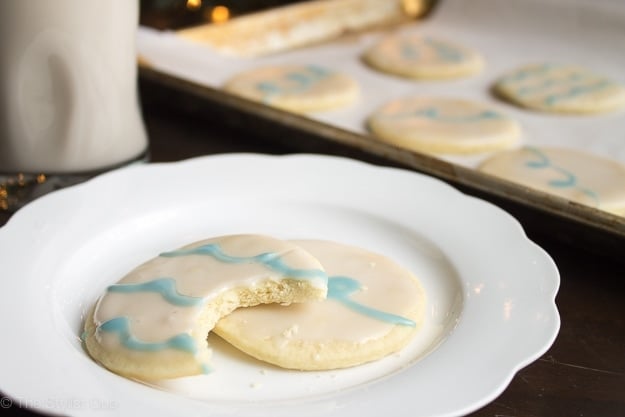
Don’t skimp on the chilling time for the dough — keeping the butter and dough cold will prevent the cookies from spreading when you bake them, ensuring a perfect texture and shape. Trust in the low bake time–I kept wanting to let the cookies bake longer and longer, because they simply didn’t seem ready, but they were. 4 minutes will provide a very soft texture; 5 will harden the cookies up a bit, while leaving a tenderness; and 6.. well.. I didn’t get there. I’m assuming they’ll be much crunchier, and if that’s your bag, go for it.
How To Make the Icing
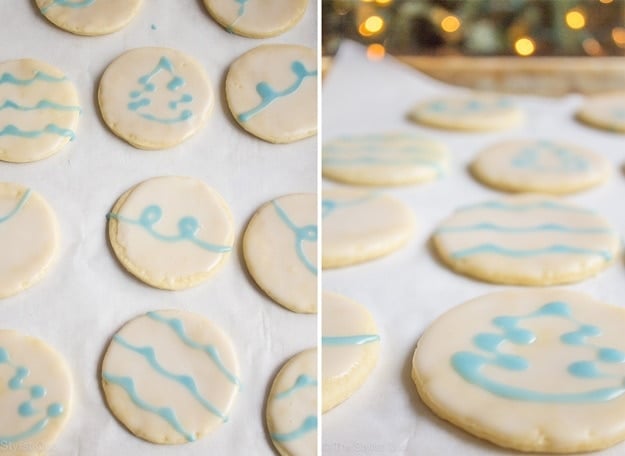
For icing, I volleyed between dipping the faces of the cookies in my little icing bowl and painting the frosting on. The cookies often created a suction with the icing, pulling them inwards when I tried to lift them out of the icing, and because they’re soft, I worried they might break. For the thicker cookies (I’m not one for exactness in rolling out dough!), dipping was totally fine; for the thinner cookies made from pieced-together scraps, I definitely used a painting method. I found it easiest to drop a little spoonful of icing on the center of the cookie and then use a pastry brush to paint outwards from there.
For the blue, I set aside a little bowl of naked icing and mixed in just one little drop of a blue food coloring. I then spooned the blue icing into a small Ziploc bag and nicked the very corner off, using it as a makeshift mini-piping bag. I have no patience for intricate decorating, so don’t blame the cookies if you’re more of a cookie artist! Blame me. I liked the sort of whimsical touch that came through, though, despite my underdeveloped cookie decorating skills.
Tips for Success
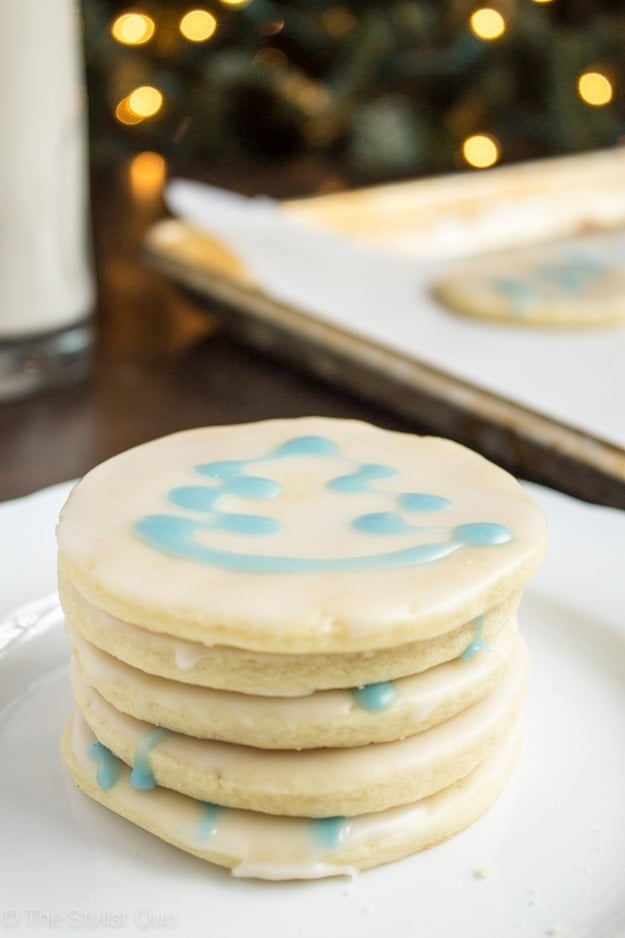
I don’t have many cookie cutters, so I used an approximately 3.25″ circle cutter, which happened to produce cookies that fit beautifully stacked in a 4 cup Ziplock reusable container. I stuck little scraps of parchment in between each to keep the icing looking tops.
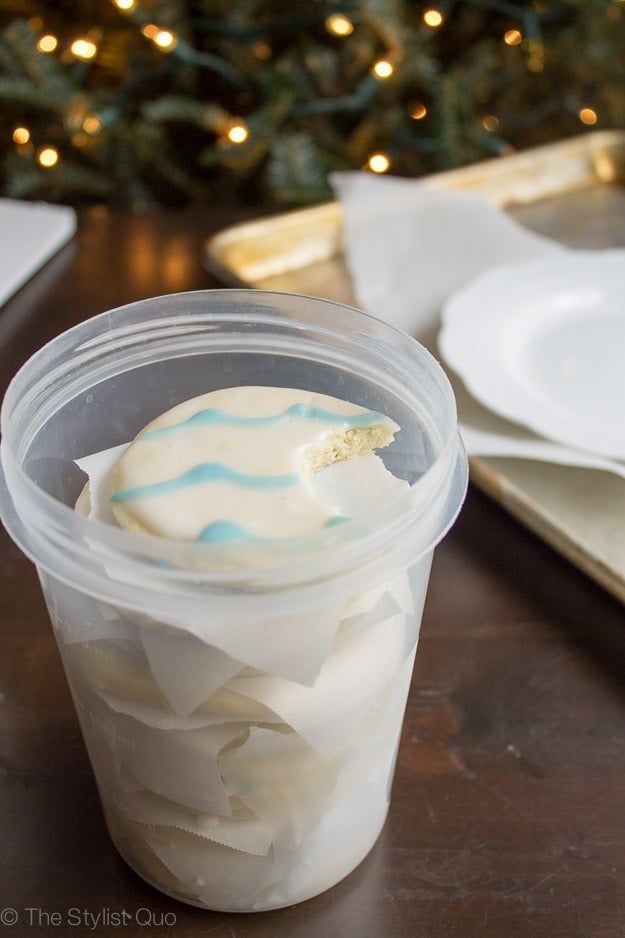
Make these! They’re so good.

Christmas Sugar Cookies
Ingredients
- 1 cup butter , softened (no substitutes)
- 1 cup sugar
- 2 eggs
- 1 teaspoon vanilla
- 3 ¼ cups all-purpose flour
- ½ teaspoon baking soda
- ½ teaspoon baking powder
- ½ teaspoon salt
- 2 cups sifted confectioners’ sugar (the sugar MUST be sifted)
- 1 tablespoon milk (adding in more if needed for proper spreading consistency)
- 1 tablespoon light corn syrup
- ½ teaspoon vanilla
- 1 teaspoon food coloring
Instructions
- In a large bowl combine butter, sugar, eggs, and vanilla extract. Beat using an electric mixer on high speed until light and fluffy.
- In another bowl combine the flour, baking powder, baking soda, and salt. Gradually stir this dry mixture into the butter mixture until well blended.
- Cover bowl with plastic wrap and chill for 2 hours. Do not skip this!
- Preheat oven to 400°F. Line cookie sheets with parchment paper (do not grease cookie sheets, and use parchment paper ONLY).
- On a very lightly floured surface roll out the dough into about 1/4-inch thickness. Cut into desired shapes using cookie cutters. Place cookies 2-inches apart on cookie sheet.
- Bake 4-6 minutes. Remove cookies to wire racks to cool completely before icing.
- For the frosting: in a small bowl mix the confectioners sugar with milk (start with 1-2 tablespoons, but you will likely need more milk for the perfect spreading consistency).
- Whisk in the corn syrup and vanilla extract until the icing is smooth and glossy. If the icing is too thick add in a small amount more of corn syrup.
- Divide into as many separate bowls as you wish for different colors. Add in food coloring until desired intensity is achieved, always starting with a smaller amount and adding gradually.
- Paint the icing over the cookies using a brush, or dip tops of cookies into icing. Allow to set on waxed paper.
Approximate Information for One Serving
Nutrition Disclaimers
Number of total servings shown is approximate. Actual number of servings will depend on your preferred portion sizes.
Nutritional values shown are general guidelines and reflect information for 1 serving using the ingredients listed, not including any optional ingredients. Actual macros may vary slightly depending on specific brands and types of ingredients used.
To determine the weight of one serving, prepare the recipe as instructed. Weigh the finished recipe, then divide the weight of the finished recipe (not including the weight of the container the food is in) by the desired number of servings. Result will be the weight of one serving.
Did You Make This Recipe?
Tag @40aprons on Instagram and be sure to leave a review on the blog post!
Never Miss A Meal!
New Recipes Straight To Your Inbox
A curated selection of our most recent recipes, delivered straight to your inbox once a week.



I made this recipe tonight. I skipped the chili garlic sauce and added a teaspoon of chili powder instead (as we are spice wimps at my house). It was so good and different. My 3 & 5 year old both liked and ate it as well.
Love when the kids approve!
I’m confused. After viewing christmas cookies and looking at techniques for icu g snd blue tint….I come to recipe about hot choc cupcakes w/ marshmallow frosting. Where is the recipe for the cookies, if not at end of photos and techniques. Thanks.
The recipe was apparently eaten by our bum recipe plugin! So sorry about that – updating it now. Thanks for your patience – refresh and you should see the actual recipe!
Your cookies are beautiful. I love the simple decorating and the colors you chose. I always try to attempt stuff that’s over the top and intricate when it comes to decorating cookies, but they never turn out. That’s why I hate royal icing. It can be so fickle. And, only 5 minute baking time – that might be the best part. They look so perfectly soft and buttery!
Thank you! I hardly ever make cookies and when I do, I get so impatient that I end up with weirdly slathered on buttercream – tastes delicious, but looks atrocious! I’ve never attempted royal icing but I’ve heard it’s awful. I loved how simple this icing was and that I could dip and paint instead of frost with an offset spatula. I’d always rather pipe/paint than smear! Weird.. right? And the briefest thought actually crossed my mind to send you some of these but I was like, “Oh yeah, uh, by the time they reach Kazakhstan.. they’ll be petrified and you guys would probably be back in the states!” Hah!
The simple sugar cookie is always the best!! I love how you got a lovely circle with just a simple cutter.
I LOVE my pack of circle molds! They’re sturdy and perfect for creating stacks and molds for a gourmet plating touch.. but that doesn’t happen too often these days 🙂 Maybe when I advance in cookie making skills, I’ll tackle your AWESOME Grinch poop cookies! I have several little boy cousins that would die over those..