
This Post May Contain Affiliate Links. Please Read Our Disclosure Policy.
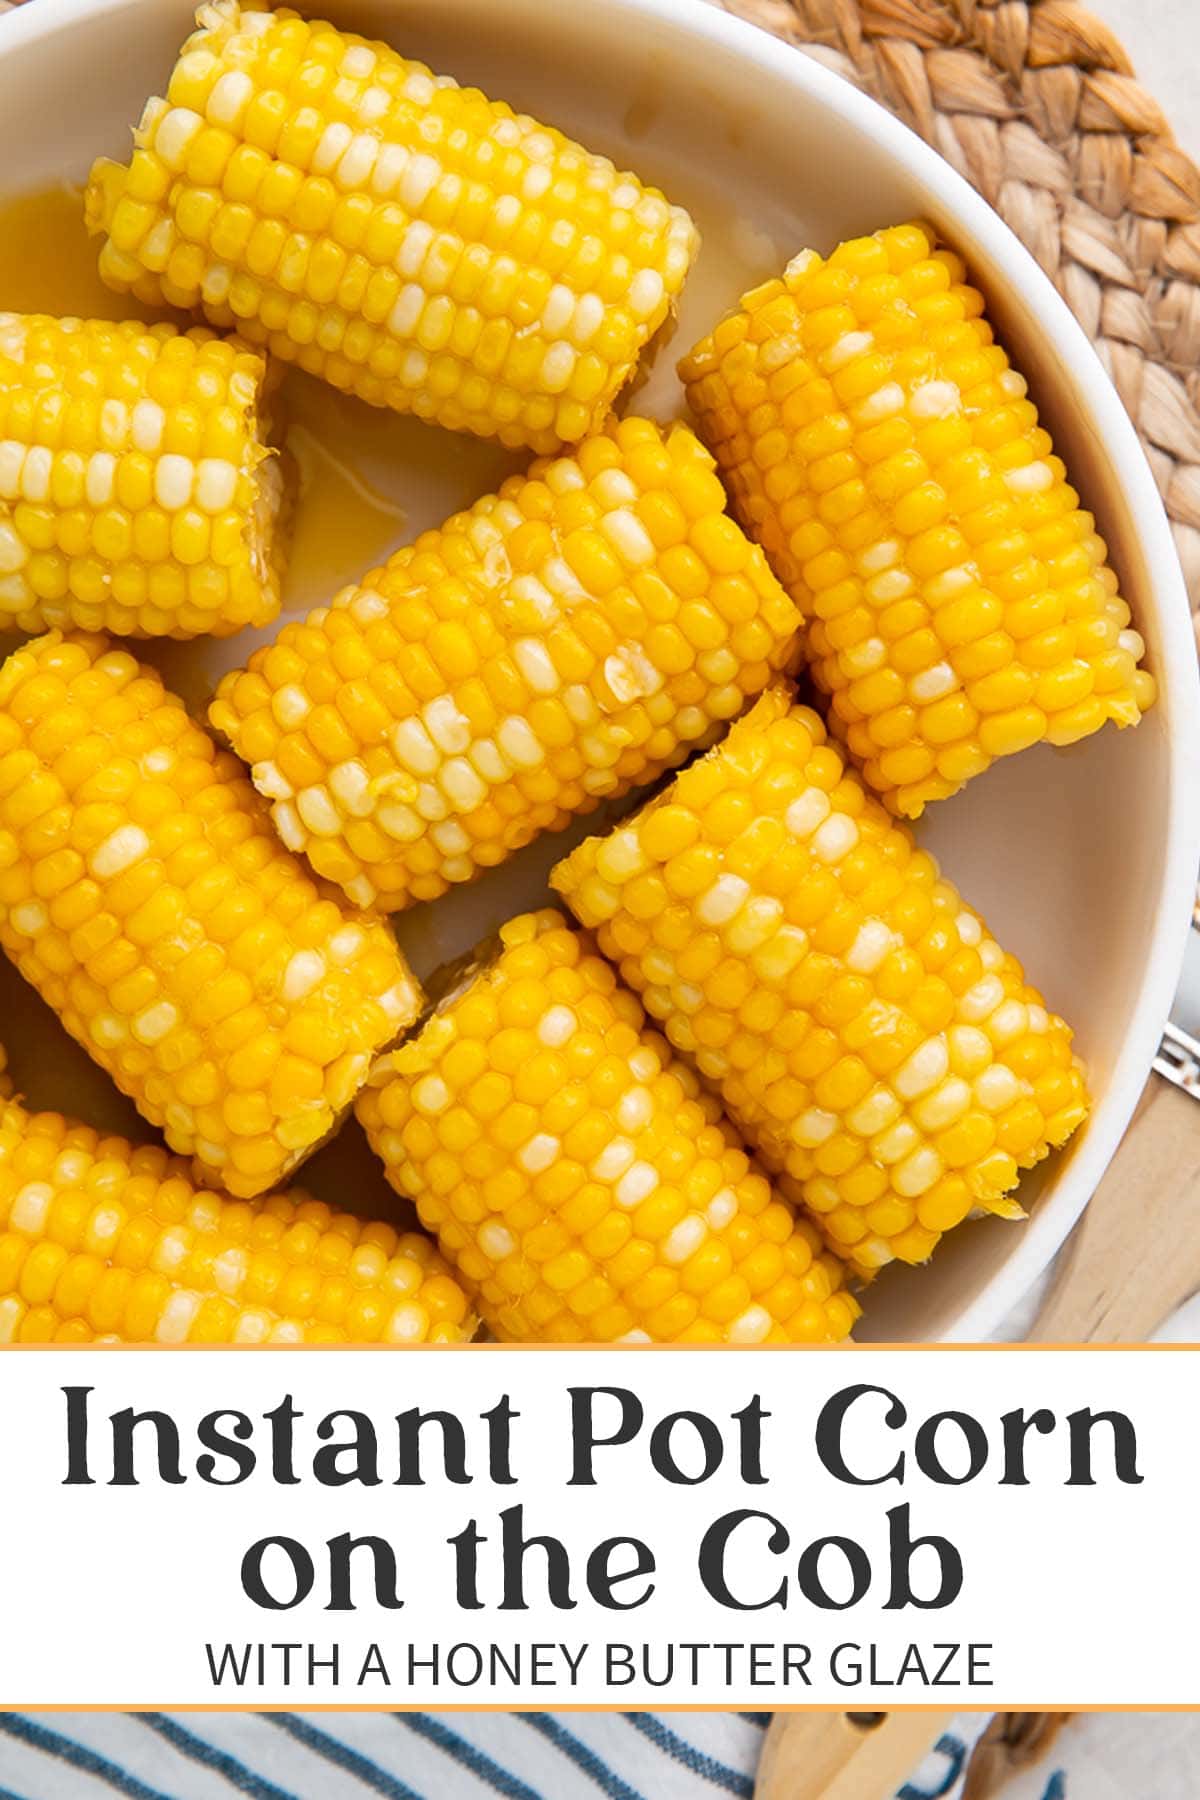

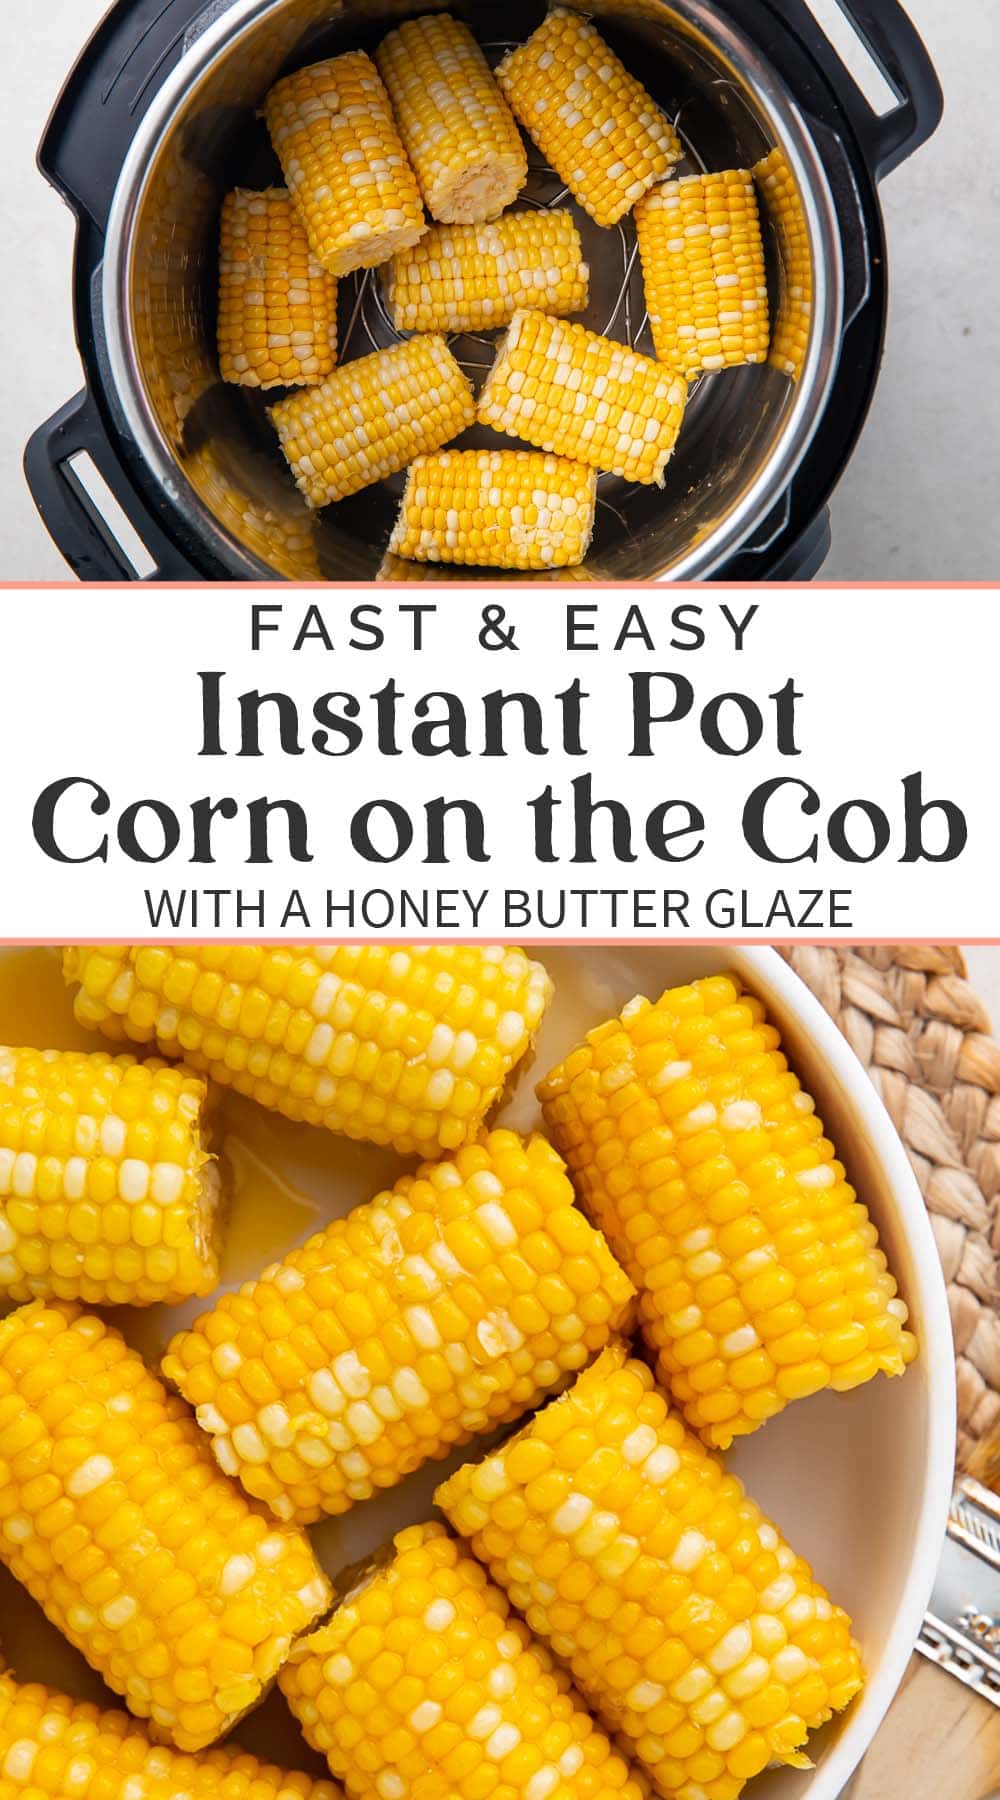
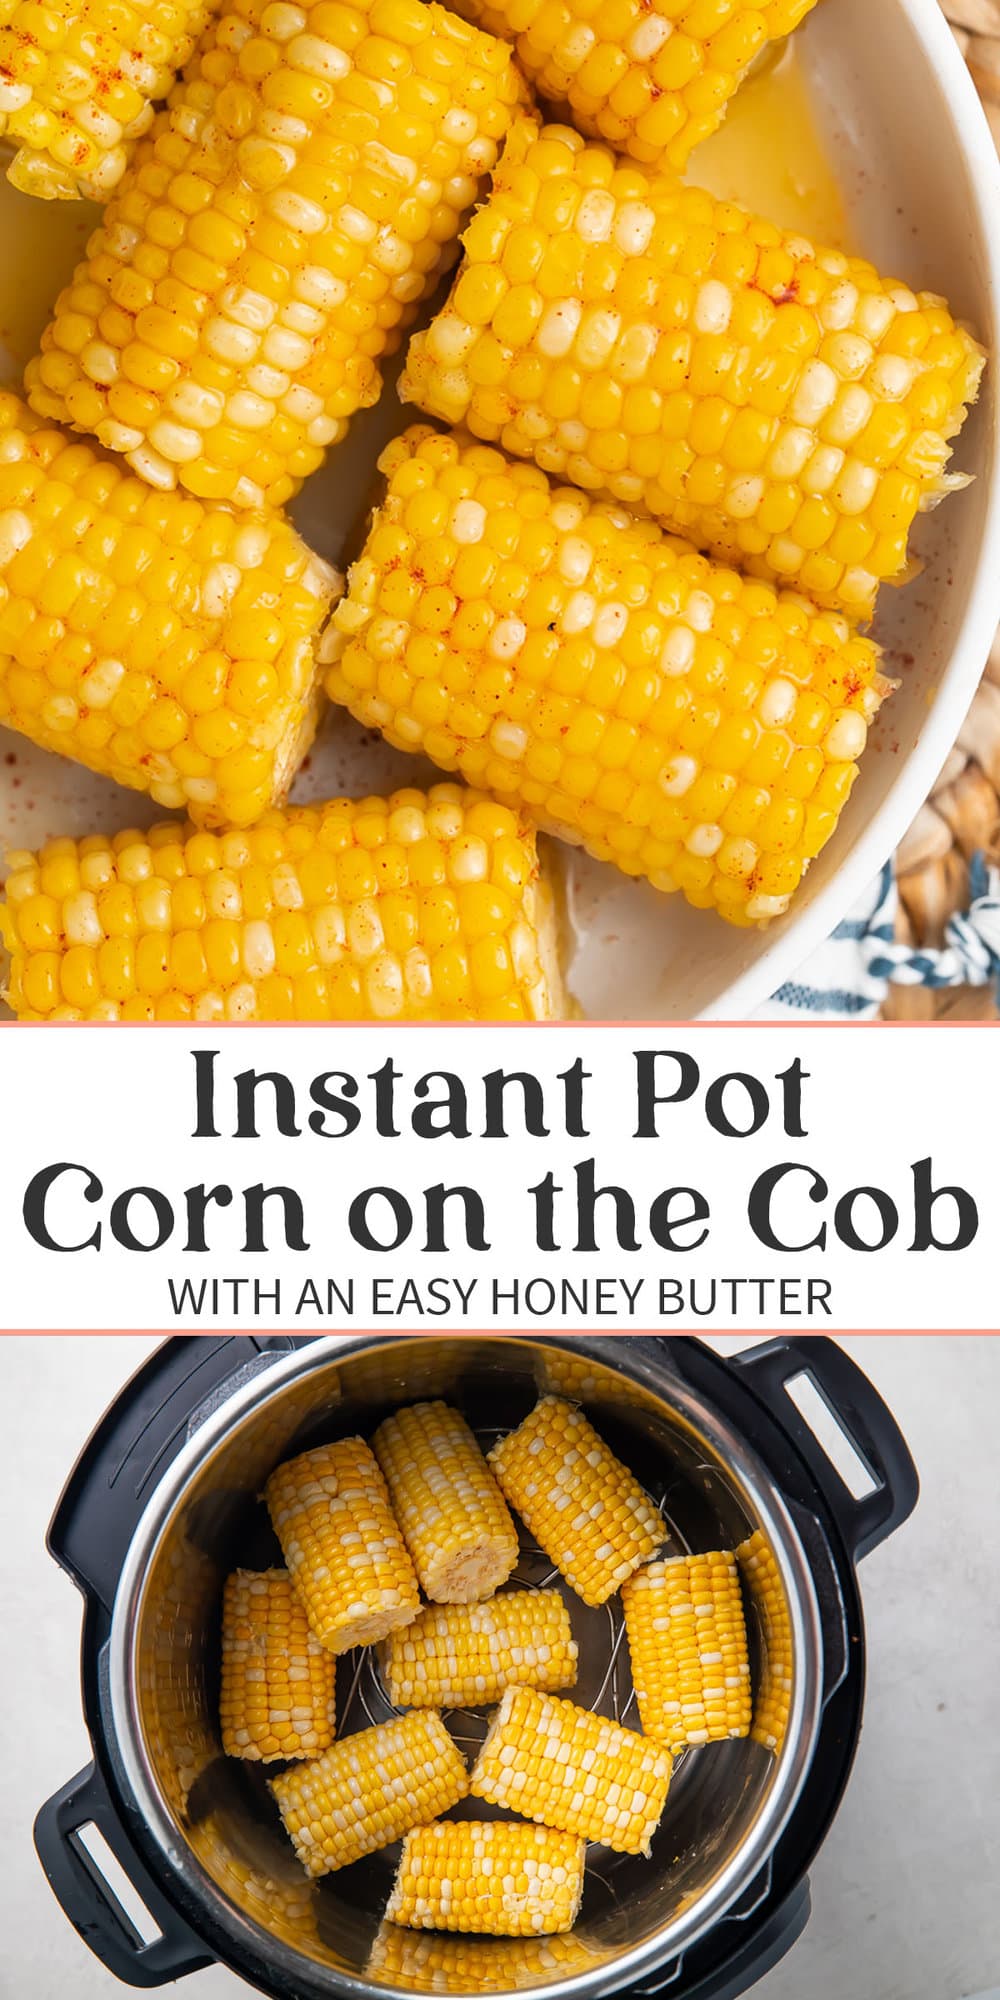
Making corn on the cob in the Instant Pot couldn’t be easier or faster, but it’s our melted honey butter glaze that really puts this summer side dish over the top. All made in the Instant Pot, your family will fall in love with this corn on the cob recipe at first bite!
Corn is a fantastic summer veggie to freeze for autumn and winter months! Check out my post on how to freeze corn for everything you need to know to successfully freeze corn on the cob, raw corn kernels, and blanched corn kernels.
🌽 What Makes This Recipe So Good
- I love corn on the cob. Air fryer corn, boiled corn, Instant Pot corn – you name it, I’ll eat it. It just screams summer to me, and it’s a must anytime we grill out or have a barbecue. It’s ridiculously versatile and works with a number of different flavors and toppings, plus you can serve it with anything. Burgers, chicken, shrimp, hot dogs, ribs, pulled pork, salads, baked beans, coleslaw… You get the idea.
- Instant Pot corn on the cob is so unbelievably fast and easy. The corn pressure cooks for literally 60 seconds, and the honey butter glaze only takes a couple of minutes to whip up. It only takes 5, maybe 10, minutes to throw together a rich, buttery, sweet summer side dish that absolutely everyone will love.
- This is a great way to use up any fresh corn you’ve grown yourself or picked up at the farmers’ market or grocery store. If you don’t have easy access to fresh corn, though, you can absolutely use packaged frozen corn on the cob. Just defrost it in the fridge overnight first!
👩🏼🍳 Chef’s Tips
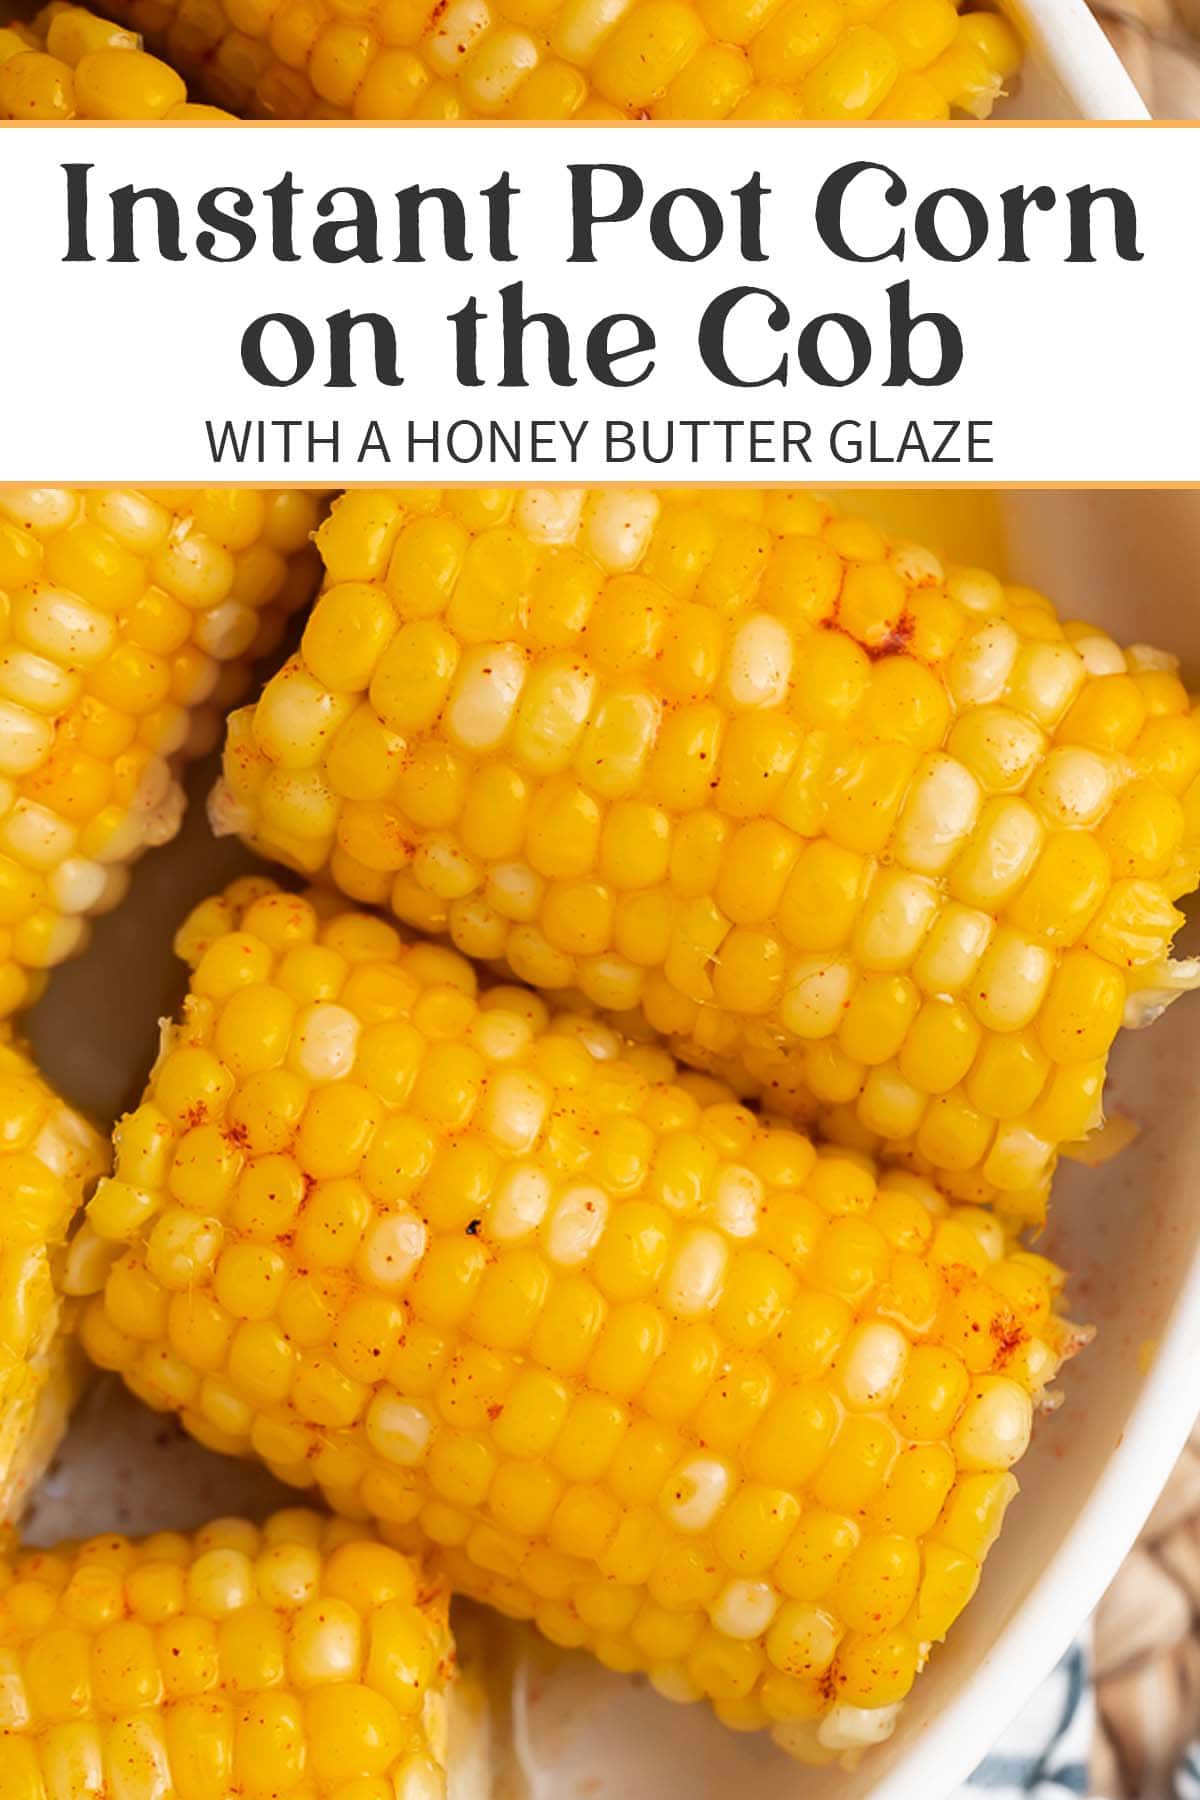
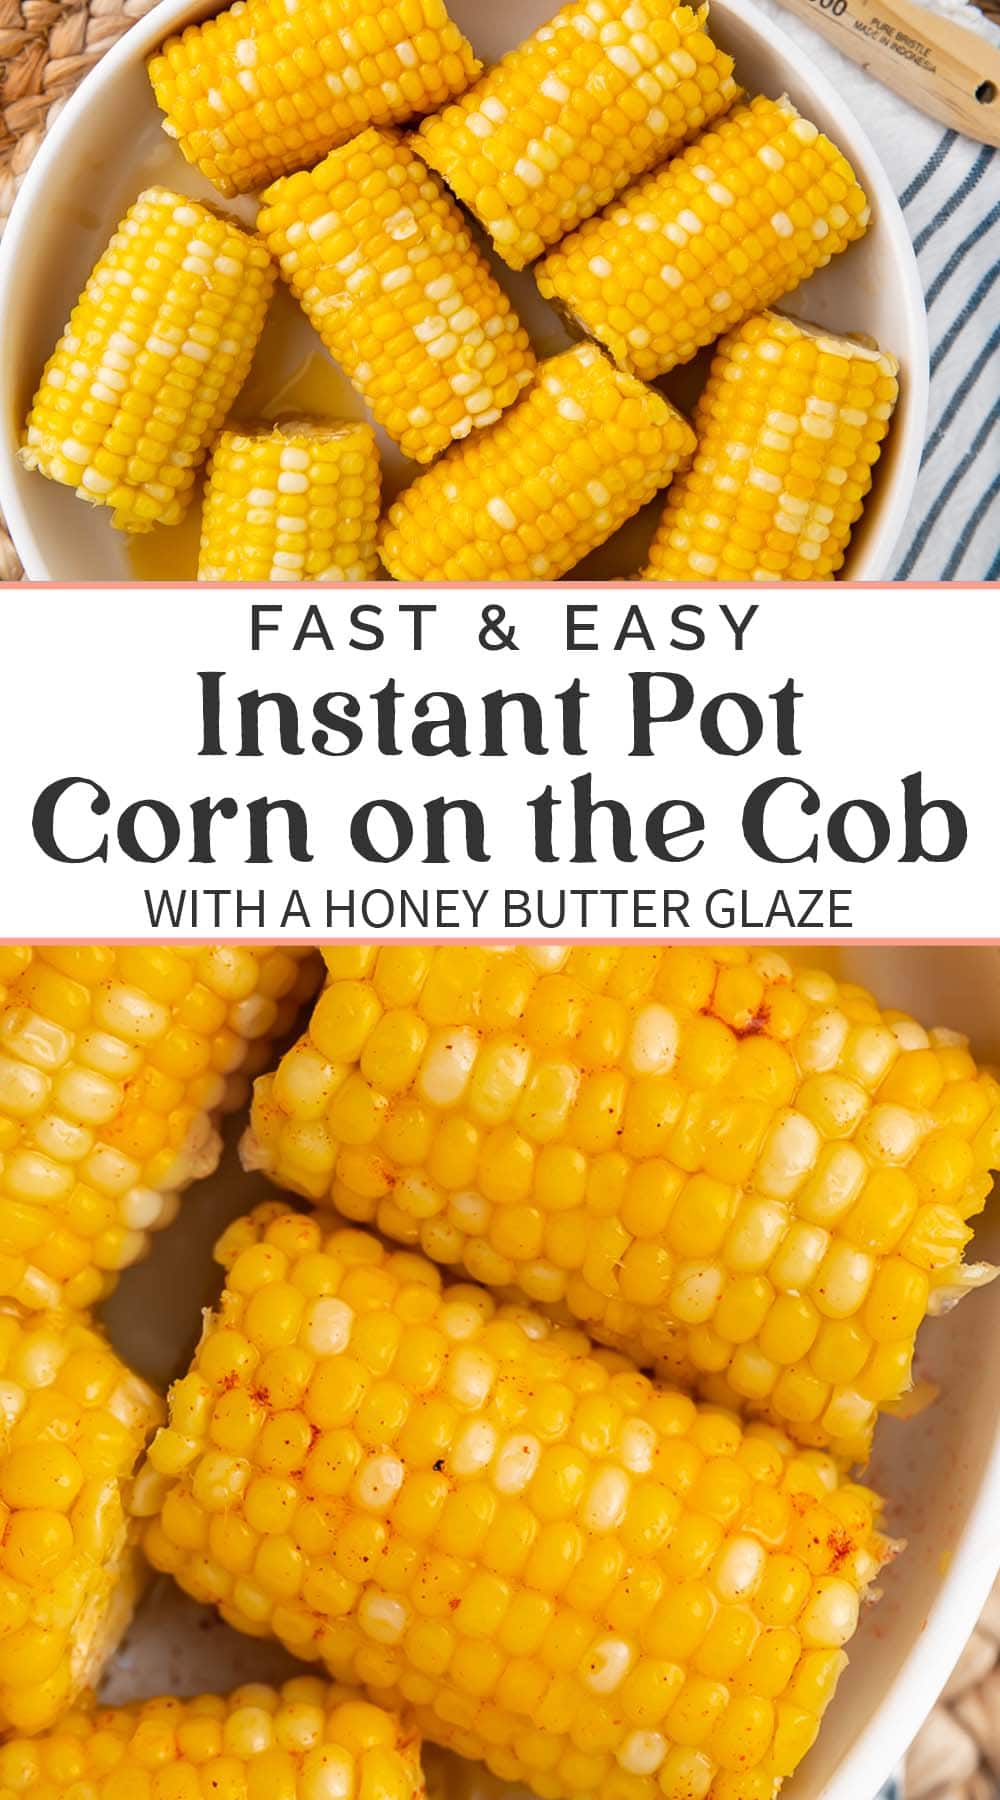
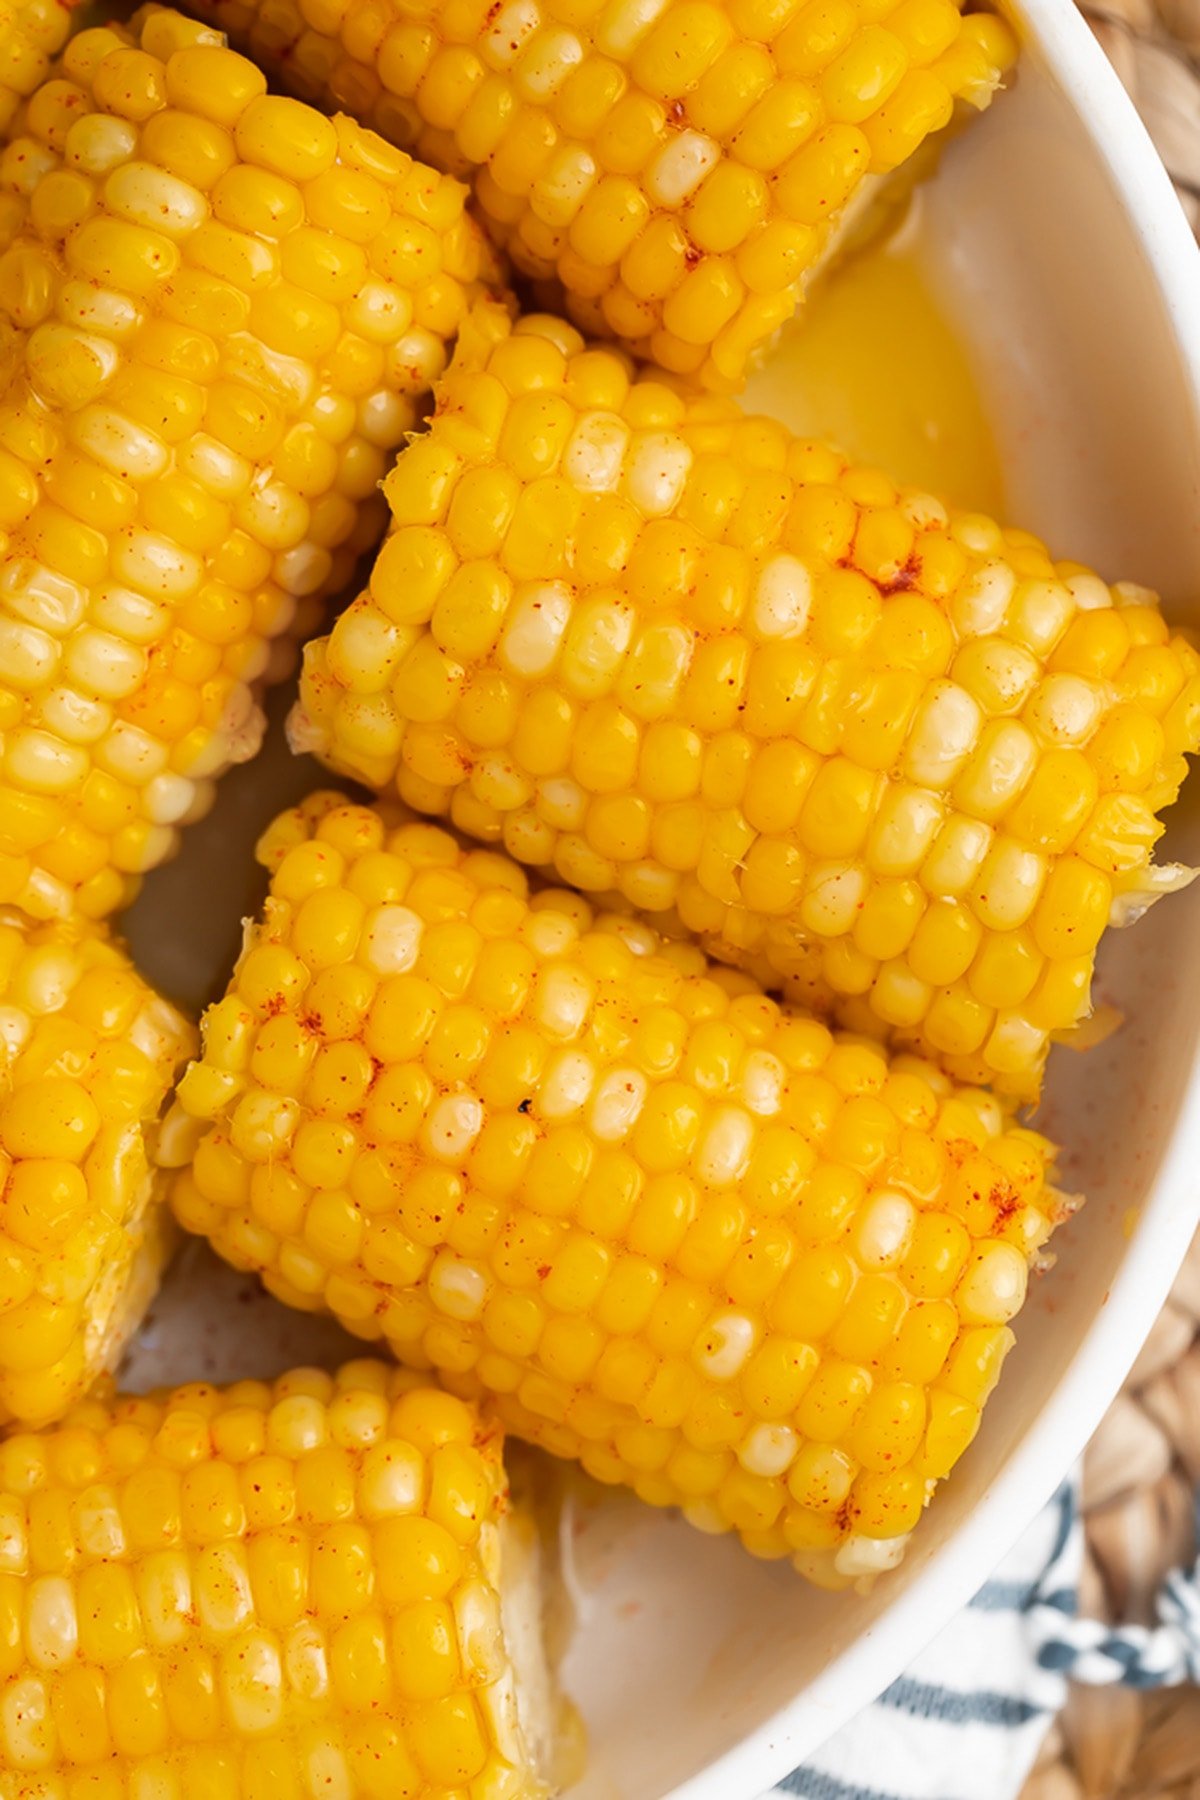
- One of my favorite ways to switch this up without any real effort is to use hot honey instead of regular honey. The hot honey adds an incredible kick to the honey butter glaze that any spice-lover will definitely appreciate. You can dust your corn with a little cayenne, too, to really put it over the top.
- The 1-minute pressure cook time gives you corn that’s plump, juicy, and perfectly tender-crisp. If you prefer softer corn, set the Instant Pot cook time to 2 minutes instead of 1. Be careful not to overcook it or the corn will end up mushy instead of just softened.
- Corn is sweetest right after it’s picked. As soon as it is, though, its sweetness starts to fade. If you’re using exceptionally fresh corn, you may consider using a little less honey in the butter to account for the natural sweetness from the corn.
♨️ Other Can’t-Miss Instant Pot Recipes
- Instant Pot Carnitas
- Instant Pot Brown Rice
- 3-Ingredient Instant Pot Salsa Chicken
- Instant Pot Frozen Chicken Breast
- Southern Instant Pot Collard Greens
- Classic Instant Pot Baked Beans
- Instant Pot Steel Cut Oats
- 5-Ingredient Instant Pot Mississippi Pot Roast
- Instant Pot Pinto Beans (No Soak!)
- Buttery Instant Pot Cornbread
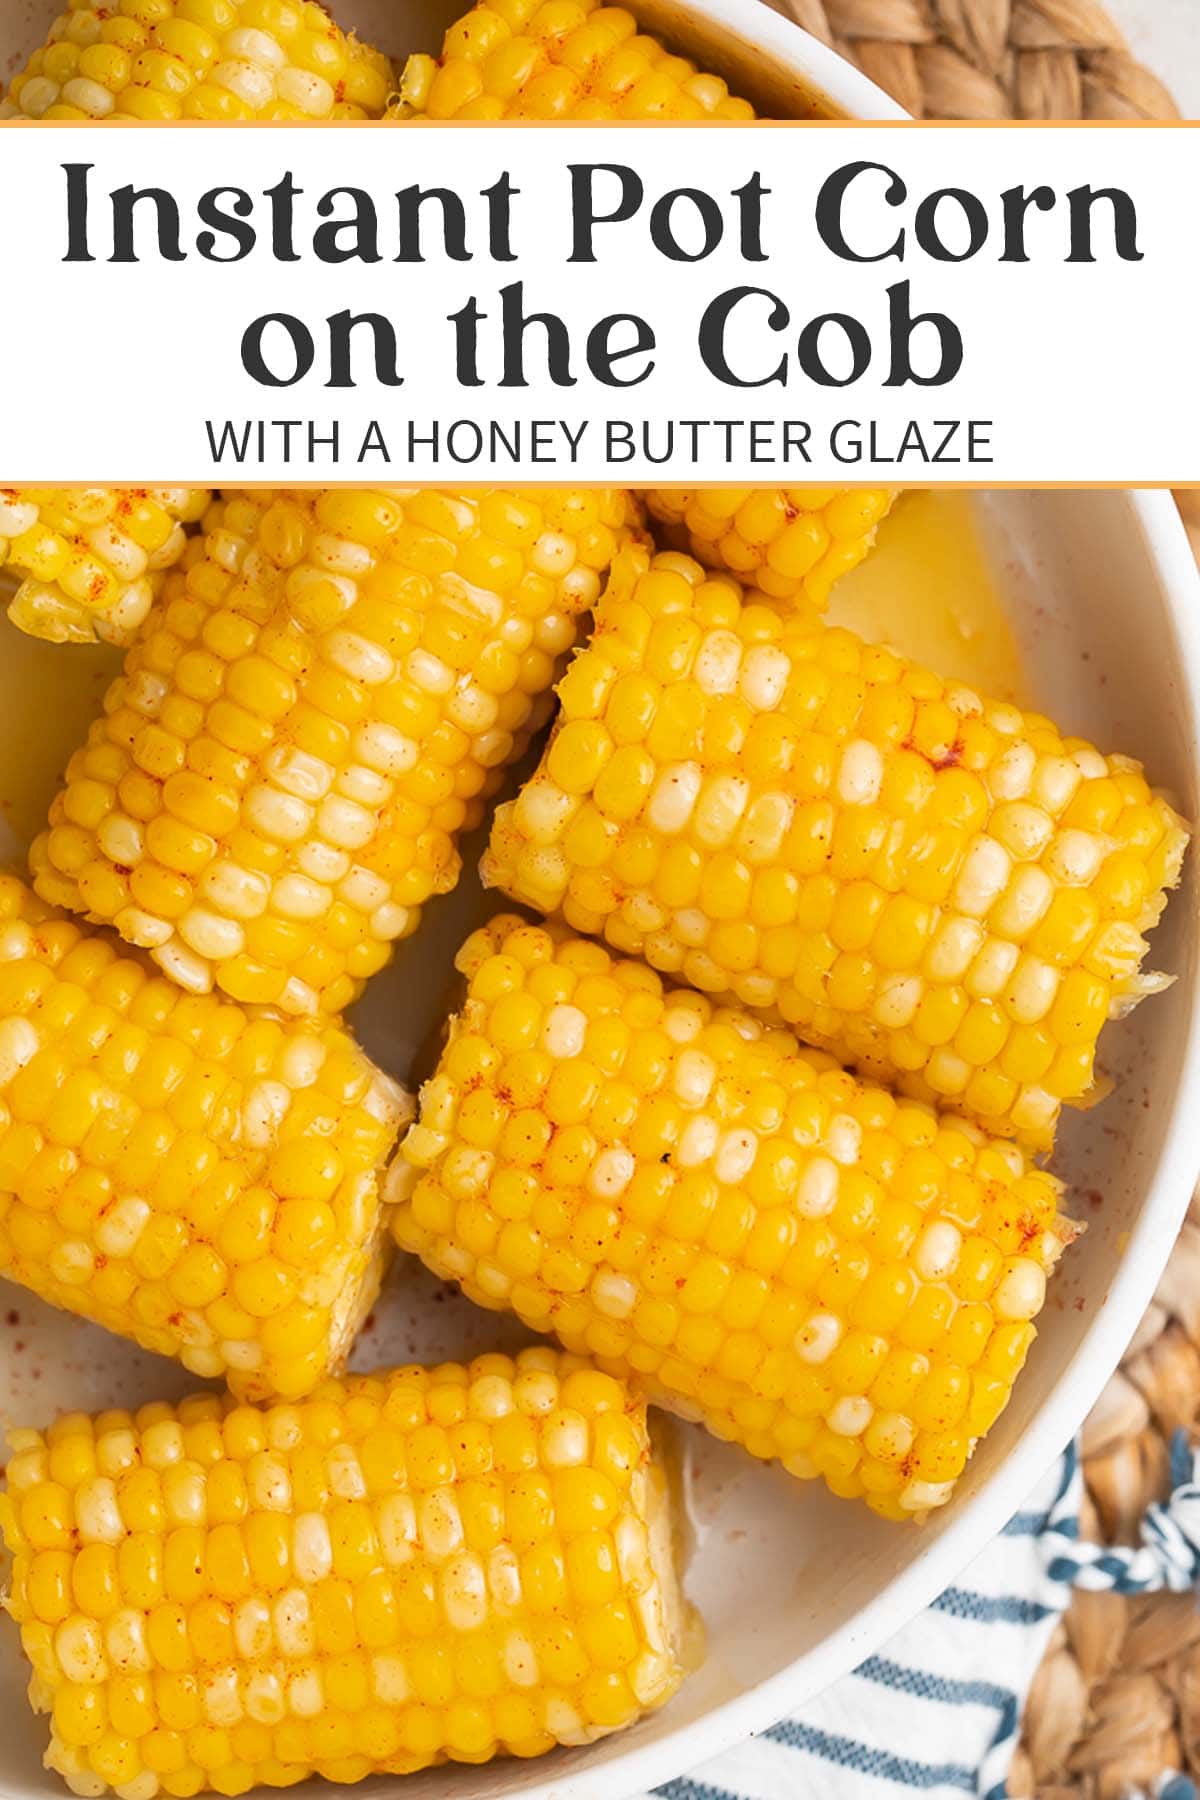
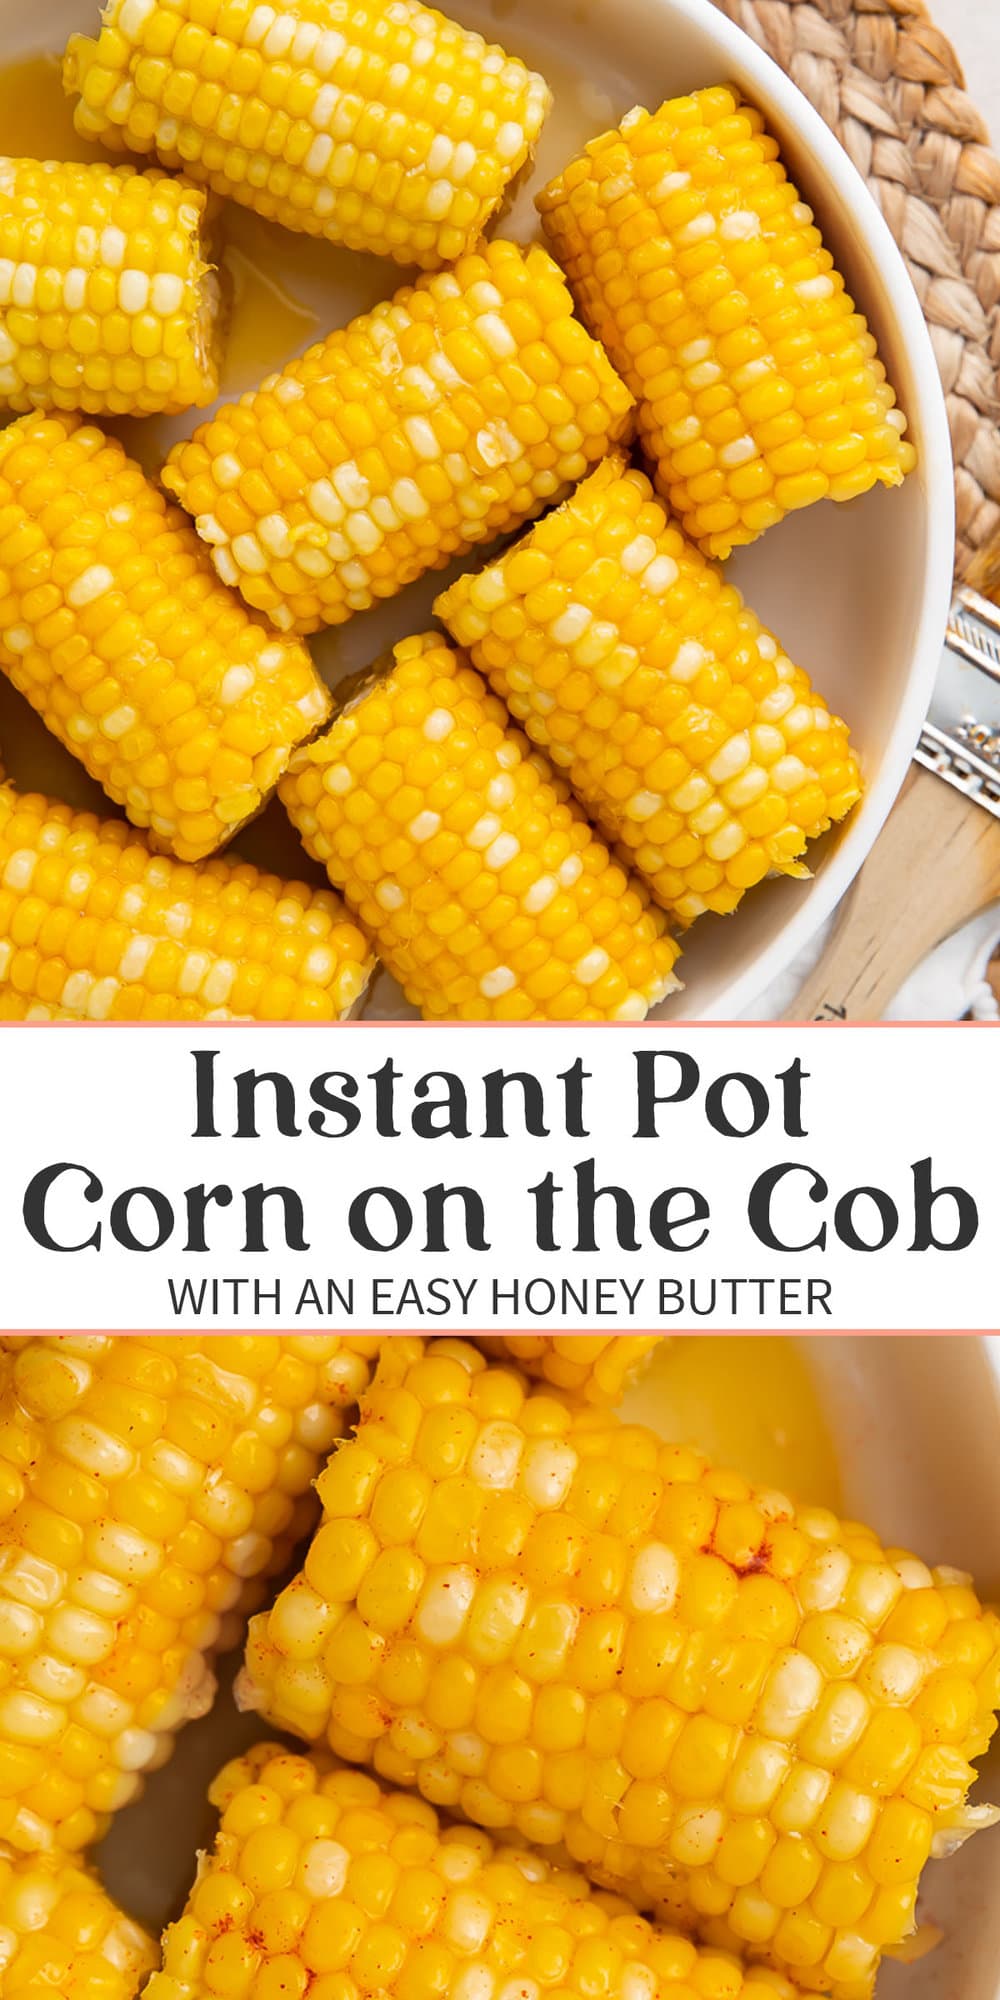
Instant Pot Corn on the Cob with Honey Butter
This super easy corn on the cob is made even more delicious with an amazing honey butter glaze.
ears of corn
Equipment
- Instant Pot trivet
- Instant Pot see Notes for alternate method
- Tongs
- Large bowl
- Silicone spatula or large wooden spoon
Ingredients
For the Corn on the Cob
- 8 3-inch ears of corn shucked; or 4 6-inch ears of corn, shucked, halved
- 1 cup water
For the Honey Butter Glaze
- ½ cup unsalted butter softened
- ¼ cup honey
- 1 teaspoon salt more or less to taste
Instructions
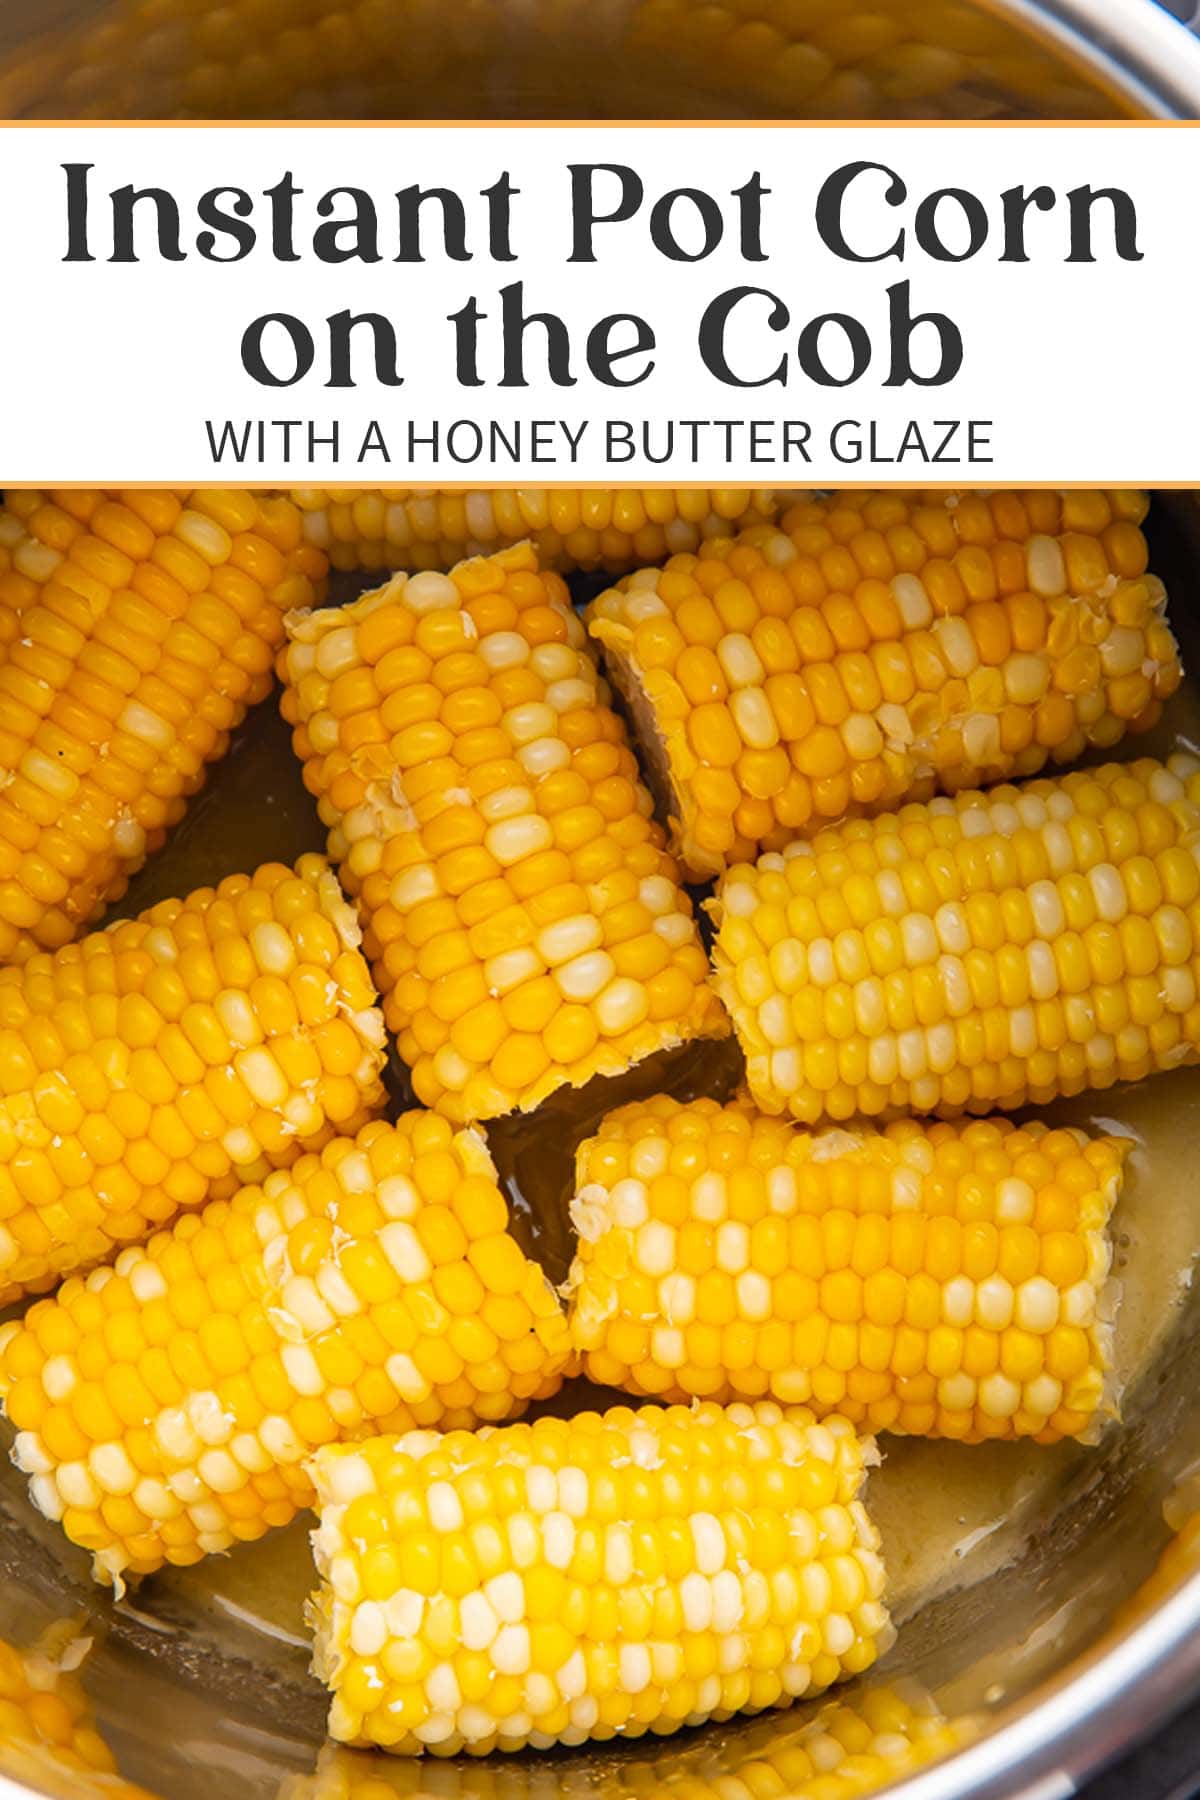
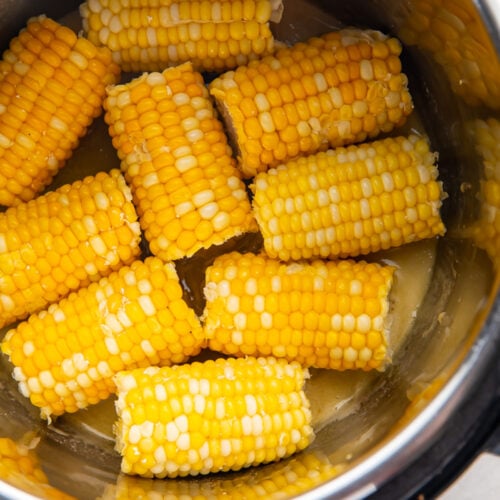
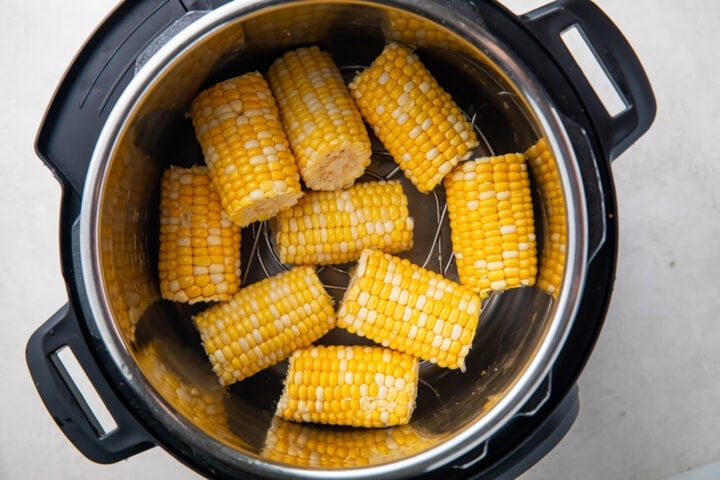
- Place trivet in Instant Pot. Place all 8 3-inch ears of corn on top of trivet, stacking corn only if necessary.

- Pour 1 cup water into Instant Pot, then secure lid on pot with valve in sealing position.
- Set Instant Pot to Manual High Pressure for 1 minute. Instant Pot will pressurize, then cook time will begin.
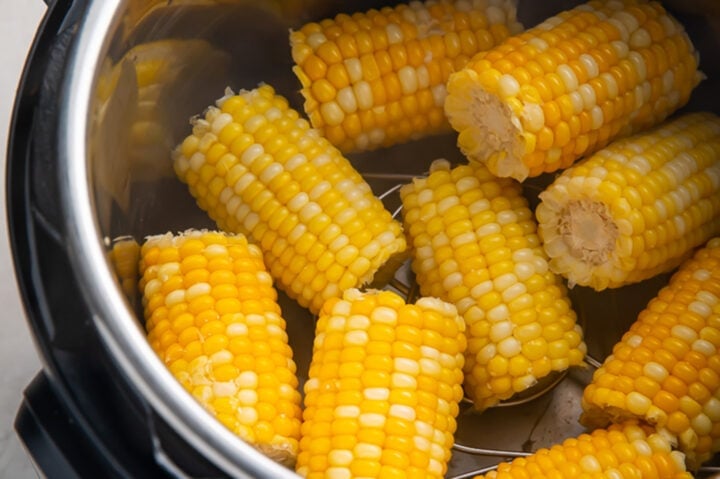
- When 1-minute cook time is up, carefully Quick Release pressure. Remove lid and set aside. Use tongs to carefully transfer corn from Instant Pot to large bowl and set aside.

- Carefully remove trivet from Instant Pot and discard remaining water. Return Instant Pot insert to Instant Pot.
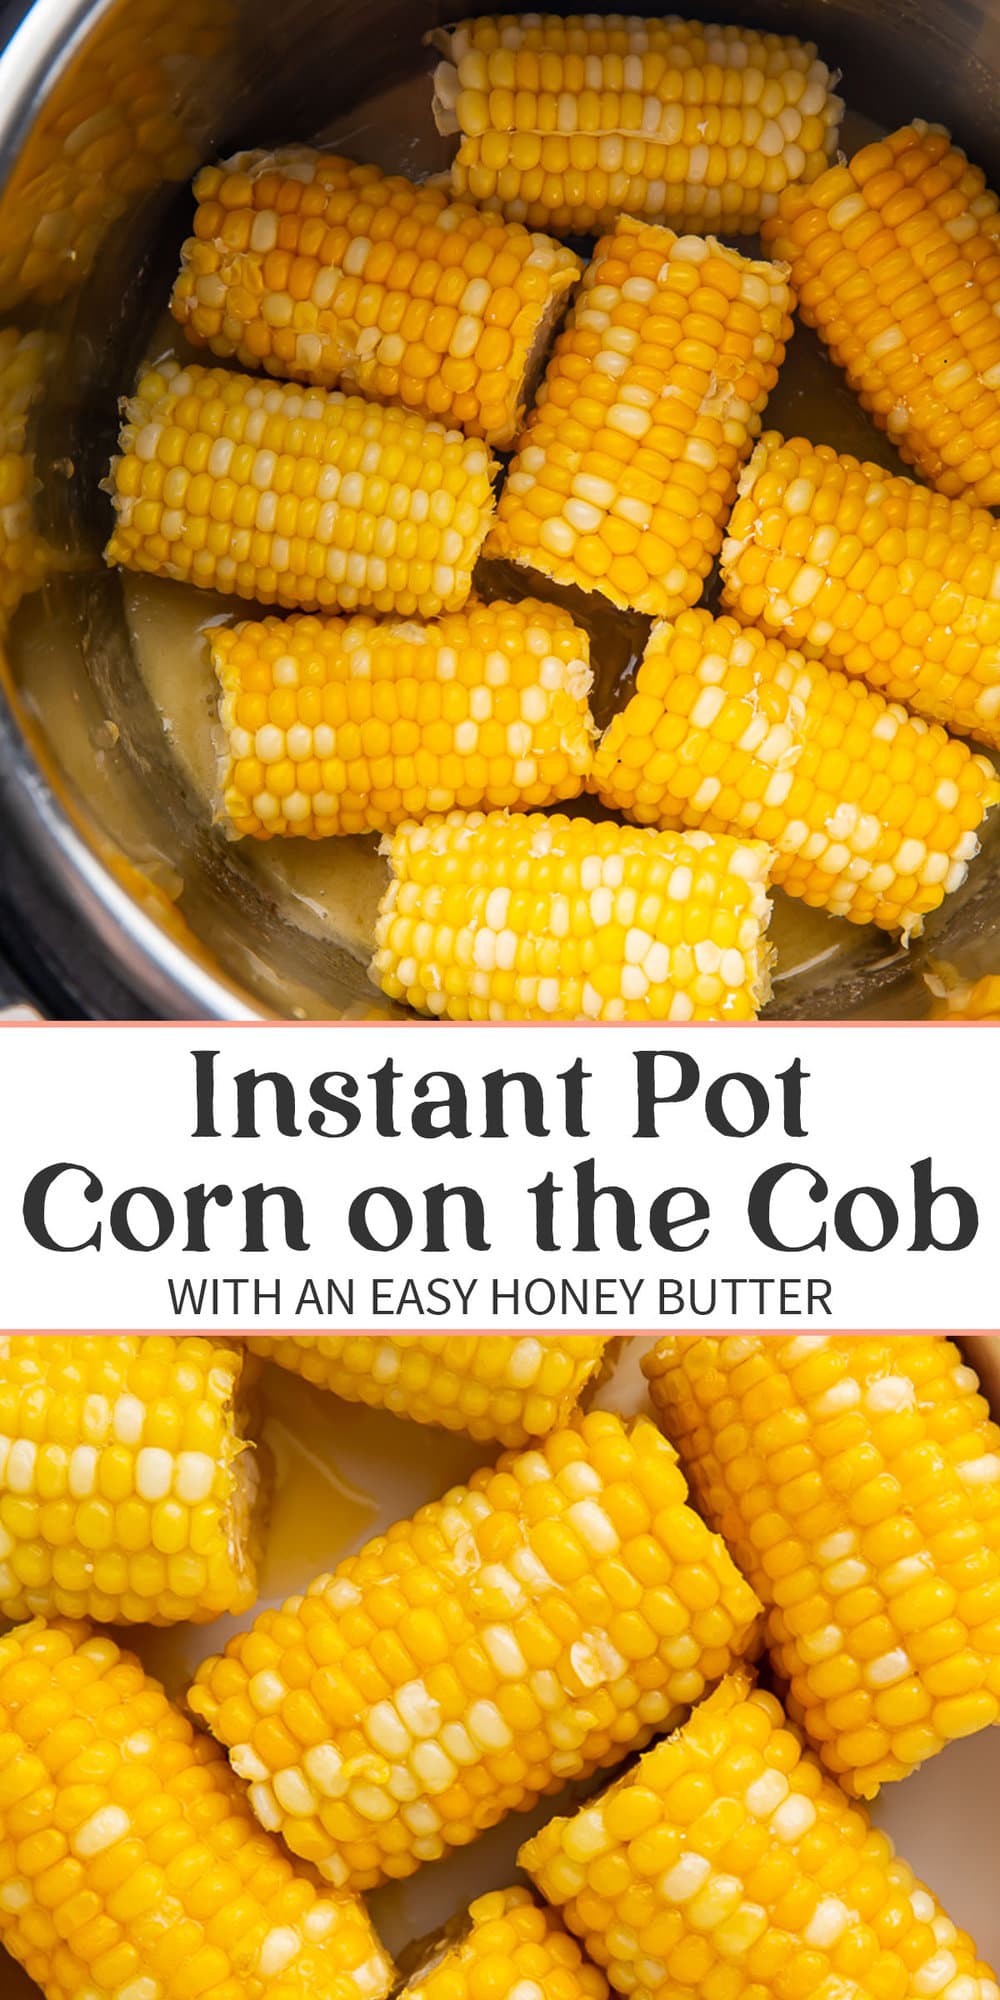
- Set Instant Pot to Sauté mode with low heat, then add ½ cup unsalted butter, ¼ cup honey, and 1 teaspoon salt. Stir until butter has melted and mixture is smooth and fully combined.
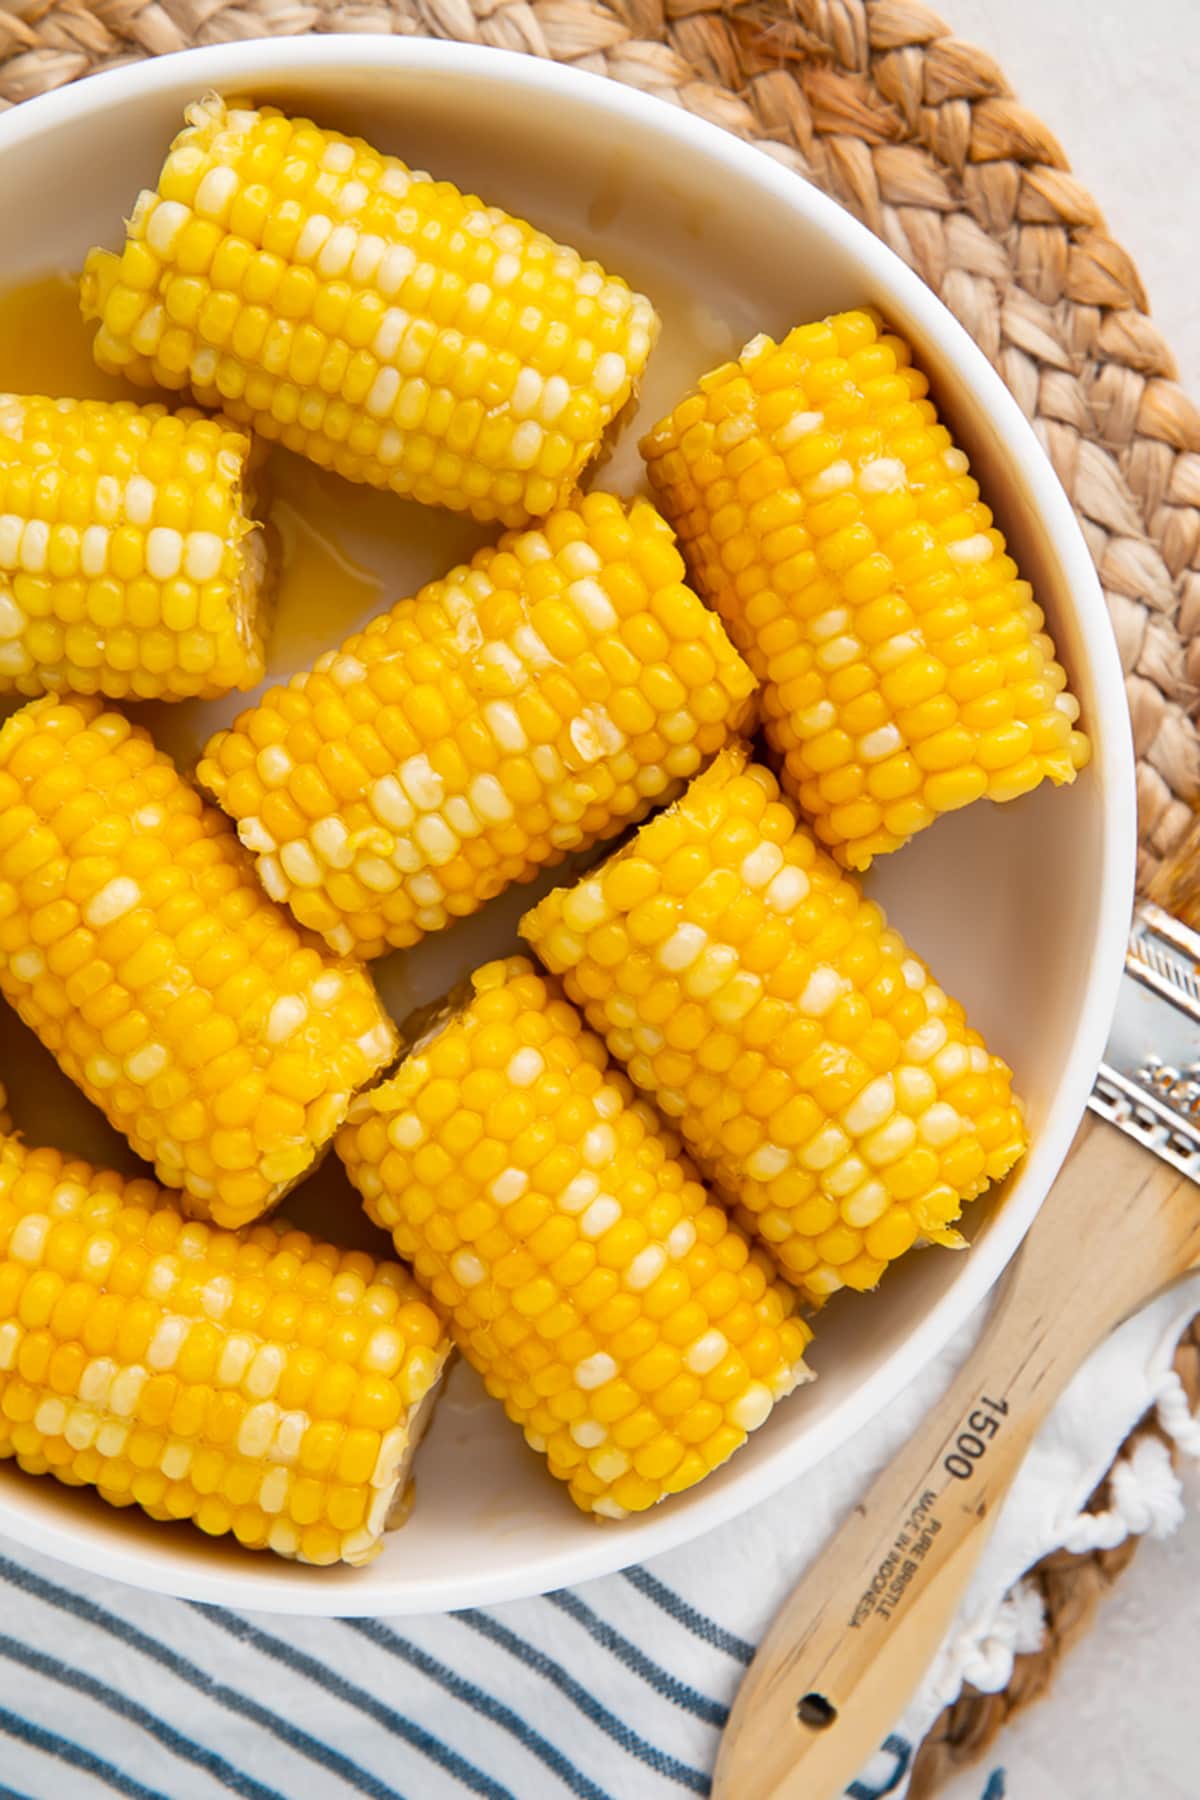
- Return corn to Instant Pot, working in batches as needed. Use tongs to roll and flip corn in honey butter glaze, coating corn on all sides. Transfer corn to serving plates or serving bowl and repeat with any remaining ears of corn if needed.
- Once all cooked ears of corn have been coated in honey butter, serve corn warm with desired entrées.

- Salt: If you’re using salted butter, you may want to omit the teaspoon of salt entirely. You can always sprinkle more salt over the glazed corn after serving if needed.
- Alternate Cooking Method: Follow this recipe for boiled corn. For the honey glaze, melt butter, honey, and salt in a medium saucepan on the stove over low heat. Add boiled corn to saucepan and coat in honey butter.
- Make it Dairy Free: Use a dairy-free butter.
- Make it Paleo: Use ghee instead of butter.
Approximate Information for One Serving
Serving Size: 1ear of corn with honey butterCalories: 214calProtein: 3gFat: 13gSaturated Fat: 7gTrans Fat: 0.5gCholesterol: 31mgSodium: 384mgPotassium: 189mgTotal Carbs: 24gFiber: 4gSugar: 15gNet Carbs: 20gVitamin A: 355IUVitamin C: 0.1mgCalcium: 5mgIron: 0.1mg
Nutrition Disclaimers
Number of total servings shown is approximate. Actual number of servings will depend on your preferred portion sizes.
Nutritional values shown are general guidelines and reflect information for 1 serving using the ingredients listed, not including any optional ingredients. Actual macros may vary slightly depending on specific brands and types of ingredients used.
To determine the weight of one serving, prepare the recipe as instructed. Weigh the finished recipe, then divide the weight of the finished recipe (not including the weight of the container the food is in) by the desired number of servings. Result will be the weight of one serving.
Did You Make This Recipe?
Tag @40aprons on Instagram and be sure to leave a review on the blog post!
![Blueberry Pie [Vegan] - make use of in season blueberries with a classic blueberry pie. Simple, sweet, a bit rustic, and totally vegan!](https://40aprons.com/wp-content/uploads/2014/07/vegan-blueberry-pie-5.jpg)


Never Miss A Meal!
New Recipes Straight To Your Inbox
A curated selection of our most recent recipes, delivered straight to your inbox once a week.
Thank you!
You have successfully joined our subscriber list.