This Post May Contain Affiliate Links. Please Read Our Disclosure Policy.
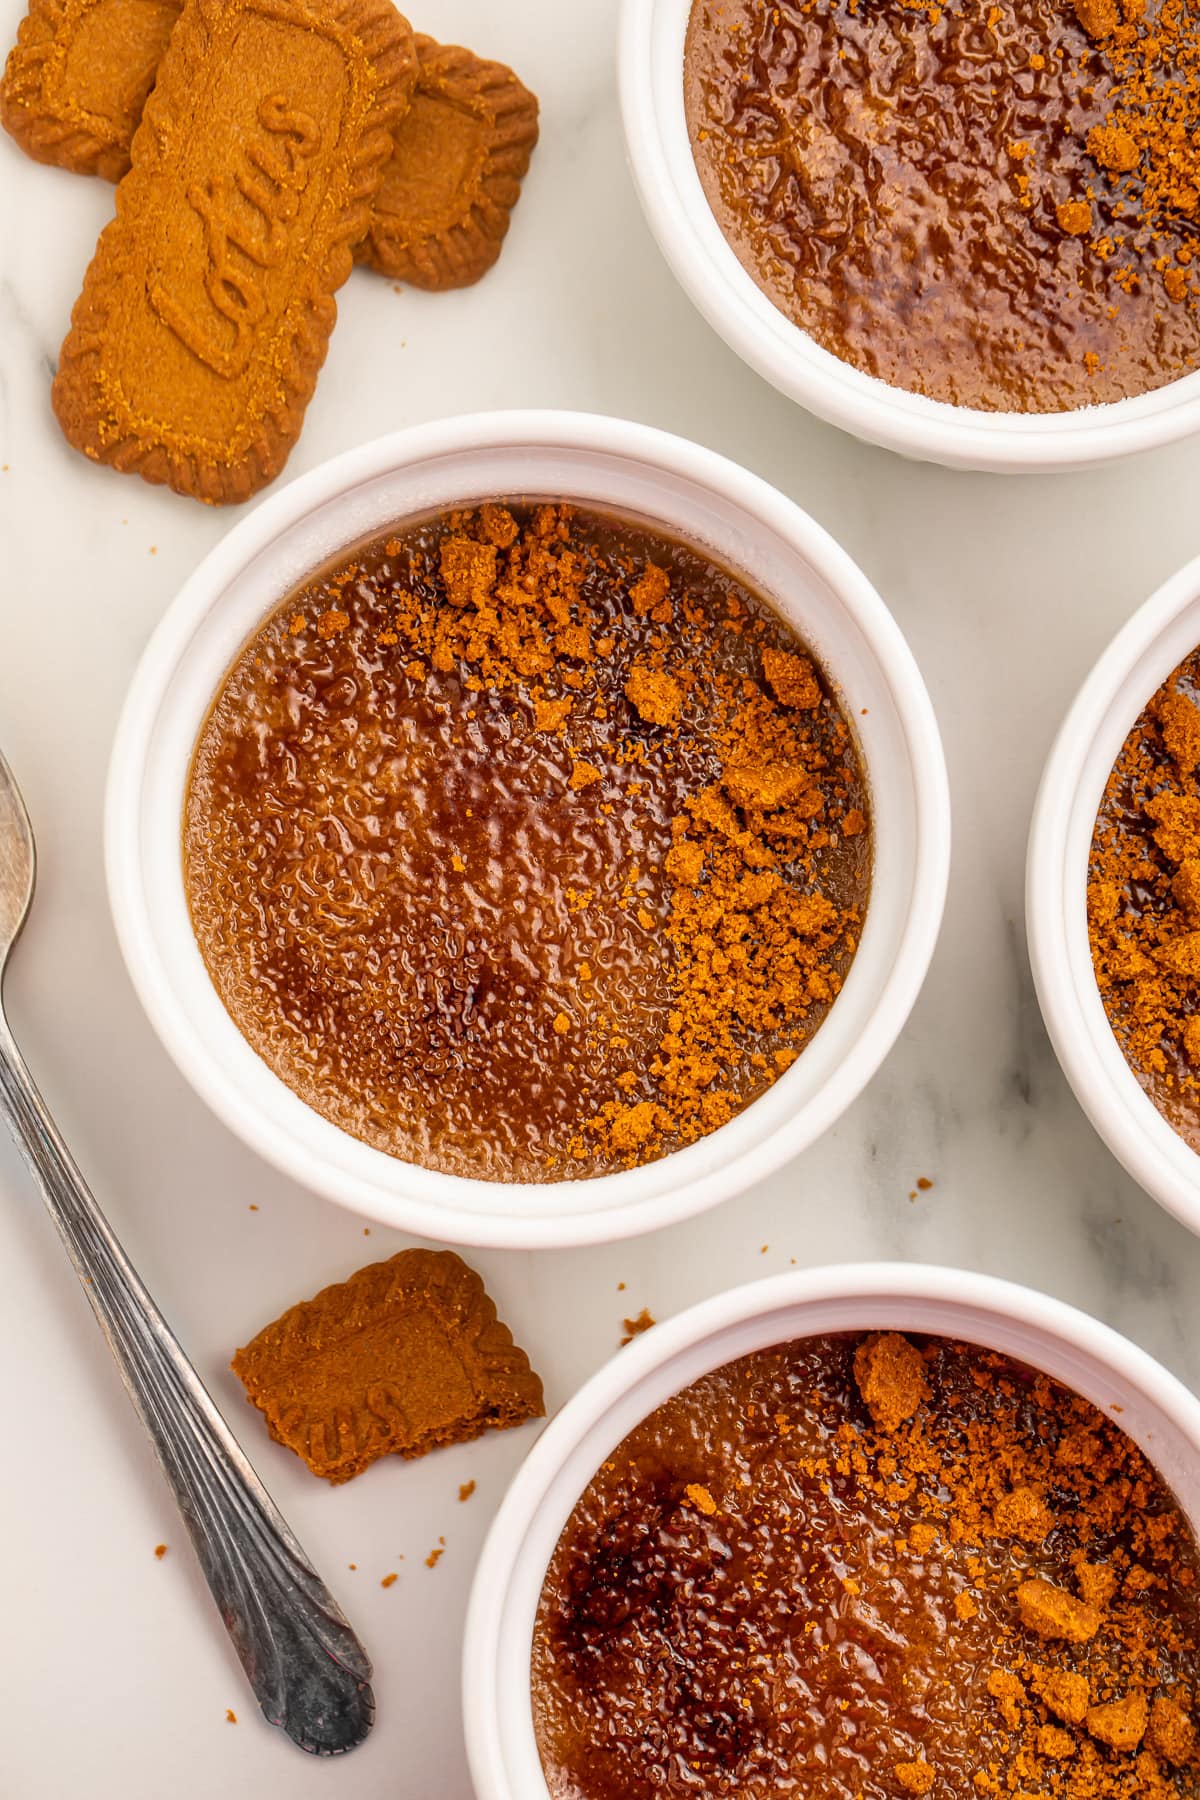
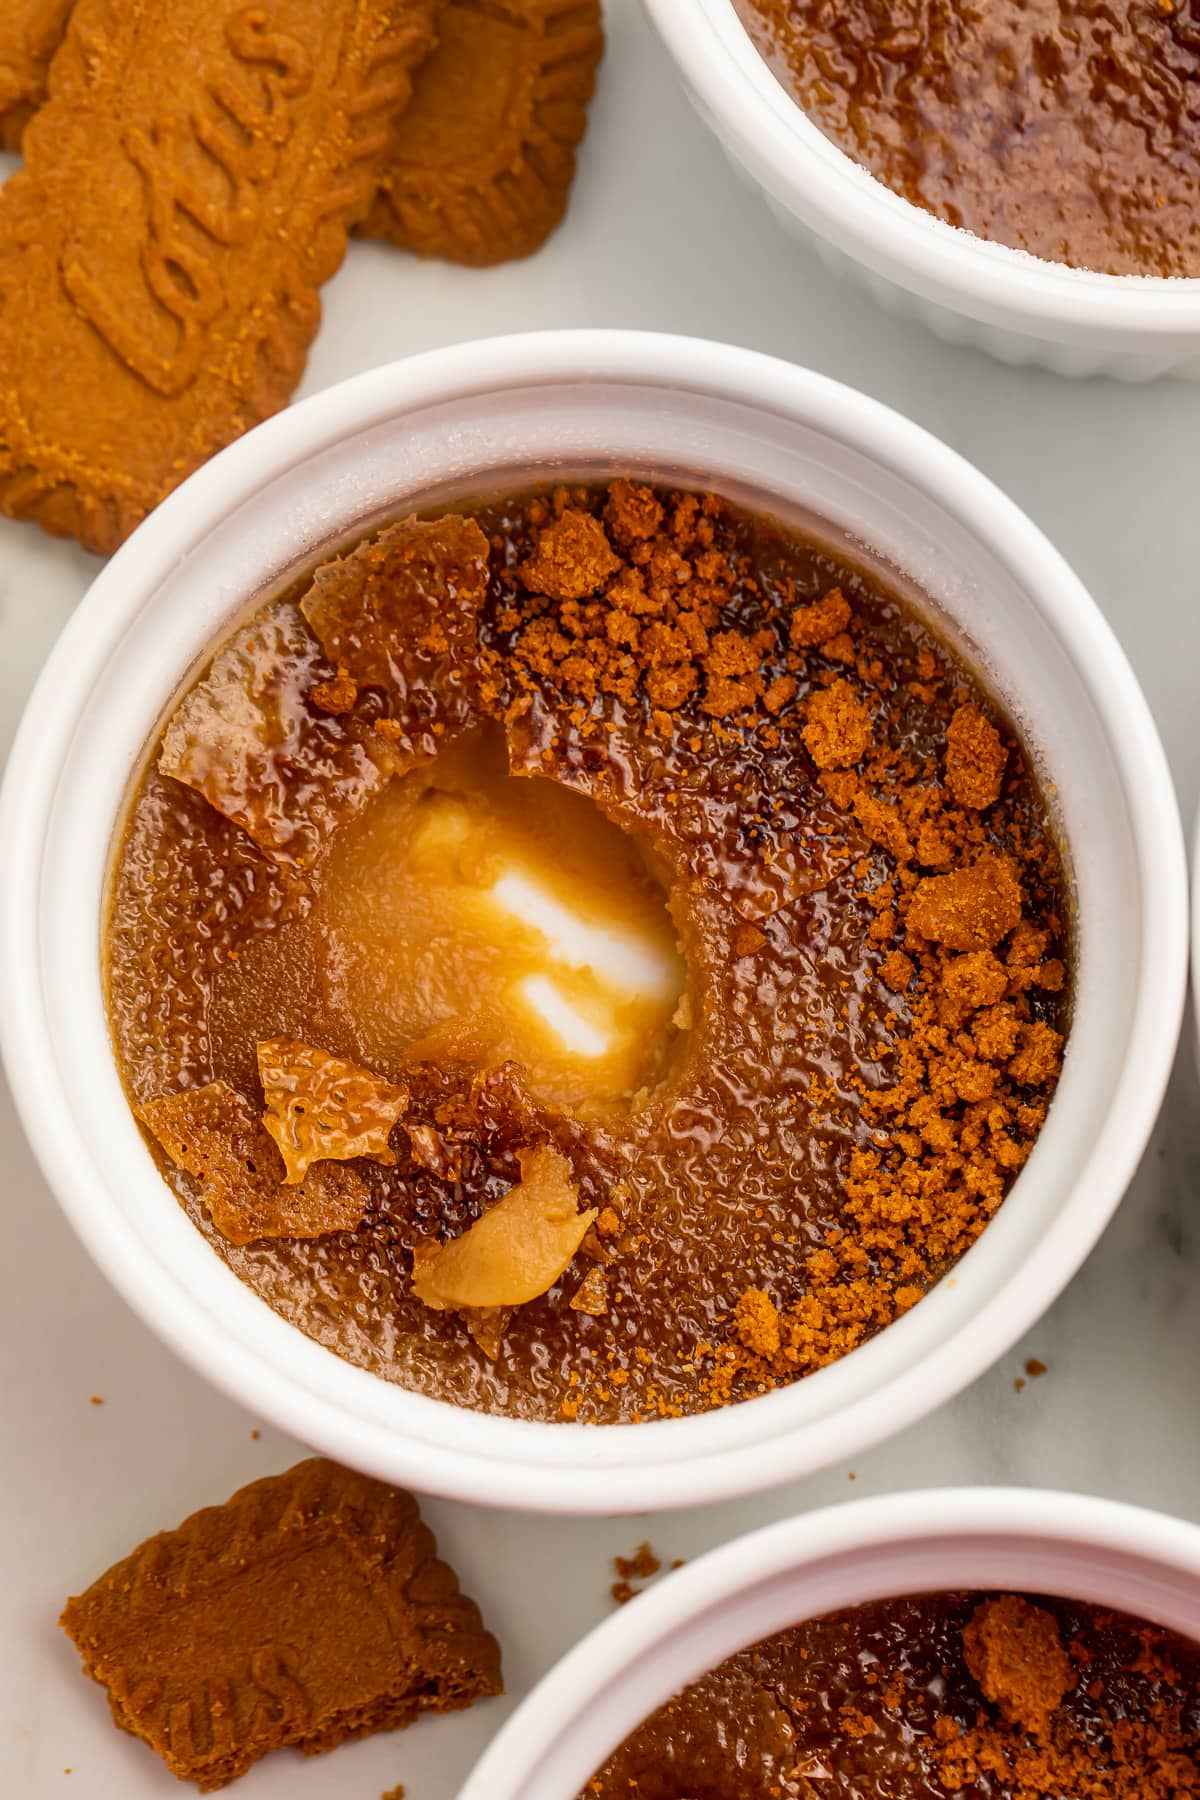
Classic creme brulee, taken to a whole new level thanks to a touch of rich cookie butter! Crack through the crisp caramelized-sugar topping to reveal a decadent, creamy custard, elevated by warm flavors of cinnamon, ginger, and nutmeg. With easy-to-follow instructions so even beginner home cooks can bake gourmet brulee like a pro chef!
🧈 What Makes This Recipe So Good
- Creme brulee is elegant and decadent all on its own, but when you add a little cookie butter into the mix? Oh, mama. Cookie butter enhances the creamy vanilla custard with bursts of cinnamon, nutmeg, ginger, and brown sugar. That means you end up with deep, warm, rich flavors, all nestled under a crisp layer of caramelized sugar. Talk about layers!
- Don’t let cookie butter creme brulee intimidate you, even if this is your first time making any sort of creme brulee at all. The whole process is actually really easy, not at all complicated, and I’ve included a bunch of notes and tips to help make everything as clear as possible.
- This is a great dessert for special occasions like date nights, anniversaries, Christmas, Valentine’s Day… you name it! To make it even better, you can actually make your creme brulee several days ahead of time to make the day-of even easier. The unbaked custard can be covered and refrigerated for 3-4 days before baking, and the fully-baked custard can be refrigerated up to 2 days before adding the sugar topping.
👩🏼🍳 Chef’s Tips
There are 3 tricky moments in the creme brulee process that may give you a little trouble, especially if this is your first time making this dessert.
- Keep an eye on the custards as they bake and be very careful not to over-bake them. You want to take them out of the oven when they’re just set and no longer runny or liquidy. If the surfaces are firm or just barely jiggle, the custard will be dense and taste eggy. If the custards rise at all, you’ll have to discard them and start over.
- When you temper the eggs, it’s important that you don’t heat them up too quickly. You don’t want the eggs to scramble! Add the hot milk & sugar mixture to the egg yolks in small amounts and whisk well before adding more. If the eggs scramble at all, you’ll need to discard everything and start over.
- It’s really important that you don’t over-torch or over-broil the sugar topping, or you’ll throw off the flavor of the cookie butter creme brulee so badly that your only hope is to start over completely. The darker your bruleed sugar topping, the more bitter-tasting the sugar will be. Also, be careful how much sugar you use in the first place. If the layer of sugar on top of the custard is too thick, it’ll burn before it even has a chance to melt and caramelize.
🍮 Curb Your Cravings With These Sweet Treats
- Cream Cheese Fruit Dip (No Marshmallow Fluff!)
- Vanilla Brownies with Buttercream Frosting
- Perfect Vegan Pound Cake
- Hot Cocoa Dip
- Soft & Chewy Butterscotch Cookies
- Southern-Style Banana Pudding
- Christmas Confetti Cookies
- Keto Creme Brûlée
- Sweet & Creamy Churro Dip
- Perfect Paleo Brownies (Fudgy, Crackly Top, Gluten Free)
- Gluten Free Pecan Pie
- Strawberry Banana Cheesecake Salad
- Vanilla Bean Panna Cotta with Caramel Sauce
- Matcha Brownies with White Chocolate Chips
Cookie Butter Creme Brulee
Equipment
- Oven
- 4 small ramekins 4-6 ounces
- Baking pan
- medium saucepan
- Large wooden spoon
- medium mixing bowl heat-resistant
- whisk
- Fine mesh strainer
- large glass measuring cup or heat-resistant bowl with pour spout
- measuring cup or drinking cup, or bowl
- wire cooling rack
- Spoon optional
- Plastic wrap
- refrigerator or freezer
- small butane kitchen torch or broiler
Ingredients
For the Cookie Butter Custard
- ½ cup whole milk at or close to room temperature
- ½ cup heavy cream at or close to room temperature
- ¼ cup granulated sugar
- ½ teaspoon pure vanilla extract
- 2 large egg yolks at room temperature
- 5 tablespoons cookie butter
- hot water as much as needed
For the Brulee Topping
- 4 teaspoons granulated sugar divided, plus more as needed
Serving Suggestion (Optional)
- 1-2 Biscoff cookies crumbled
Instructions
For the Cookie Butter Custard
- Preheat oven to 350° Fahrenheit. Place 4 small ramekins in baking pan and set pan aside.
- Add ½ cup whole milk, ½ cup heavy cream, ¼ cup granulated sugar, and ½ teaspoon pure vanilla extract to saucepan. Stir to incorporate ingredients, then place saucepan on stovetop over medium-high heat. Heat saucepan, stirring occasionally, until mixture is hot but not boiling.
- While mixture comes to temperature, place 2 large egg yolks into medium heat-resistant bowl. Whisk egg yolks together until fully combined.
- Once milk and sugar mixture is hot, but before mixture begins to boil, remove saucepan from heat. Slowly and carefully, pour mixture into bowl with egg yolks, whisking constantly until ingredients are fully combined and mixture is smooth and liquidy. Add mixture in increments to avoid heating eggs too quickly.
- While mixture is still warm, add 5 tablespoons cookie butter and whisk vigorously until cookie butter is incorporated into custard mixture.
- Fit strainer over glass measuring cup. Carefully pour cookie butter custard mixture through strainer and into measuring cup. Use back of wooden spoon to push any spices or large pieces of cookie butter through mesh of strainer.
- Once custard is well strained, pour custard into ramekins, filling dishes evenly.
- Carefully place baking pan holding filled ramekins in preheated oven. Before closing oven door, pour hot water directly into baking pan, being careful not to spill any water into ramekins. Add enough hot water that waterline sits halfway up outside of each ramekin.
- Close oven door and bake custards 30 to 35 minutes, or until just set. To check doneness, carefully and gently wiggle ramekin. Surface of custard should jiggle uniformly around edges and in center. Surface should also look glossy and uniform in color.
- Once custards are ready, carefully remove baking pan from oven and set aside. Transfer ramekins to wire cooling rack and let custards cool to room temperature. Use spoon to lightly skim any foam or bubbles off surface of custards.
- Once cooled, cover each ramekin with plastic wrap. Place covered ramekins in refrigerator and let chill at least 8 hours, or place covered ramekins in freezer and let chill 30 minutes to 1 hour.
For the Brulee Topping
- When ready to serve, carefully remove ramekins from fridge or freezer. Unwrap and discard plastic wrap. Ready small butane torch, or preheat broiler to high and position oven rack at least 6 inches beneath heating element.
- Sprinkle 1 teaspoon granulated sugar on top of each chilled custard, covering custard evenly. Use additional sugar as needed to cover entire surface of custard with light layer of sugar. Uncovered custard will curdle when heated.
- Use kitchen torch to caramelize sugar as desired. Alternately, place ramekins under preheated broiler and broil 30 to 60 seconds, until sugar has caramelized as preferred. Remove from oven when satisfied with doneness, being careful not to burn sugar topping or warm custards.
To Serve the Cookie Butter Creme Brulee
- Once tops of creme brulees are caramelized, garnish with Biscoff cookie crumbs if desired and serve immediately.
- Dairy Products: Heating dairy products too quickly can cause them to curdle. For best results, take milk and cream out of refrigerator 15-20 minutes before beginning recipe.
- Tempering Eggs: The egg yolks must be heated slowly to prevent scrambling them. Add the cream mixture to the eggs in small, gradual increments while whisking constantly. If the eggs start to scramble at any point, you’ll need to discard the mixture and start again.
- Over-baked Custards: If surface is fully set around edges and mostly set in center, custard will be dense and may taste eggy. Serve ASAP to avoid them becoming more dense. If your custards start to rise like baked goods, you’ll need to discard them and start again.
- Quick Freeze: Freeze custards at least 30 minutes, but no more than 1 hour.
- Caramelized Sugar Crust: Be careful not to burn the sugar, or it’ll taste bitter. Hold the torch at least 4 inches from the top of the custard, and don’t hold the torch in one place for too long. Alternately, place the ramekins at least 6 inches below the broiler. Also keep in mind that if the sugar layer is too thick, it’ll burn instead of melt, regardless of how you heat it.
- Make Ahead: Unbaked custards can be covered and refrigerated up to 3 days before baking. Baked custards can be chilled in refrigerator up to 2 days before adding sugar topping.
Approximate Information for One Serving
Nutrition Disclaimers
Number of total servings shown is approximate. Actual number of servings will depend on your preferred portion sizes.
Nutritional values shown are general guidelines and reflect information for 1 serving using the ingredients listed, not including any optional ingredients. Actual macros may vary slightly depending on specific brands and types of ingredients used.
To determine the weight of one serving, prepare the recipe as instructed. Weigh the finished recipe, then divide the weight of the finished recipe (not including the weight of the container the food is in) by the desired number of servings. Result will be the weight of one serving.
Did You Make This Recipe?
Tag @40aprons on Instagram and be sure to leave a review on the blog post!
Never Miss A Meal!
New Recipes Straight To Your Inbox
A curated selection of our most recent recipes, delivered straight to your inbox once a week.



Can this recipe be made non-dairy by using Almond, soy, oat milk and a non-dairy heavy cream like silk brand? I’m wondering if it will work and taste similar to this version?
Unfortunately we didn’t test it with any dairy alternatives so I can’t say for sure, but those should work! If you try it, please let us know how it turns out!
I was about to make some salted caramel creme brulee’s yesterday, but was feeling lazy & was putting off making the caramel sauce. Then an idea popped into my head to use cookie butter instead, so I jumped on google & came across your recipe. Made them up yesterday for a dinner party I’m having tonight. I had doubled the recipe & had two extras, so tried one last night. OMG, these are the most AMAZING brulee’s ever!!!!! Seriously the easiest recipe and the flavour is incredible!!! I will definitely be making these again!!
I am soooo glad to hear that!!