
This Post May Contain Affiliate Links. Please Read Our Disclosure Policy.
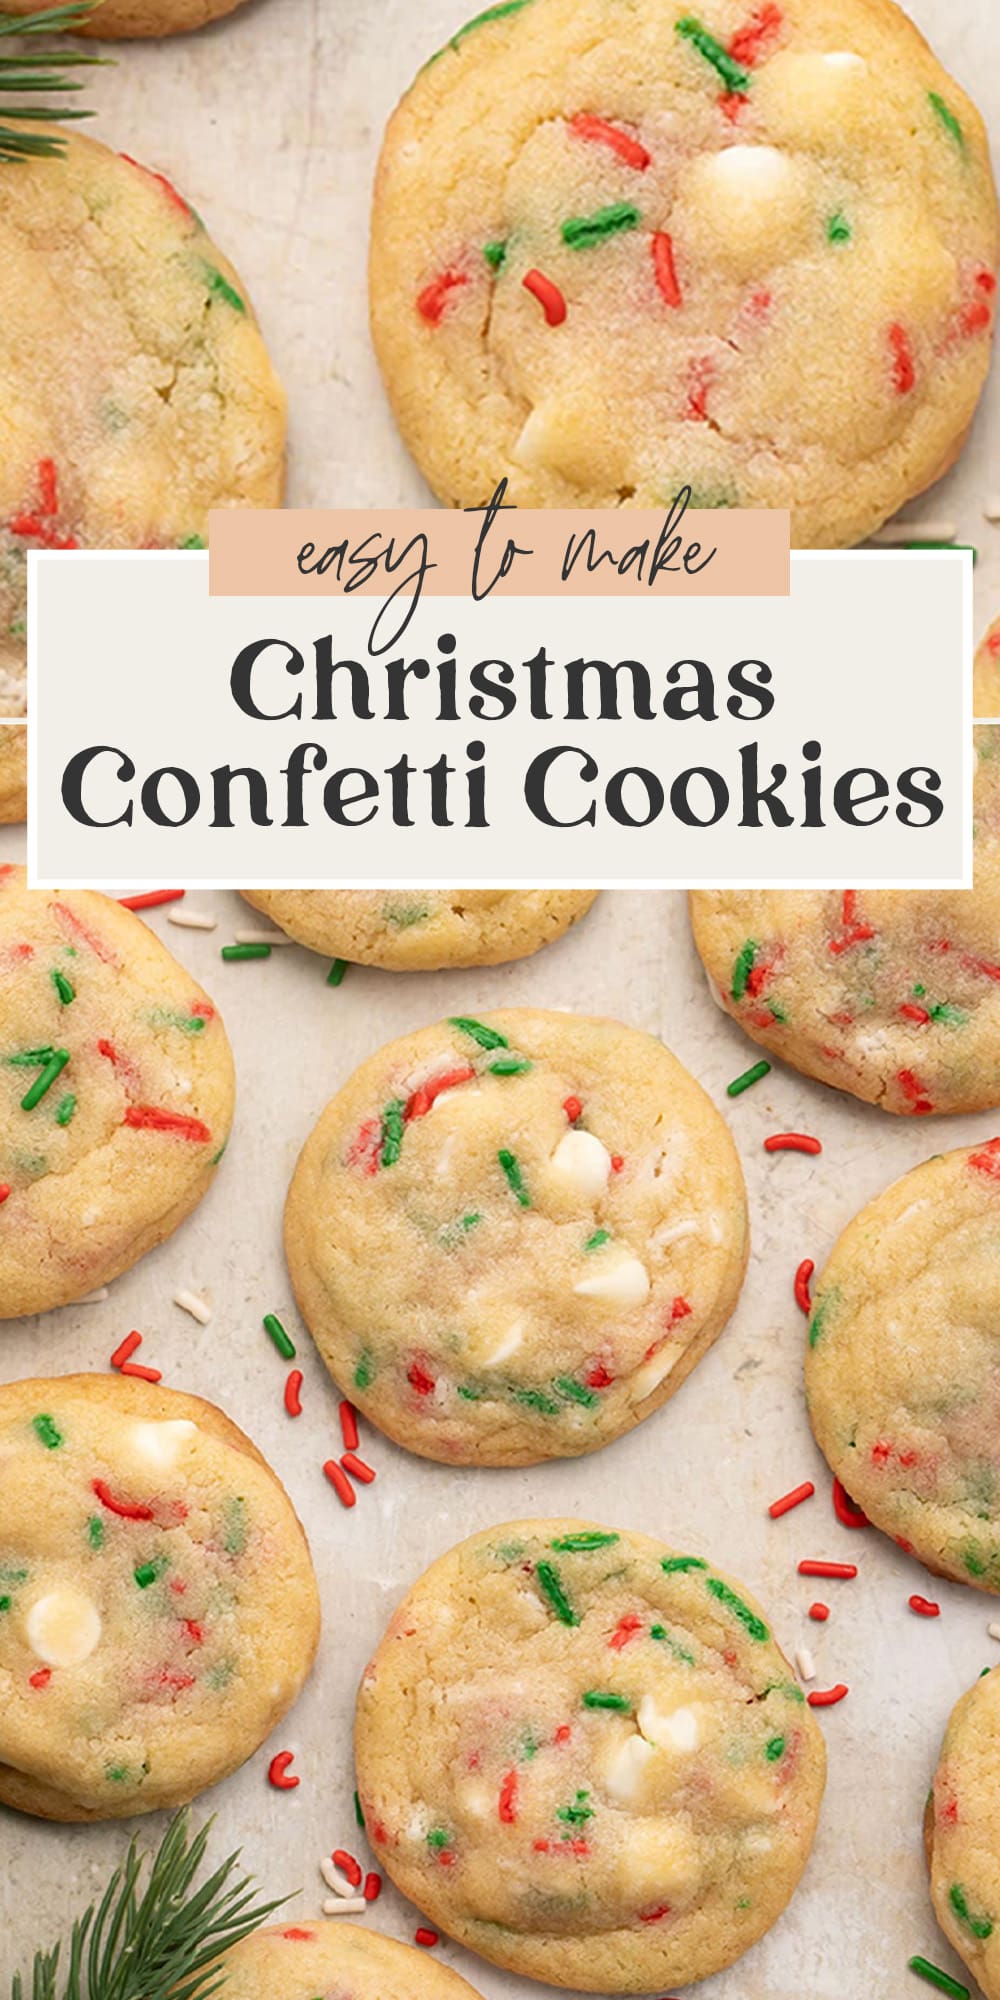
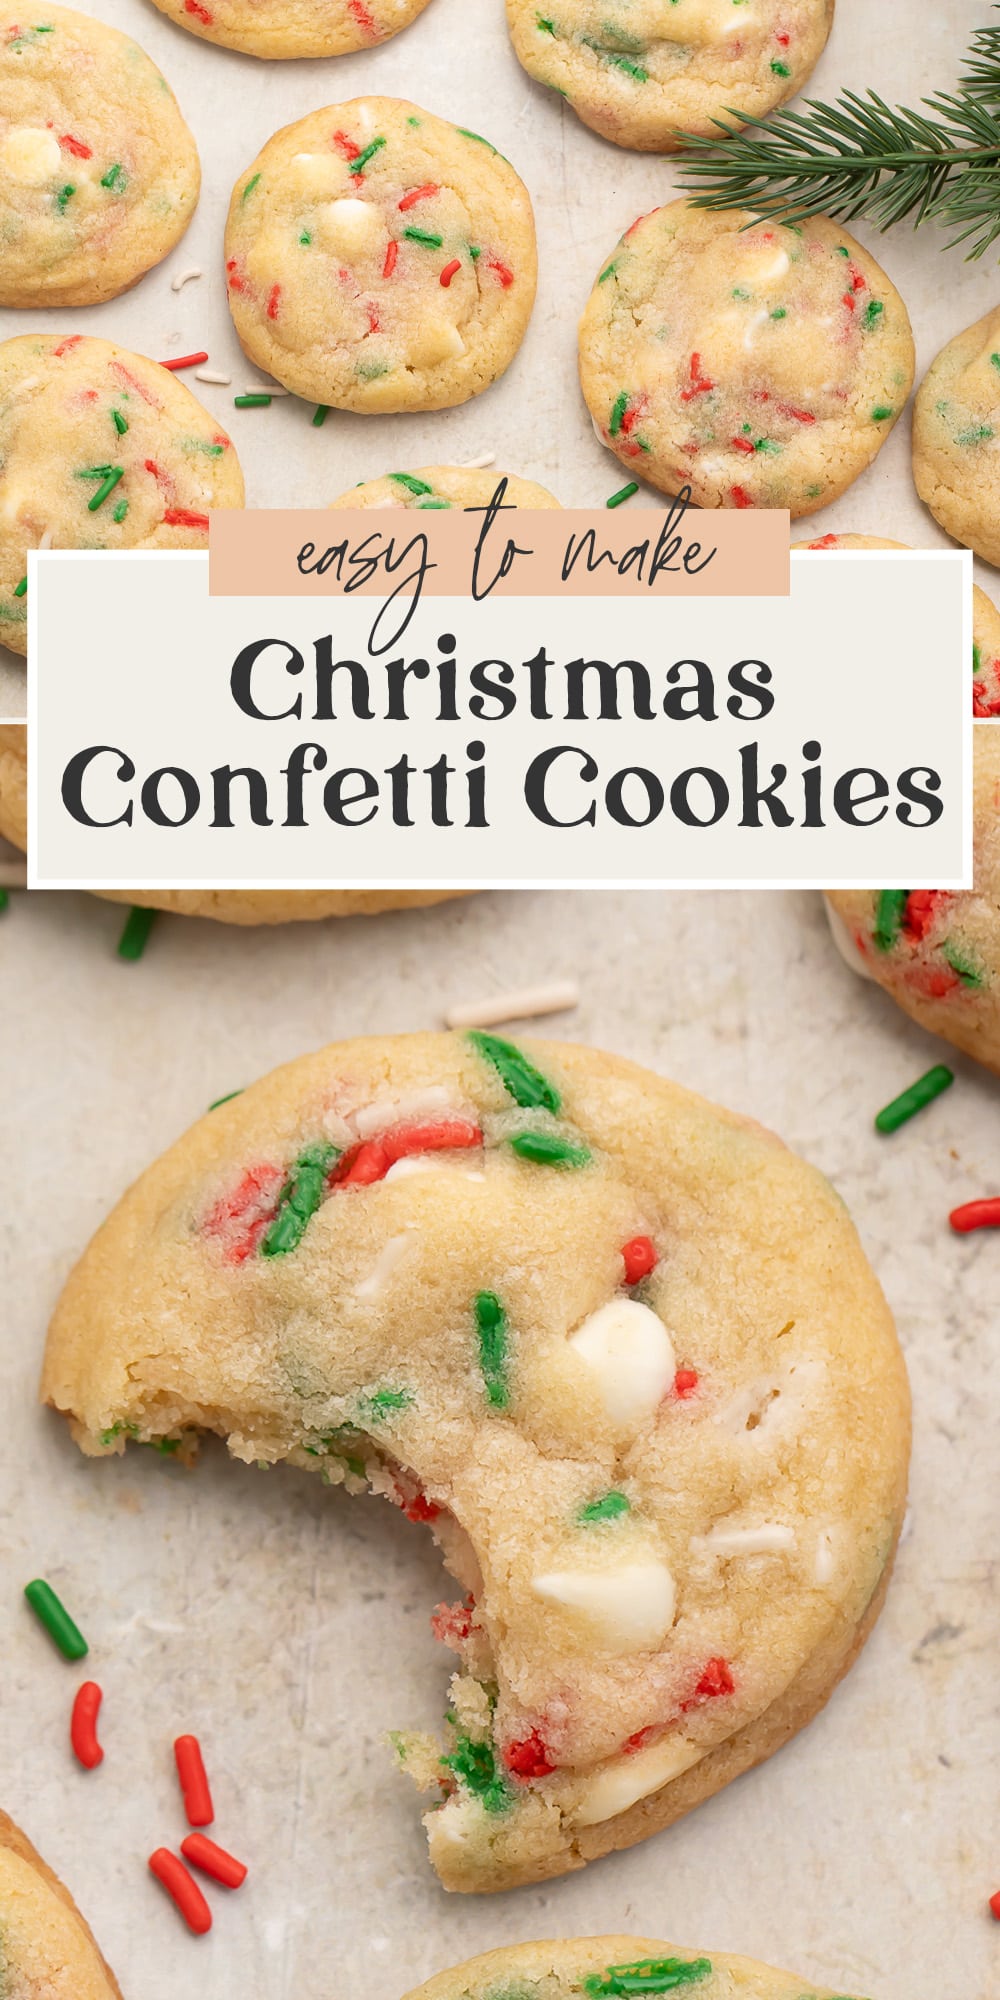


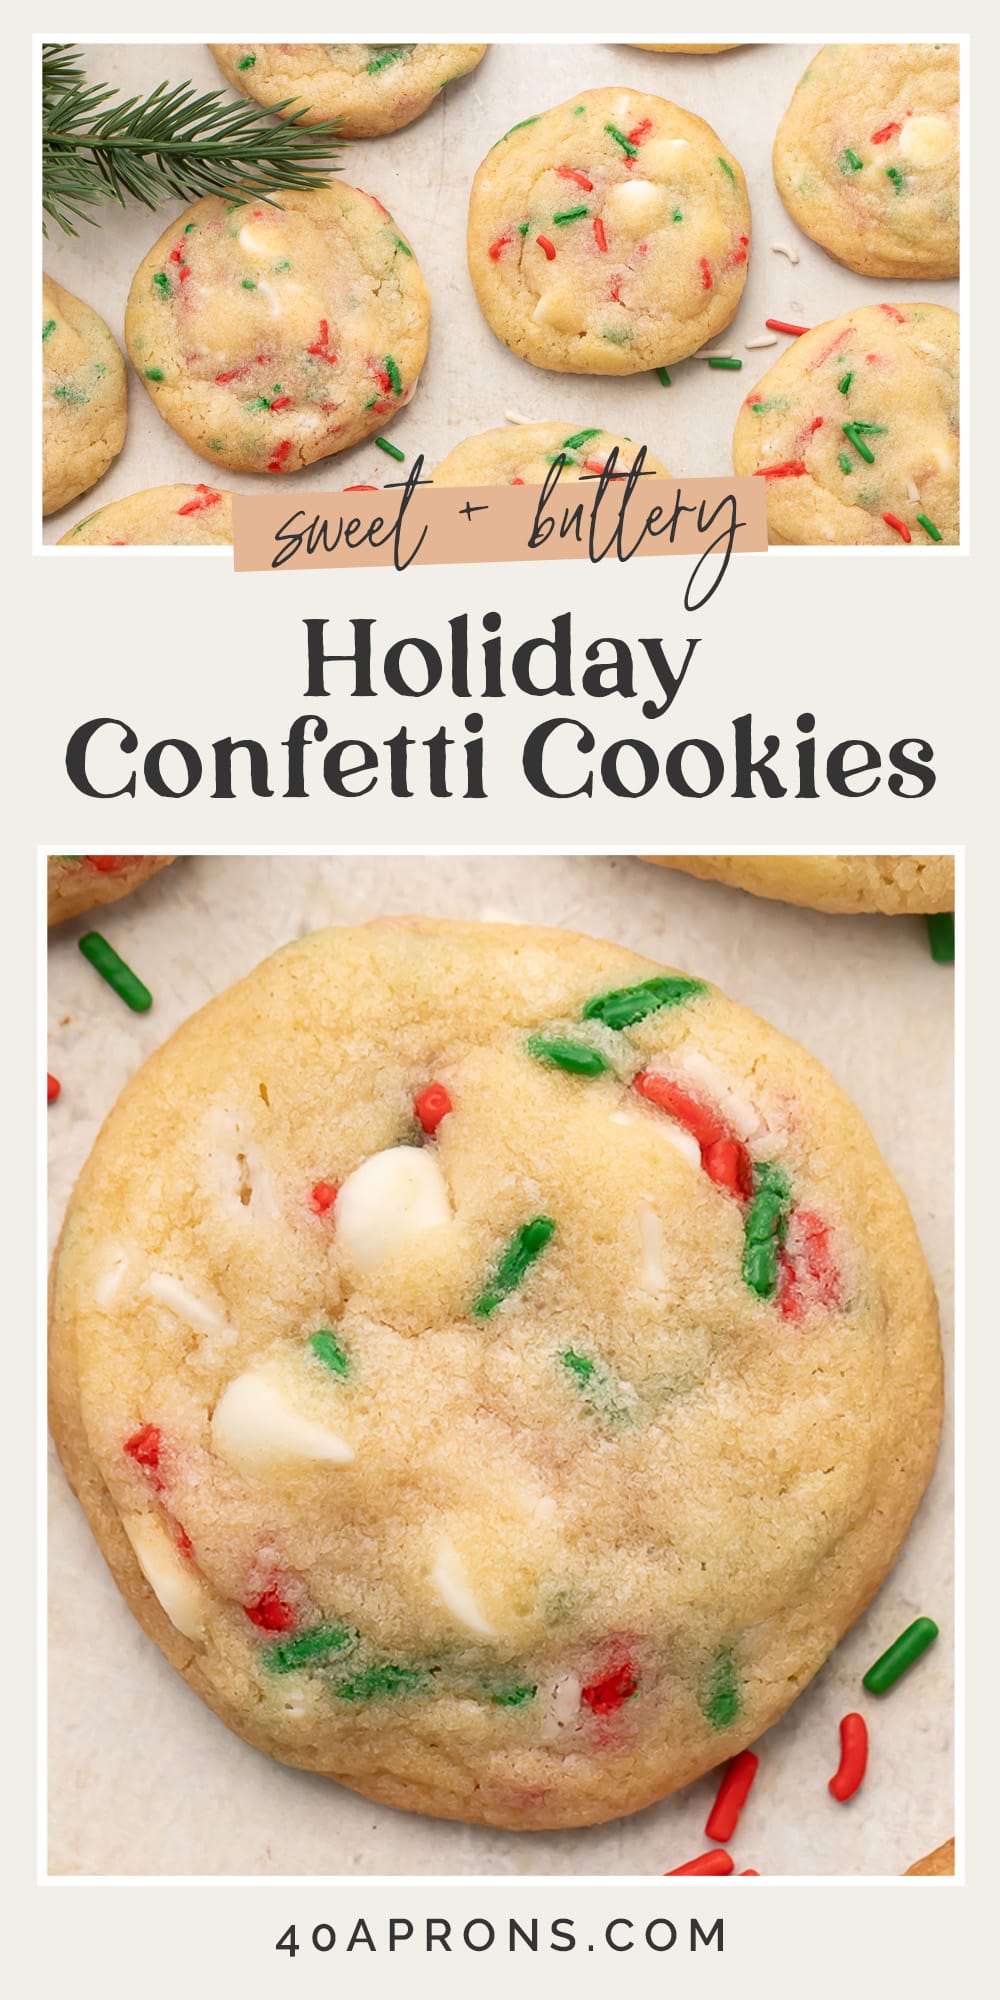
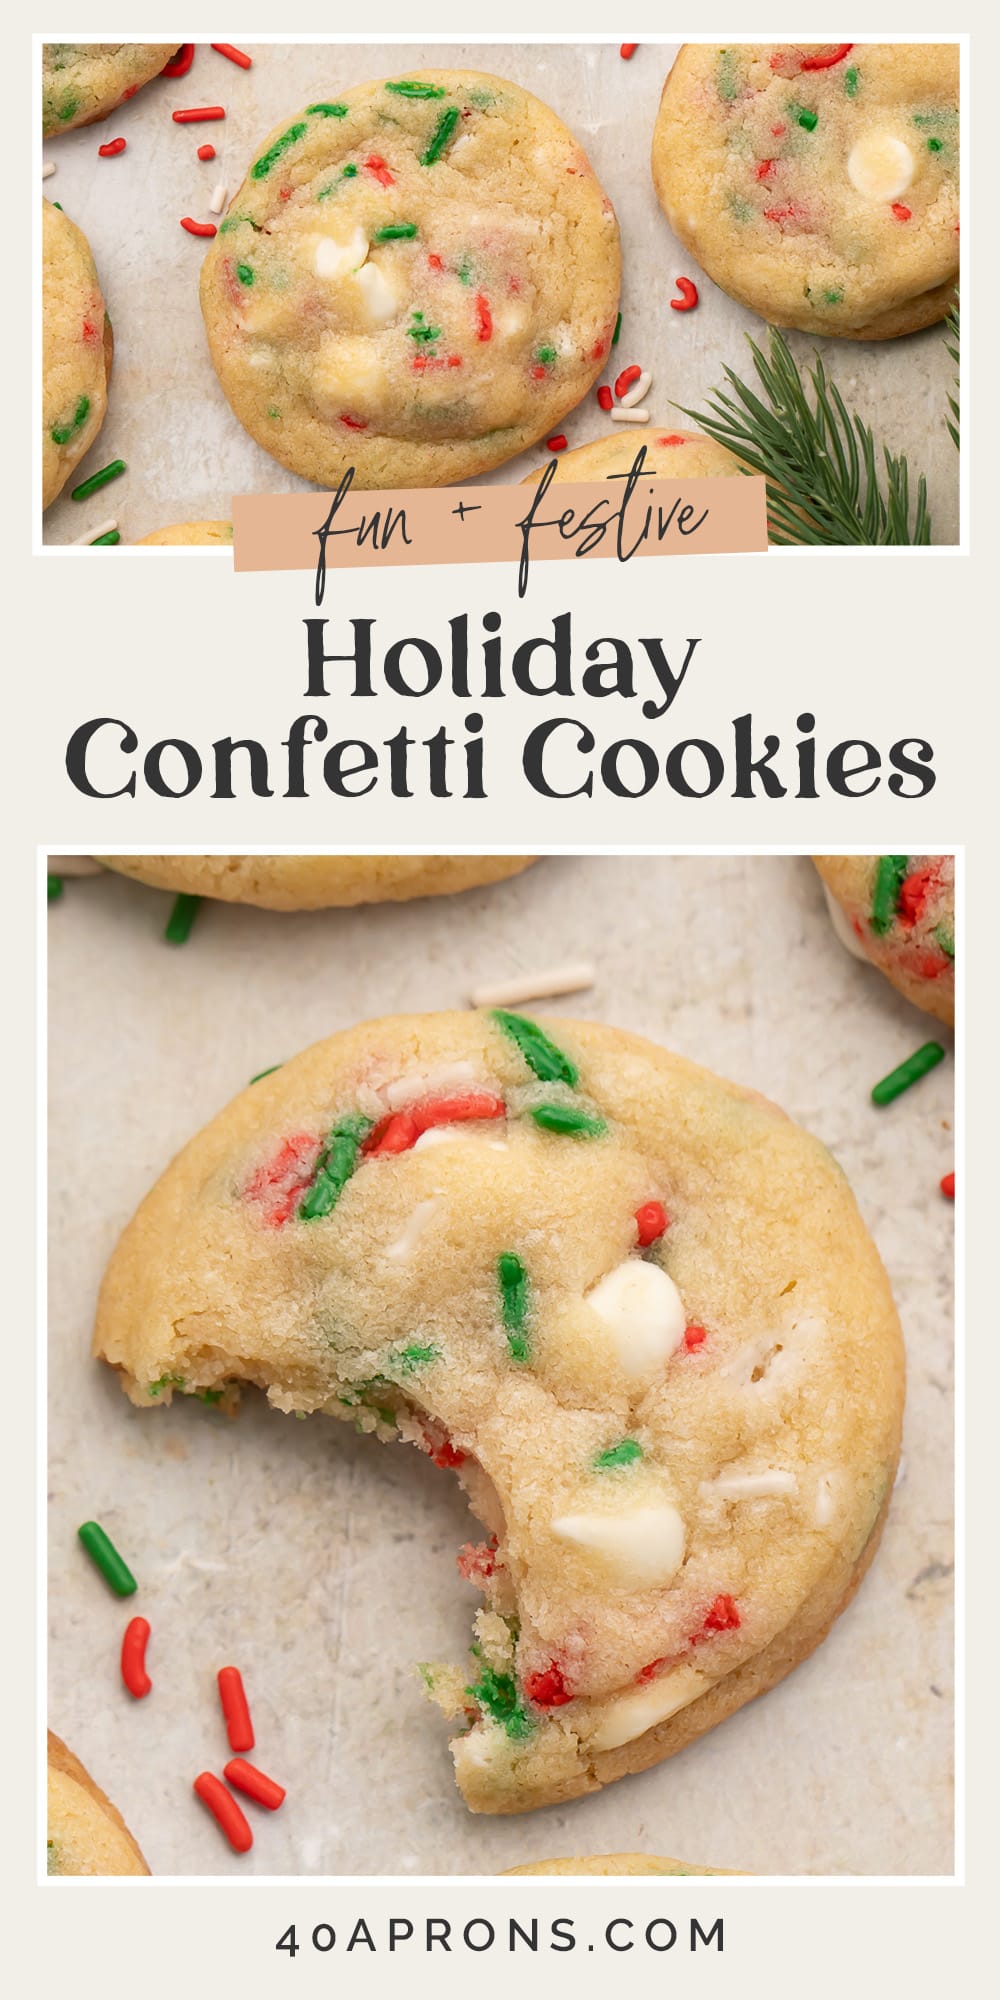

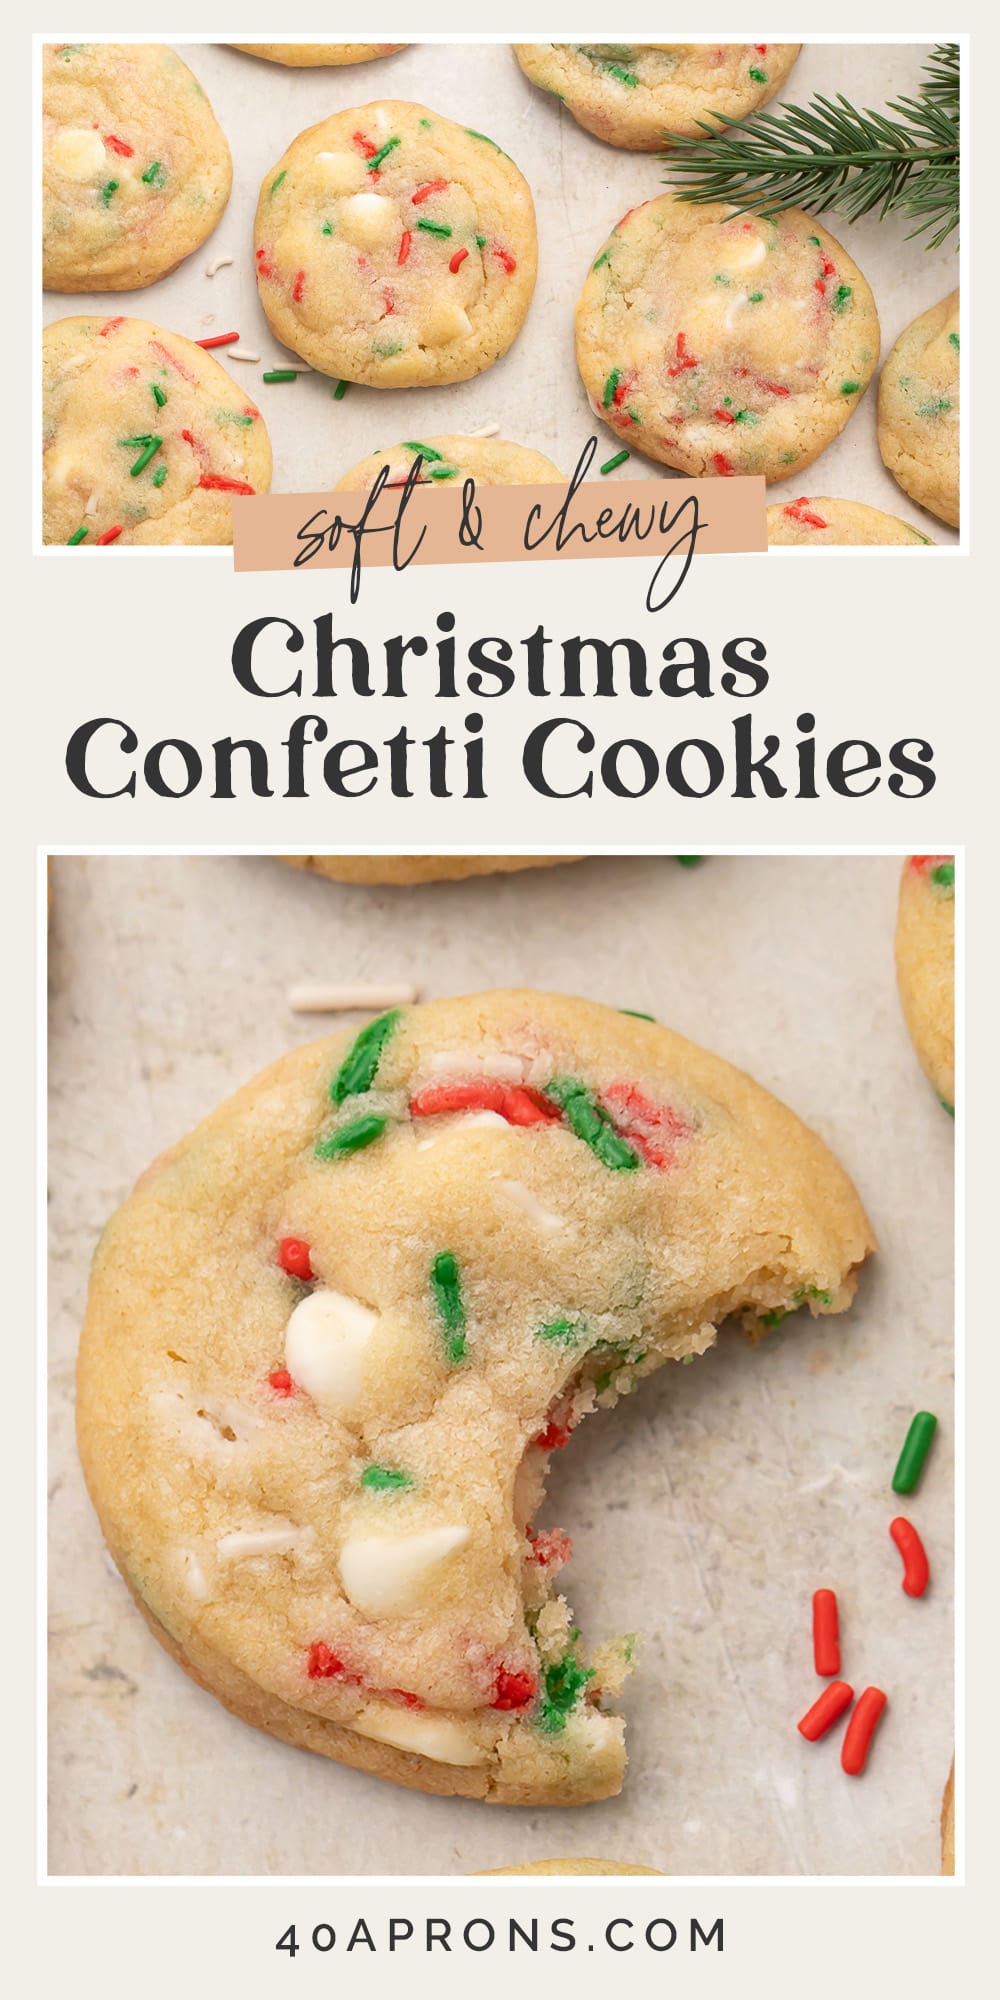
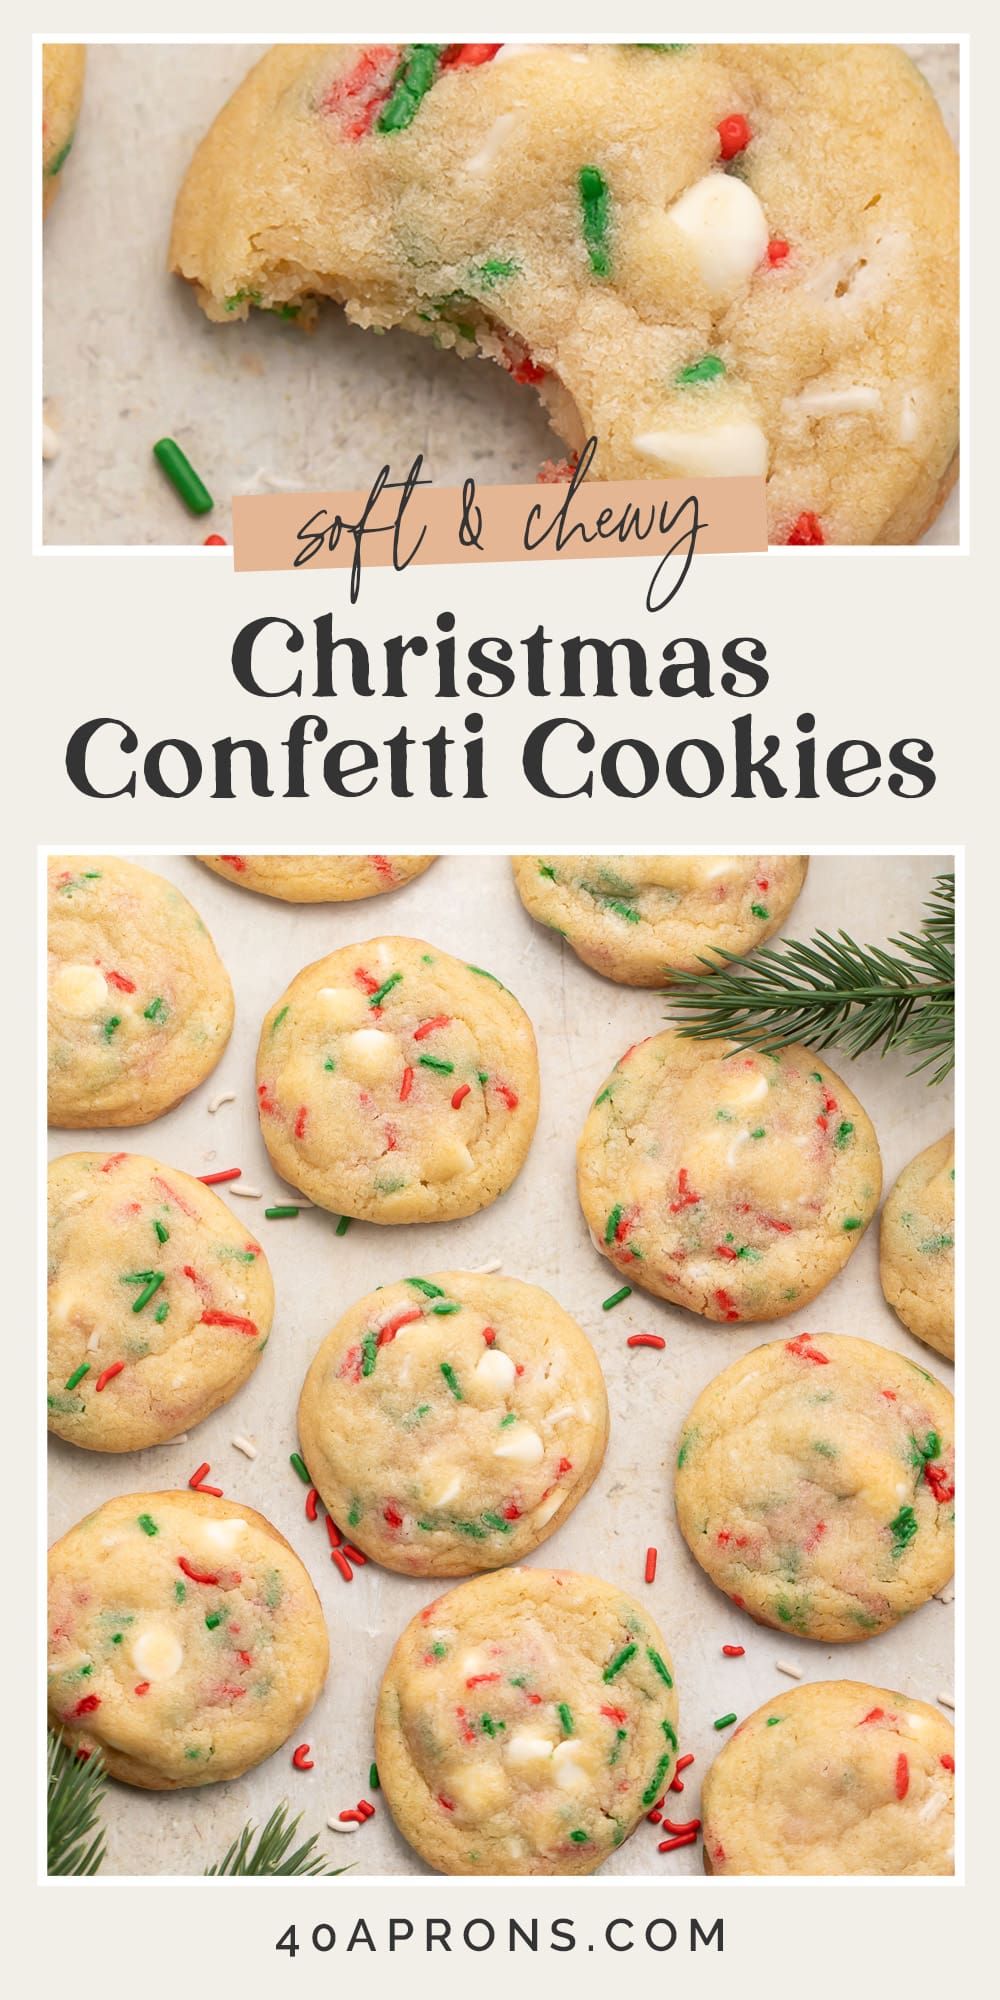


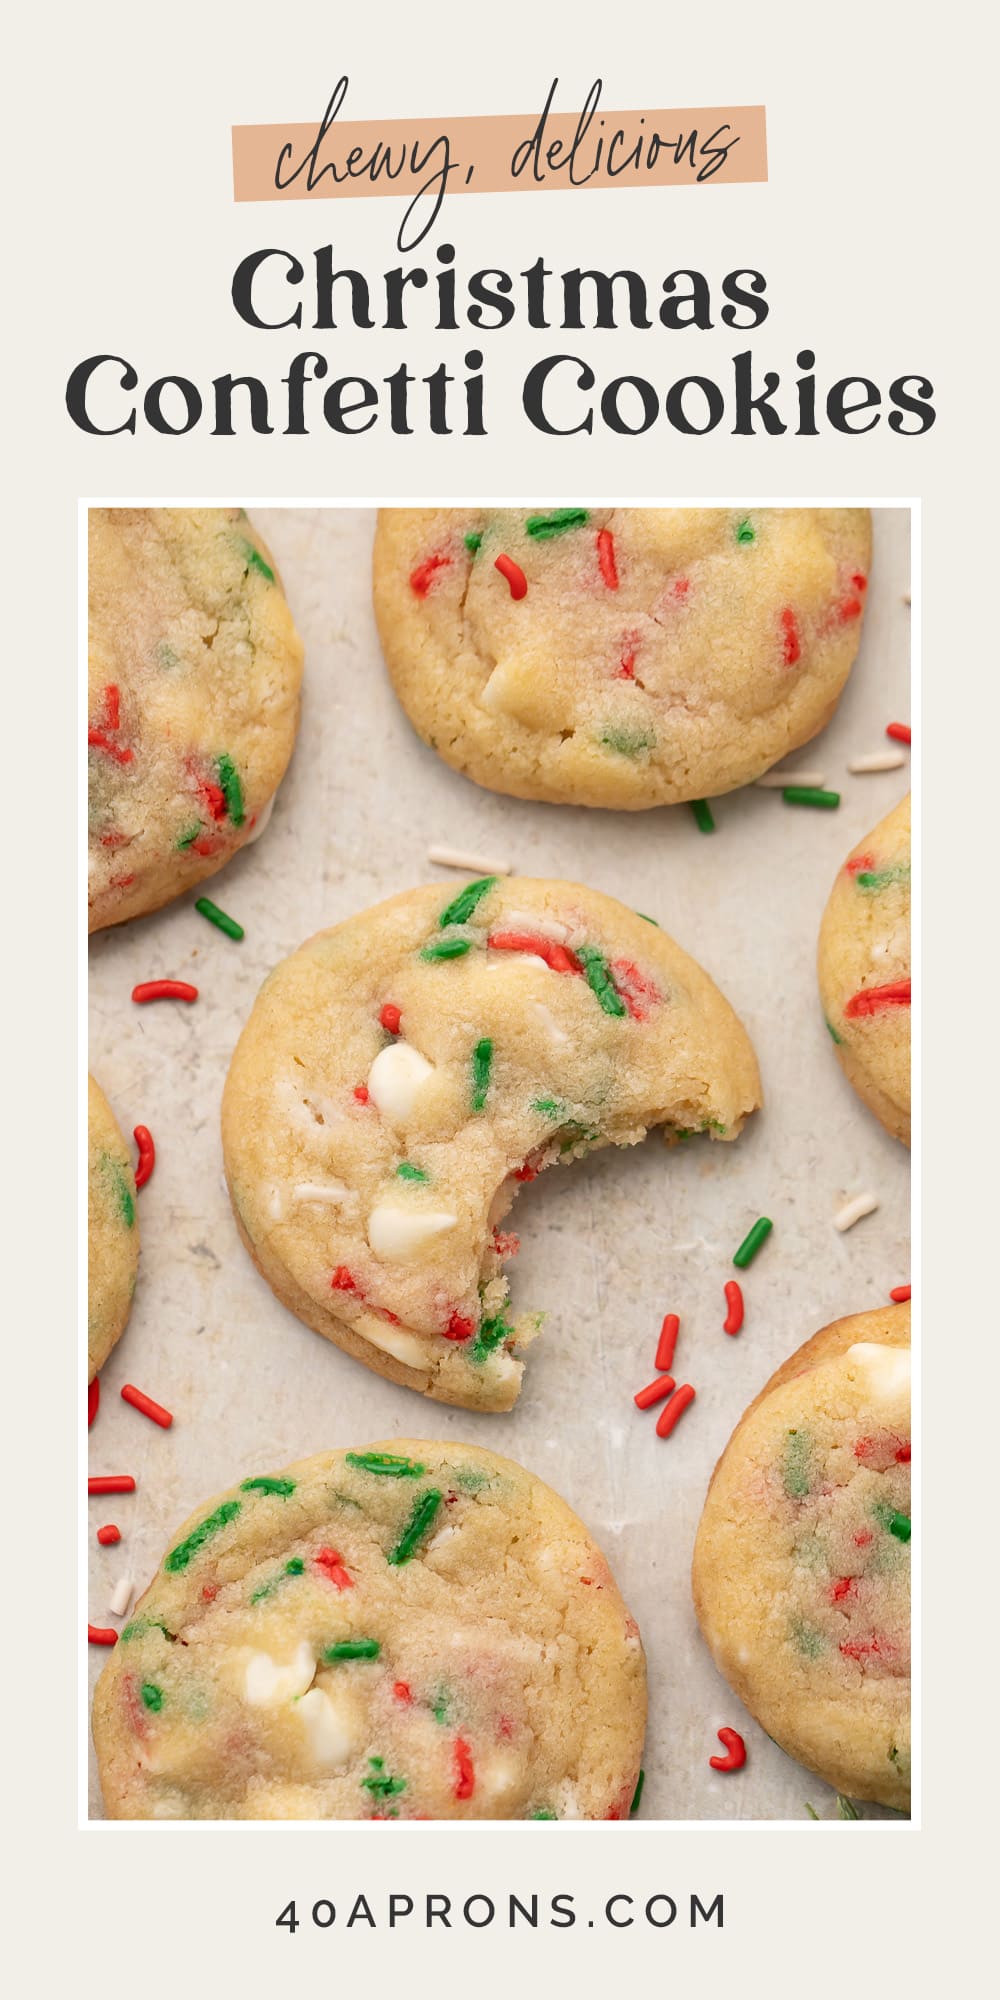
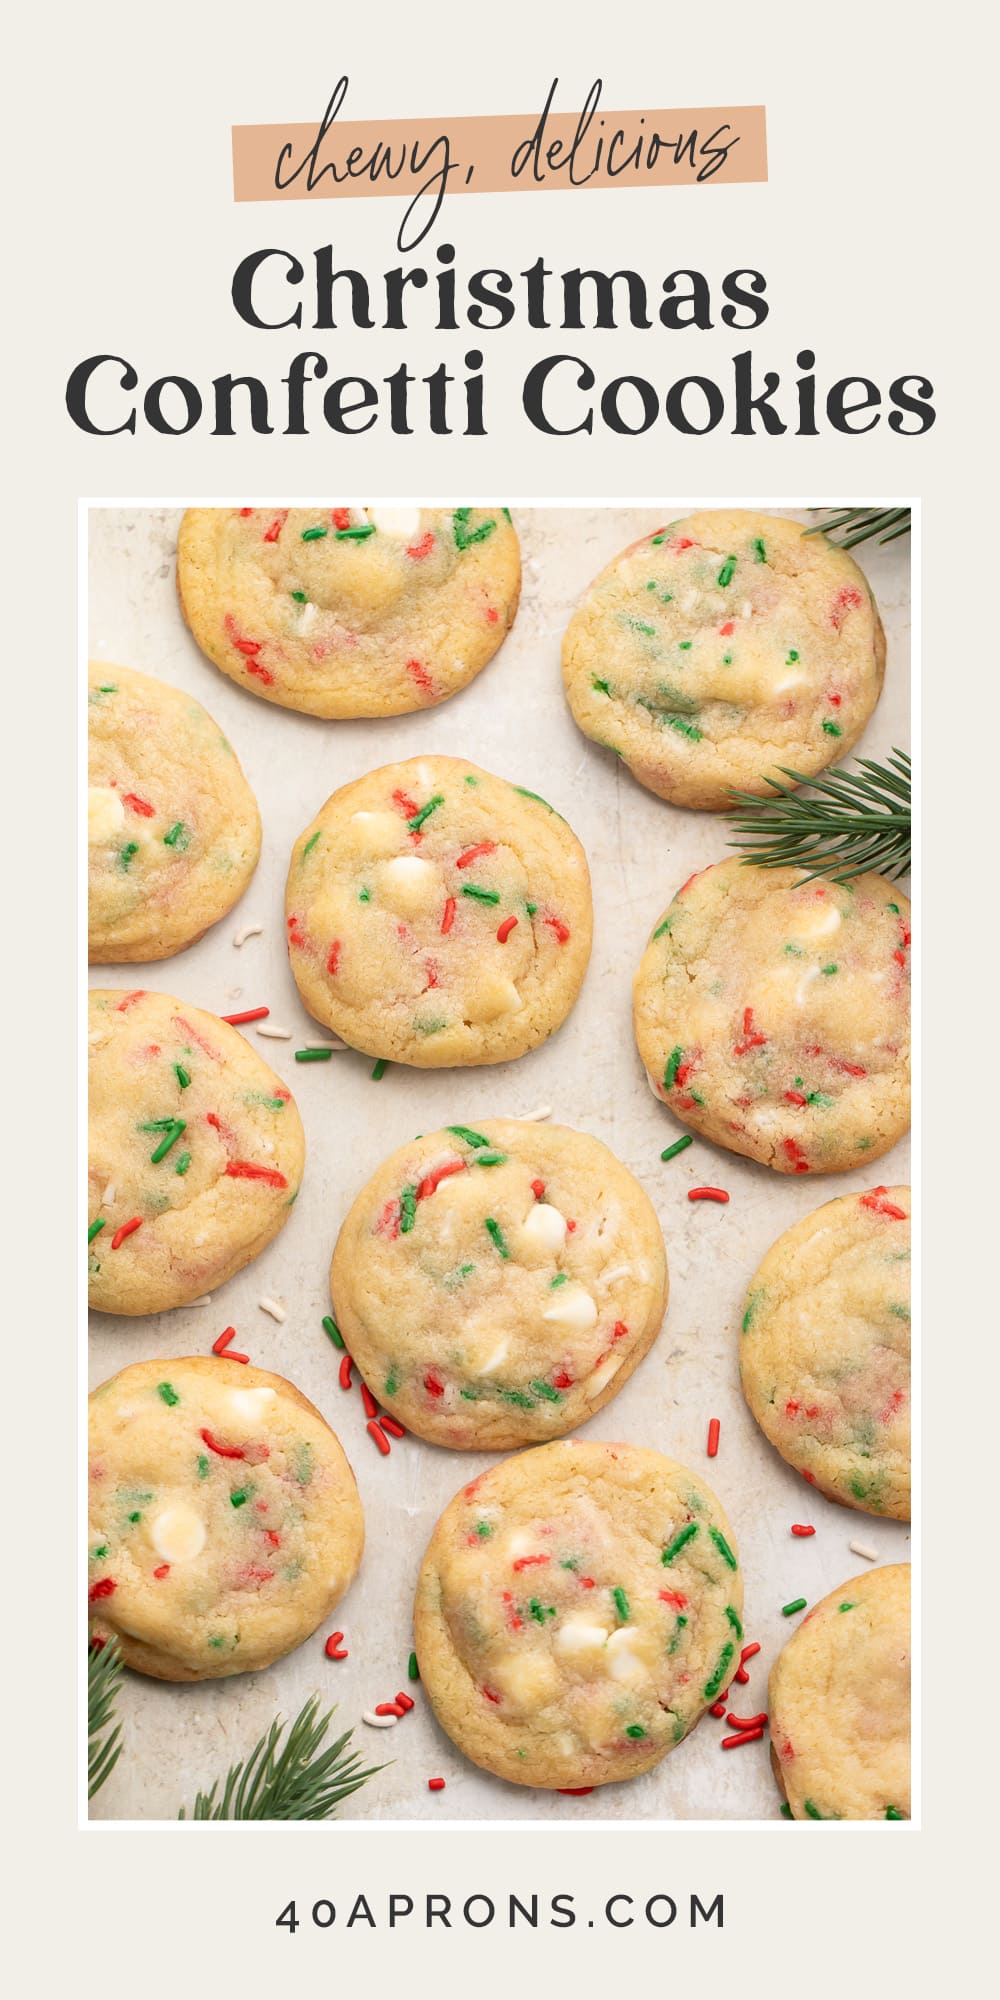
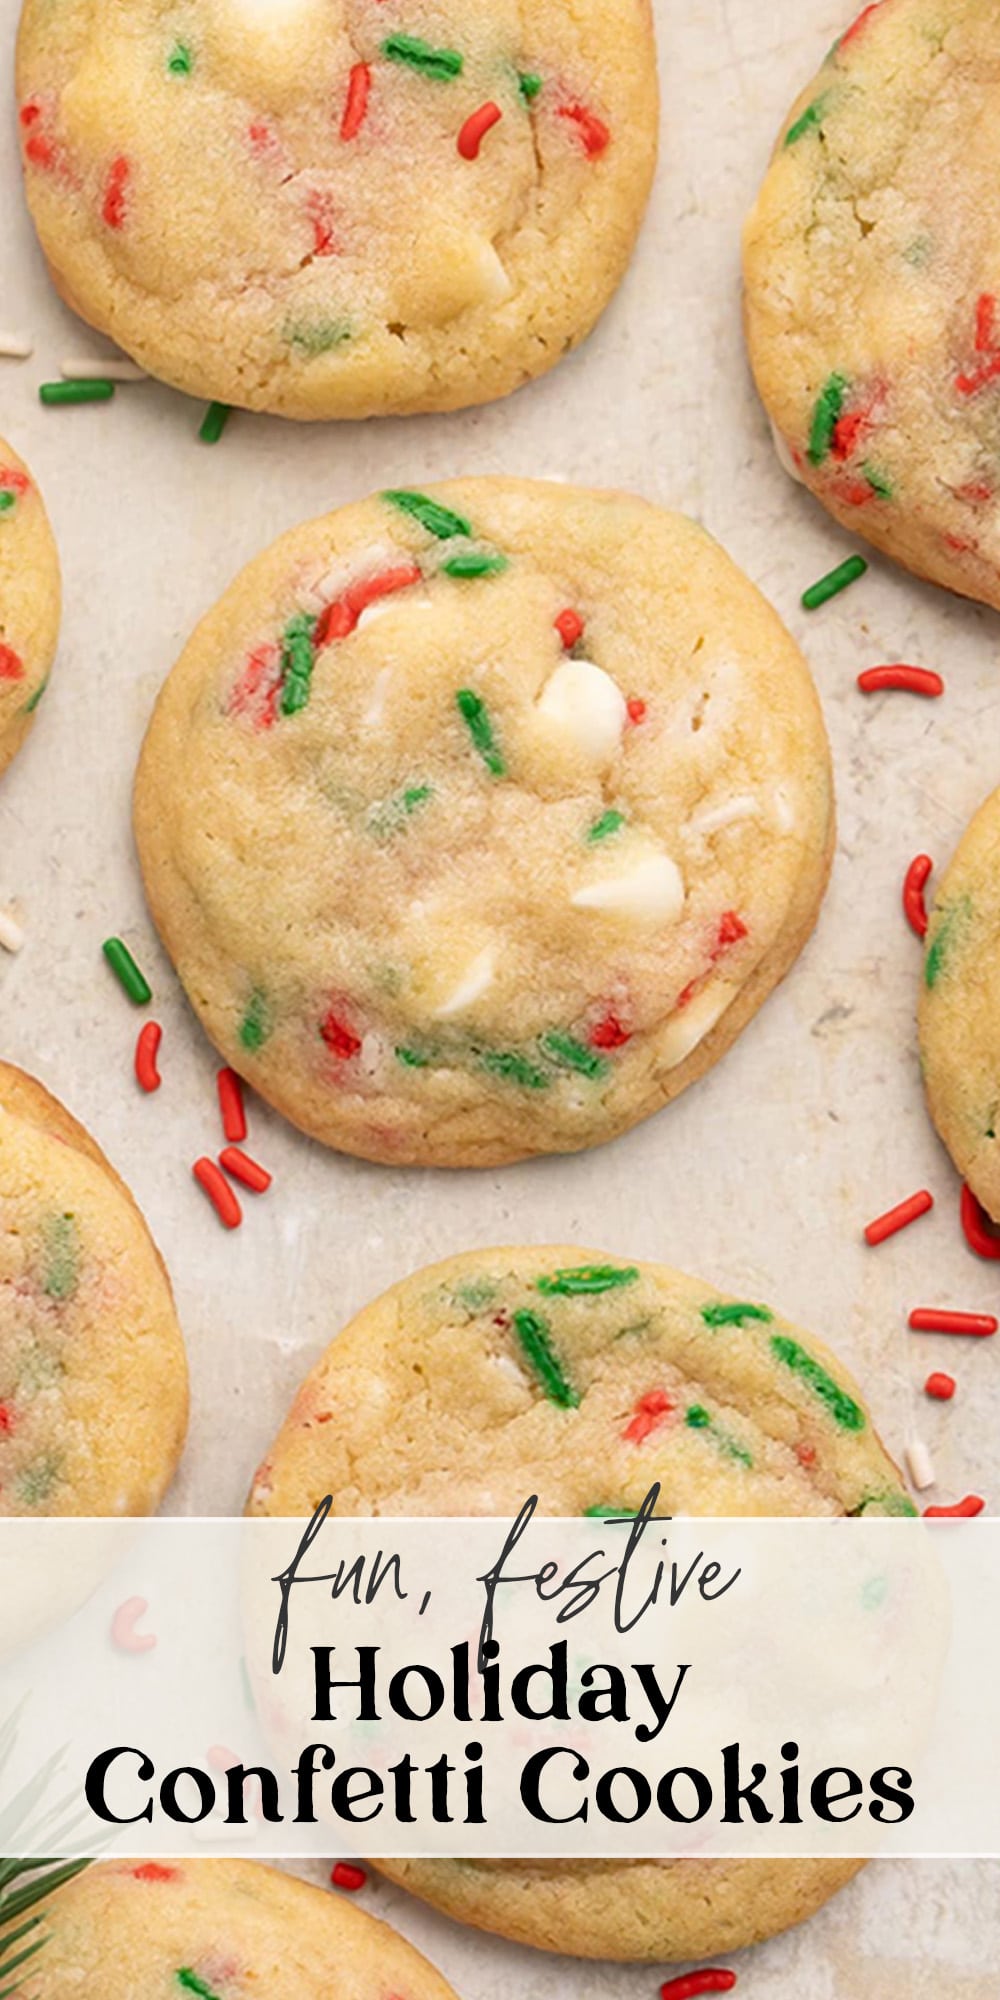
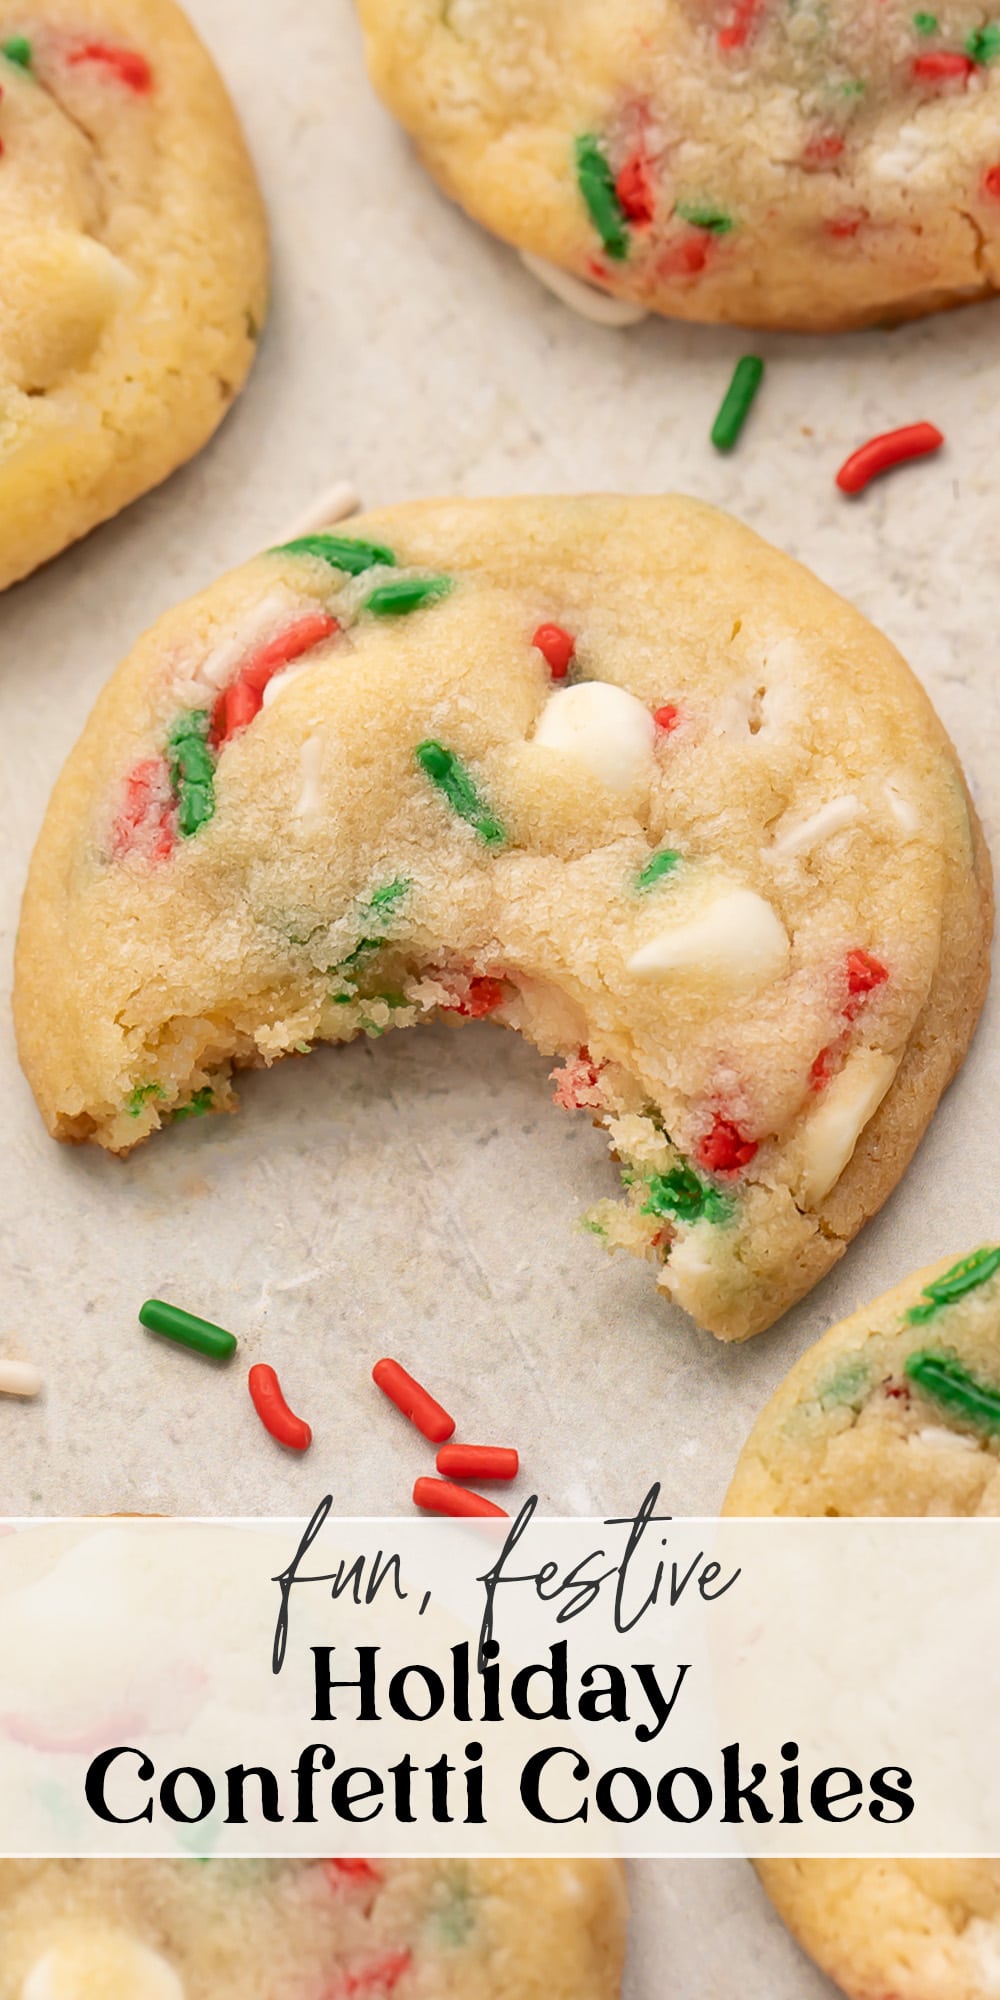
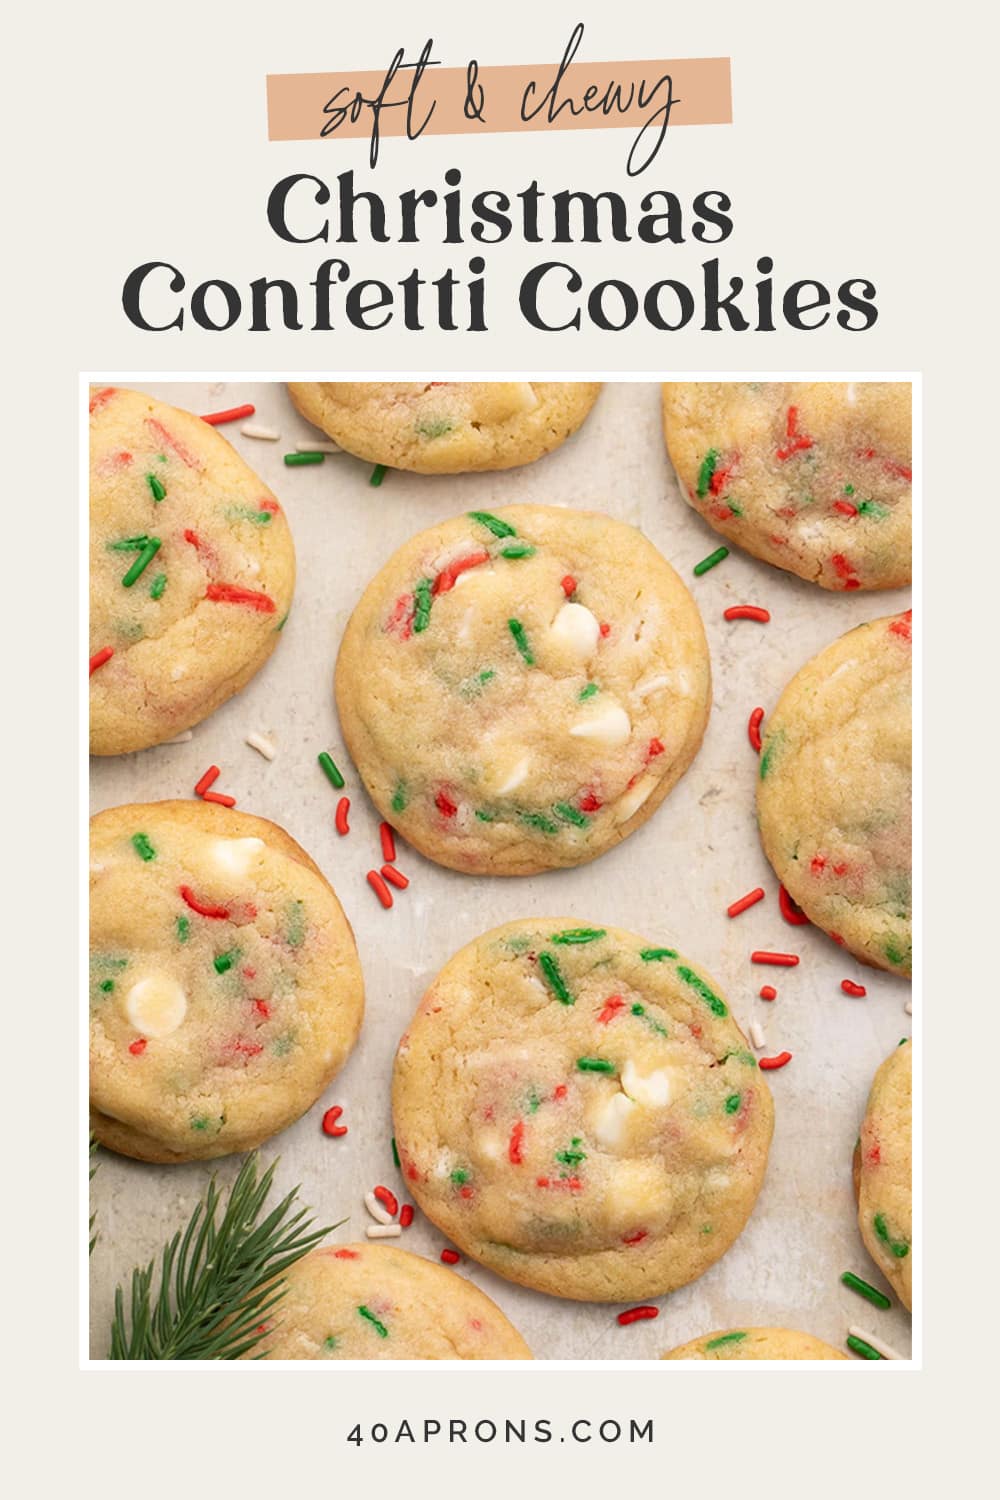
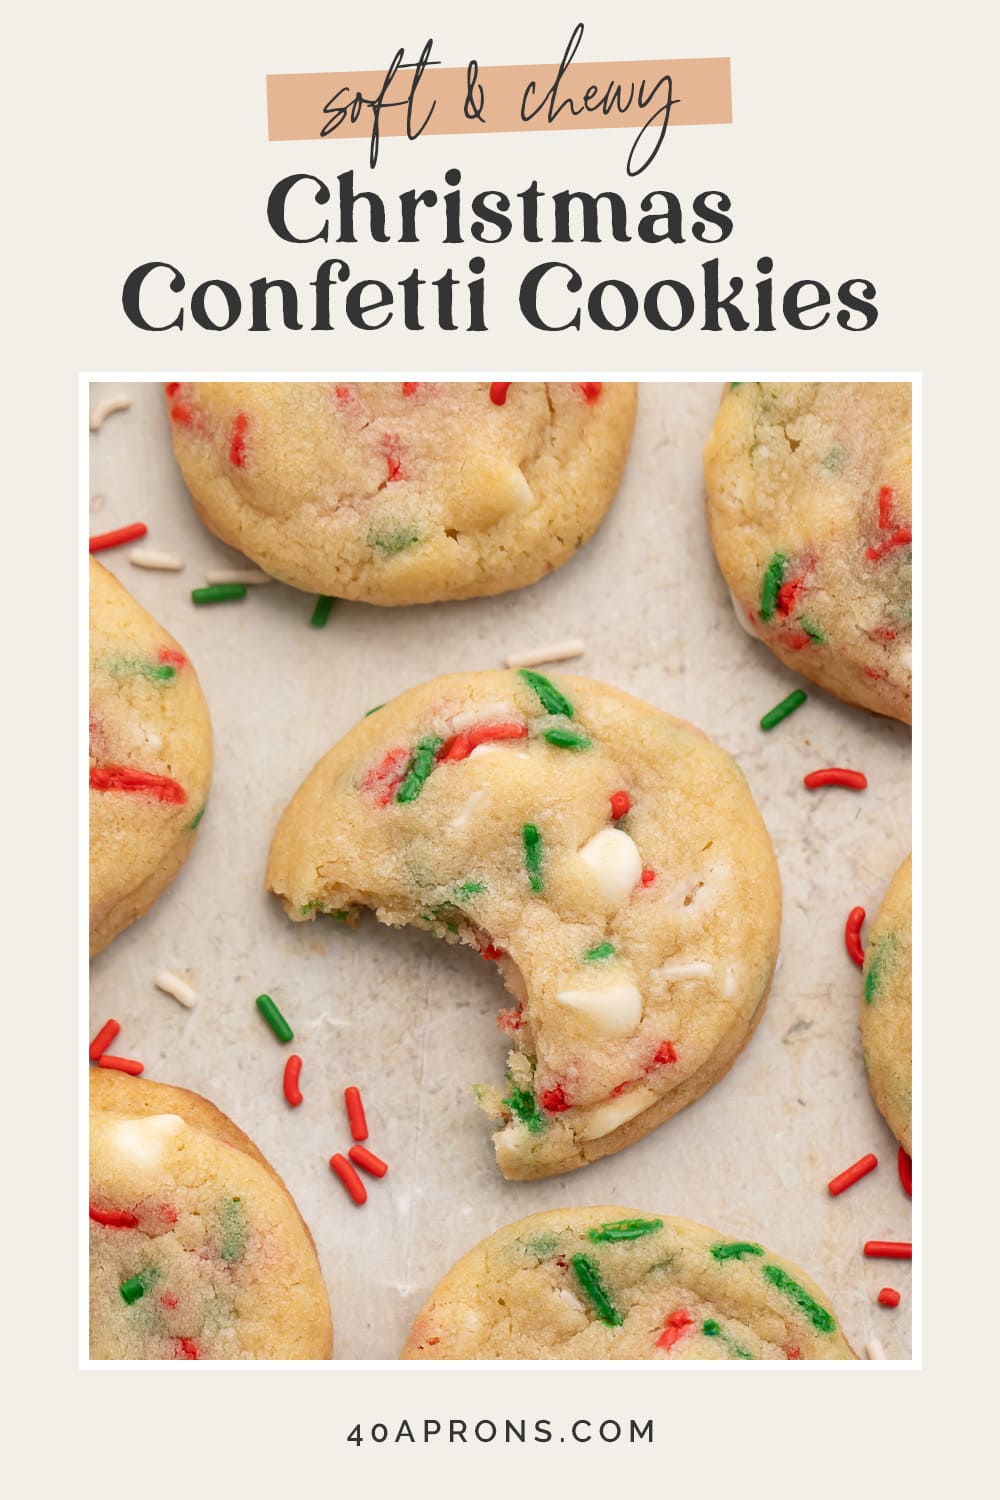
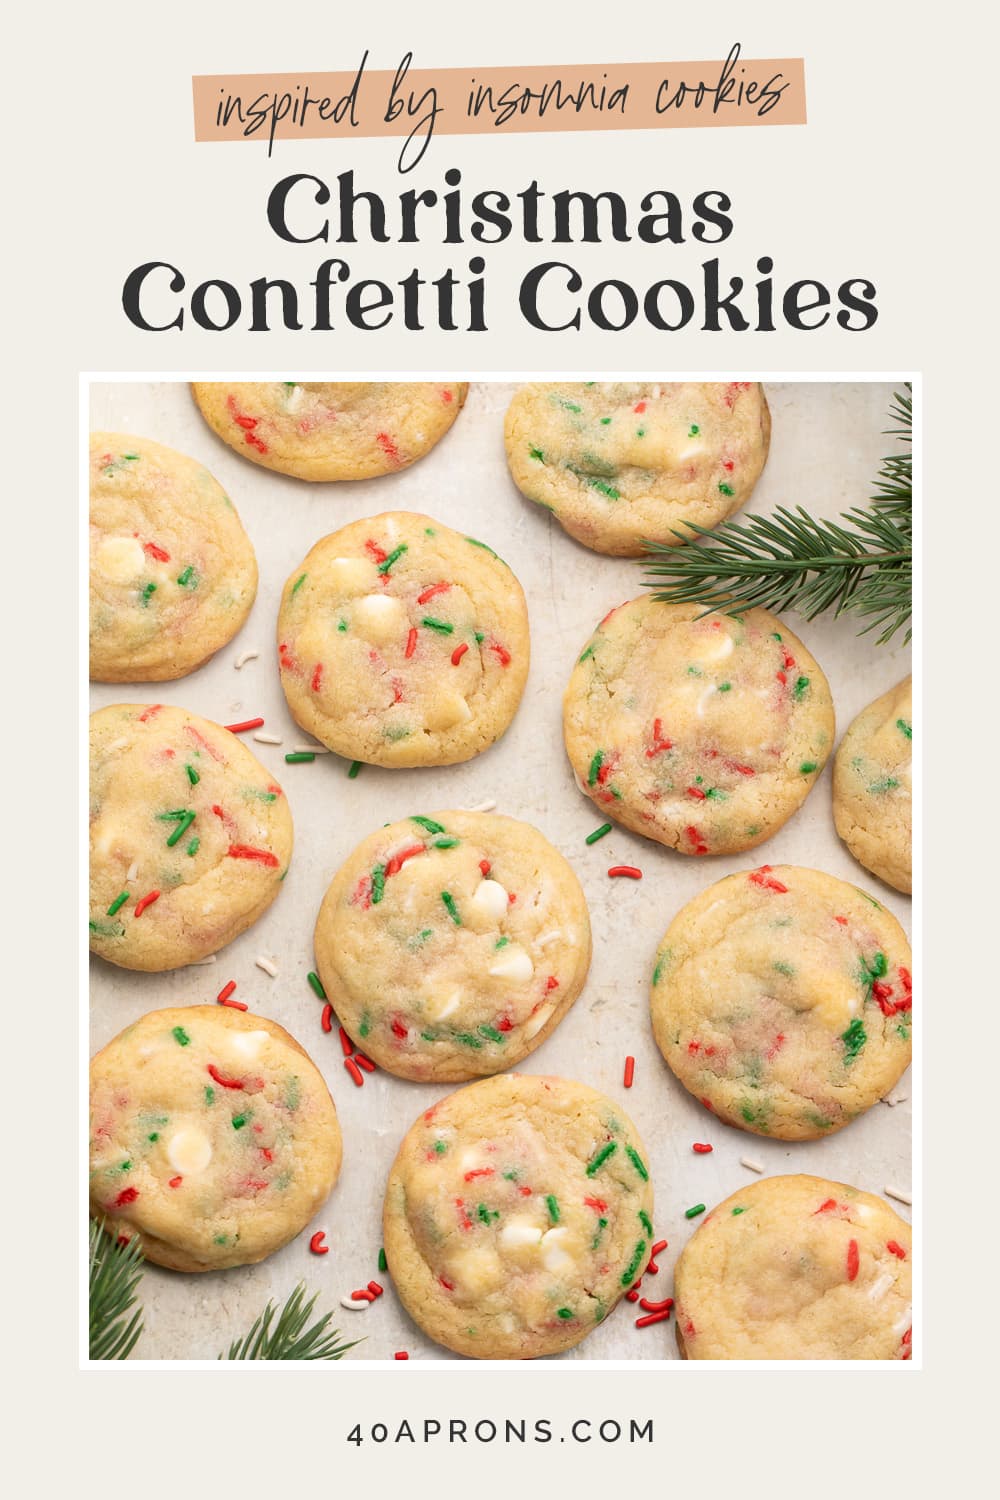

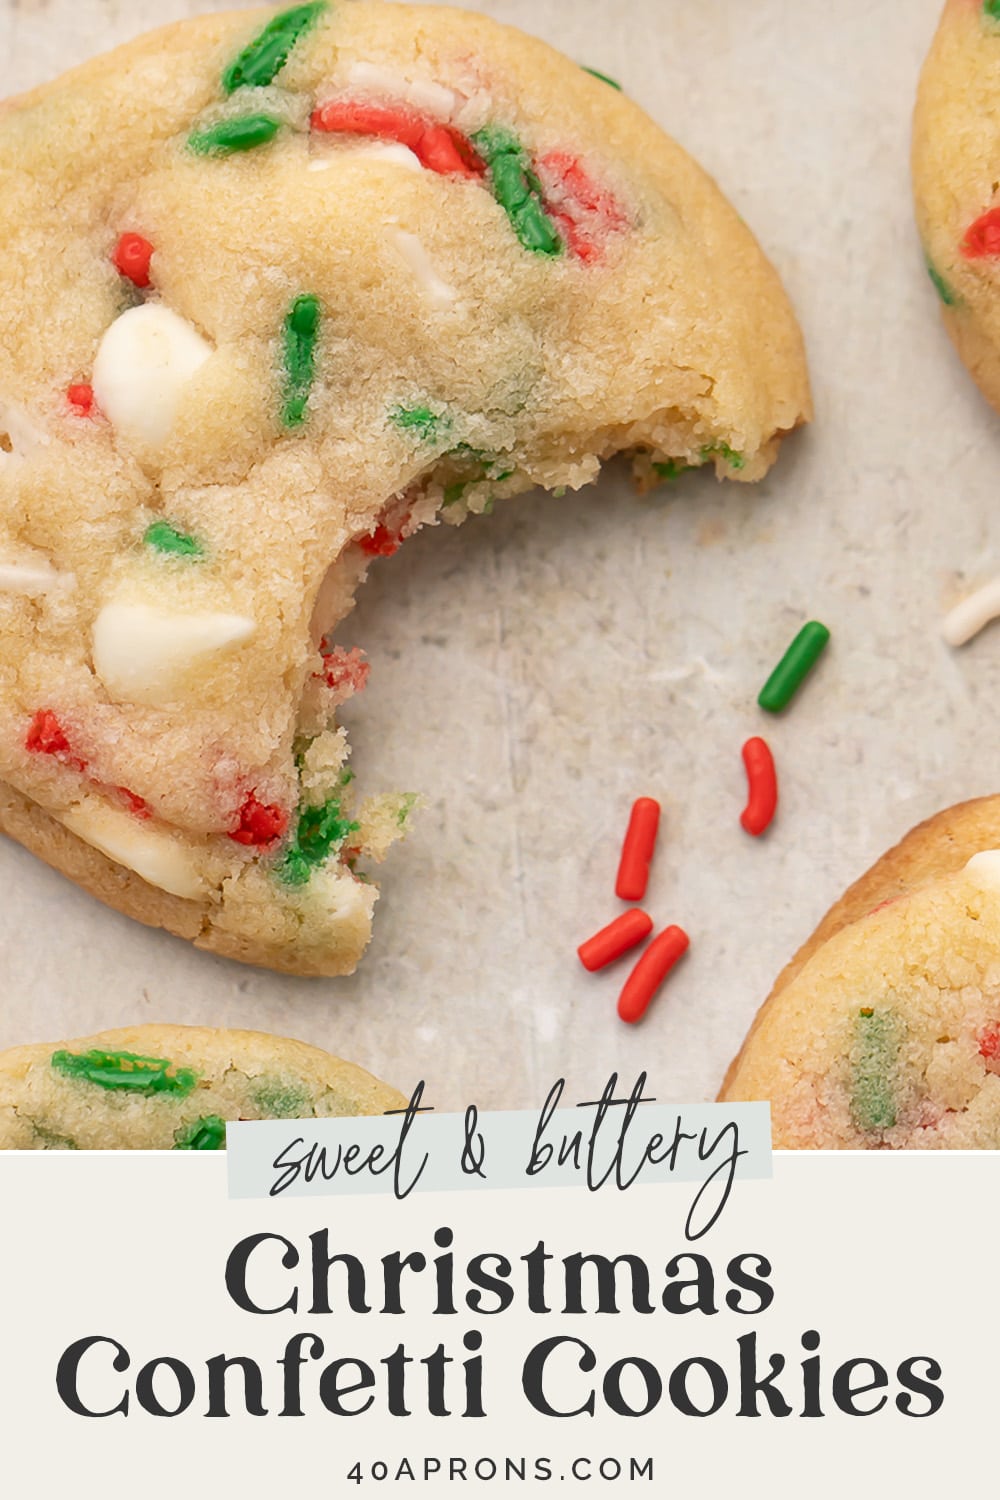

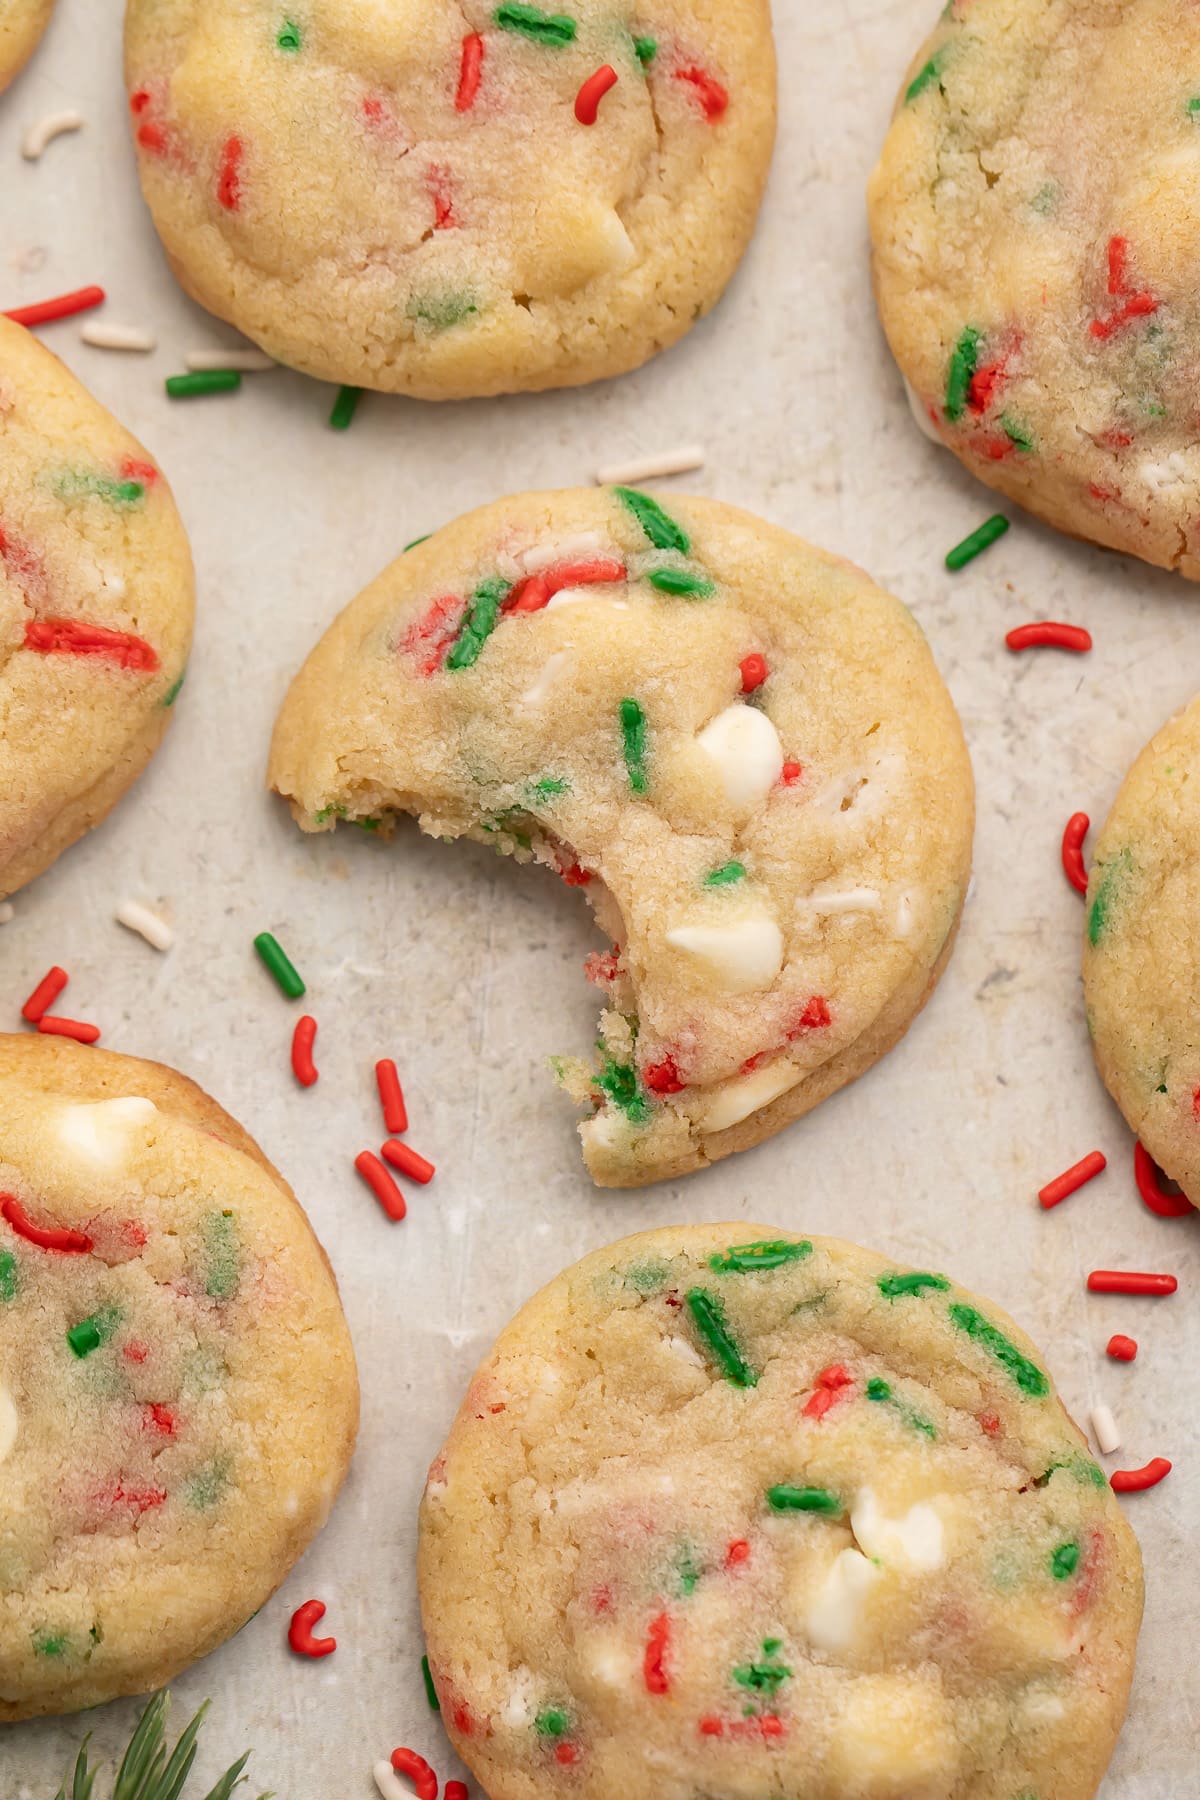
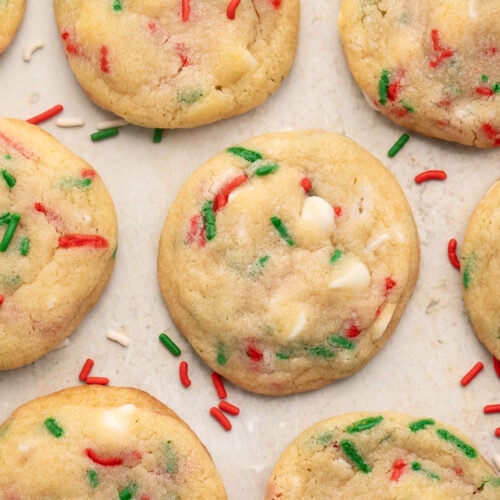
Inspired by the chewy, tender, perfectly delicious confetti cookies at Insomnia Cookies, these Christmas sprinkle cookies are soft, buttery, perfectly sweet, and loaded with festive sprinkles and white chocolate chips! Perfect with a glass of milk or hot cocoa, just imagine how generous Santa would be feeling after finding a plate of these!

🎄 What Makes This Recipe So Good
- I have a love/hate relationship with the confetti cookies from Insomnia Cookies. I love everything about them, and I hate that there’s not an Insomnia close to my house. So when it came time to develop a recipe for The Sweetest Season Cookie Exchange this year, the choice was clear. I knew exactly what I had to do. I give you: Christmas confetti cookies.
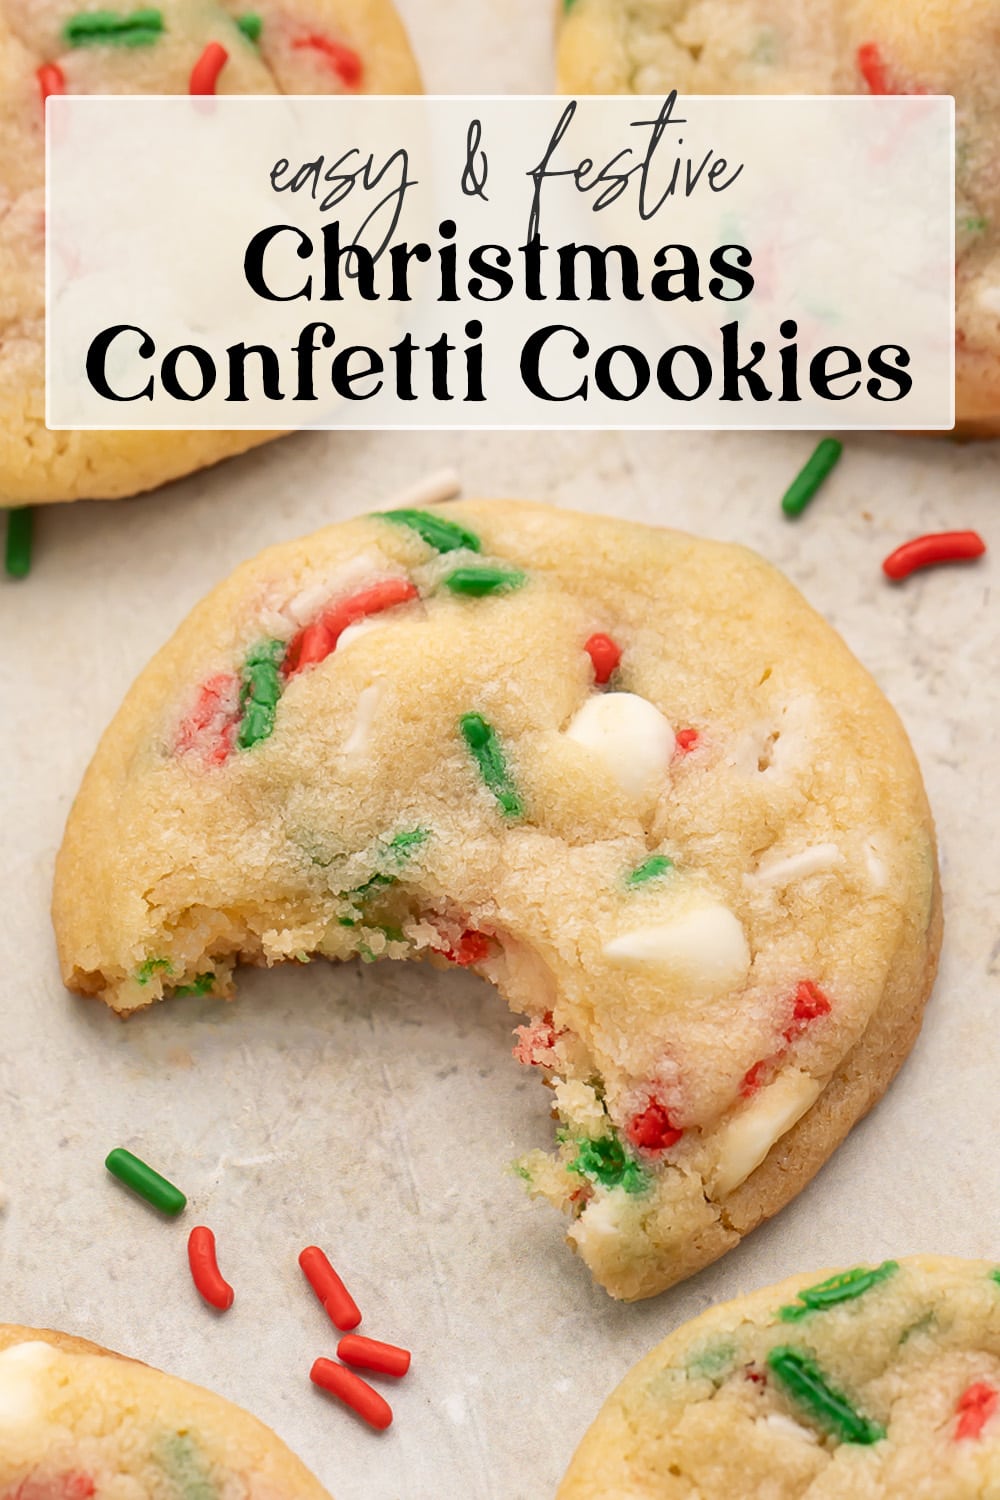
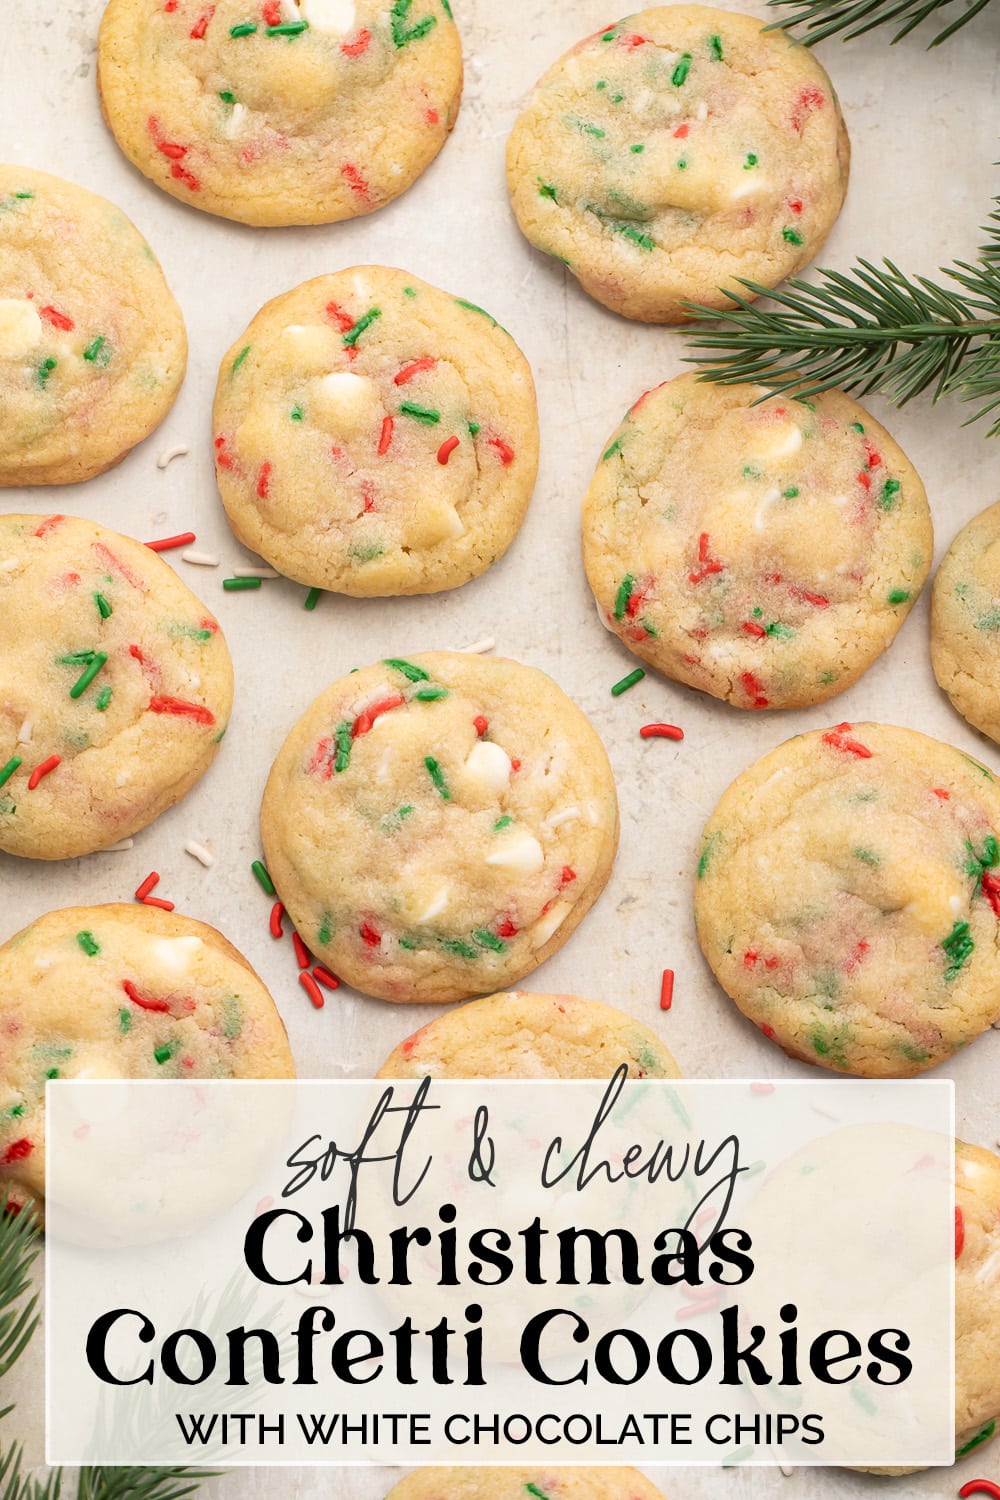
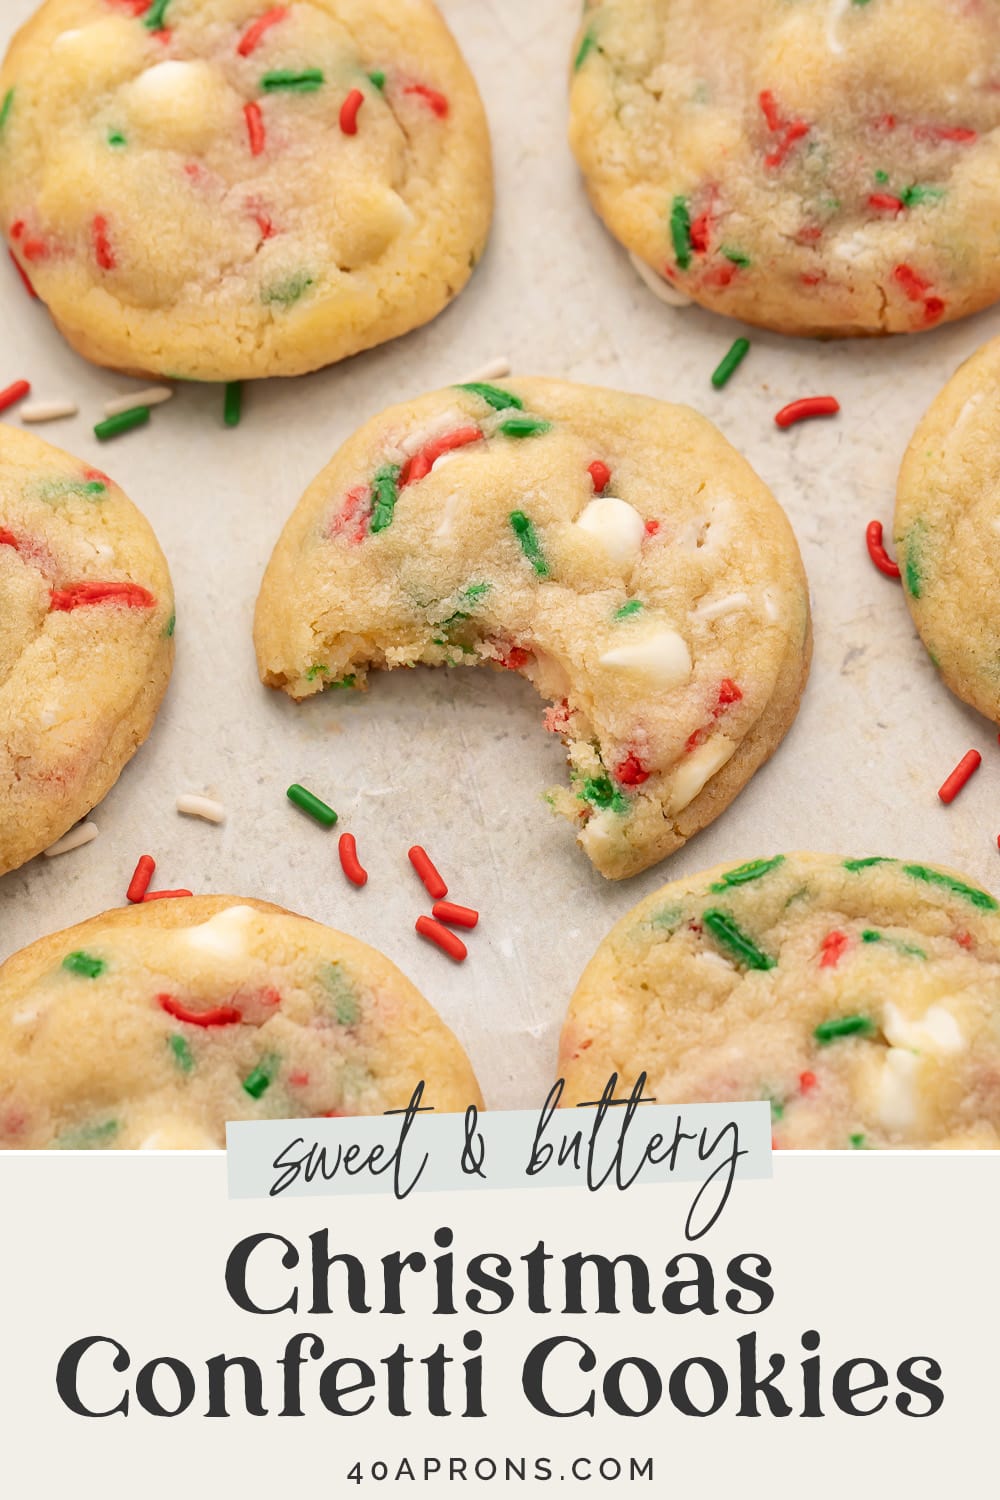
- This is a spot-on copycat recipe for Insomnia’s confetti cookies. We just swapped out the characteristic rainbow sprinkles for holiday sprinkles and the vanilla-flavored chips for white chocolate chips. Otherwise, these babies are every bit as soft, chewy, tender, buttery, and perfectly sweet as the originals!
- These are so fun and festive, they make a great holiday gift for friends, teachers, and coworkers. Bundle them up in small gift boxes or wrap a few in cello bags with seasonal ribbon – easy, cost-effective, and cute! Double check first that your recipients don’t have any food allergies or conditions that could be aggravated by the ingredients, of course.
- We made these as Christmas confetti cookies, but you can totally make them for any (or every) holiday all year long. All you have to do is change up the sprinkles! Use red and pink at Valentine’s Day. Red, white, and blue for Memorial Day and July 4th. Purple, orange, green, and black for Halloween. Pastels for Mother’s Day or Easter, or your favorite team’s colors for the big game. You can replace the white chocolate chips with vanilla chips; milk, dark, or semi-sweet chips; peanut butter chips; or even butterscotch chips if you want, too.
🍪 The Sweetest Season Cookie Exchange
This recipe is part of The Sweetest Season, an annual virtual cookie swap co-hosted by Erin of The Speckled Palate and Susannah of Feast + West. Each year, a group of food bloggers get together to during the first week of December to share new holiday cookie recipes for you to make, gift, and enjoy.
This year, The Sweetest Season is raising money for Cookies 4 Kids’ Cancer, a recognized 501(c)3 non-profit organization dedicated to funding research for new, innovative and less-toxic treatments for childhood cancer.
Since 2008, Cookies for Kids’ Cancer has granted nearly $18 million to pediatric cancer research in the form of 100+ research grants to leading pediatric cancer centers across the country. From these grants have stemmed 35+ treatments available to kids battling cancer today.
Help us raise money for this important cause! Click here to donate through our fundraising page.
Through the end of 2023, OXO will be matching every dollar raised for Cookies for Kids’ Cancer through the end of 2023, up to $100,000. Whatever money we raise will automatically double on our fundraising page!
👩🏼🍳 Chef’s Tips
- If you’re not 100% sure when to take the cookies out of the oven, it’s better to take them out a little too early than too late. The residual heat will keep them baking as they rest. If you take them out of the oven too late, it’s very likely they’ll be overbaked by the time you eat them. Christmas confetti cookies are intended to be tender, soft, and chewy, not hard or crunchy. The centers will most likely look underdone when you take the pan out of the oven.
- Make sure your butter and egg are at room temperature before you start on your cookie dough! If they’re cold, they won’t incorporate as well or as quickly, which increases the odds that you’ll overmix your dough.
- Looking for freezer-friendly Christmas confetti cookies? You’re in the right place! In fact, you’ve got two freezer options with this recipe!
- Option 1: Frozen Cookie Dough. Make the recipe as directed below, through step 8. Instead of putting the cookie sheet of dough balls in the oven, put it in the freezer. After an hour, you can transfer the frozen dough balls to a food-safe sealable freezer bag and keep them in the freezer up to 3 months. Defrost the cookie dough in the fridge overnight before baking.
- Option 2: Fully-Baked Cookies. Make the recipe all the way through as written below. Let the baked cookies cool completely, then lay them out on a baking sheet, making sure they don’t overlap. Put the baking sheet in the freezer for at least 30 minutes! After that, you can transfer them to an airtight container or food-safe sealable freezer bag without them sticking together. Keep them frozen up to 3 months, and reheat them in the oven before serving.
🧁 Bake Up a Storm for the Holidays!
- Keto Peppermint Layer Brownies
- Fluffy Gluten-Free Gingerbread
- Keto Creme Brûlée
- Christmas Dessert Grazing Board
- Easy 4-Ingredient Cranberry White Chocolate Cookie Bars
- Oatmeal Cranberry Cookies
- Gluten-Free Gingerbread Cookies
- Easy Cranberry Cake with White Chocolate Cream Cheese Frosting
- Cranberry Bliss Bars
- Gluten-Free Christmas Cookies with Homemade Icing
- Bacon Cookie Butter Cookies
Christmas Confetti Cookies
Equipment
- Oven
- large cookie sheet
- parchment paper or silicone baking mat
- stand mixer bowl or large mixing bowl
- stand mixer or hand mixer
- flat beater attachment for stand mixer or beater attachments for hand mixer
- Silicone spatula
- large metal spoon or large wooden spoon
- #60 (1 tablespoon) cookie scoop or #40 (2 tablespoons) cookie scoop
- Spatula
- wire cooling rack
Ingredients
For the Christmas Confetti Cookies
- 1 cup unsalted butter at room temperature
- 1 ¼ cups granulated sugar
- 1 large egg at room temperature
- 2 tablespoons light corn syrup
- 1 teaspoon pure vanilla extract
- ½ teaspoon butter emulsion or butter extract
- 2 ½ cups all-purpose flour spooned and leveled, see Notes
- ½ teaspoon fresh baking soda
- ½ teaspoon salt
- ½ cup holiday sprinkles
- ½ cup white chocolate chips
Instructions
- Preheat oven to 350° Fahrenheit. Position oven rack in middle of oven. Line cookie sheet with parchment paper or silicone baking mat and set aside.
- Add 1 cup unsalted butter and 1 ¼ cups granulated sugar to stand mixer bowl. Set mixer to medium speed and cream ingredients together 1 to 2 minutes or until mixture is fluffy, smooth, and very pale in color. Pause mixer as needed and scrape down sides of bowl with silicone spatula to ensure entire mixture is well-blended. Be careful not to over-mix.
- When mixture is fluffy and pale, pause mixer. Crack 1 large egg directly into mixing bowl, then add 2 tablespoons light corn syrup, 1 teaspoon pure vanilla extract, and ½ teaspoon butter emulsion. Mix ingredients together on medium speed until just combined.
- Once combined, pause mixer. Add 2 ½ cups all-purpose flour, ½ teaspoon fresh baking soda, and ½ teaspoon salt to mixing bowl and mix on medium speed until dough forms.
- When dough has formed, remove bowl from stand mixer. Add ½ cup holiday sprinkles and ½ cup white chocolate chips to bowl and use large metal spoon to mix until sprinkles and chocolate chips are just incorporated. Be careful not to overmix.
- Once all ingredients are fully incorporated, use cookie scoop to portion dough into 2-tablespoon scoops (2 scoops total from #60 cookie scoop or 1 scoop total from #40 cookie scoop).
- Roll each scoop of dough between palms of hands to form into smooth ball, then place ball of dough on prepared cookie sheet.
- Repeat with remaining cookie dough until all dough has been rolled into dough balls and transferred to cookie sheet. Leave approximately 2 inches of space between dough balls to allow for dough to spread during baking.
- Place baking sheet in preheated oven. Bake cookies 6 minutes, then begin checking doneness. Continue baking as needed, checking often, until cookies have flattened and edges are just lightly golden brown. See Notes below.
- Once edges of cookies begin to turn lightly golden brown, carefully remove cookie sheet from oven and set aside. Let cookies rest on cookie sheet 5 minutes.
- After 5 minutes, carefully remove cookies from cookie sheet with spatula. Transfer cookies to wire cooling rack(s) and let cookies cool completely. Serve as desired.
- Butter: If you’re using salted butter, omit the ½ teaspoon salt to accommodate.
- Butter Emulsion/Extract: If you can’t find butter emulsion or extract at your grocery store, check the baking section in crafts stores like Michaels or Hobby Lobby. When I developed this recipe, I used butter emulsion from Michaels.
- Spoon and Level Method: To get a more-accurate flour measurement, don’t use your measuring cup to scoop the flour out of the bag or box that it’s in. Instead, use a spoon to scoop flour out of the container and transfer it into the measuring cup. Don’t pack the flour! Once the cup is filled, drag the flat edge of a knife across the top of the measuring cup to level the flour.
- Bake Time: Exact bake times will vary due to a number of factors. I recommend not baking the cookies for more than 10 minutes total since they’ll continue to bake and set up after being removed from the oven. Depending on your oven, sheet pan, and kitchen, though, you may need to extend that bake time by 1-2 minutes.
- Storage: Once the fully-baked cookies have cooled completely, transfer them to an airtight container. Store them at room temperature up to 4 days.
- Freezer Storage: Place the fully-baked and completely-cooled cookies on a baking sheet in one flat layer, then place the baking sheet in the freezer. Let the cookies set up for 30 minutes, then remove them from the freezer and transfer them to an airtight container or a food-safe sealable freezer bag. Return the cookies to the freezer and keep frozen up to 3 months.
- Reheating Frozen Cookies: Remove the desired number of cookies from the freezer and place them on a baking sheet. Bake the frozen cookies at 325° Fahrenheit for 5 minutes or until warmed-through, then serve and enjoy.
Approximate Information for One Serving
Nutrition Disclaimers
Number of total servings shown is approximate. Actual number of servings will depend on your preferred portion sizes.
Nutritional values shown are general guidelines and reflect information for 1 serving using the ingredients listed, not including any optional ingredients. Actual macros may vary slightly depending on specific brands and types of ingredients used.
To determine the weight of one serving, prepare the recipe as instructed. Weigh the finished recipe, then divide the weight of the finished recipe (not including the weight of the container the food is in) by the desired number of servings. Result will be the weight of one serving.
Did You Make This Recipe?
Tag @40aprons on Instagram and be sure to leave a review on the blog post!
Never Miss A Meal!
New Recipes Straight To Your Inbox
A curated selection of our most recent recipes, delivered straight to your inbox once a week.


These were AMAZING and so easy!!! I used dye-free sprinkles for my daughter and they turned out amazing.😊
We’re so glad they were a hit! Thanks for sharing, Tessa!
Okay, I am obsessed with sprinkles and I need more ways to use them. I cannot wait to try making this super fun cookie recipe. Thank you for being a part of The Sweetest Season this year, Cheryl.
Thank you so much for including us! ❤️
So perfectly festive! We love the texture on these cookies.
Soft & chewy cookies are the best – no one can change my mind! Haha thank you so much for your review, Megan!