
This Post May Contain Affiliate Links. Please Read Our Disclosure Policy.
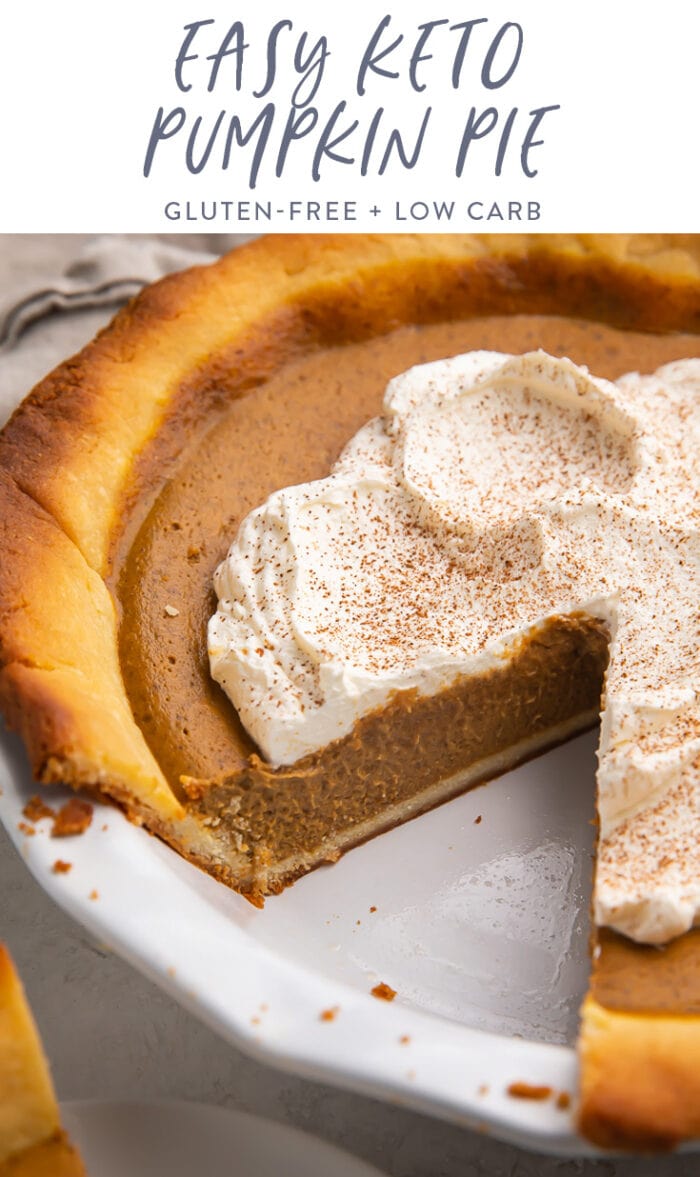
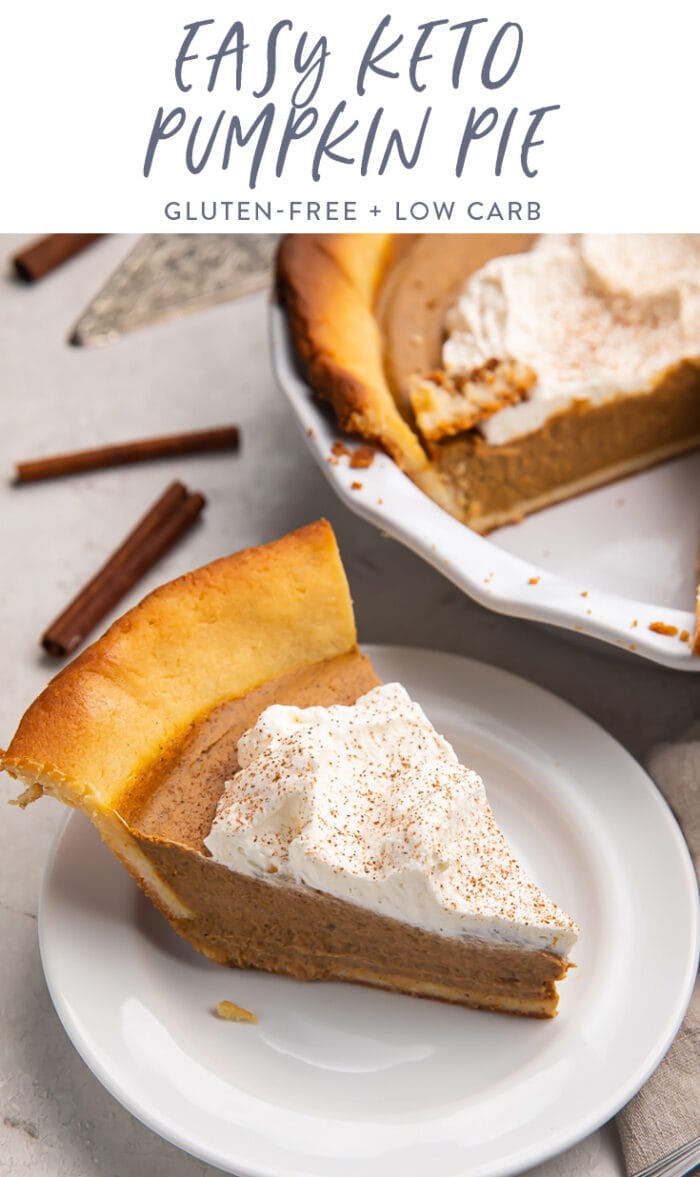
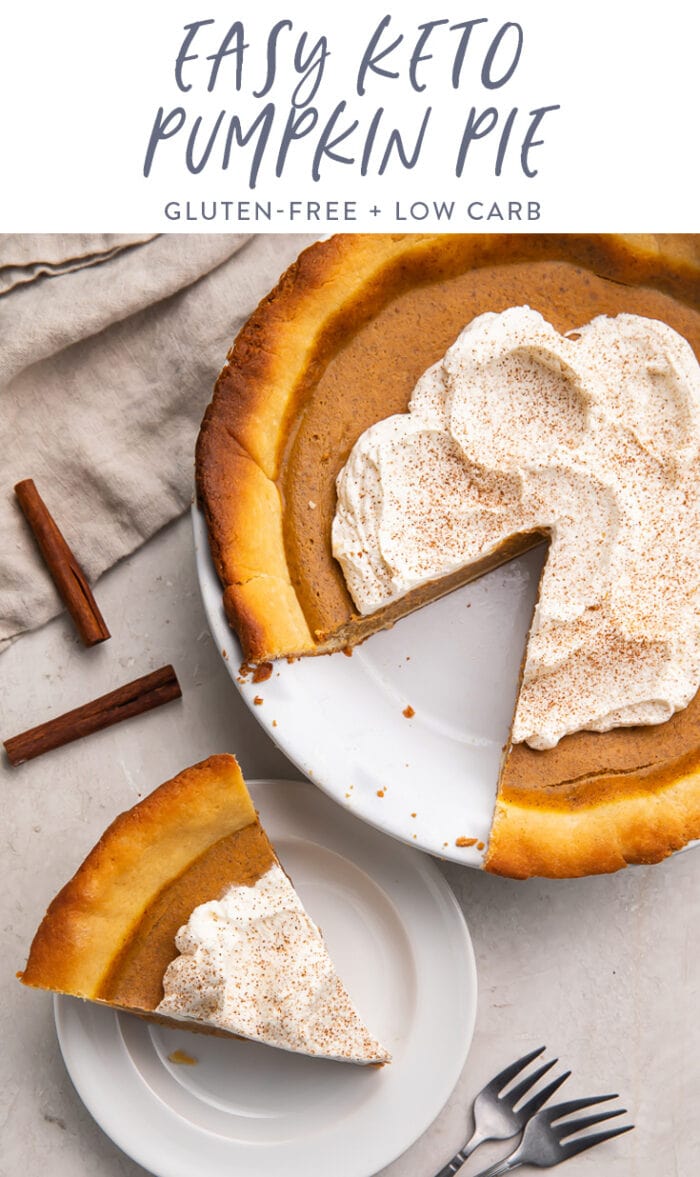
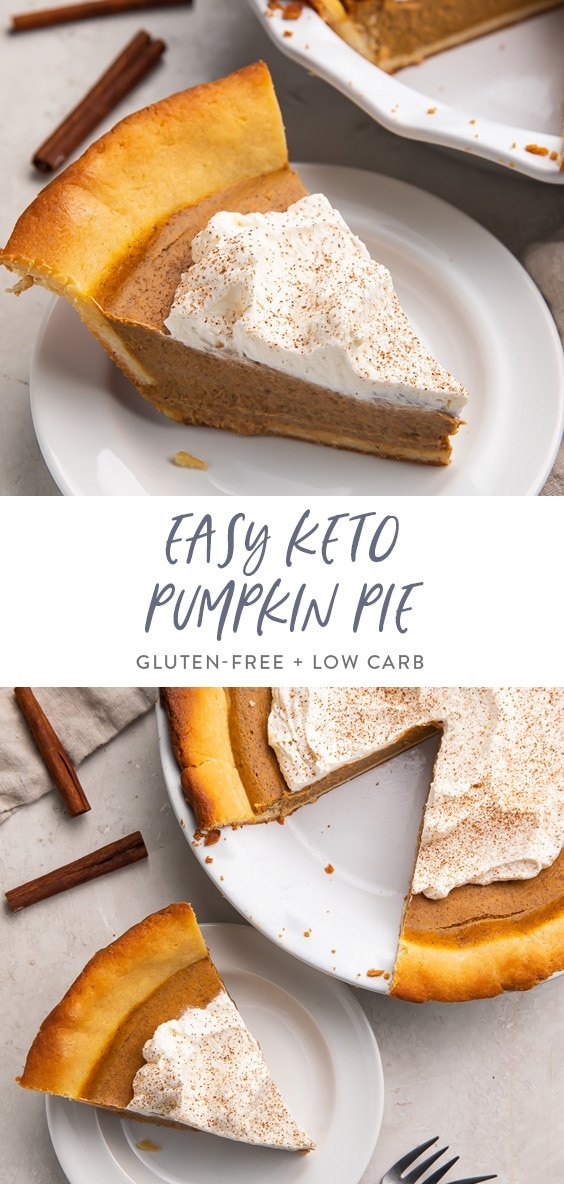
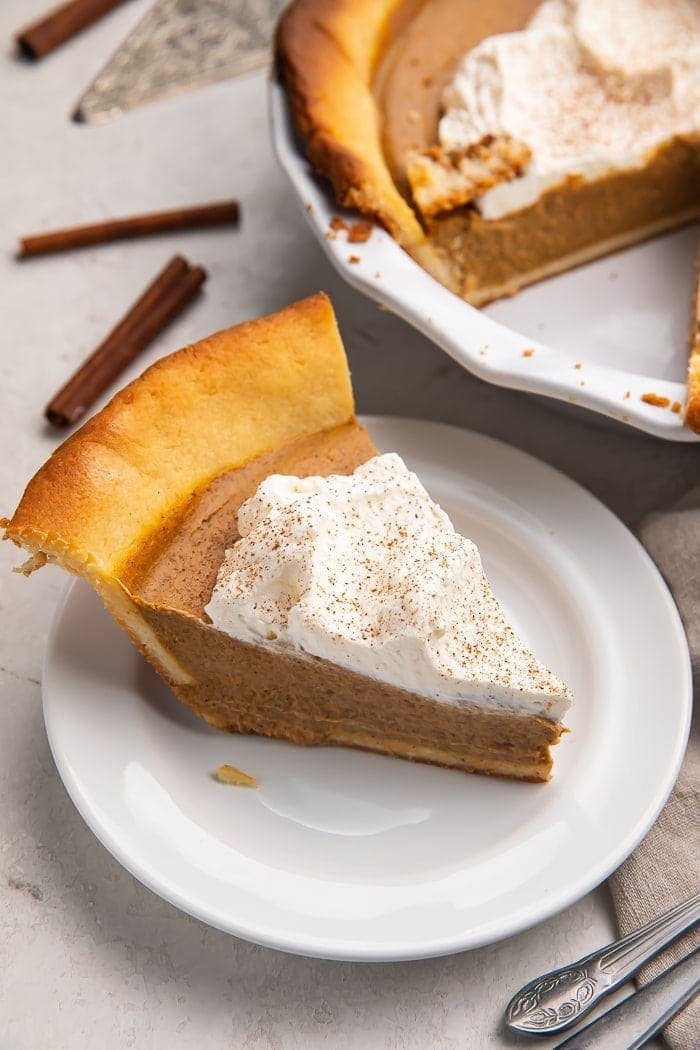
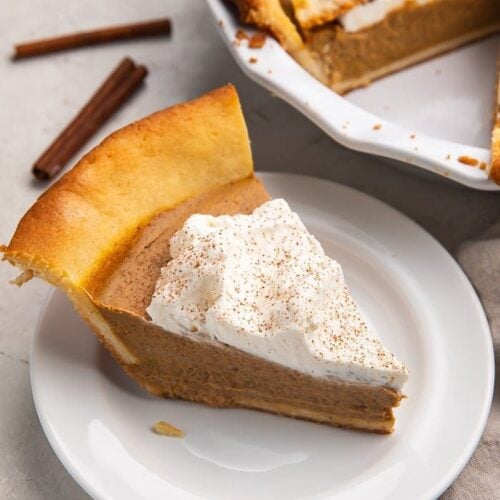
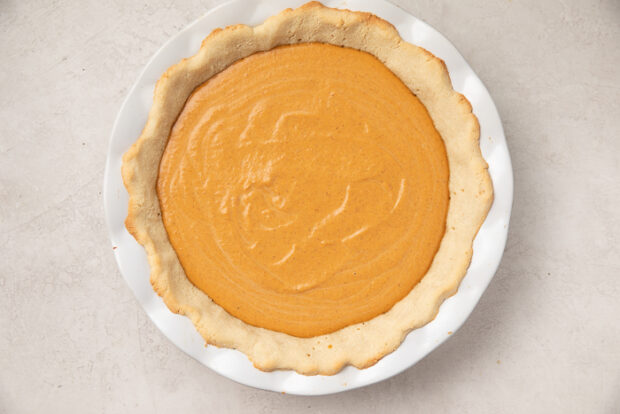
The ultimate keto pumpkin pie! With a super tender crust that tastes like your favorite old fashioned flaky pie crust and a perfectly sweetened and spiced pumpkin filling, this low carb dessert could fool anyone at Thanksgiving or Christmas.
What Makes This Pie So Good
- This pie tastes just like a traditional pumpkin pie, but is totally keto! With no added sugar, plus gluten-free and low carb, it’s perfect for when you (or your guests) have dietary restrictions.
- The filling in this pumpkin pie tastes just like the real thing. It’s so good that my two-year-old ate an entire slice! (And that’s saying something!)
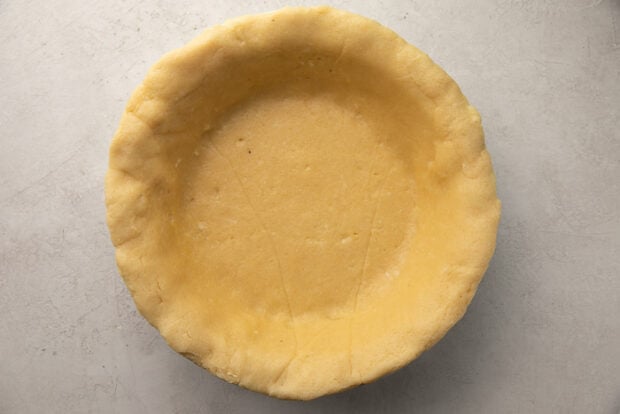
- This keto pumpkin pie’s crust is flaky and crispy, just like a crust with gluten in it. A lot of gluten free pie crusts rely mostly on almond flour and don’t get the tender crust like a regular pie, but this one looks and tastes just like your traditional crust.
Chef’s Tips
- When making the dough, if it becomes too warm or no longer manageable, return to the freezer or fridge for 10 minutes.
- I like a fluted pie crust for this keto pumpkin pie (which is one with a curvy edge, if you’re a pie-baking newbie). Make sure to prick the dough with a fork all over to help it from puffing up during baking.
- Overbaking is what causes the pie to crack. You’ll know the pie is ready when the inside center will still be wobbly with the edges somewhat puffing up or rounding a little and set.
- Make sure to cover the pie before it goes in oven! Since it’s gluten free, it will burn fast. I cover mine the entire time it’s in the oven.
- Try topping this pie with keto whipped cream from our sister site, Easy Healthy Recipes.

More Fall & Thanksgiving Recipes
- Pumpkin Bisque
- Pumpkin Muffins with a Spiced Crumb Topping
- No Bake Pumpkin Cheesecake
- Ruth’s Chris Sweet Potato Casserole
- How To Cook Acorn Squash
- Paleo Pecan Pie
- Crockpot Green Bean Casserole
- Cranberry Brie Dip
- Homemade Pumpkin Pie Spice
- Apple Cider Mimosas
- Elderberry Tonic
- How To Cook Butternut Squash (in the Oven, Instant Pot, or Microwave)
- Cranberry Orange Relish
- Ham Gravy
Easy Keto Pumpkin Pie
With a super tender crust that tastes like your favorite and a perfectly sweetened and spiced pumpkin filling.
slices
Equipment
- Food processor
Ingredients
For the Keto Pie Crust
- 125 grams almond flour
- 50 grams coconut flour
- ¾ teaspoon xanthan gum
- ¼ teaspoon kosher salt
- 130 grams unsalted grass-fed butter cold
- 70 grams full-fat cream cheese cold
- 1 large egg lightly beaten
- 2 ½ teaspoons apple cider vinegar
For the Filling
- 1 15-ounce can pumpkin puree
- 3 large eggs
- ¾ packed cup Brown Swerve
- ½ teaspoon salt
- 1 ½ teaspoons ground cinnamon
- 1 teaspoon pumpkin pie spice store-bought or make your own
- 1 cup heavy cream
Instructions
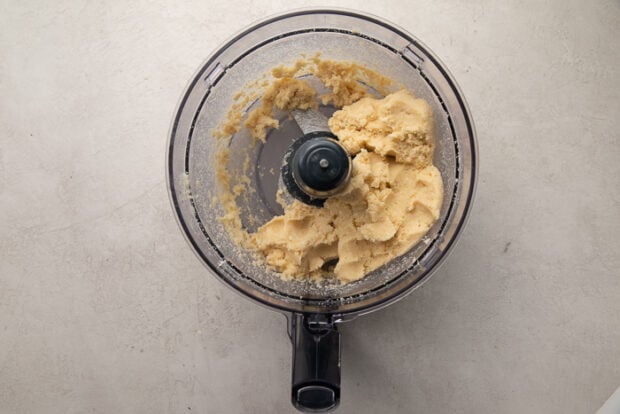
- Add almond flour, coconut flour, xanthan gum, salt and to food processor and pulse until evenly combined. Add butter and cream cheese and pulse for just a few seconds until crumbly. Add in egg and vinegar and pulse until the dough just begins to come together. It should resemble moist crumbs, not a smooth dough.

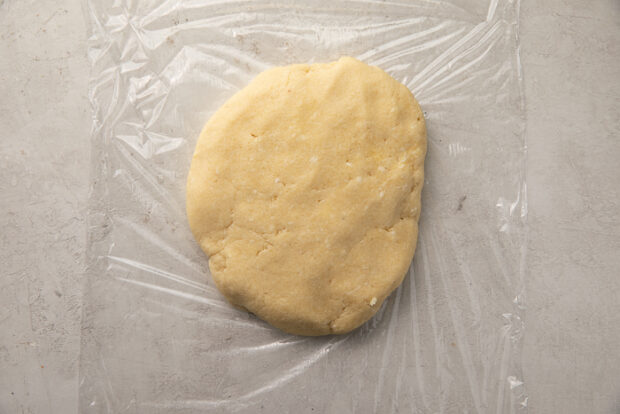
- Pull together, then turn out the dough onto plastic wrap. Form a ball, then press down to flatten. Cover in plastic wrap and refrigerate 1 hour or up to 3 days.
- Roll out the crust between wax paper or parchment (I prefer wax). If crust cracks or falls apart, simply press the pieces back together and continue. Roll out to a 12" circle on wax or parchment paper. Carefully lift paper over pie plate and flip over, gently pulling off of parchment and laying into pie pan. Gently press into pan and cut away excess edges. Prick with a fork all over. Freeze for 10 minutes. Preheat oven to 325º F. After crust has chilled, bake until lightly golden, 8-10 minutes.
- While crust is baking, whisk all the pie filling ingredients together until smooth.
- Pour pumpkin pie filling into the warm pre-baked crust and cover with foil. Bake the pie until the center is set around the edges but with center half still wobbly, about 40-45 minutes.

- Crust notes: When making the dough, if it becomes too warm or no longer manageable, return to the freezer or fridge for 10 minutes. I like a fluted pie crust for this recipe (which is one with a curvy edge, if you’re a pie-baking newbie). Make sure to prick the dough with a fork all over to help it from puffing up during baking.
- Baking notes: Overbaking is what causes the pie to crack. You’ll know the pie is ready when the inside center will still be wobbly with the edges somewhat puffing up or rounding a little and set. Make sure to cover the pie before it goes in oven! Since it’s not gluten, it will burn fast. I cover mine the entire time it’s in the oven.
Approximate Information for One Serving
Serving Size: 1sliceCalories: 119calProtein: 4gFat: 8gSaturated Fat: 2gTrans Fat: 0gCholesterol: 8mgSodium: 38mgPotassium: 206mgTotal Carbs: 21gFiber: 4gSugar: 2gErythritol: 14gNet Carbs: 3gVitamin C: 0mgCalcium: 39mgIron: 1mg
Nutrition Disclaimers
Number of total servings shown is approximate. Actual number of servings will depend on your preferred portion sizes.
Nutritional values shown are general guidelines and reflect information for 1 serving using the ingredients listed, not including any optional ingredients. Actual macros may vary slightly depending on specific brands and types of ingredients used.
To determine the weight of one serving, prepare the recipe as instructed. Weigh the finished recipe, then divide the weight of the finished recipe (not including the weight of the container the food is in) by the desired number of servings. Result will be the weight of one serving.
Did You Make This Recipe?
Tag @40aprons on Instagram and be sure to leave a review on the blog post!


Never Miss A Meal!
New Recipes Straight To Your Inbox
A curated selection of our most recent recipes, delivered straight to your inbox once a week.
Thank you!
You have successfully joined our subscriber list.