
This Post May Contain Affiliate Links. Please Read Our Disclosure Policy.
This foolproof recipe for warm and rich butterscotch cookies guarantees soft, chewy, delicious cookies every time. Bake them right away, or freeze the dough for cookies-on-demand later – either way, these classics are a real treat.

What Makes This Recipe So Good
- Move over, chocolate chip cookies. You’re good, but I think these butterscotch cookies are even better. Warm and rich, soft and chewy, with pops of vanilla, brown sugar, and caramelly butterscotch. They’re a dream in the fall and winter, but I like to make them year round. Seriously, they’re so good I’m willing to bet that if you leave a plate of these out on Christmas Eve, Santa might even leave you an extra gift or two under the tree. Just sayin’.
- It’s a really simple recipe. No, really! The recipe card below looks a little intimidating, but don’t let it scare you away. I’ve broken everything down into clear, easy-to-follow instructions that pretty much guarantee these cookies turn out perfectly every time.
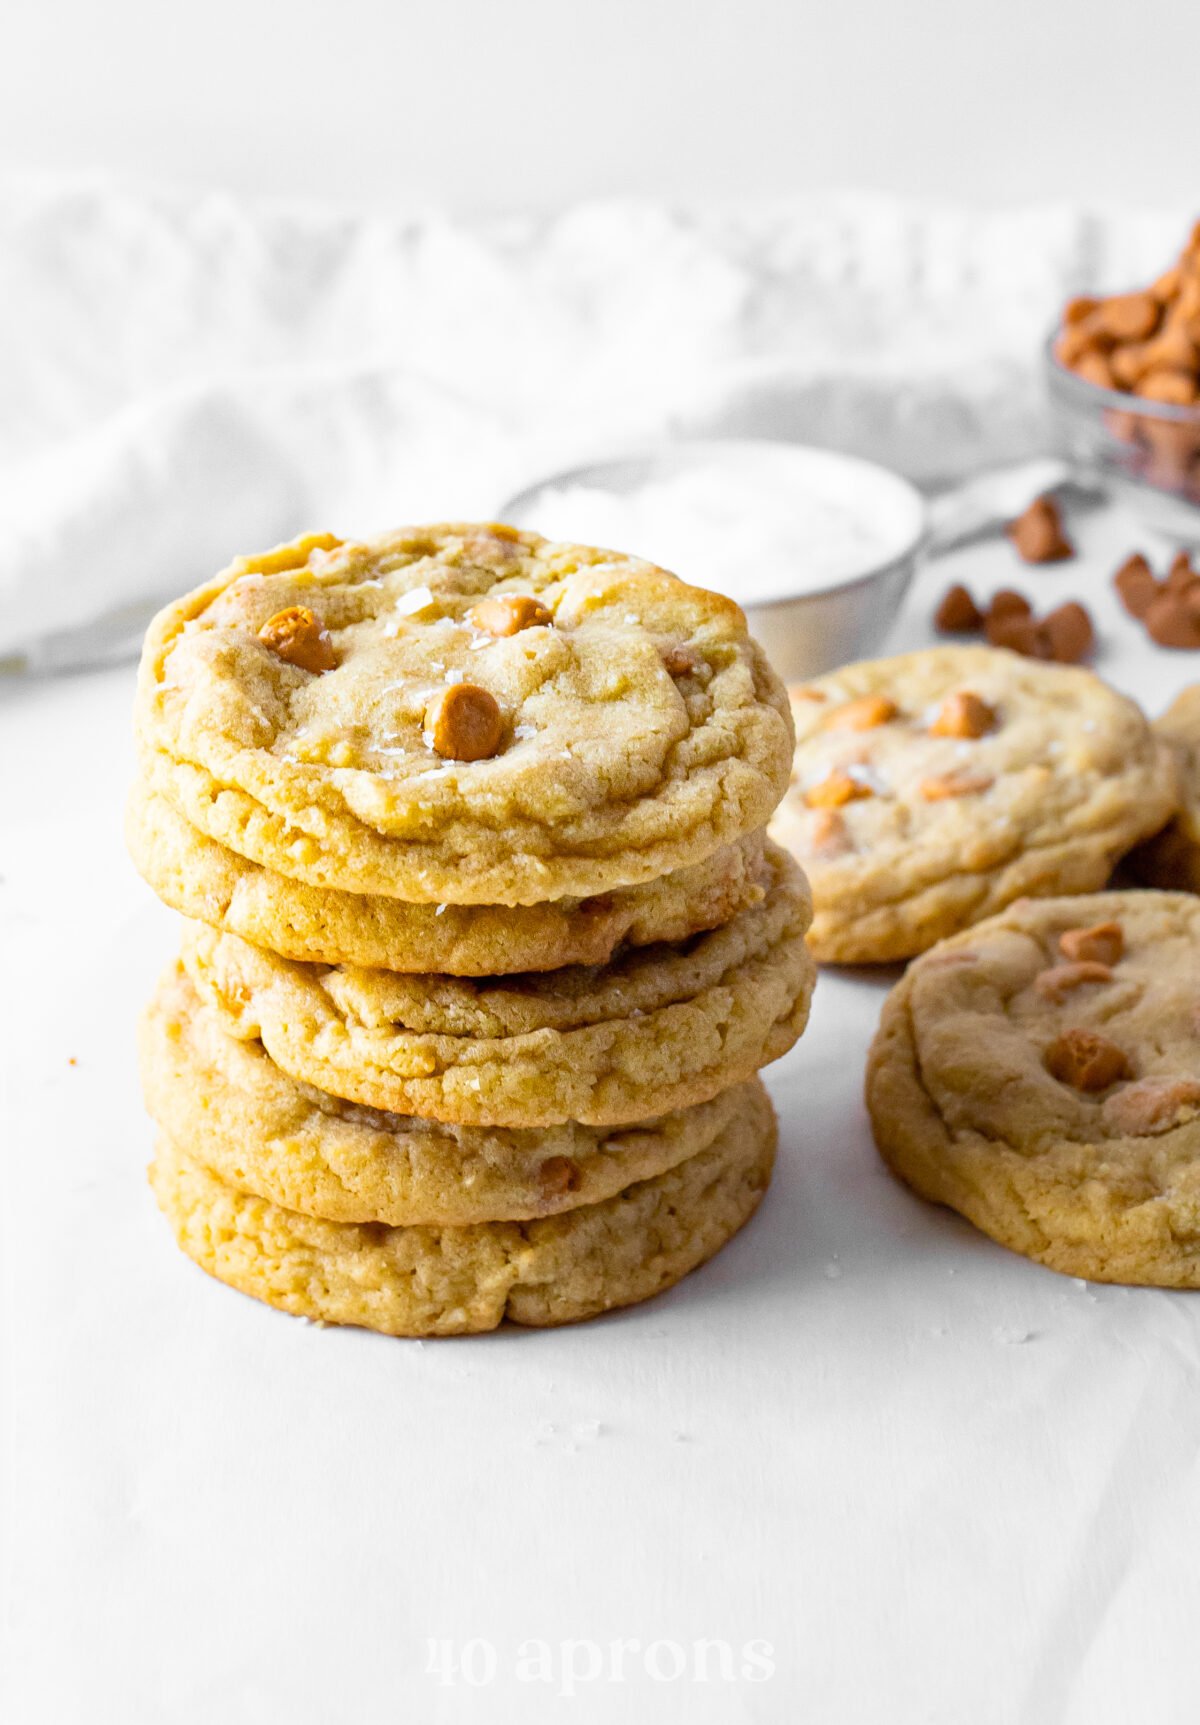
- You can make these in advance! They’re amazing when they’re fresh baked, but they’re just as amazing later on, too. Baked butterscotch cookies will keep up to 2 weeks as long as they’re stored in an airtight container at room temperature. You can also prepare the dough up to 36 hours prior to baking the cookies. Just keep it covered and refrigerated!
Chef’s Tips
- Can you freeze butterscotch cookie dough? OOOOOHHHHH, YES. In fact, that’s probably the ultimate make-ahead option. Prep the dough exactly as written below. Freeze the dough balls on the baking sheet so they don’t stick together in the freezer, then transfer them to a Ziploc or airtight container. The cookie dough balls can be frozen up to 3 months! You don’t even have to thaw them before baking. Butterscotch cookies, on demand.
- The combo of brown sugar and white sugar gives the cookies their unbelievable chewiness. For even chewier cookies, use dark brown sugar instead of light.
- Chilled cookie dough doesn’t spread as much in the oven as room-temperature cookie dough. If you prefer thinner, flatter cookies, you can skip chilling the dough altogether, or let the chilled dough come to temp before baking. Just don’t let the dough get too warm – if the butter is liquid or at all melted, the cookies won’t set up right.
Recipe Variations
If you want to really put these cookies over the top, try one of these variations.
- Fold in ½ cup white chocolate chips along with the butterscotch chips.
- Before putting the cookie dough balls on the baking sheet, roll them in more butterscotch chips. Make sure they really stick to the outside of the dough balls. When the dough spreads, you’ll end up with gourmet-looking cookies, chock full of butterscotch flavor.
- Right after taking the cookies out of the oven, sprinkle a little flake salt or coarse salt on top of them. Don’t overdo it – the cookies should taste like butterscotch, not salt. Just a touch plays up the sweetness in the cookies and gives it a little salty contrast at the same time.
Some of Our Favorite Sweet Treats
- Easy Cranberry Cake with White Chocolate Cream Cheese Frosting
- Christmas Confetti Cookies
- Perfect Paleo Brownies (Fudgy, Crackly Top, Gluten Free)
- Vanilla Bean Panna Cotta with Caramel Sauce
- Paleo Peppermint Hot Chocolate
- Homemade Fried Chicken Ice Cream
- S’mores Bars
- Cream Cheese Fruit Dip (No Marshmallow Fluff!)
- The Best Avocado Chocolate Mousse (Vegan, Dairy Free)
- Keto Peppermint Layer Brownies
- Gluten-Free Sugar Cookies (Cut-Out or Drop Cookies)
- Cookie Butter Creme Brulee
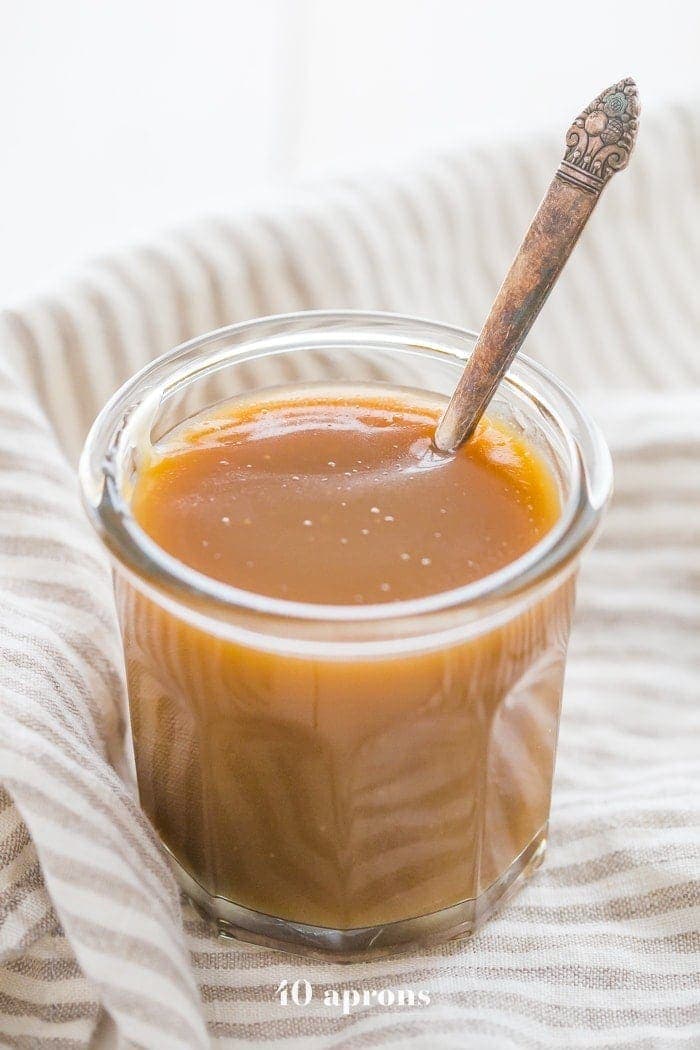
- 3-Ingredient Keto Caramel Sauce
- Gluten Free Ginger Snaps
- Lemon Crinkle Cookies
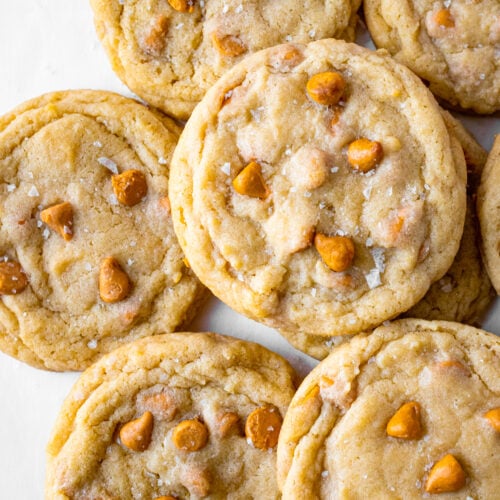
Soft & Chewy Butterscotch Cookies
Soft, chewy, deliciously rich butterscotch cookies with hints of vanilla and brown sugar.
cookies
Equipment
- large baking sheet or 2-3 smaller baking sheets
- parchment paper optional, for easier clean up
- stand mixer bowl or large mixing bowl
- stand mixer or hand mixer
- Flour sifter optional
- Silicone spatula
- Cookie scoop with release handle
- refrigerator
- Oven
- cookie spatula optional
- wire cooling rack
Ingredients
- ½ cup unsalted butter cubed, at room temperature
- ½ packed cup brown sugar light or dark
- ½ cup white sugar
- 1 large egg
- 1 teaspoon pure vanilla extract
- 1 ½ cups all-purpose flour
- 1 teaspoon baking soda
- ¼ teaspoon table salt
- ½ cup butterscotch chips
Instructions
To Prepare Cookies
- Cover baking sheet with parchment paper if desired and set aside.
- Add softened butter, brown sugar, and white sugar to stand mixer bowl (or large mixing bowl). Using stand mixer (or hand mixer), mix ingredients together on low speed 30 seconds, then increase speed to medium. Continue mixing 2 to 5 minutes, until ingredients are creamed. Mixture should be fully combined, light, and fluffy. Note: Be careful not to overmix. Overmixing will make mixture greasy and soupy. If you overmix, discard mixture and start again.
- Once butter and sugar are creamed, pause mixer and crack egg directly into mixing bowl. Add vanilla extract, then resume mixing on low speed. Mix until ingredients are just combined.
- Sift flour through sifter and directly into mixing bowl, making sure any clumps of flour are broken up. Once all flour has been sifted, add baking soda and salt to mixing bowl. Resume mixer and mix until ingredients are just combined.
- Once dough has formed, add butterscotch chips to mixing bowl. Use silicone spatula to gently fold chips into dough mixture until chips are just incorporated. Be careful not to overmix.
- Use cookie scoop to portion dough into equal-sized scoops. Each scoop should be 1 tablespoon of dough for smaller cookies, up to 3 tablespoons of dough for larger cookies. Place dough ball on baking sheet and repeat with remaining dough. Make sure to place dough balls on baking sheet approximately 1 to 2 inches apart.
- Place baking sheet filled with cookie dough balls in refrigerator. Chill dough at least 2 hours and no more than 36 hours. If chilling dough more than 2 hours, cover baking sheet with plastic wrap before refrigerating.
To Bake Cookies
- Preheat oven to 375° Fahrenheit. Adjust oven racks as needed to center cookies in oven. Note: if baking multiple sheets of cookies at once, position racks to divide oven into equal thirds.
- Remove cookies from refrigerator and place baking sheet directly into preheated oven.
- Bake cookies 10 minutes, then check doneness and bake another 1 to 4 minutes as needed. Cookies should be removed from oven when cookie edges are lightly golden. Cookie centers should look slightly underdone (cookies will finish baking outside of oven). Note: if baking multiple sheets of cookies at once, rotate baking sheets halfway through cook time to ensure cookies bake evenly.
- When cookies are ready, carefully remove baking sheet from oven. Set sheet aside and let cookies cool 5 minutes, then carefully remove cookies from baking sheet and transfer to wire cooling rack.
- Let cookies rest until cooled completely, then serve as desired or transfer to airtight container.
- Chilled dough won’t spread as much as room temperature dough. For flatter, thinner cookies, skip the fridge, or let the dough come to room temperature before baking.
- Leftover Cookies: Store in a cookie jar or airtight container at room temperature up to 2 weeks.
- Freezing Dough: Prepare the cookie dough as written. Scoop the unbaked dough into balls and line dough balls on baking sheet, making sure the dough balls don’t touch each other. Place baking sheet in freezer and freeze dough 30 minutes, then transfer dough to freezer bag or other airtight container. Return dough to freezer and store up to 3 months.
- Baking Frozen Dough: No need to defrost! Place frozen dough balls on baking sheet lined with parchment paper. Bake frozen dough at 375°F for 12 to 15 minutes. Begin checking doneness of cookies after 10 minutes.
Approximate Information for One Serving
Serving Size: 1cookieCalories: 226calProtein: 2gFat: 8gSaturated Fat: 5gTrans Fat: 0.3gCholesterol: 36mgSodium: 237mgPotassium: 38mgTotal Carbs: 36gFiber: 0.4gSugar: 23gNet Carbs: 36gVitamin A: 266IUCalcium: 15mgIron: 1mg
Nutrition Disclaimers
Number of total servings shown is approximate. Actual number of servings will depend on your preferred portion sizes.
Nutritional values shown are general guidelines and reflect information for 1 serving using the ingredients listed, not including any optional ingredients. Actual macros may vary slightly depending on specific brands and types of ingredients used.
To determine the weight of one serving, prepare the recipe as instructed. Weigh the finished recipe, then divide the weight of the finished recipe (not including the weight of the container the food is in) by the desired number of servings. Result will be the weight of one serving.
Did You Make This Recipe?
Tag @40aprons on Instagram and be sure to leave a review on the blog post!


Never Miss A Meal!
New Recipes Straight To Your Inbox
A curated selection of our most recent recipes, delivered straight to your inbox once a week.
Thank you!
You have successfully joined our subscriber list.