
This Post May Contain Affiliate Links. Please Read Our Disclosure Policy.
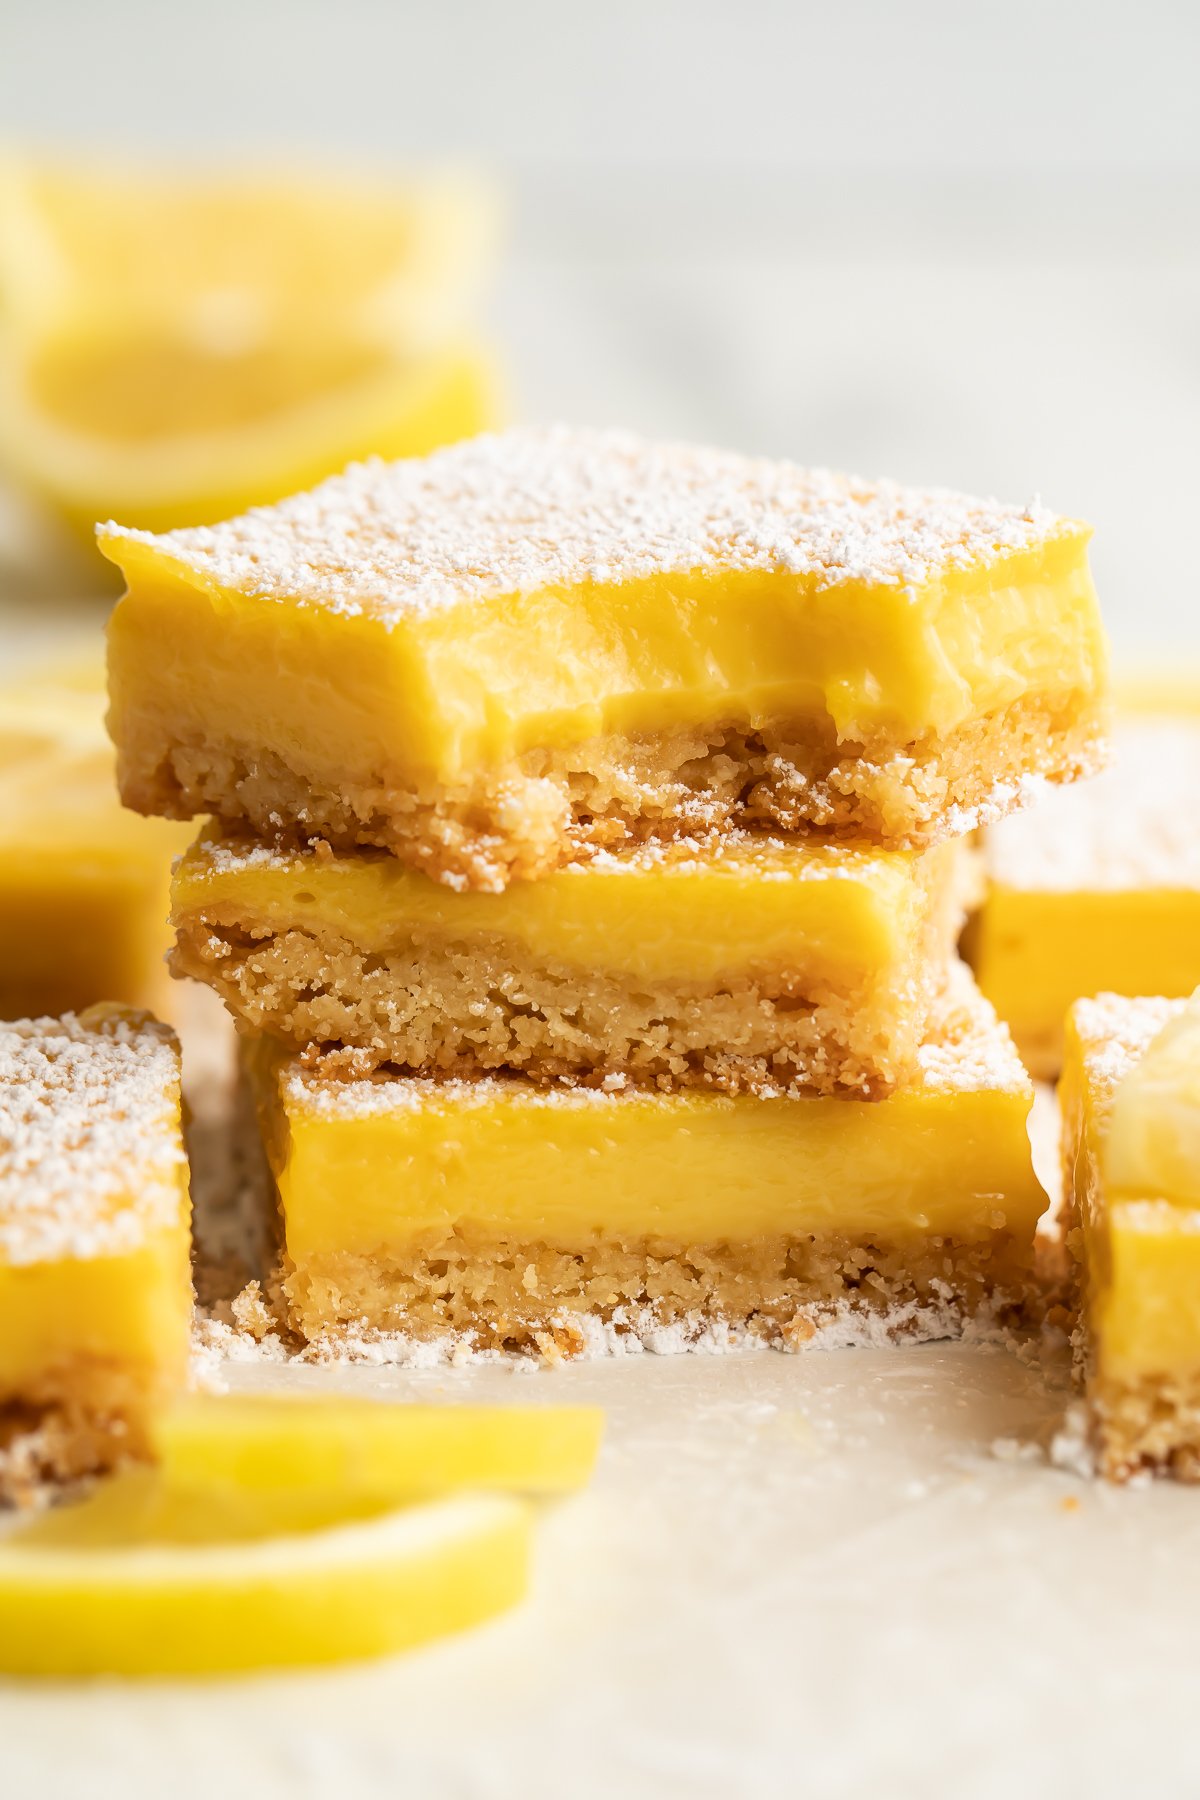
With a perfect tart and rich filling on top of a tender shortbread crust, these Paleo Lemon Bars make the perfect, light spring or summer dessert!
🍋 What Makes This Recipe So Good
- This recipe for paleo lemon bars is even better than traditional lemon bars. The balance between the light and creamy curd and the shortbread crust is just right, blending buttery, rich shortbread with tart, bright lemon curd. Every bite is a dreamy combination, with no added sugars or processed flours.
- Not only are the flavors incredible, but so are the textures. The crust is soft yet firm, crumbly but not dry, tender while also crisp. And the lemon curd? Smooth, creamy, fluffy, light. Dense but not heavy, sort of like a thick pudding. I promise you, you won’t want to stop eating these.
- Whether you are making these for a bridal or baby shower, a family barbeque or cook-out, a romantic picnic, or even just a weeknight sweet treat, these bars are the perfect sugar-free, gluten-free dessert. They’re so easy to make – don’t let the instructions intimidate you! We’ve made the whole process completely foolproof. They’re also really easy to make for larger groups, either by doubling the recipe (make sure you’ve got enough baking dishes!) or by cutting the squares slightly smaller (we won’t tell).
👩🍳 Chef’s Tips
- When zesting your lemons, use only enough pressure to grate the yellow skin. The white pith underneath is bitter and sour, which is not what you want for the curd! If you’ve never zested a lemon before, don’t worry. We’ll walk you through exactly how to do it (and more ways to use the lemon zest) in this post.
- I know 45 minutes seems like a long time to wait for the curd to set, especially since it’s going into the fridge right after anyway. DON’T skip that step, though! In order to get the right consistency to both the lemon filling and the crust, they absolutely must cool down slowly until they’re completely room temperature. After that, pop them in the fridge to finish setting up. They should be ready to enjoy after an hour in the fridge, but it’s absolutely fine to leave them for 2 or even 6 hours if you need to.
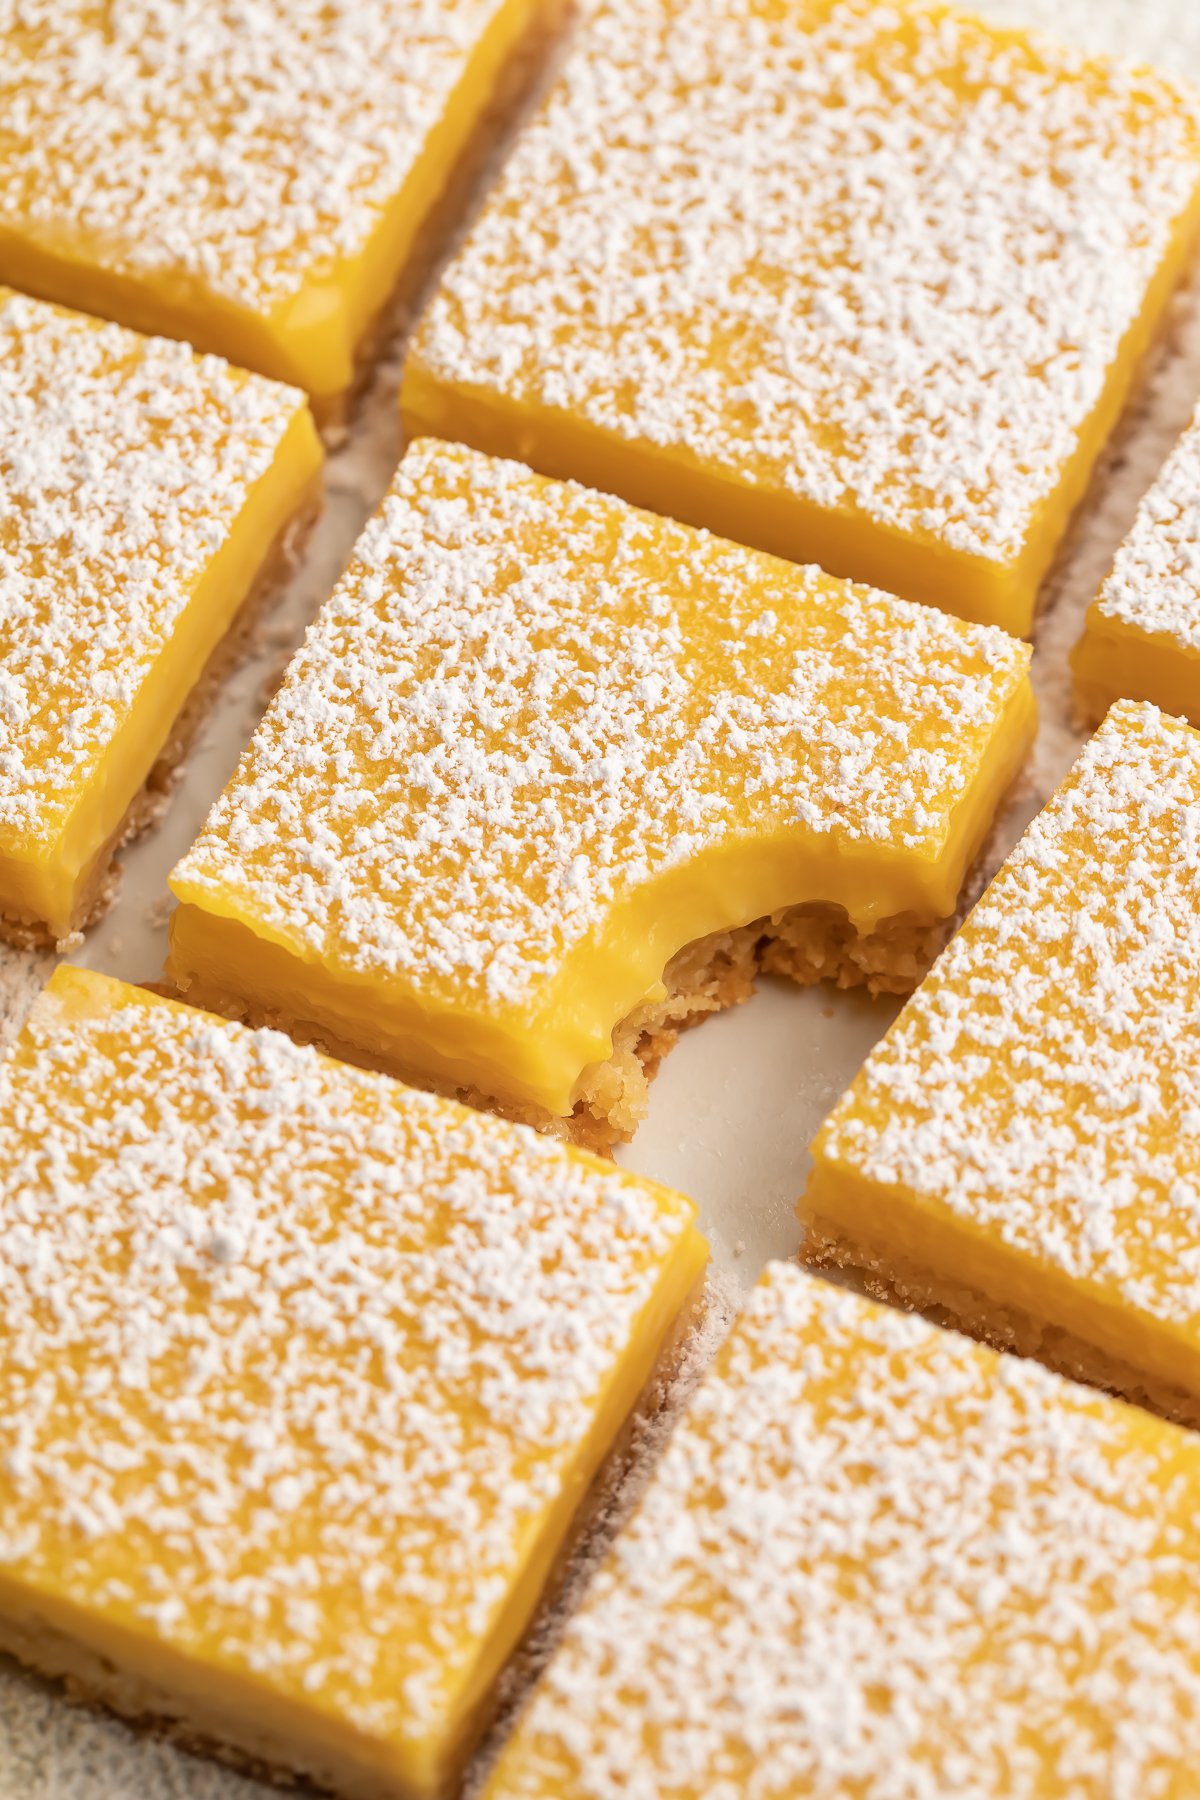
- The key to really clean paleo lemon bars that don’t smear when you cut them is all in the knife. Run your knife under warm water (not hot or boiling, but warmer than room temperature) and dry it completely, then make your first cut. Before you make your next cut, wipe the knife off completely so there aren’t any crumbs or filling left behind, then run it under warm water again. Dry it off, then cut. Repeat that process until you’ve cut all your lemon bars – the clean, warm knife will ensure you get perfectly crisp, clean edges.
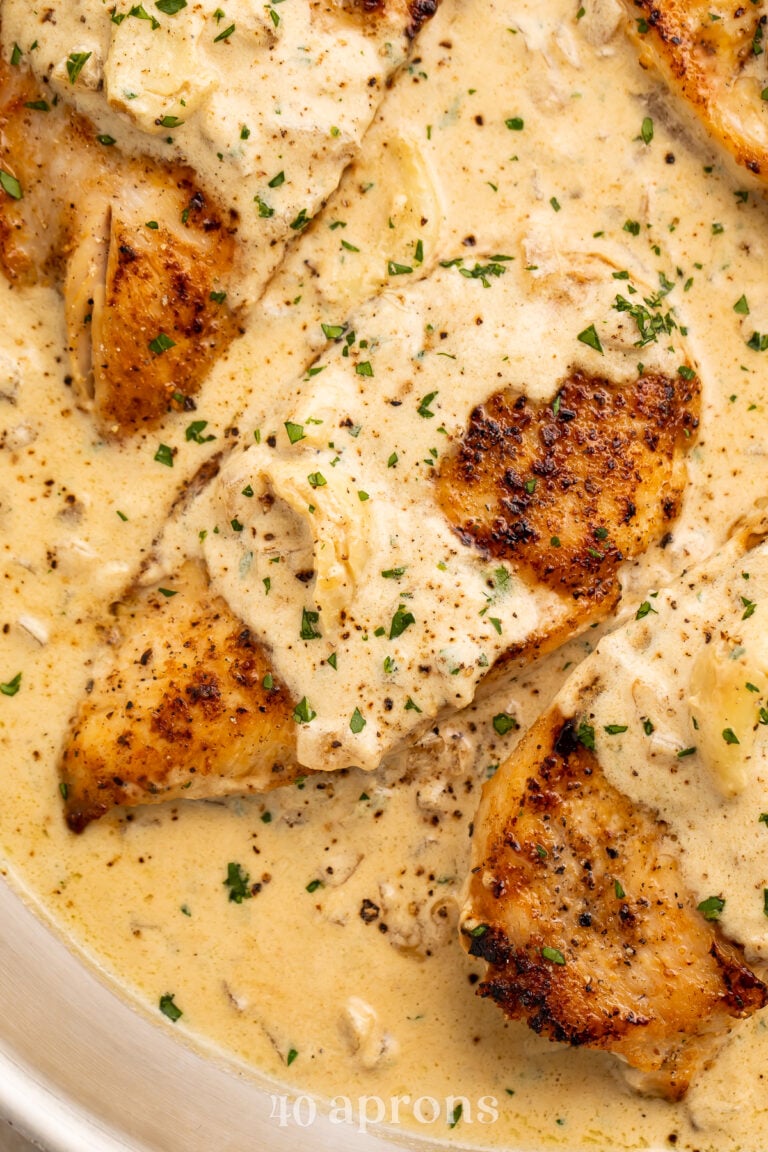
🥘 Pre-Dessert Entrées You’ll Absolutely Love
- Whole30 Marry Me Chicken (Paleo, Dairy Free)
- Whole30 Burgers – Burger Joint Style (Paleo, Low Carb)
- Crockpot Carnitas with Pork Tenderloin or Loin (Paleo, Whole30)
- Instant Pot Lobster Tails
- Tuna Tetrazzini
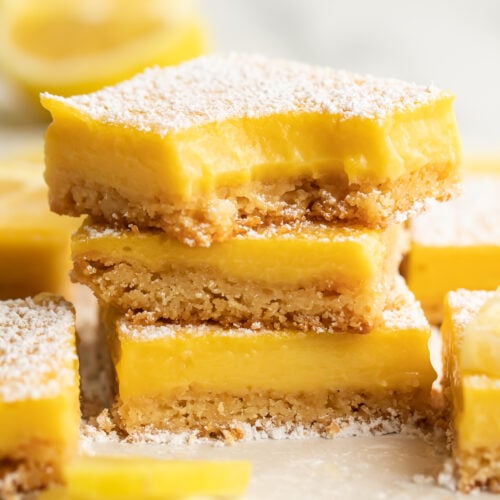
Paleo Lemon Bars
A spring or summer classic dessert, turned paleo! With a light and refreshing lemon curd on top of a tender shortbread crust, this is a perfect conclusion to any meal.
squares
Equipment
- lemon zester
- 8×8 baking dish
- parchment paper
- 3 medium mixing bowls or 2 mixing bowls and 1 large measuring cup with pour spout
- 3 whisks
- small mixing bowl
- medium saucepan
- Wooden spoon or silicone spatula
- Fine mesh sieve or strainer
- wire cooling rack
- Flour sifter or sugar duster, optional
- long, sharp knife
Ingredients
For the Lemon Bar Crust
- ¾ cup almond flour
- 3 tablespoons tapioca starch
- 2 tablespoons maple syrup
- ¼ cup ghee at room temperature
- 1 pinch sea salt
For the Lemon Curd Filling
- 7 large egg yolks at room temperature
- 1 large whole egg at room temperature
- ½ cup maple syrup
- ½ cup whisked full-fat coconut cream unsweetened; see Notes
- ¼ cup fresh lemon zest zest from approximately 2 large lemons
- ⅔ cup freshly squeezed lemon juice strained, approximately 4 large lemons
- 1 pinch sea salt
- 4 tablespoons ghee at room temperature
- ⅓ cup tapioca starch or organic powdered sugar; optional
Instructions
- Preheat oven to 350° Fahrenheit. Arrange oven racks so baking pan will sit in center of oven. Line baking pan with parchment paper, leaving parchment paper hanging out slightly on two sides for easy removal.
- Add almond flour, tapioca starch, maple syrup, ghee, and sea salt to medium mixing bowl. Whisk ingredients together vigorously until fully incorporated, forming thick dough.
- Transfer crust dough to prepared baking pan. Gently press dough into one even layer, covering entire bottom of baking pan and into all four corners.
- Place baking pan in preheated oven. Bake crust 10 to 15 minutes or until center of crust develops light golden-brown color.
- While crust is baking, add egg yolks and whole egg to second mixing bowl. Whisk eggs together until fully combined and pale in color, with no streaks remaining.
- Add maple syrup, coconut cream, lemon zest, lemon juice, and sea salt to egg mixture. Resume whisking until ingredients are fully incorporated and mixture is smooth.
- Transfer egg mixture to cool saucepan. Place saucepan over medium heat and add 4 tablespoons ghee. Stir constantly with wooden spoon or silicone spatula until ghee is fully melted and incorporated and lemon curd thickens slightly, approximately 5 to 8 minutes. Note: lemon curd is at ideal consistency when mixture is thin and sauce-like, coating back of spoon without running or drizzling off.
- Once crust is set, remove baking pan from oven and set aside. When lemon curd reaches desired consistency, immediately pour lemon curd through fine mesh sieve or strainer and into clean mixing bowl or large measuring cup with pour spout. over a clean glass or stainless steel bowl. Pour the strained curd onto the warm shortbread crust immediately.
- Immediately pour strained lemon curd directly into baking pan, covering prepared crust completely. Smooth lemon curd out into single even layer, making sure to reach all 4 corners of baking pan.
- Return baking pan to oven. Bake 10 to 15 minutes or until lemon curd filling is shiny and opaque. Fully set lemon filling will jiggle slightly when baking pan is gently shaken.
- Carefully remove baking pan from oven. Place baking pan on wire cooling rack and allow lemon bars to cool, undisturbed, 45 minutes or until room temperature. Once lemon bars and baking pan are completely cooled, transfer pan to refrigerator and chill lemon bars at least 1 hour.
- When ready to serve, lightly sift tapioca starch or organic powdered sugar over tops of lemon bars if desired. Use long, sharp knife to carefully slice lemon bars into 9 equal squares. For best results, hold knife under warm running water and wipe off knife after each cut. Serve chilled.
- Don’t forget to vigorously whisk the coconut cream before measuring it! You want that rich coconut cream to be smooth and easy to incorporate into your custard.
- Coconut Cream: To make coconut cream, place a can of unsweetened, full-fat coconut milk in the fridge overnight. Remove the can from the fridge with shaking or stirring the contents. Scoop the thick, solidified layer off the top – that’s your coconut cream. The remaining liquid can be discarded or used for other purposes. Coconut creamer and coco lopez are not the same as coconut cream and won’t work for this recipe.
- Make it Dairy Free: Ghee, while paleo, is not actually dairy free. For dairy-free lemon bars, use a paleo & dairy-free butter alternative.
- Leftovers: Any leftover lemon bars should be refrigerated in an airtight container and consumed within 3 days of preparation.
Approximate Information for One Serving
Serving Size: 1squareCalories: 324calProtein: 5gFat: 24gSaturated Fat: 13gTrans Fat: 0.002gCholesterol: 193mgSodium: 26mgPotassium: 209mgTotal Carbs: 22gFiber: 2gSugar: 15gNet Carbs: 20gVitamin A: 223IUVitamin C: 11mgCalcium: 75mgIron: 2mg
Nutrition Disclaimers
Number of total servings shown is approximate. Actual number of servings will depend on your preferred portion sizes.
Nutritional values shown are general guidelines and reflect information for 1 serving using the ingredients listed, not including any optional ingredients. Actual macros may vary slightly depending on specific brands and types of ingredients used.
To determine the weight of one serving, prepare the recipe as instructed. Weigh the finished recipe, then divide the weight of the finished recipe (not including the weight of the container the food is in) by the desired number of servings. Result will be the weight of one serving.
Did You Make This Recipe?
Tag @40aprons on Instagram and be sure to leave a review on the blog post!


Never Miss A Meal!
New Recipes Straight To Your Inbox
A curated selection of our most recent recipes, delivered straight to your inbox once a week.
Thank you!
You have successfully joined our subscriber list.