This Post May Contain Affiliate Links. Please Read Our Disclosure Policy.
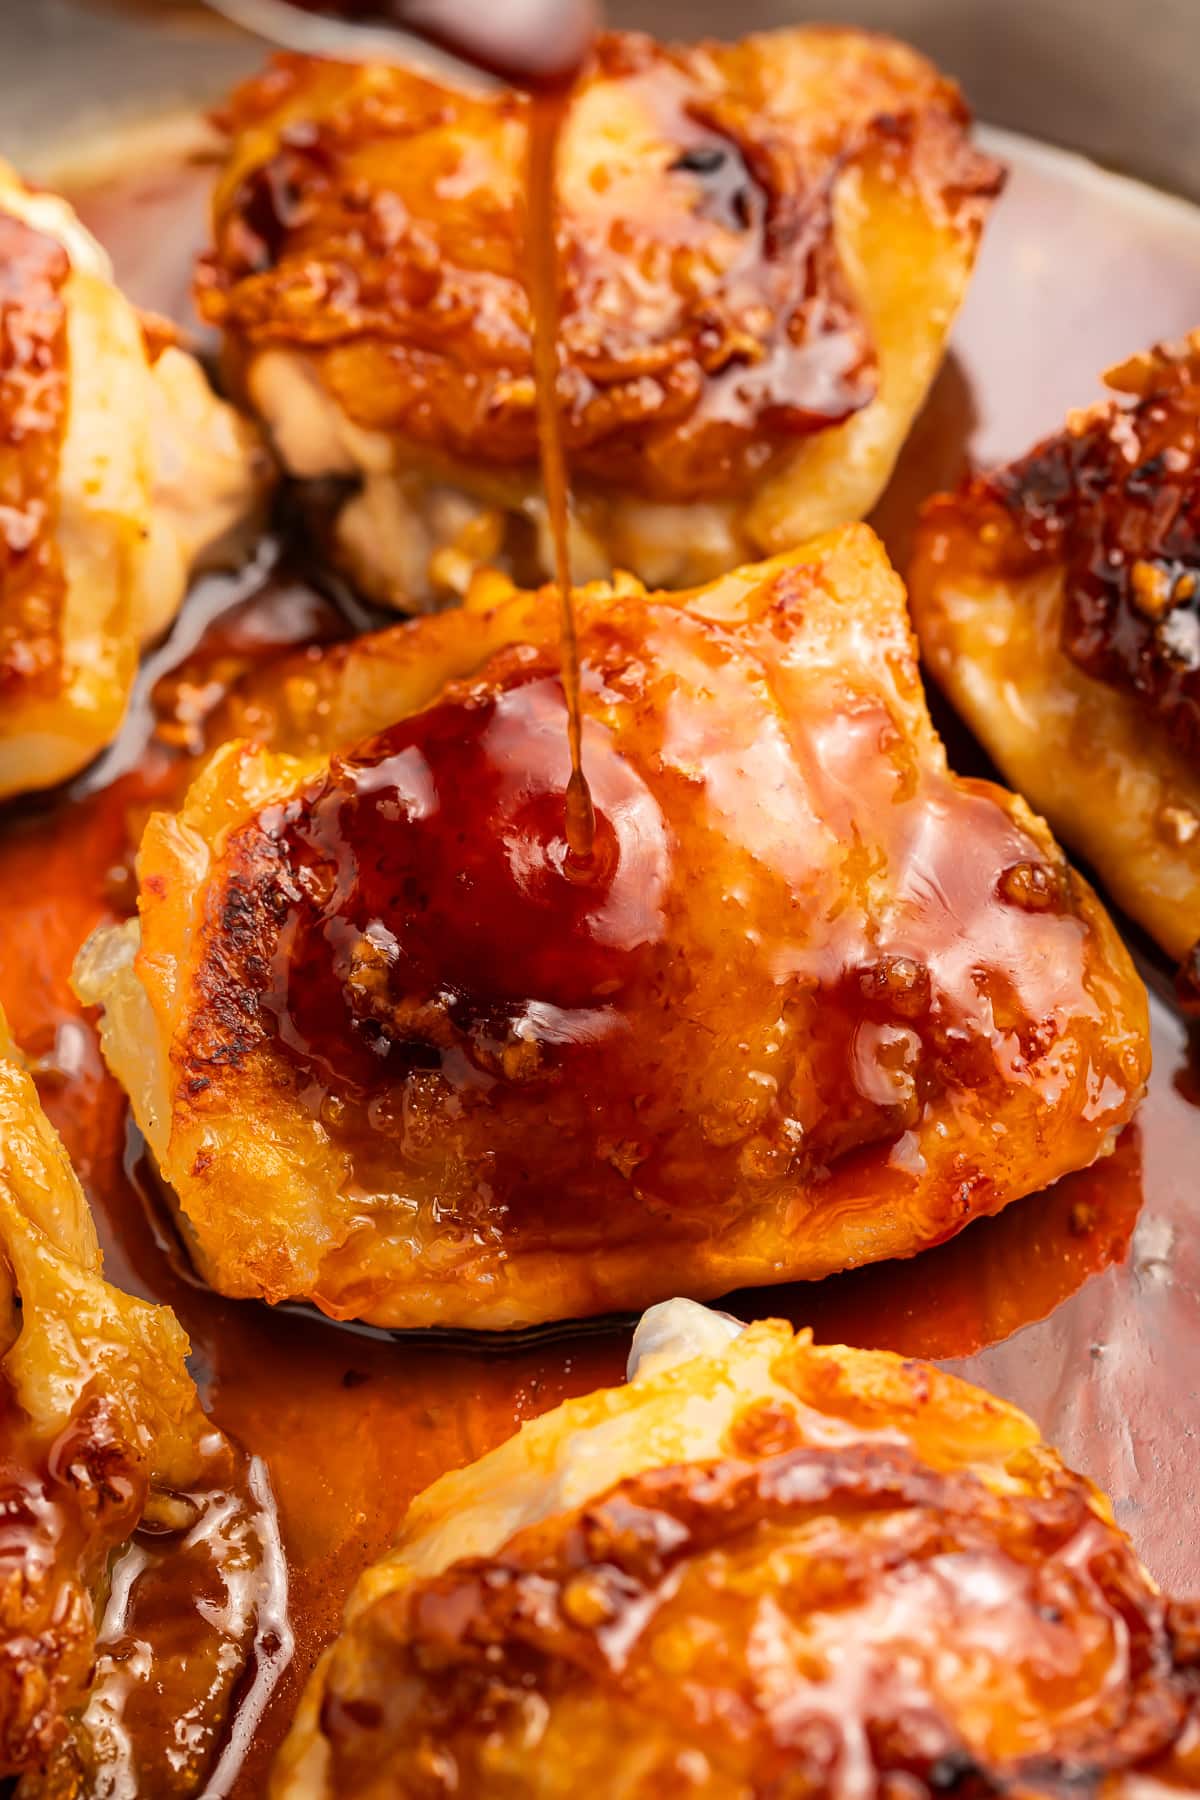
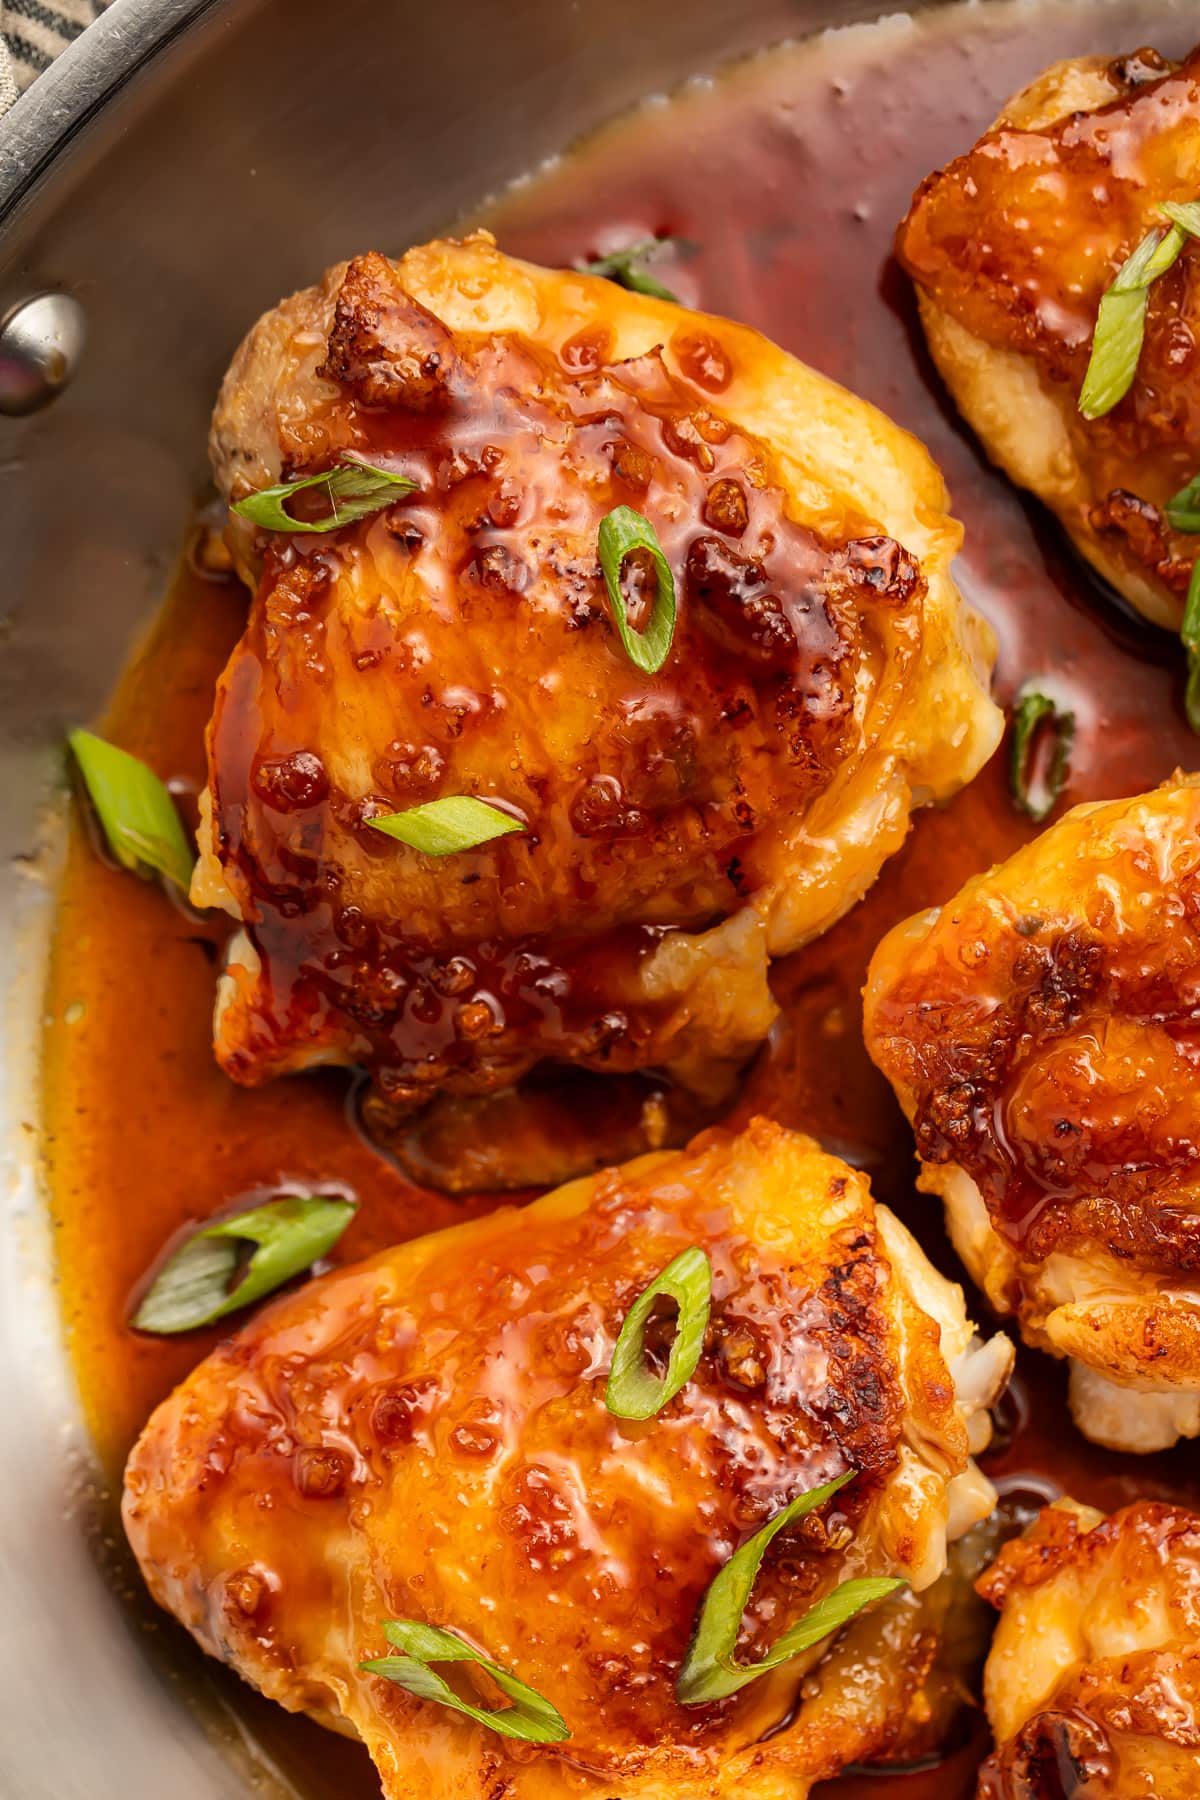
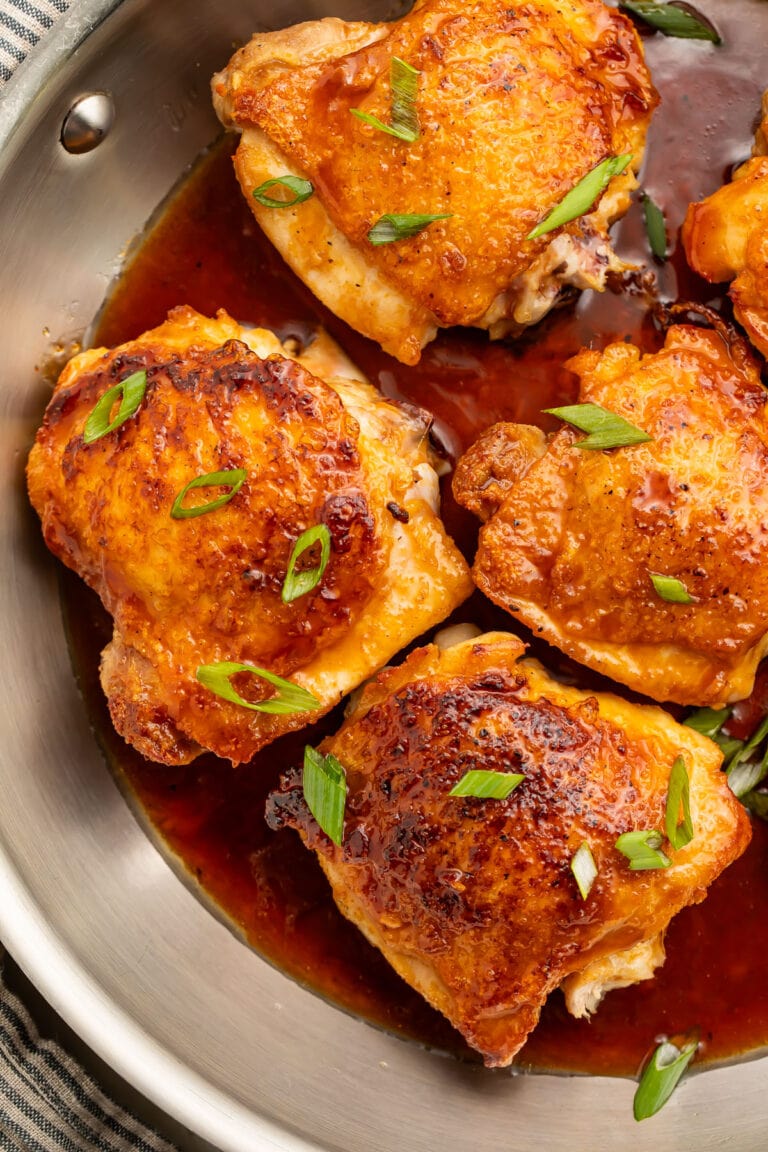
Perfectly tender and juicy chicken thighs with crispy skin swaddled in the most delicious honey-garlic sauce, this easy dinner recipe is certain to please the entire family! Perfect over rice, you’ll want to drink the honey garlic sauce.
🍯 What Makes This Recipe So Good
- Honey garlic chicken is SO simple, made with just a handful of ingredients, but there’s SO MUCH incredible flavor. Seriously, you are going to want to drink this sauce, it’s that good. (I won’t judge you if you do, by the way.)
- We sear the chicken thighs in a heavy skillet to make the skins beautifully crispy before oven-roasting them to lock in their natural juices. This combo of cooking methods makes a huge difference not only in the texture of the chicken but also in the flavor, and it’s well worth the time and effort.
- You don’t need to throw together any complicated sides to go along with your honey garlic chicken, which keeps your entire meal quick and easy. I love to pair it with a side of rice and something like this air fryer frozen broccoli.
👩🏼🍳 Chef’s Tips
- With any chicken recipe, I always, always encourage you to use an internal meat thermometer. It’s so much easier and more reliable and less frustrating than going by cook times alone. Then you just have to guess if the chicken’s fully cooked through, or worse – hope it’s not overcooked and dried out. Just use the thermometer. Make your day a little easier.
- When you sear the chicken thighs before adding the honey garlic sauce, don’t rush the process. Let the chicken sear until you can easily lift the chicken without the skin sticking to the bottom of the pan. If you rush it, you’ll end up tearing off the chicken skin and losing all that crispy goodness.
🍗 More Chicken Recipes You Have to “Chick” Out
- Marry Me Chicken
- Instant Pot Chicken Pot Pie Soup
- Creamy Garlic Chicken
- Trader Joe’s Orange Chicken in the Air Fryer
- Baked Chicken Tacos
- Air Fryer Chicken Katsu
- Honey Sriracha Chicken
- Nashville Hot Chicken Dip
- Greek Chicken Meatballs
- Instant Pot Chicken and Noodles
- Chicken Velvet Soup
- Instant Pot Chicken and Rice Soup
- Whole30 Everything Bagel Chicken and Scallion “Cream Cheese” Sauce
- Chicken Pot Pie Casserole
- Instant Pot Cajun Chicken Pasta Soup
- 125 Easy Chicken Recipes for Dinners with Few Ingredients
Honey Garlic Chicken
Equipment
- Oven
- medium mixing bowl
- whisk
- Cutting board
- Paper towels
- Large cast-iron skillet or other large, heavy, oven-safe skillet
- stovetop
- Tongs
- pot holder or silicone hot handle cover for skillet
- internal meat thermometer
- Large plate
Ingredients
For the Honey-Garlic Sauce
- ½ cup honey
- 2 tablespoons water or chicken broth
- ¼ cup low-sodium soy sauce
- 1 teaspoon garlic powder
- 4 teaspoons minced fresh garlic approximately 4 cloves
For the Chicken
- 6 medium bone-in, skin-on chicken thighs approximately 6-8 ounces each
- salt to taste
- freshly cracked black pepper to taste
Instructions
- Preheat oven to 375° Fahrenheit. Position oven racks as needed so that skillet will sit in center of oven.
- Add ½ cup honey, 2 tablespoons water, ¼ cup low-sodium soy sauce, 1 teaspoon garlic powder, and 4 teaspoons minced fresh garlic to medium mixing bowl. Whisk ingredients together until completely incorporated then set bowl aside.
- Place 6 medium bone-in, skin-on chicken thighs on cutting board. Pat chicken thighs completely dry on all sides with paper towels, then liberally season all sides of chicken thighs with salt and freshly cracked black pepper. Set aside.
- Place large cast-iron skillet on stovetop over medium-high heat. When skillet is hot, place chicken thighs in skillet skin-side down. Sear chicken 7 to 8 minutes or until skin is golden and easily releases from pan when chicken is moved. If skin sticks to pan, continue searing until skin releases easily.
- Once skin is ready, flip chicken thighs over, then remove skillet from heat. Immediately pour prepared honey-garlic sauce into skillet, covering each chicken thigh, then place skillet in preheated oven. Note: skillet will be very hot. Always use pot holder or handle cover from this point forward.
- Roast chicken thighs 10 minutes. After 10 minutes, insert internal meat thermometer into thickest areas of chicken to check doneness. Return skillet to oven and continue roasting chicken 3 to 5 minutes or as needed until thermometer indicates internal temperature of 162° to 163° Fahrenheit.
- When chicken thighs reach desired internal temperature, carefully remove skillet from oven. Transfer chicken thighs to large plate and set aside to rest 5 minutes.
- Meanwhile, return skillet to stovetop. Simmer sauce in skillet over medium heat until sauce has thickened to desired consistency. Stir sauce as needed to prevent sticking or burning.
- When sauce has thickened, remove skillet from heat. Return chicken thighs to skillet. Spoon sauce in skillet onto tops of chicken thighs, covering chicken thighs completely, then transfer chicken thighs to serving plates. Serve honey garlic chicken immediately with additional honey-garlic sauce and preferred sides.
- Chicken Thighs: Yes, you can use boneless chicken thighs or chicken breasts instead of chicken thighs. You’ll just need to adjust the times on the stove and in the oven to accommodate your chicken of choice. Go by the internal temperature to determine if the chicken is fully cooked rather than relying on time recommendations.
- Make it Paleo: For strict paleo, use raw, unfiltered honey. Replace the soy sauce with coconut aminos or our homemade soy sauce substitute.
Approximate Information for One Serving
Nutrition Disclaimers
Number of total servings shown is approximate. Actual number of servings will depend on your preferred portion sizes.
Nutritional values shown are general guidelines and reflect information for 1 serving using the ingredients listed, not including any optional ingredients. Actual macros may vary slightly depending on specific brands and types of ingredients used.
To determine the weight of one serving, prepare the recipe as instructed. Weigh the finished recipe, then divide the weight of the finished recipe (not including the weight of the container the food is in) by the desired number of servings. Result will be the weight of one serving.
Did You Make This Recipe?
Tag @40aprons on Instagram and be sure to leave a review on the blog post!





Never Miss A Meal!
New Recipes Straight To Your Inbox
A curated selection of our most recent recipes, delivered straight to your inbox once a week.
Thank you!
You have successfully joined our subscriber list.