This Post May Contain Affiliate Links. Please Read Our Disclosure Policy.
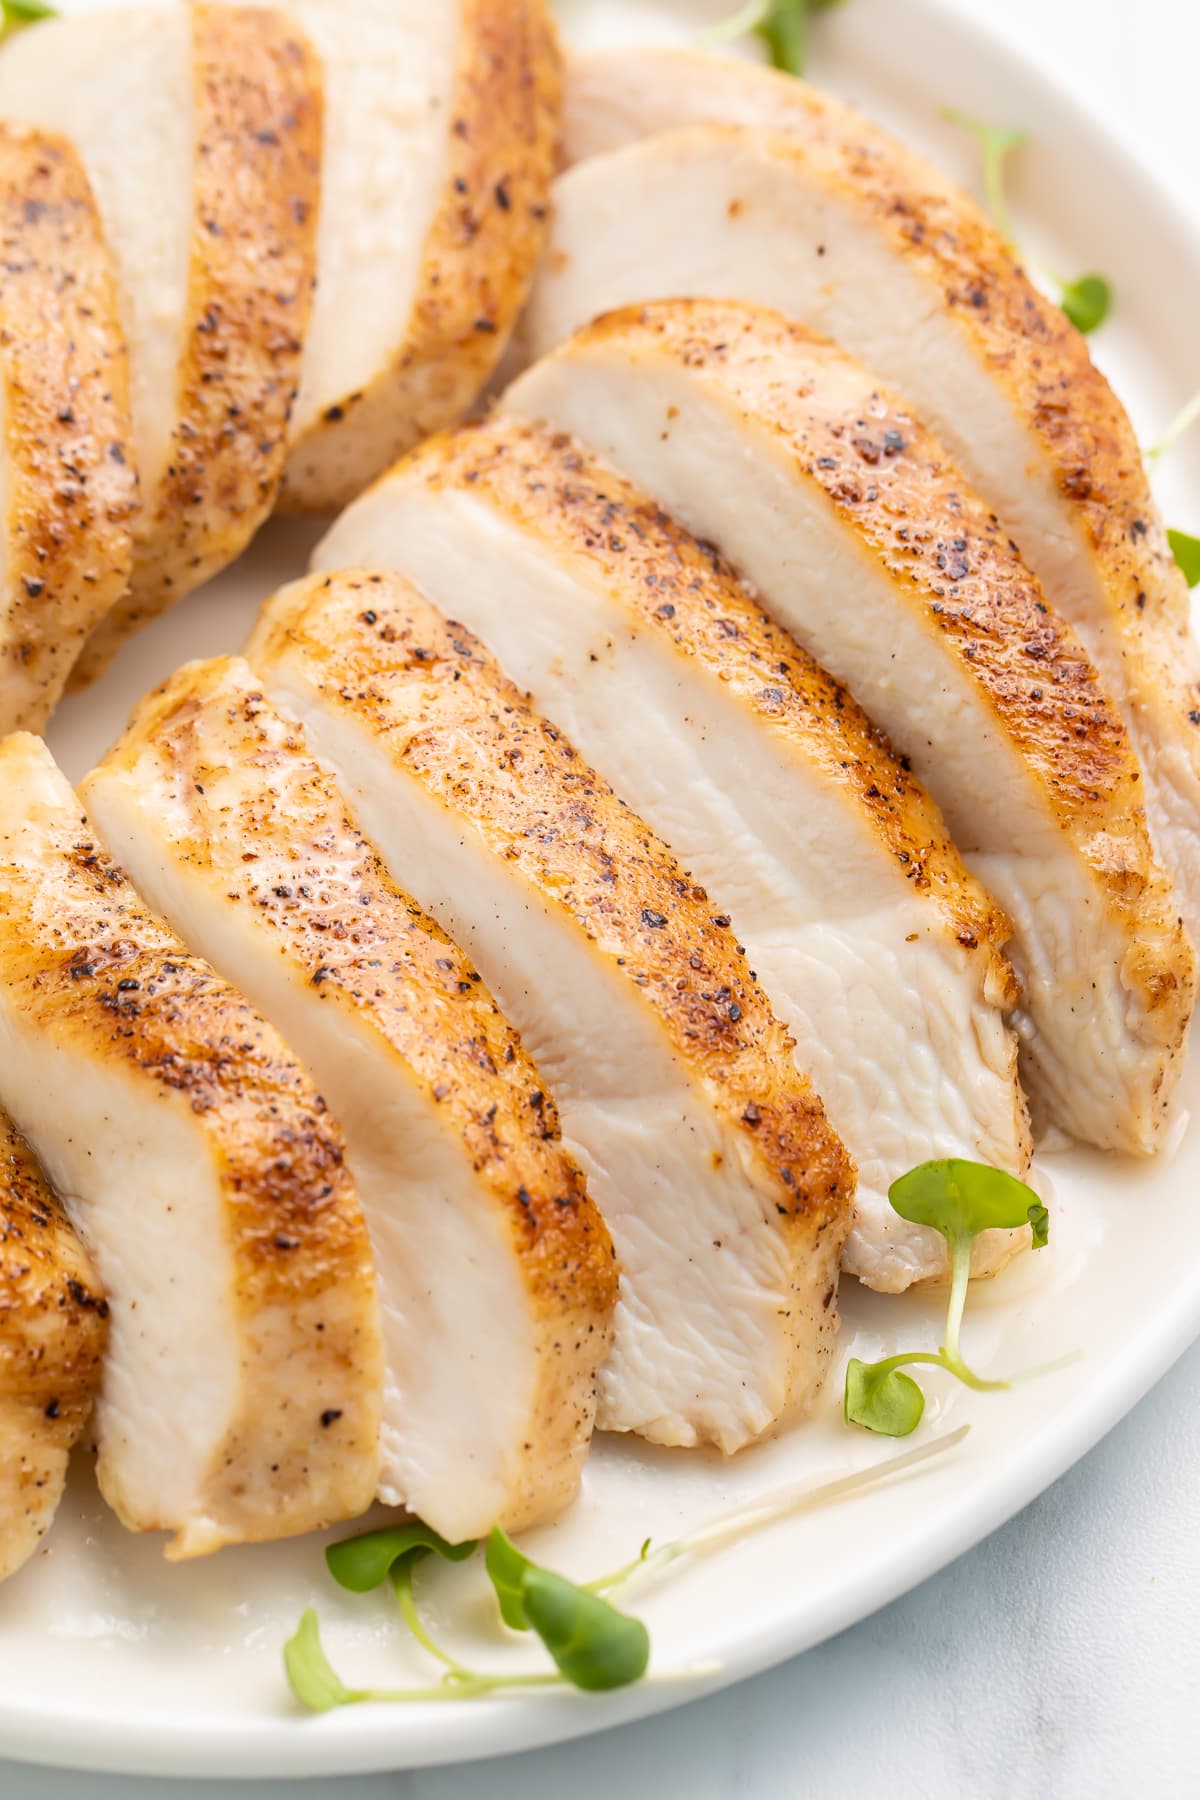
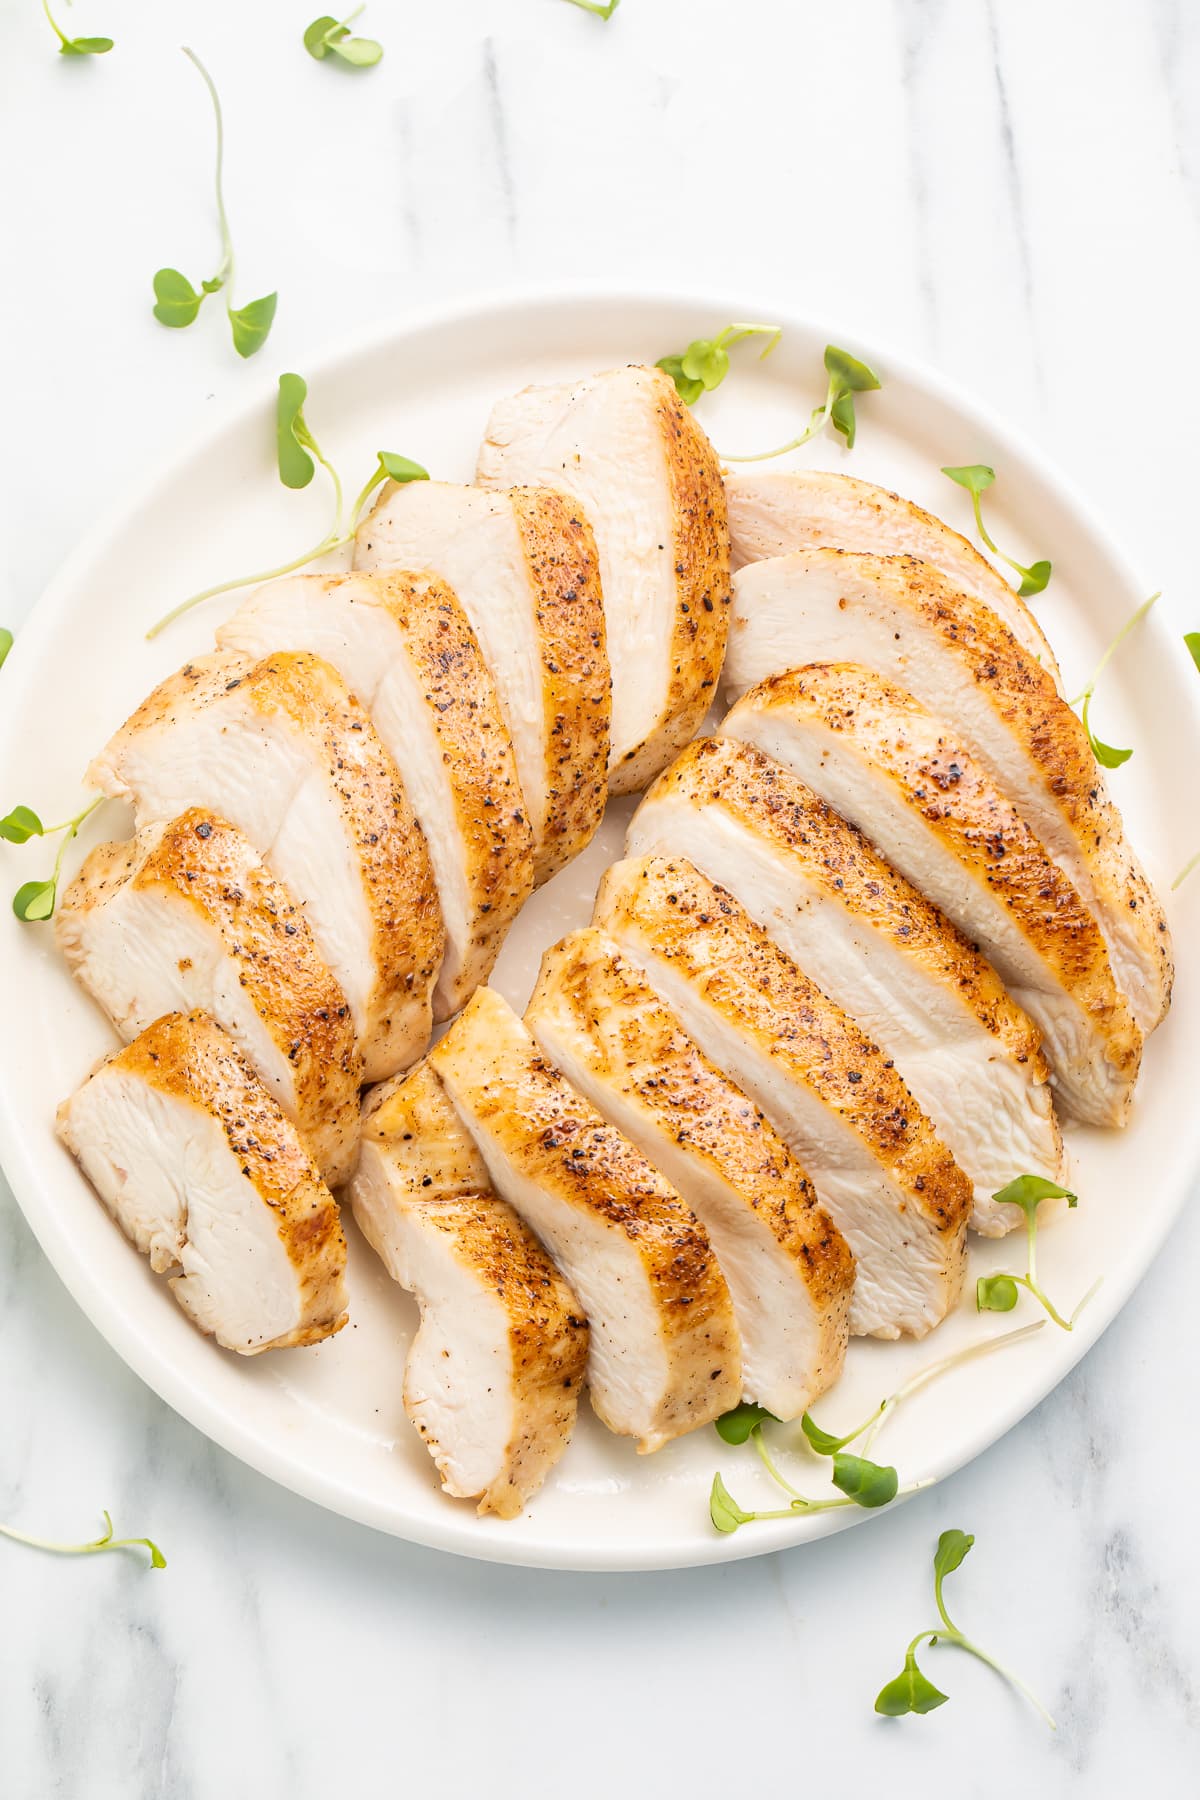
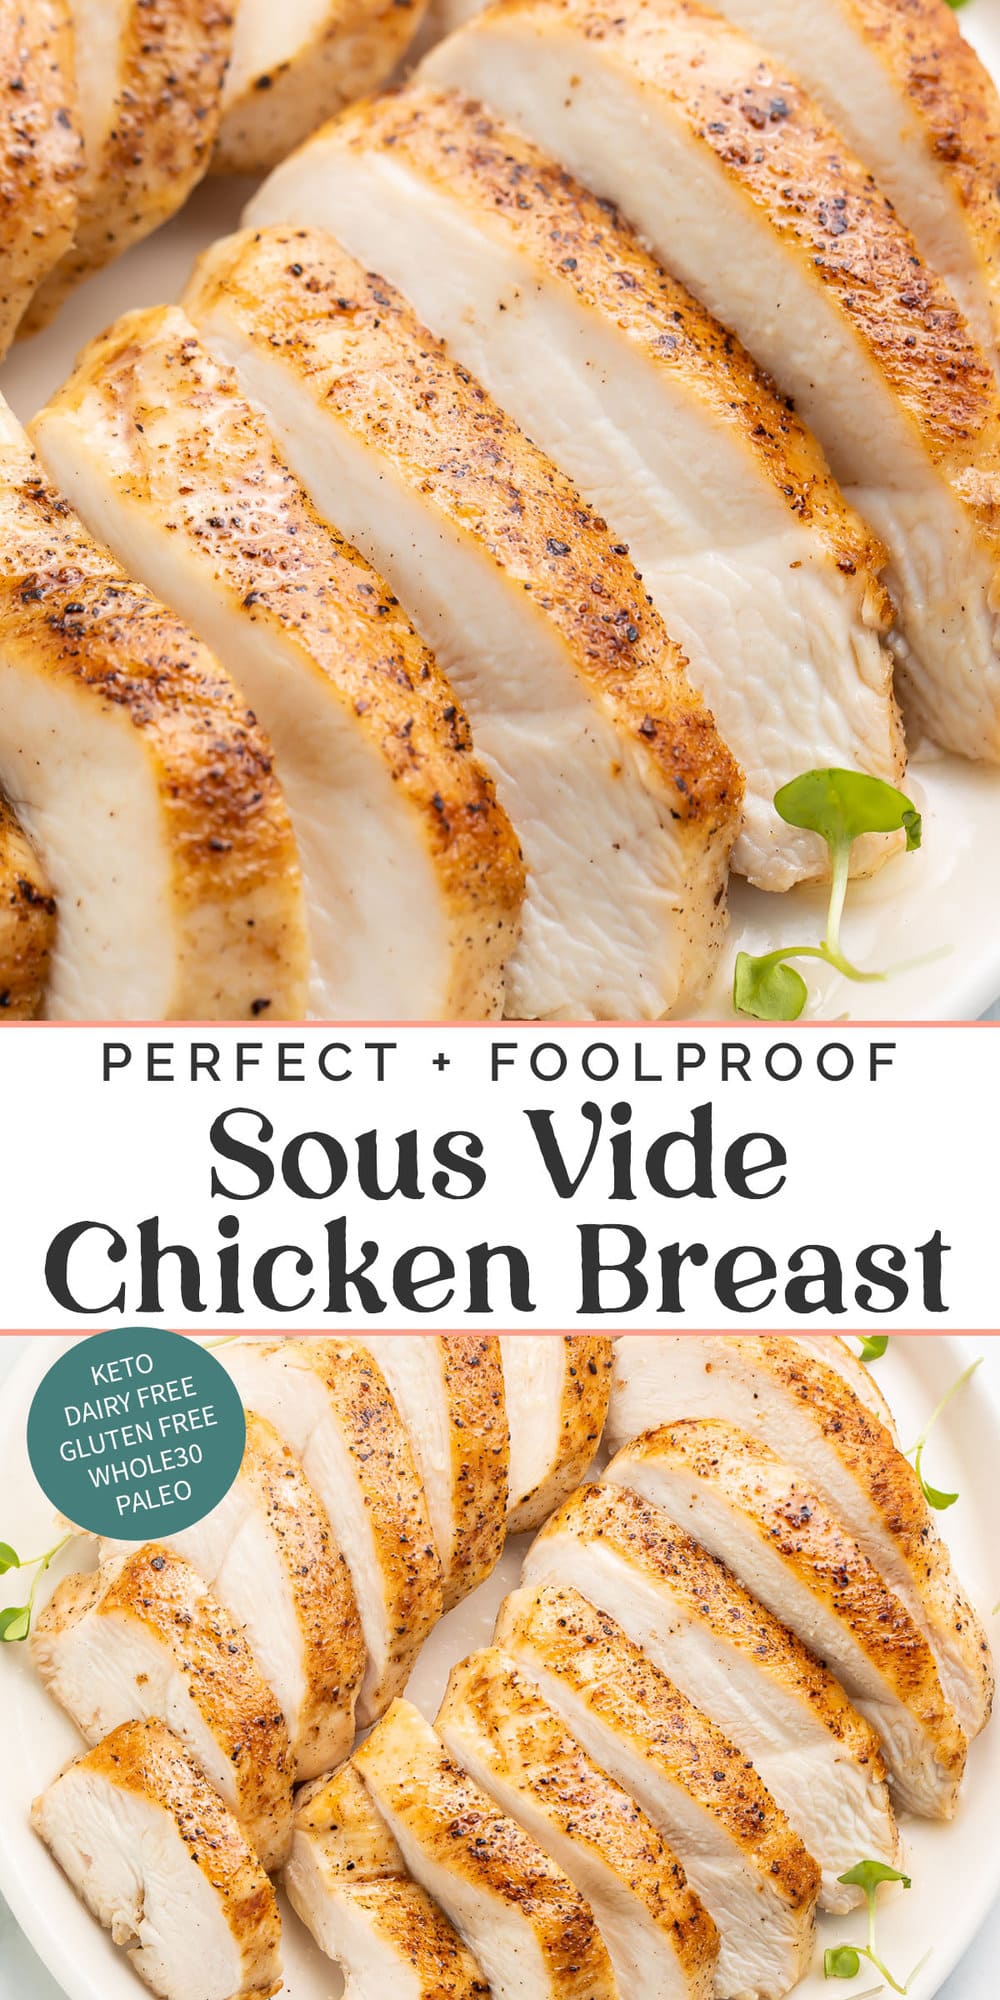
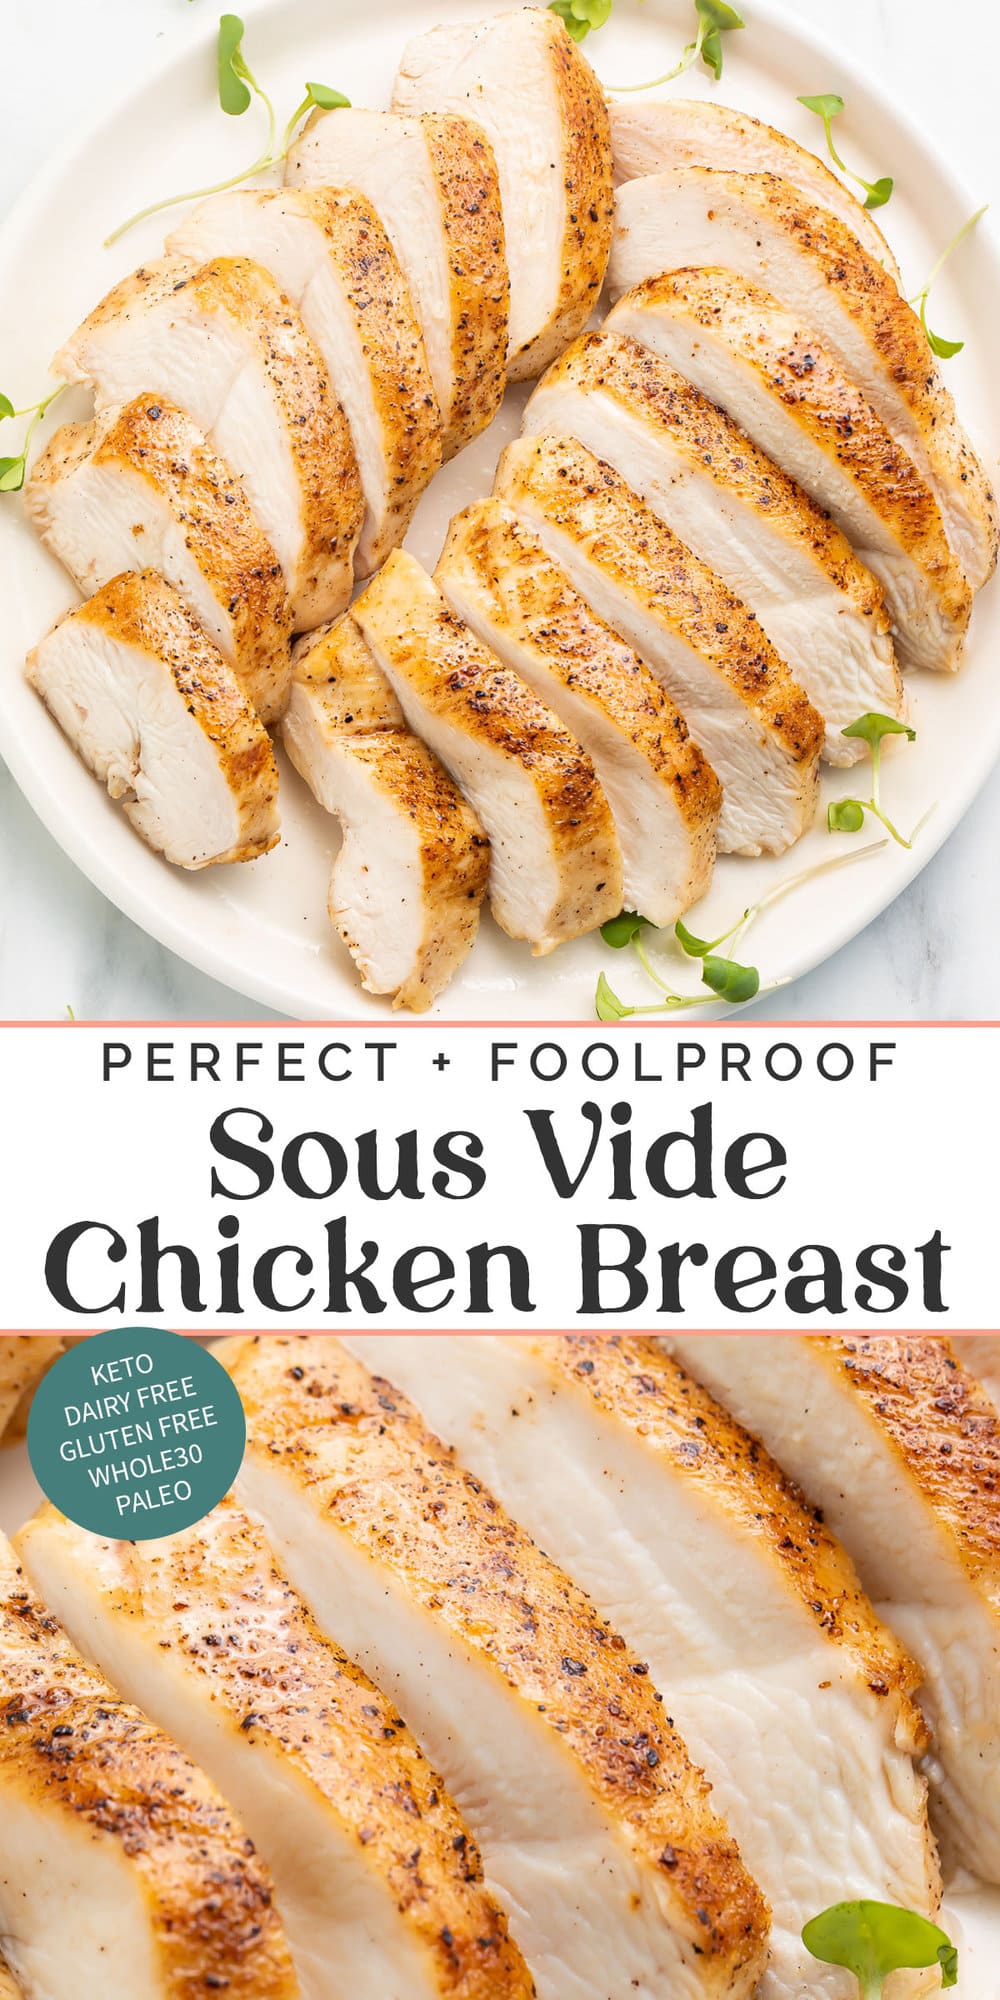
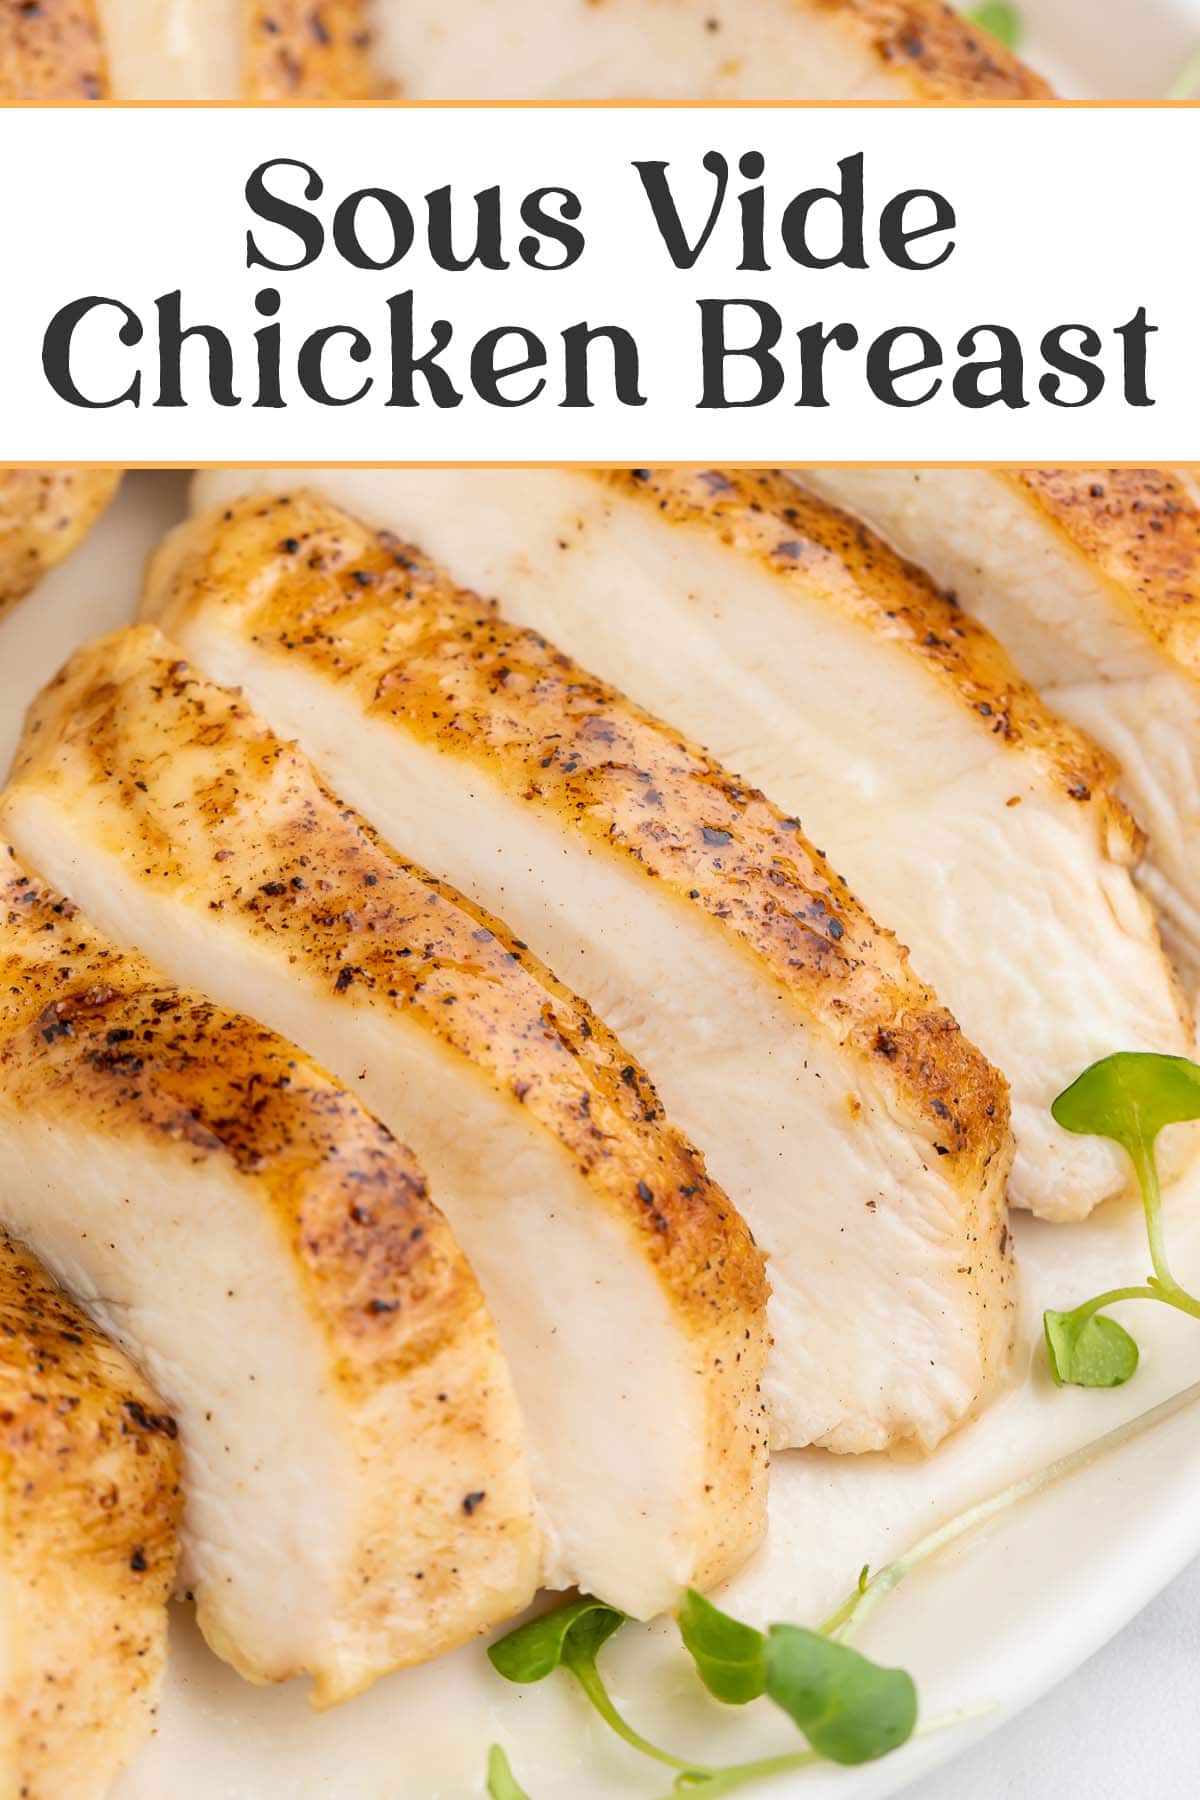
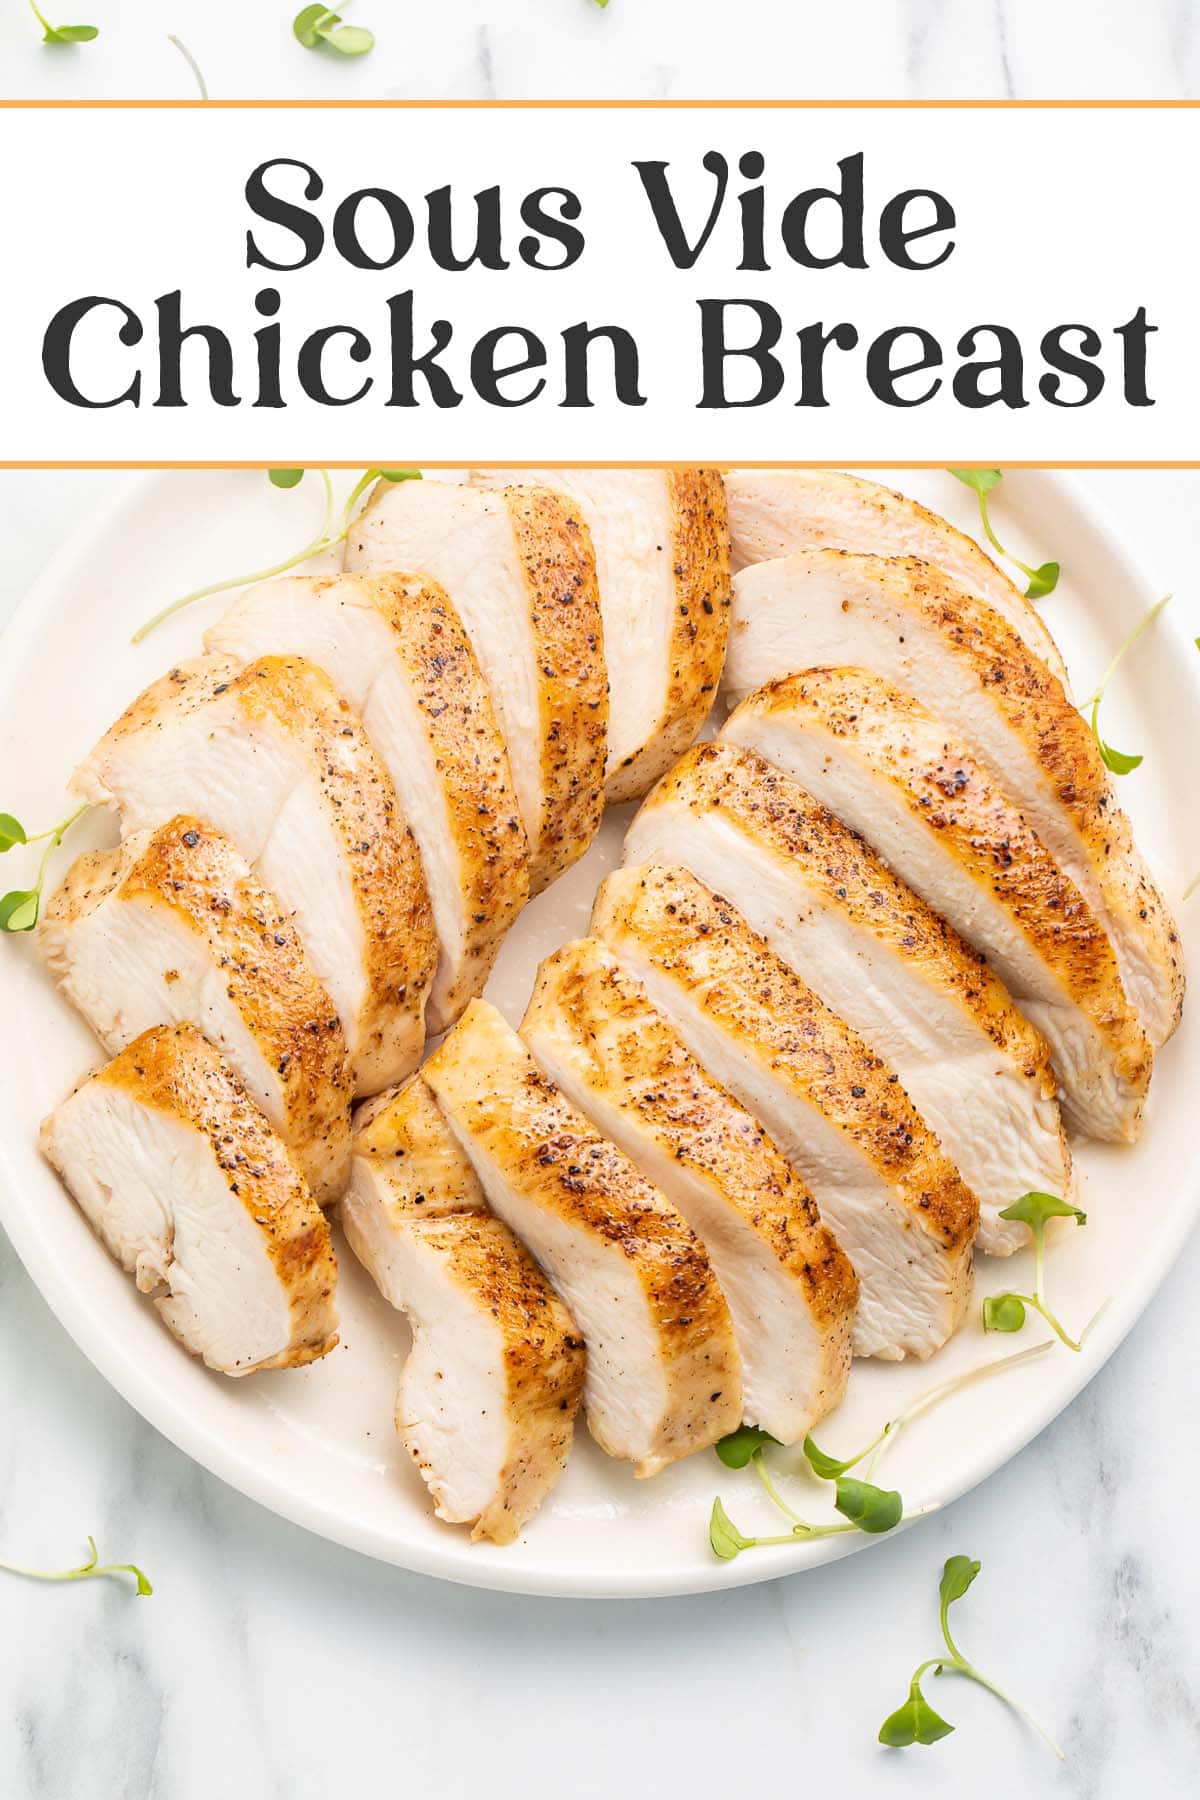
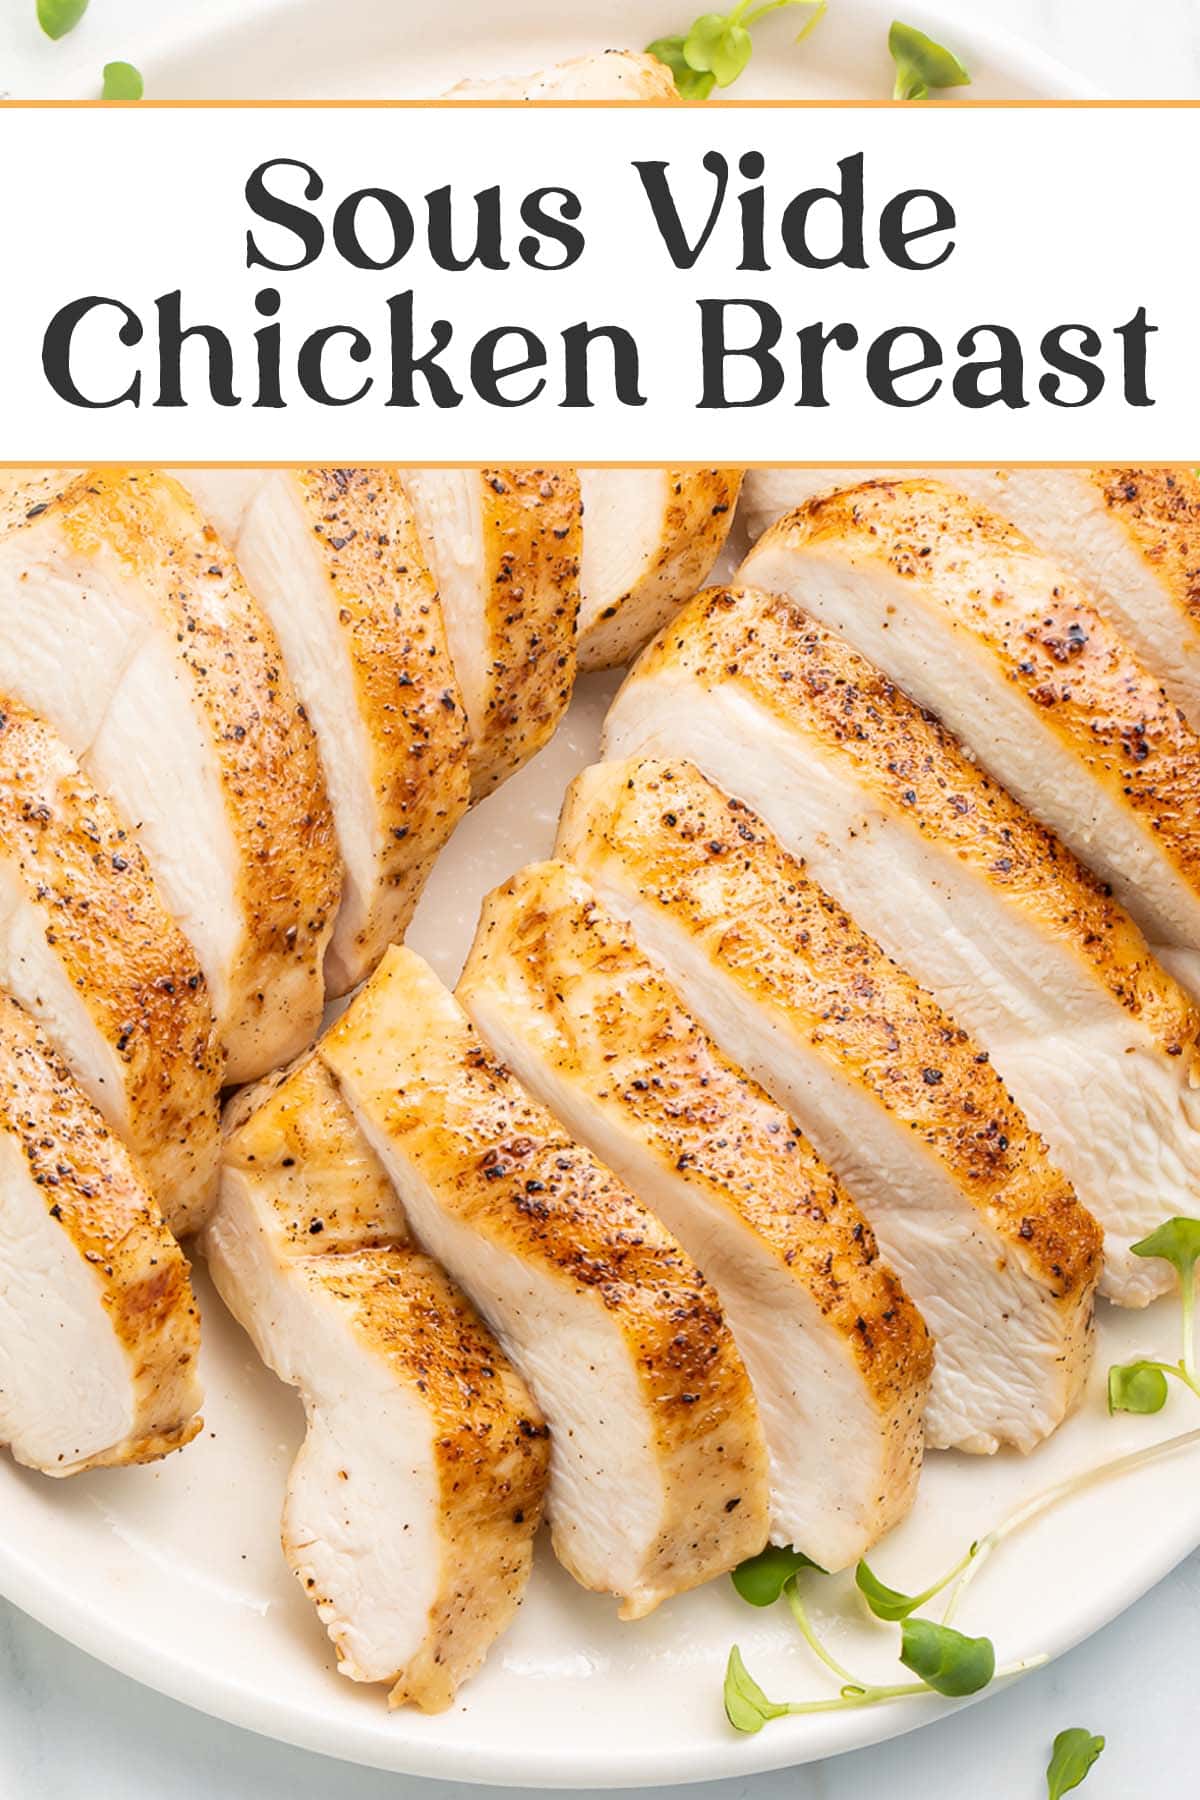
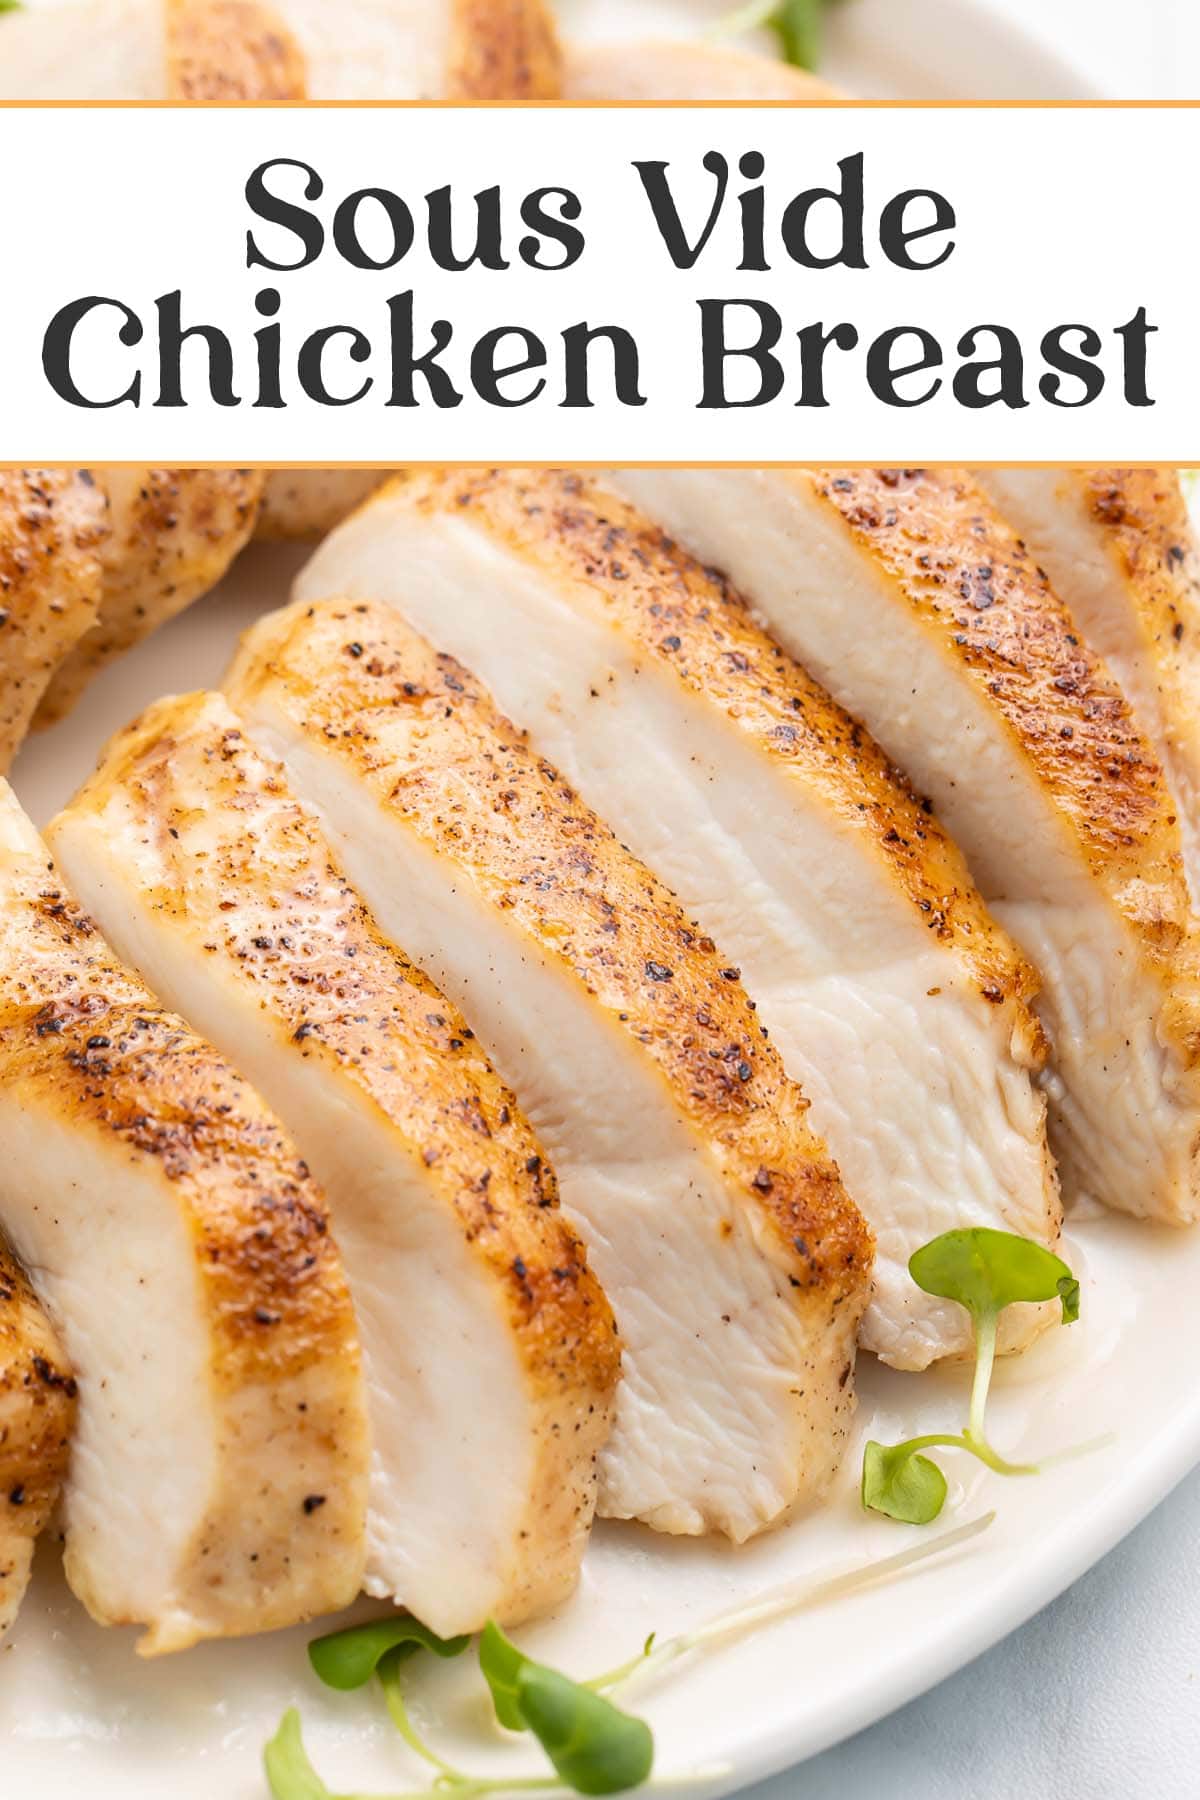
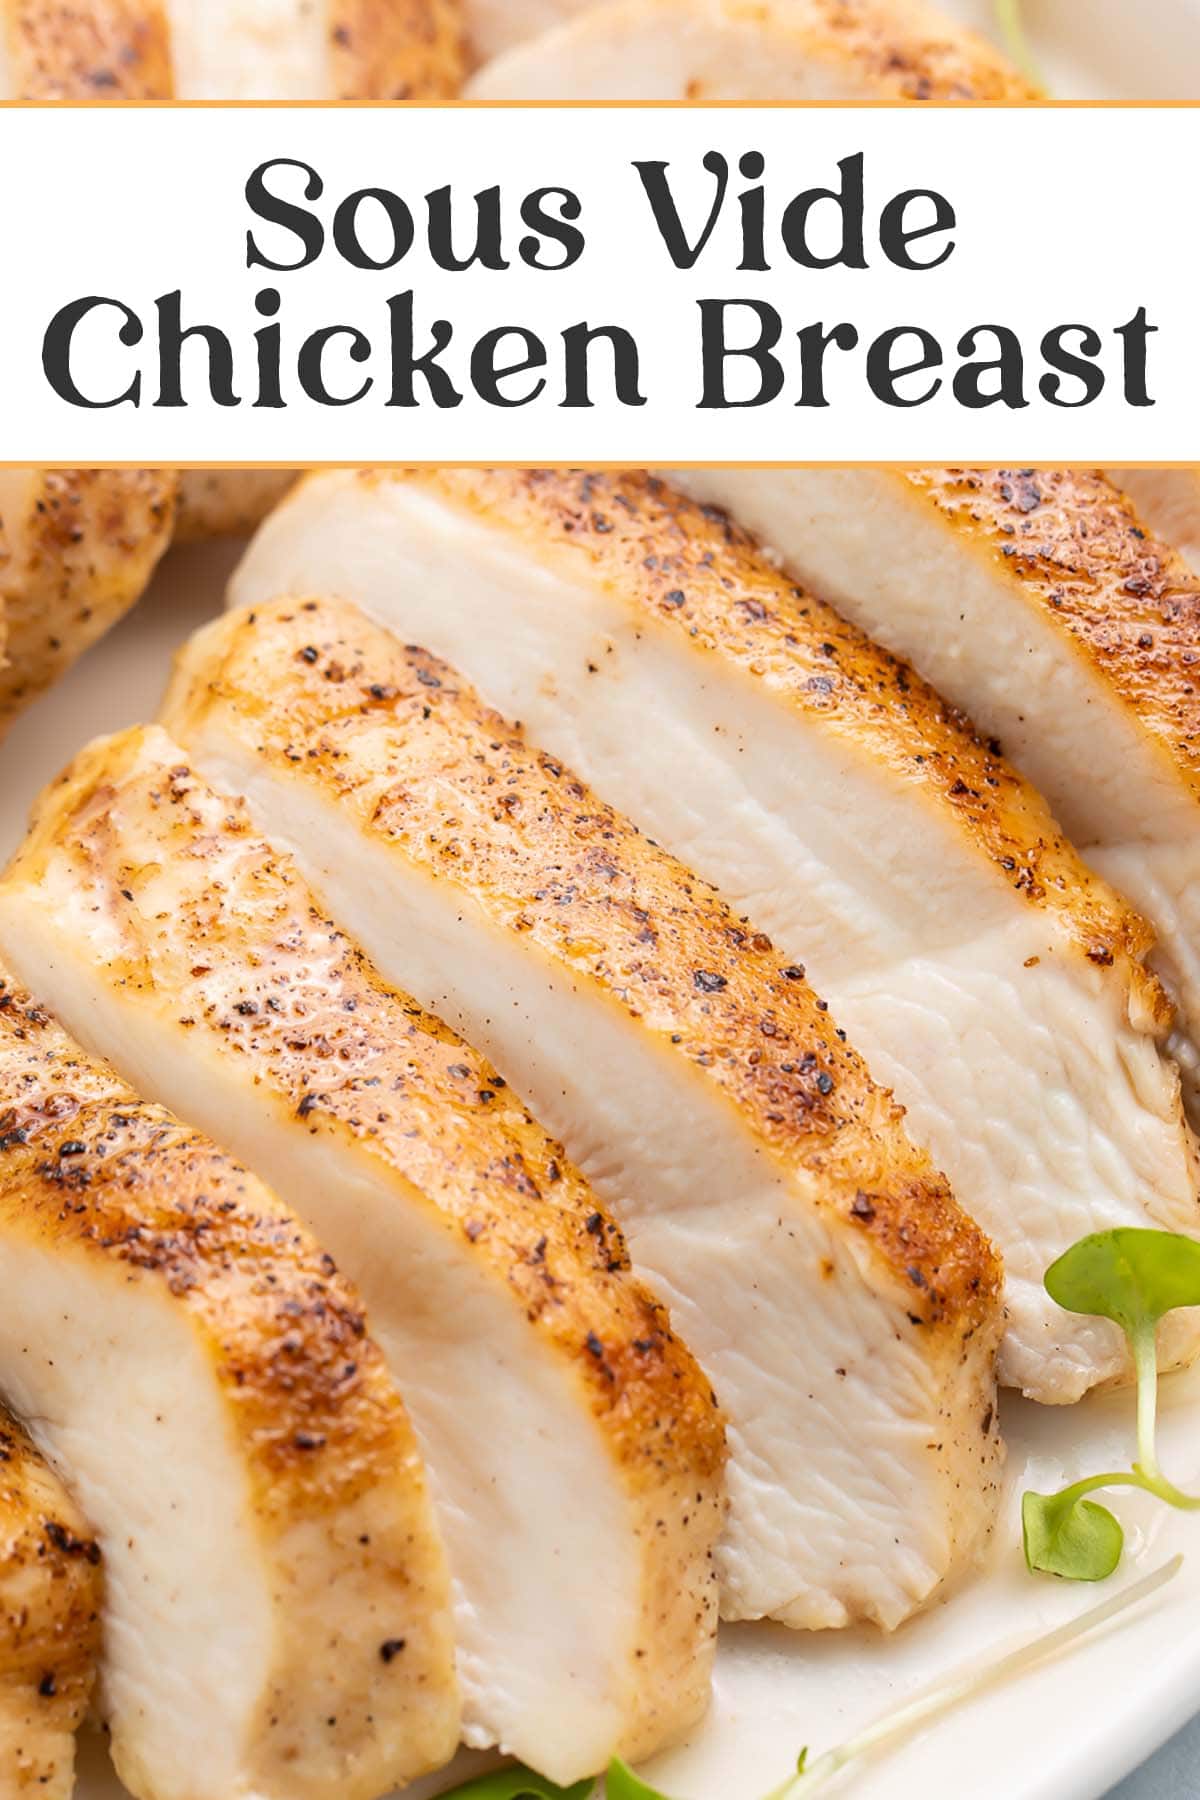
When you’re wanting a super juicy, tender chicken breast, the sous vide just can’t be beat. This easy, foolproof slow-cooking method gives you perfectly moist boneless, skinless chicken breasts every time. Seasoned any way you like, this recipe for never-tough, never-dry chicken will be your go-to for holidays, large gatherings, or any time at all.
♨️ What is “Sous Vide”?
Sous vide, meaning “under vacuum” in French, is a method where food is precision-cooked in a vacuum-sealed pouch that’s submerged in a heat-regulated water bath.
The water bath keeps the food (in this case, chicken breasts) at a consistent temperature for longer periods of time than other cooking methods. This ensures the food is cooked evenly all the way through to the center, without the risk of overcooking the outer edges at the same time.
🐔 What Makes This Recipe So Good
- I. Love. Sous vide cooking. The method is just so easy – and SO foolproof. Drop the food in a water bath, come back later to perfectly cooked proteins or sides. It’s pretty much impossible to mess up. It’s also pretty much impossible to overcook the chicken breast this way, which can’t always be said for other methods.
- Another really great thing about a sous vide chicken breast recipe is that it’s super versatile. I used a simple salt-and-pepper seasoning with olive oil, garlic, and an infusion of fresh herbs, but you can season your chicken literally any way you like it. BBQ, garlic herb butter, lemon pepper, Cajun seasoning… anything goes!
- The sous vide method works for a frozen chicken breast, too. Trust me, you’ll be thrilled to have this option when you suddenly realize you forgot to defrost the chicken for dinner tonight. Just follow the recipe instructions as they’re written below, but add at least 30 minutes to the initial cook time. That gives the chicken extra time to thaw and then cook completely.
👩🏼🍳 Chef’s Tips
- As with any sous vide recipe, it’s absolutely crucial that the food is fully submerged in the water bath for the entire cook time. If it’s not completely submerged, it won’t cook evenly, so you might end up with undercooked sections or spots that are tough or dry. Basically the exact opposite of what we want here. If your chicken breasts just will NOT stay underwater, you can weigh them down by adding pie weights to the bag, taping silverware to the outside of the bag, or by using sous vide weights specifically for this purpose.
- You can actually sous vide chicken breasts ahead of time and finish them with a quick sear just before it’s time to eat. To do that, fill a medium bowl with ice water, then transfer the bag of cooked chicken from the sous vide to the ice bath at the end of the cook time. Let the bag chill in the ice bath for 20 minutes or so. After that, refrigerate the chicken (still in the bag) until you’re ready to sear them. Make sure to heat them through completely in the skillet or you’ll end up with both hot and cold bites.
- Do you have to finish off a sous vide chicken breast on the stovetop? Not technically, no. If you plan to use it in another recipe, like a shredded chicken salad or chicken tacos, you don’t really need that crisp outer layer. If you’re serving the chicken as-is, though, with just a side or two, I definitely recommend searing it first. There’s no browning or caramelization (a.k.a. the Maillard reaction) with the sous vide process. Because of that, sous vide recipes are typically finished in a skillet with a bit of fat to go that extra mile.
🌡️ How Is This Chicken Safe to Eat?
While the general food-safe temperature for chicken breast is 165° Fahrenheit, that’s actually an oversimplified standard.
What really matters is that pasteurization occurs, killing the salmonella bacteria – and that process depends on both temperature AND time.
165°F is the general guideline because at that temperature, pasteurization occurs instantly. Hit that number and boom, no more salmonella.
At 145°F, pasteurization takes around 9-10 minutes. That means the chicken has to reach 145°F all the way through and then be kept at that temperature for about 10 minutes. It takes a little while for the chicken breasts to reach 145°F, though, which is why this recipe has a minimum 1-hour cook time.
💬 Frequently Asked Questions
I prefer to cook the chicken for just an hour, to keep things quick and easy. In a water bath kept at 146.5° Fahrenheit, though, chicken breasts can be cooked up to 4 hours before the texture is negatively affected.
Yes – as long as the chicken is cooked at that temperature for a minimum of one hour.
That typically means at least one of two things. Either your water bath temperature was too high, or you left the chicken in the water bath too long.
🥘 Other Easy & Delicious Recipes You’ll Love
- Egg Roll in a Bowl
- Sous Vide Eggs
- Dreamy Instant Pot Chicken and Rice
- Crockpot Wings
- Instant Pot Carnitas
- Matcha Green Tea Latte
- How to Cook Acorn Squash
- Easy Sheet Pan Chicken Sausage
- Shredded Chicken Tacos
Sous Vide Chicken Breast
Equipment
- Large pot or other large, heat-resistant container
- Sous vide immersion circulator
- Cutting board or large plate
- Basting Brush optional
- large food-safe vacuum sealing bag or large sealable food-safe plastic bag
- vacuum sealer optional, see Notes for alternative
- Large skillet
- Tongs
- Large plate
- Paper towels
Ingredients
- 2 medium boneless, skinless chicken breasts approximately 6 ounces each
- 2 teaspoons olive oil
- salt to taste
- freshly cracked black pepper to taste
- 2-4 sprigs fresh herb(s) of choice thyme, rosemary, dill, etc.
- 1-2 cloves garlic peeled, smashed
- 2 tablespoons butter or ghee, avocado oil, or refined coconut oil
Instructions
- Fill large pot or other large, heat-resistant container with water. Insert sous vide immersion circulator and set temperature to 146.5° Fahrenheit. Note: pot must be deep enough that water level falls between minimum and maximum indicators on circulator.
- Place 2 medium boneless, skinless chicken breasts on cutting board. Brush or rub 2 teaspoons olive oil evenly over all sides of chicken breasts, then liberally season chicken with salt and freshly cracked black pepper on all sides.
- Place chicken in large sealable food-safe bag. Add 2-4 sprigs fresh herb(s) of choice and 1-2 cloves garlic, then remove as much air as possible from bag using vacuum sealer or water displacement method (see Notes). Seal bag completely.
- Once water bath is preheated to 146.5° Fahrenheit, place sealed bag in water bath. Make sure chicken breasts are fully submerged in water. If needed, use sous vide weights, silverware, or pie weights to keep chicken completely submerged.
- Cook chicken breasts 1 hour. Toward end of 1-hour cook time, heat skillet over medium-high heat. When pan is warm, add 2 tablespoons butter. Swirl and tilt pan to distribute butter across surface, letting butter melt completely.
- While butter melts, remove bag from water bath. Transfer chicken breasts to large plate and pat chicken completely dry on all sides with paper towels.
- Once butter begins to foam, place chicken breasts in skillet. Sear chicken 1 minute, then flip chicken over and sear 1 additional minute or until chicken is browned on both sides.
- Plate seared chicken with desired sides and serve warm.
- The chicken absolutely MUST be fully submerged in order to cook properly. Weigh the bag down as needed to keep the chicken underwater the entire hour.
- Vacuum Sealer Alternative: If you don’t have a vacuum sealer, you can use the water displacement method to push the air out of the bag instead. Place the chicken breasts in an appropriately-sized sealable food-safe bag and seal the bag halfway across the top. Slowly lower the half-sealed bag into the heated water. The temperature difference outside the bag will force the air out of the bag – you should see the plastic cling to the meat. Once the food is entirely submerged and the air is all out, seal the bag completely and continue with the recipe.
- Make it Whole30/Paleo: Use ghee, avocado oil, or refined coconut oil instead of butter.
Alternate Seasoning Suggestions
- Instead of fresh herbs, use the chimichurri sauce from our sous vide flank steak recipe.
- Before adding it to the bag, rub the chicken with generous amounts of this simple lemon pepper butter or this incredible garlic herb butter.
- Try a store-bought Cajun seasoning, or make your own with a blend of paprika, salt, cayenne pepper, cumin, dried thyme, pepper, and onion powder. For exact measurements, see our blackened shrimp recipe.
- Give the chicken a little BBQ flair with your favorite store-bought dry rub. For a homemade version, use a mix of brown sugar, garlic powder, salt, smoked paprika, onion powder, chili powder, and black pepper. See our smoked chicken legs recipe for exact measurements.
- Start with this easy taco seasoning, then turn your sous vide chicken into shredded chicken tacos.
Approximate Information for One Serving
Nutrition Disclaimers
Number of total servings shown is approximate. Actual number of servings will depend on your preferred portion sizes.
Nutritional values shown are general guidelines and reflect information for 1 serving using the ingredients listed, not including any optional ingredients. Actual macros may vary slightly depending on specific brands and types of ingredients used.
To determine the weight of one serving, prepare the recipe as instructed. Weigh the finished recipe, then divide the weight of the finished recipe (not including the weight of the container the food is in) by the desired number of servings. Result will be the weight of one serving.
Did You Make This Recipe?
Tag @40aprons on Instagram and be sure to leave a review on the blog post!
Never Miss A Meal!
New Recipes Straight To Your Inbox
A curated selection of our most recent recipes, delivered straight to your inbox once a week.





Thank you! I just got the sous vide and this was amazing, never knew I could make chicken this tasty at home!
For the other breasts I chilled in the fridge- should I leave it out to warm up to room temperature and then sear them? If so, for how long?
They’re okay to be seared right out of the fridge!
I’ve used several recipes for this and this is the best one.
That is so great to hear! Glad you liked it
Thanks for a boneless skinless recipe. I couldn’t find the bone-in, skin on breasts I was looking for, so I tried this for a weeknight meal. With a little pan sauce after the searing, it was two thumbs up from the family.
I’m so glad you liked it! Pan sauce makes everything better
Our first sous vide. Turned out good! Weight of chicken breasts would help as “2” very in weight and time heating seems critical.
That’s a great suggestion. Luckily, the method is super accommodating and the weight doesn’t make much difference. Glad you liked it!
I get a head start on heating the sous vide water to my cooking temperature by putting the pot of water on the stove with the cooker attached, plug-in the cooker and turn on the stove burner. (Be careful to keep the cord away from the burner.) When the cooker displays about 5 degrees below the the target temperature, I turn off the stove burner and let the cooker finish the job. If you don’t have an electrical outlet nearby you can do the same thing but check the temperature with a thermometer.
heat transfer in a pot on a stove is higher than the water being heated, the heat transfer will go up the side and into the plastic parts of you sous vide, as long as you are careful you should not have an issue, but starting at high heat and then turning it down will create and issue for sure, undue heat stress into the sous vide
I find it easier and safer to fill my Sous Vide tub, as I call it because it’s plastic but would definitely work with a metal/Aluminum/ etc. I heat the water in a large pan on my stove or use hot water from the tap, them remove it from the heat when the water gets to 145 degrees. I use a thermometer that I use for bread or candy making or a laser thermometer, just to make sure the water doesn’t come to a boil, that would be to high of a temp. When the water reaches the temp necessary, I just pour it in the plastic/heat safe tub or whatever metal type pot that I may need.
I’m just to afraid that putting the Sous Vide heating unit over the flames of my gas stove, maybe electric would be OK, I just don’t want to take any chances of burning the cord.
My husband and I are changing our diets for our New Years Resolution and we were given a Sous Vide for Christmas! A lucky coincidence! We’re eating much better with this type of cooking! Hope your enjoying yours as much as we are enjoying ours!
Happy New Year!
Read (somewhere else) that raw garlic in a sous vide cooking bag leaves a funny taste. The remedy is to “bloom” or saute the garlic a few minutes (or use garlic granules/powder instead) before cooking in the sous vide bag with your food.
That’s a great idea!!
Hi,
I’m curious as to the high fat content if using boneless skinless chicken breast?
We LOVE our sous vide and are always looking for more recipes. This looks yummy and delicious! Can’t wait to try this weekend. Keep the sous vide recipes coming, please! Cheers.
I am obsessed with sous vide!
What are the concerns of cooking with plastic? I am dying to try this but nervous about the plastic’s chemicals leaching into the food…
Use of cheap no name zip lock bags are a concern for me.
I always use glad my self.
But for temperatures above 140F I don use zip lock bags I always use vacuum seal bags.
Or you can get single use vacuum seal bags that that have a ziplock.
I use my emersion cooker in hotels and a small vacuum sealer with rolled bags I can cut to size.
I cant tell you how much I save on making my own meals with my portable kitchen.
of a emersion cooker , rice/vegetable steamer.
And a 18 quart polycarbonate rubbermaid container with silicone lid and a neoprene sleeve on the container.
Yes the total cost of everything from amazon was about $250.00 but it has paid for its self many times over for the last 4 months I have used it.
It’s safe to use plastic bags that do not contain, phthalates and BPA. I use Ziploc brand “Freezer Bags”, when I run out of the vacuum bags. They work great and the SC Johnson Company is great because the put the ingredients of the bags on the box they come in! That’s a great plus for me! Glad also publishes the bags ingredients but I really just don’t care for them, don’t know why but I just don’t like them! I really prefer the vacuum seal bags that are the same brand as my Sous Vide. I know they are more expensive but I just feel they are of the best quality. That’s just me!
I would suggest if you are the least bit concerned that you research plastic food storage bags and familiarize yourself with the bad ingredients like BPA’s and then you can check out the bags before you buy them! I don’t buy any thing that I’m going to put food in that doesn’t have its ingredients on the box or container. I’ve even looked up ingredients on-line at the manufactures web site and if the ingredients aren’t there, I stay away from them all together! I never use a generic brand, either! I’m picky!
hi Charlie, Would you be so kind to share how you manage your food in a hotel?
Do you bring it but good while traveling. A cooler or rooms with a fridge? Maybe daily shopping, but 1 serving of meat purchased?
This is fantastic as I too would bring my instant p t or hairdryer but it seems I always needed a cooler or most hotels have refridgerators .
Thanks so much Charlie!
I personally use BPA-free reusable bags I got from Amazon. Highly recommend
I have a new sous vide cooker and am looking for recipes, I can’t wait to try this one out!
You’ll love this recipe! It’s a classic <3