This Post May Contain Affiliate Links. Please Read Our Disclosure Policy.
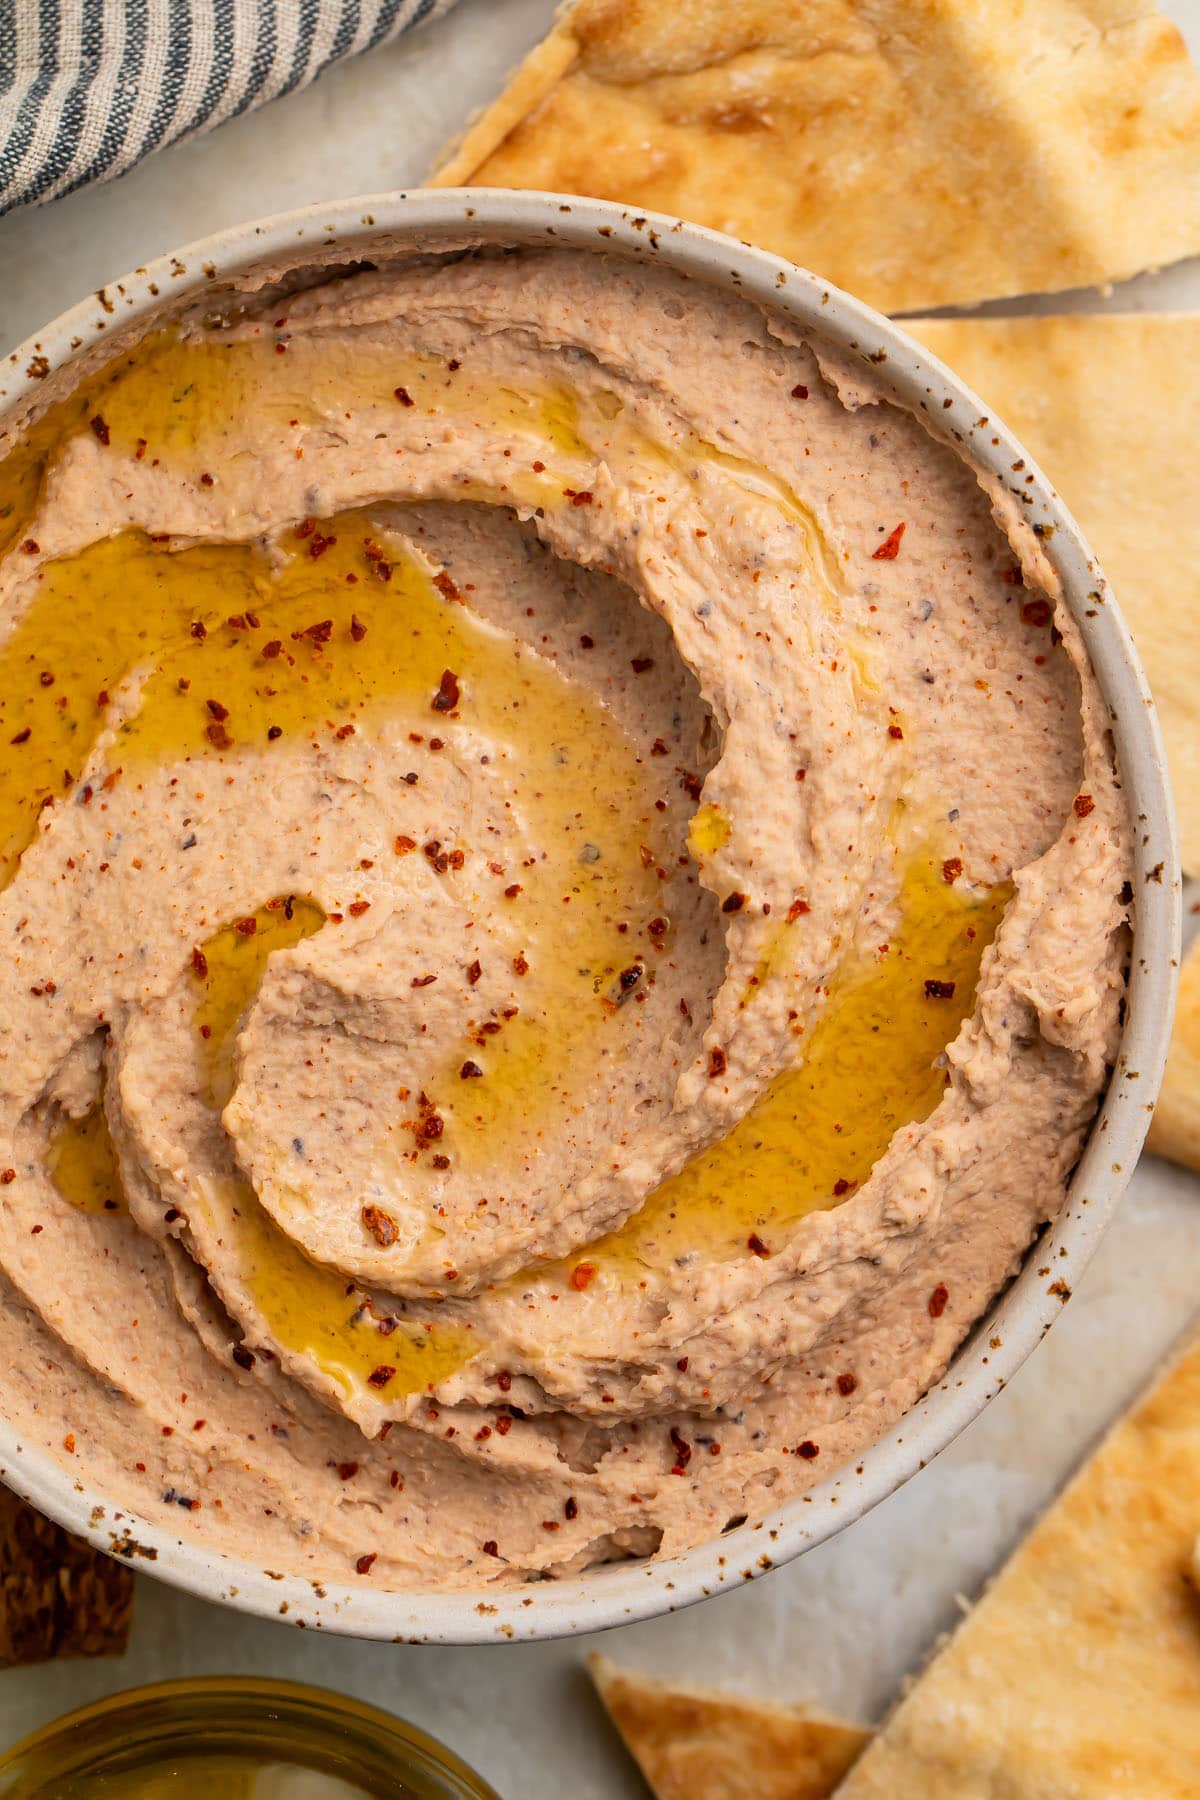
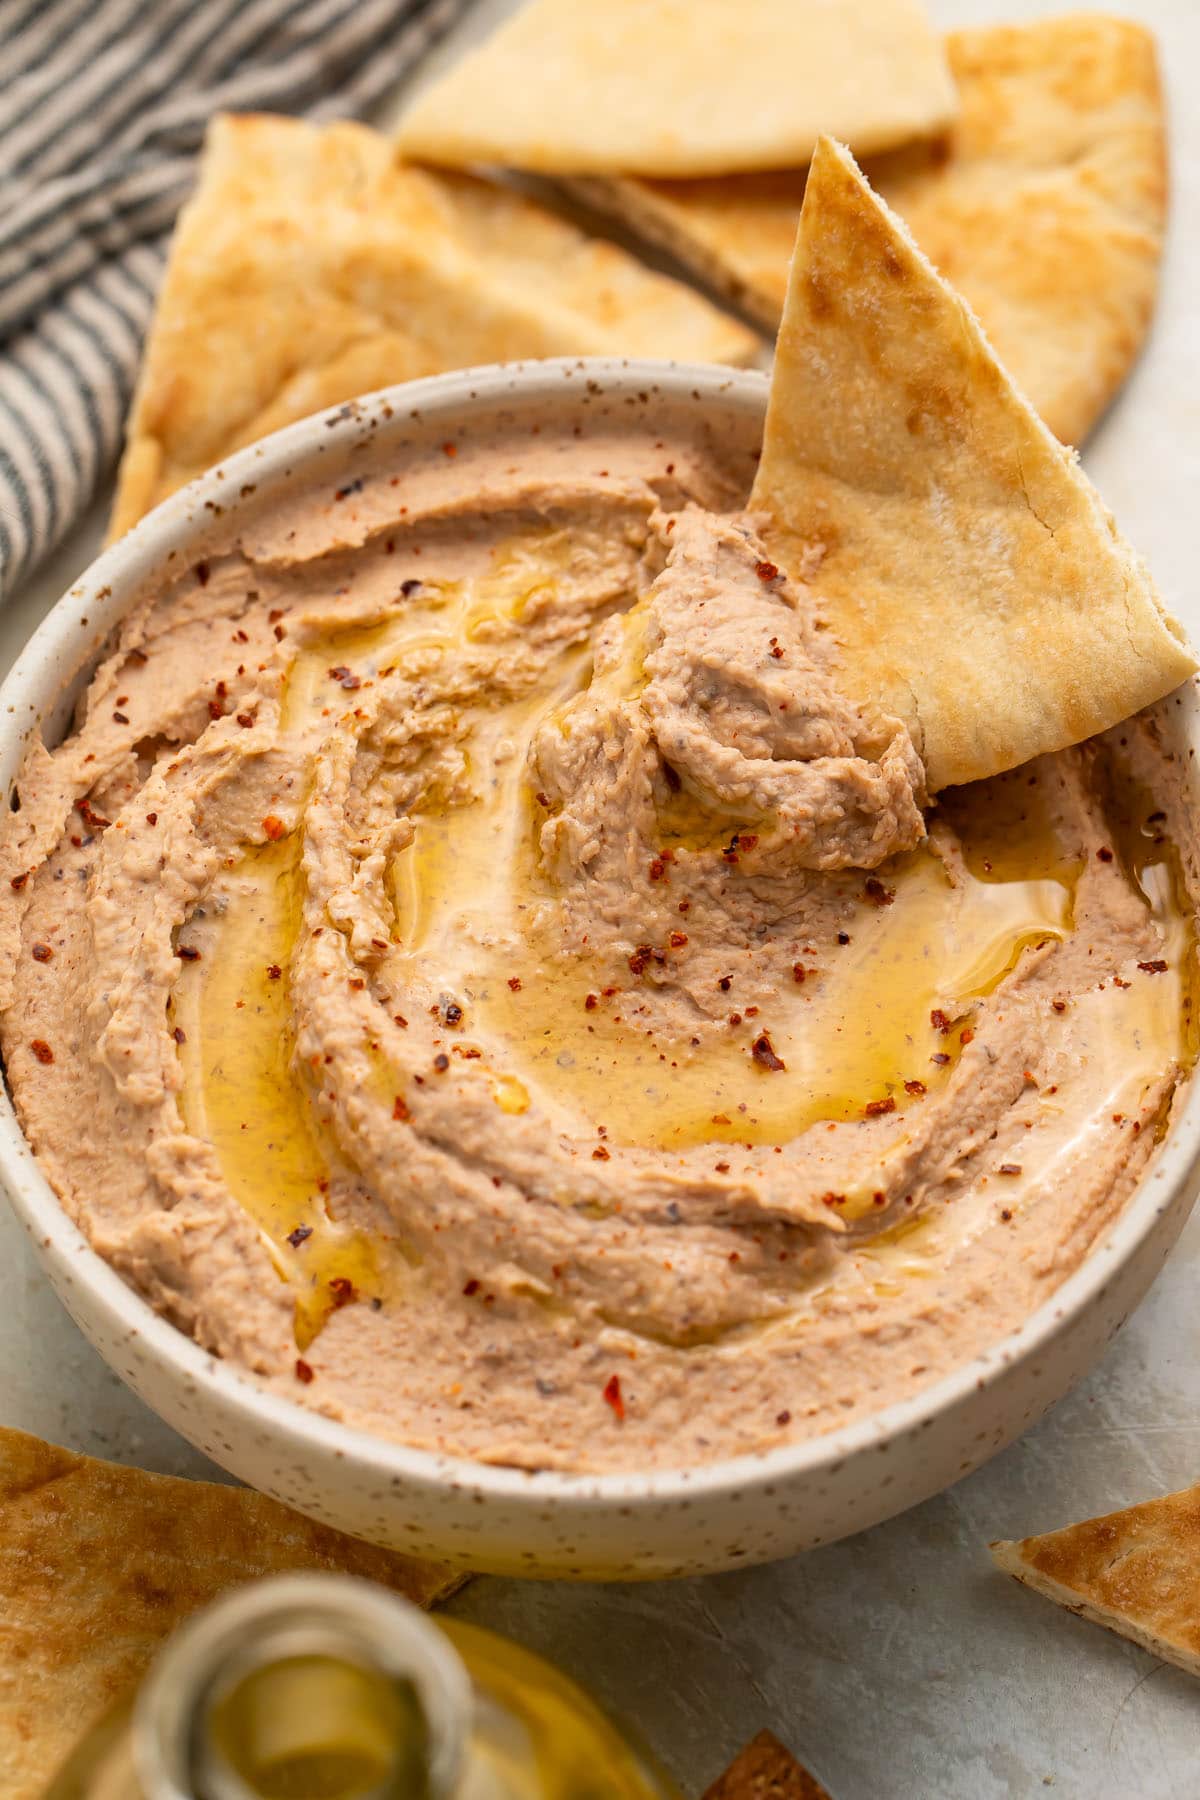
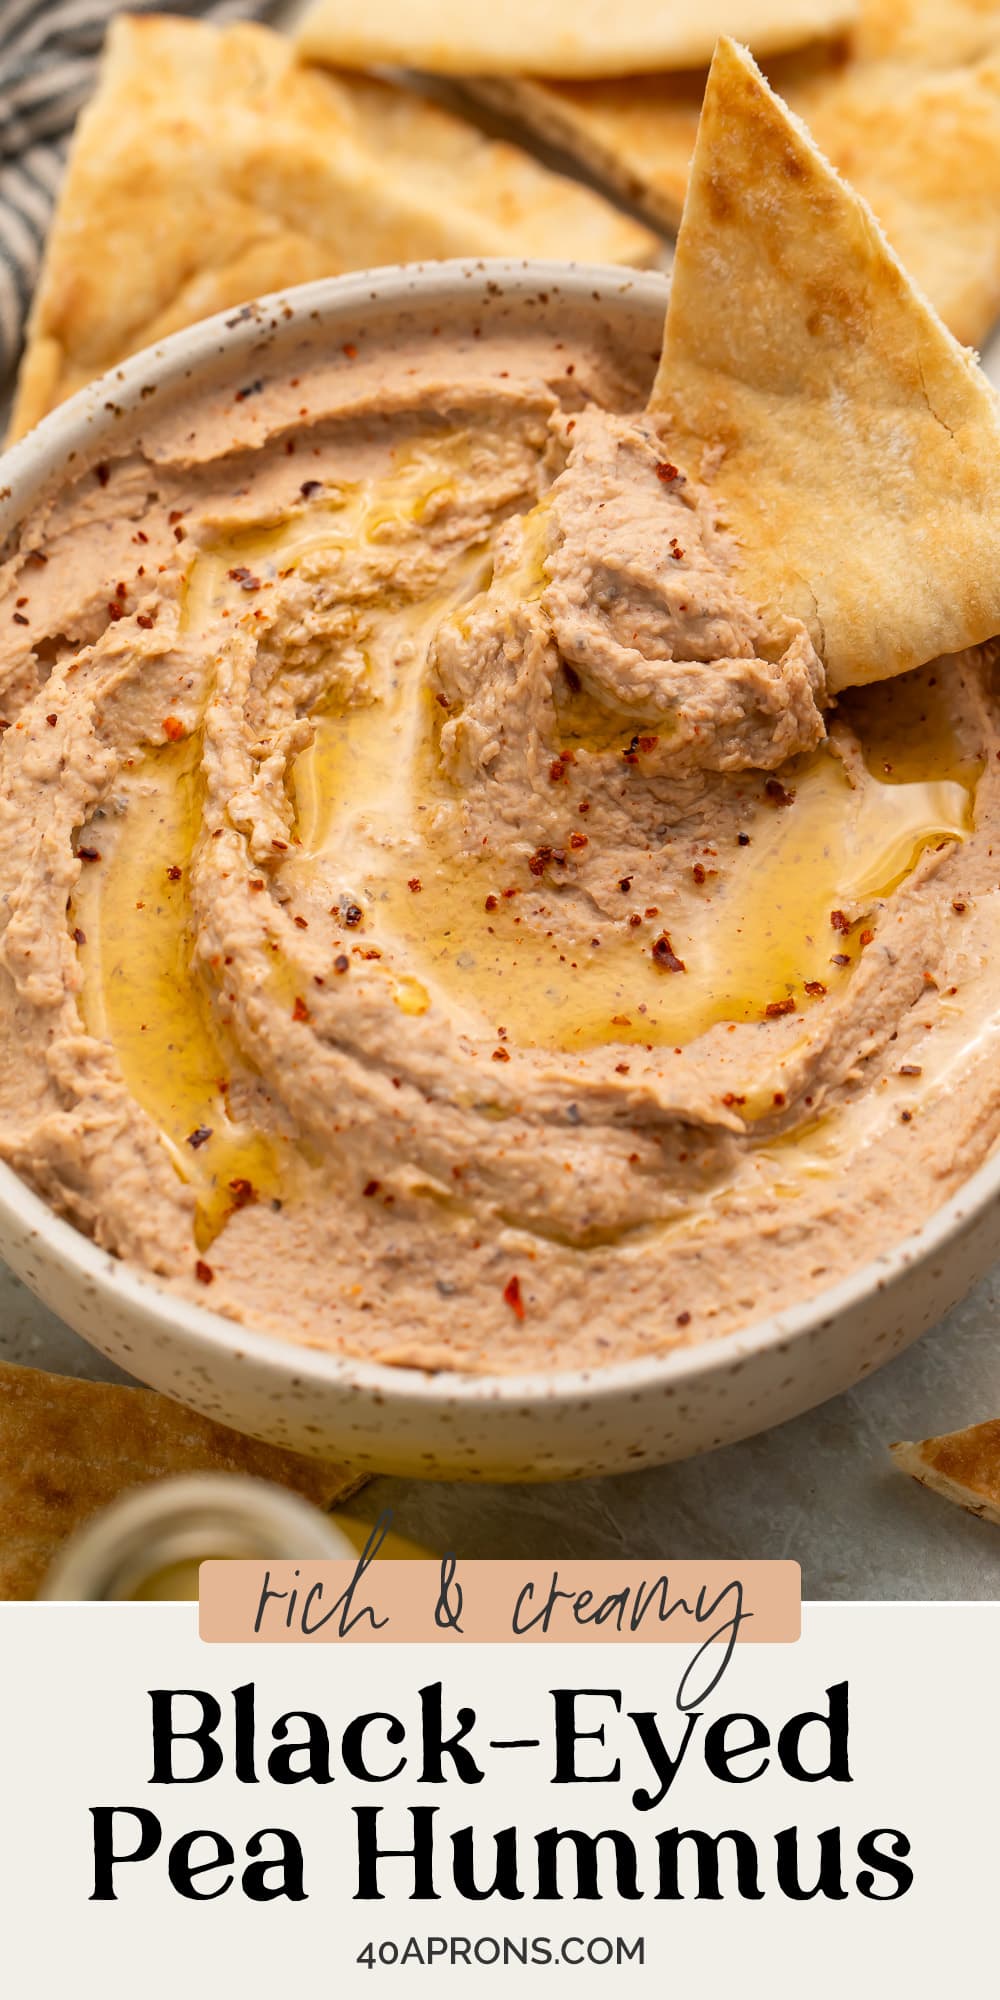
The luckiest hummus you’ll ever eat! This black eyed pea hummus tastes so similar to regular hummus, but is a perfect addition to your New Year’s Day spread… or anytime!
🪩 Black Eyed Peas + New Year’s Day?
Enjoying black eyed peas on New Year’s Day is a long-held tradition across the South. But why? How did it start? What makes black eyed peas “lucky”?
Black eyed peas are a bean native to West Africa, and while they weren’t necessarily a New Year’s staple, they were (and still are!) commonplace at special meals. In West Africa, black eyed peas were considered good luck charms and a symbol of good luck, prosperity, and fertility.
As European and American colonizers enslaved the people of West Africa, black eyed peas were brought over as provisions. Enslaved West Africans planted and grew black eyed peas in gardens on Southern plantations, and the beans eventually became part of the diets of enslaved peoples and slaveholders alike.
Over time, the hearty legumes became not just a holiday tradition in the States, but a time-honored superstition, especially in Black and Southern homes. You’re very likely to see black eyed peas served on their own or on top of rice (a dish known as Hoppin’ John), or along with greens to represent money. For many, eating black eyed peas on the first day of the new year is a must if you have any hope of success and prosperity for the next 365 days.
Read More: “Why Do We Eat Black-Eyed Peas on New Year’s Day?” by Adrian Miller
🫘 What Makes This Recipe So Good
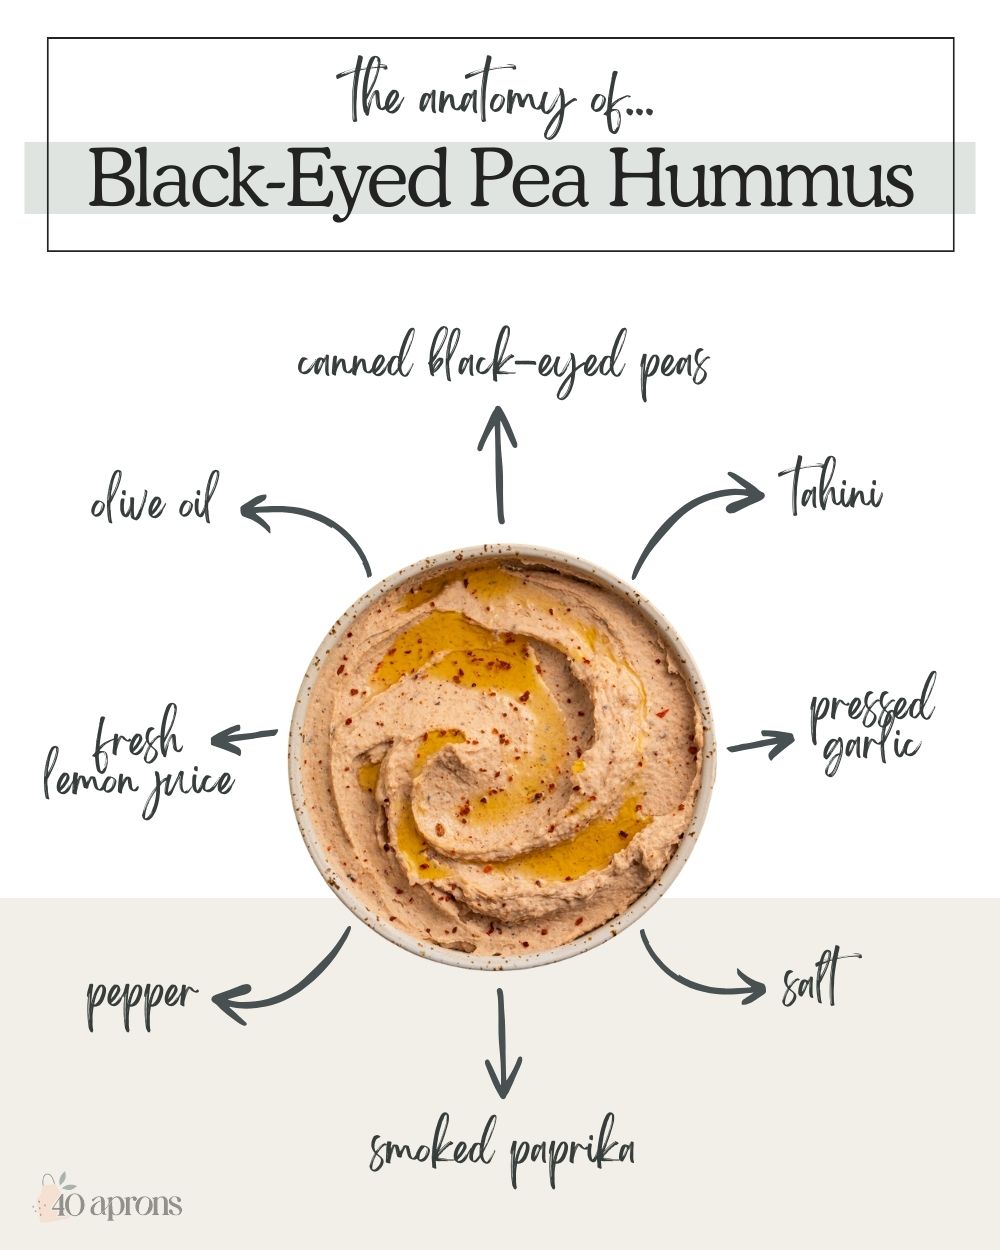
- Savory black eyed pea hummus is a delicious twist on the more traditional chickpea hummus, and it’s absolutely incredible. It has a base of earthy black eyed peas, nutty tahini, peppery olive oil, zesty lemon juice, and bold garlic, tied together with smoked paprika, salt, and black pepper. The flavors are balanced beautifully, and the smooth blend of ingredients ensures you get a little bit of everything in each bite.
- There’s no cooking required at all. If you’re making this hummus for your New Year’s Eve or New Year’s Day festivities, I’m sure you can appreciate a no-cooking-required recipe right after the marathon cooking days of Thanksgiving and Christmas. I know I sure do!
👩🏼🍳 Chef’s Tips
- Want to make your hummus sesame-free, or just cut down the cost a bit? No problem – just omit the tahini. It does make a difference to the flavor, and I recommend using it if you’re able, but black eyed pea hummus is just as delicious without tahini as it is with.
- You can serve black eyed pea hummus right after you make it if you want, but! I really recommend you chill it in the fridge for at least 30 minutes first. That extra time gives all the ingredients time to meld, making the flavors deeper and more vibrant. For the best-tasting hummus, let it chill first.
- If you want to use dry black eyed peas instead of canned, that’s no problem. You’ll just need to soak the dry beans first so they’re soft enough to run through the food processor and blend with everything else. Rinse them under running water first, then put them in a big bowl and fill them with water. A good rule of thumb is 3 cups of water for every 1 cup of dry black eyed peas. You can also go by sight – the waterline should sit roughly 3 inches above the top layer of beans. Put the bowl in the fridge and let the beans soak 6-12 hours.
🍾 More Amazing New Year’s Recipes
- Cocktail Blini (For Caviar and More!)
- Stuffed Artichokes
- Chicken Velvet Soup
- Lobster Mashed Potatoes
- Red Velvet Cake Mix Cookies
- Crab Stuffed Mushrooms
- 2-Ingredient Bacon-Wrapped Dates (with Stuffed Option)
- Champagne Jello Shots
- Crockpot Spinach Artichoke Dip
- Oyster Brie Soup (from Disney World’s Hollywood Brown Derby)
- 3-Ingredient Sausage Dip (Stovetop or Crockpot)
- Baked Stuffed Shrimp
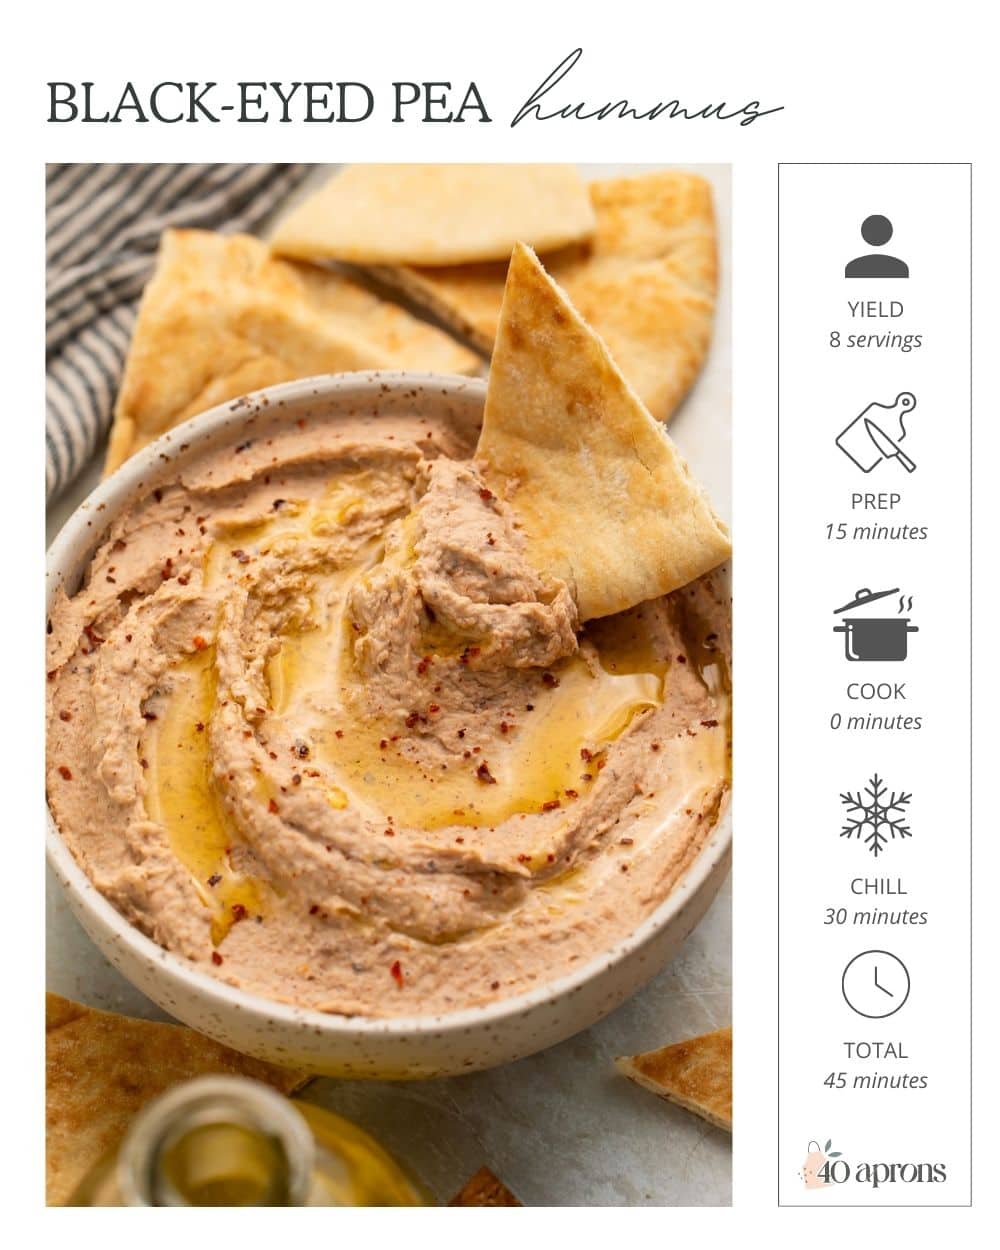
Black Eyed Pea Hummus
Equipment
- Food processor
- large silicone spatula
- serving bowl with lid, or plastic wrap to cover
Ingredients
For the Black Eyed Pea Hummus
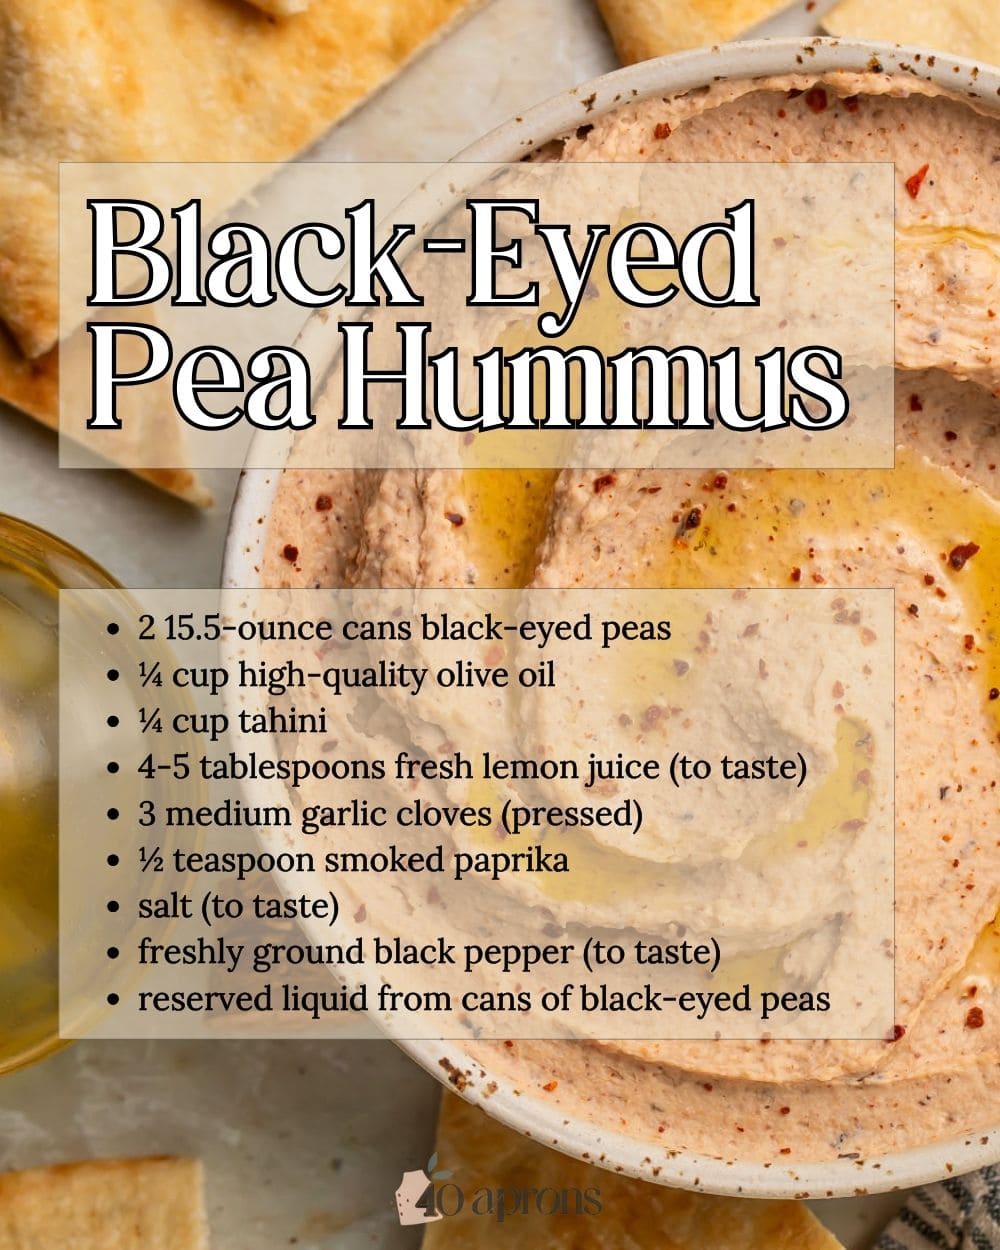
- 2 15.5-ounce cans black eyed peas liquid drained, reserved; beans rinsed
- ¼ cup high-quality olive oil
- ¼ cup tahini
- 4 tablespoons fresh lemon juice plus more as needed
- 3 medium pressed garlic cloves
- ½ teaspoon smoked paprika
- salt to taste
- freshly ground black pepper to taste
- reserved liquid from cans of black eyed peas
Serving Suggestions (All Optional)
- high-quality olive oil
- pita chips
- tortilla chips
- celery sticks
- fresh vegetables
Instructions
- Add 2 15.5-ounce cans black eyed peas, ¼ cup high-quality olive oil, ¼ cup tahini, 4 tablespoons fresh lemon juice, 3 medium pressed garlic cloves, ½ teaspoon smoked paprika, salt, and freshly ground black pepper to food processor bowl.
- Secure lid on food processor. Process ingredients until fully combined and mostly smooth, pausing to scrape down sides of food processor with silicone spatula as needed.
- When ingredients are combined, add reserved liquid from cans of black eyed peas in small amounts, processing mixture after each addition to fully incorporate liquid. Repeat as necessary until mixture is thinned to desired consistency. Note: we used 1 tablespoon of reserved liquid total. You may use more or less than that.
- Once mixture is completely smooth and desired consistency is achieved, remove lid and taste hummus. Add salt and pepper if needed, then process mixture again to incorporate added ingredients.
- When satisfied with flavor, remove lid and set aside. Transfer hummus to serving bowl, cover bowl with lid or plastic wrap, and place bowl in refrigerator. Chill hummus at least 30 minutes.
- When ready to serve, remove hummus from refrigerator and uncover bowl. If desired, drizzle swirl of high-quality olive oil on top of hummus. Serve hummus chilled with pita chips, tortilla chips, celery sticks, and/or other fresh vegetables as desired.
- Black Eyed Peas: You can use dry black eyed peas instead of canned, but you’ll have to soak them first to make them soft enough to process. This is also a great way to use any leftover black eyed peas you cooked a day or two prior.
- Make-Ahead Option: Prepare hummus up to 24 hours in advance. Keep refrigerated in an airtight container until ready to serve.
- Storage: Refrigerate leftover hummus in an airtight container up to 7 days.
Approximate Information for One Serving
Nutrition Disclaimers
Number of total servings shown is approximate. Actual number of servings will depend on your preferred portion sizes.
Nutritional values shown are general guidelines and reflect information for 1 serving using the ingredients listed, not including any optional ingredients. Actual macros may vary slightly depending on specific brands and types of ingredients used.
To determine the weight of one serving, prepare the recipe as instructed. Weigh the finished recipe, then divide the weight of the finished recipe (not including the weight of the container the food is in) by the desired number of servings. Result will be the weight of one serving.
Did You Make This Recipe?
Tag @40aprons on Instagram and be sure to leave a review on the blog post!


Never Miss A Meal!
New Recipes Straight To Your Inbox
A curated selection of our most recent recipes, delivered straight to your inbox once a week.
Thank you!
You have successfully joined our subscriber list.