This Post May Contain Affiliate Links. Please Read Our Disclosure Policy.
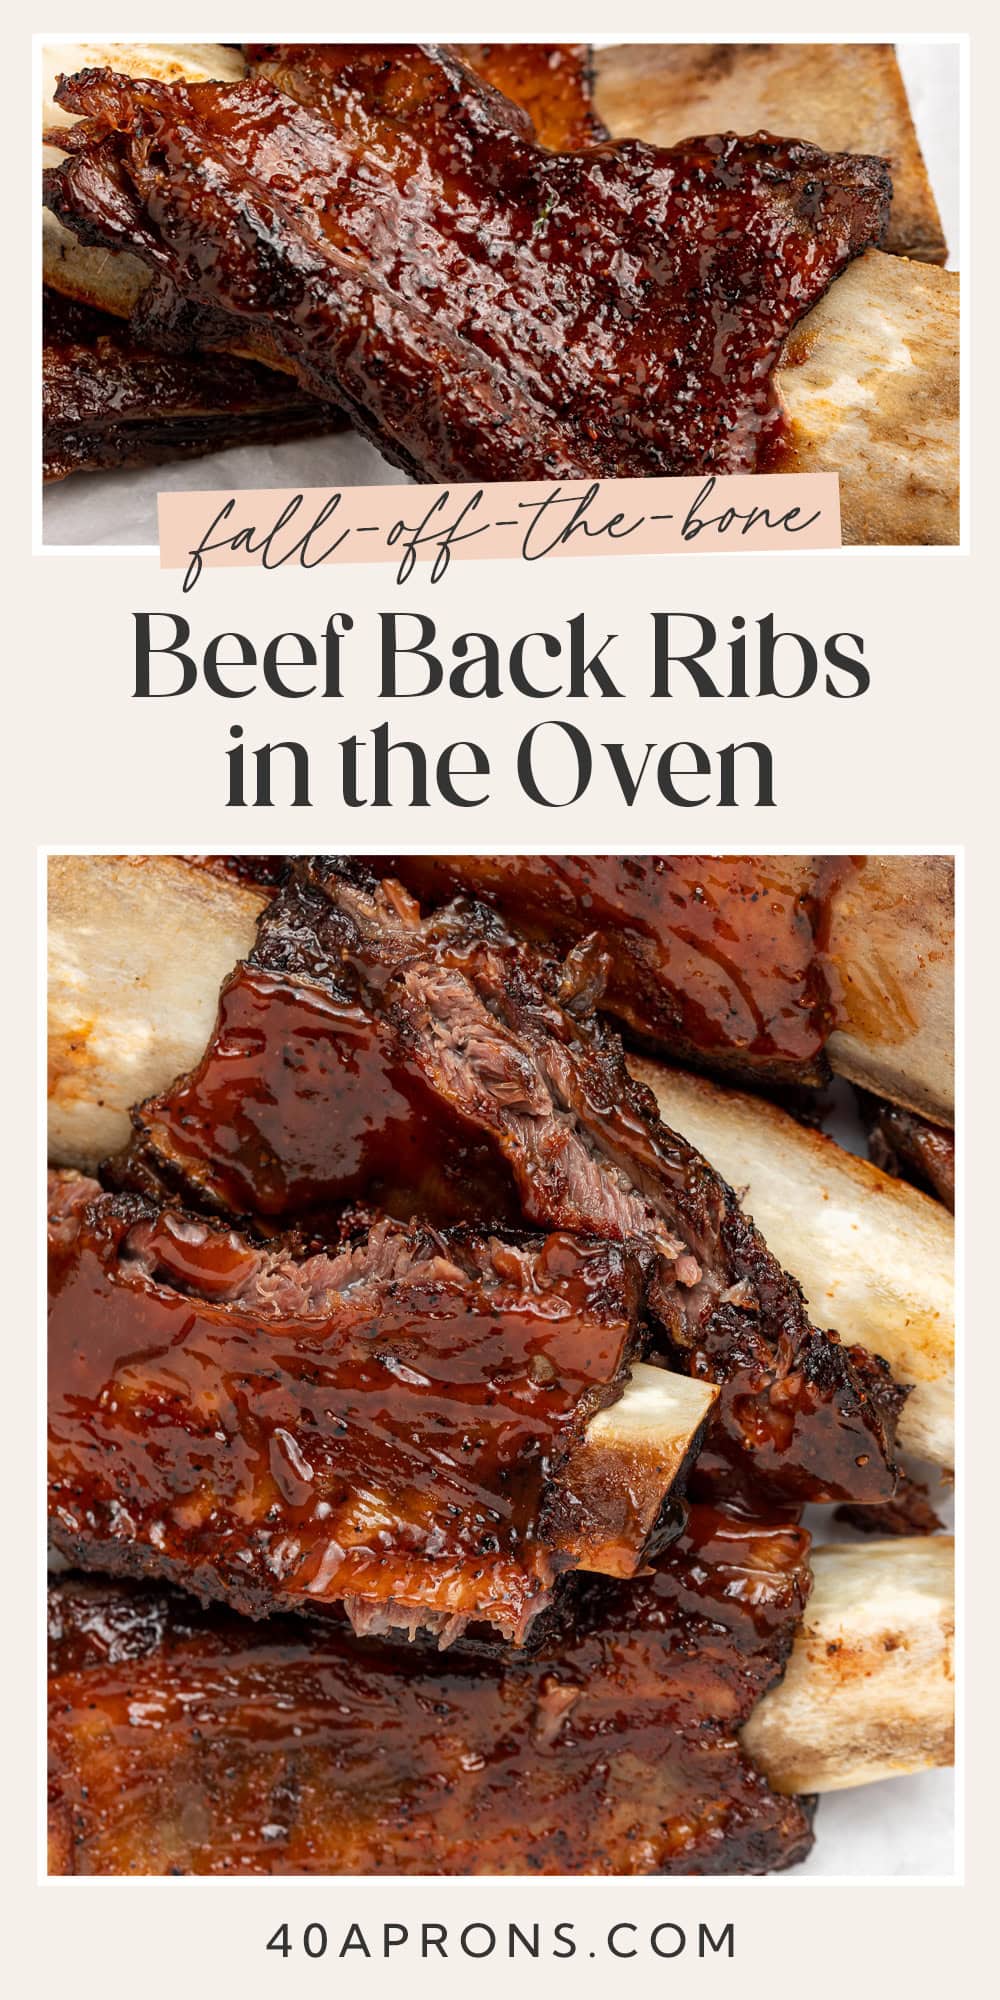
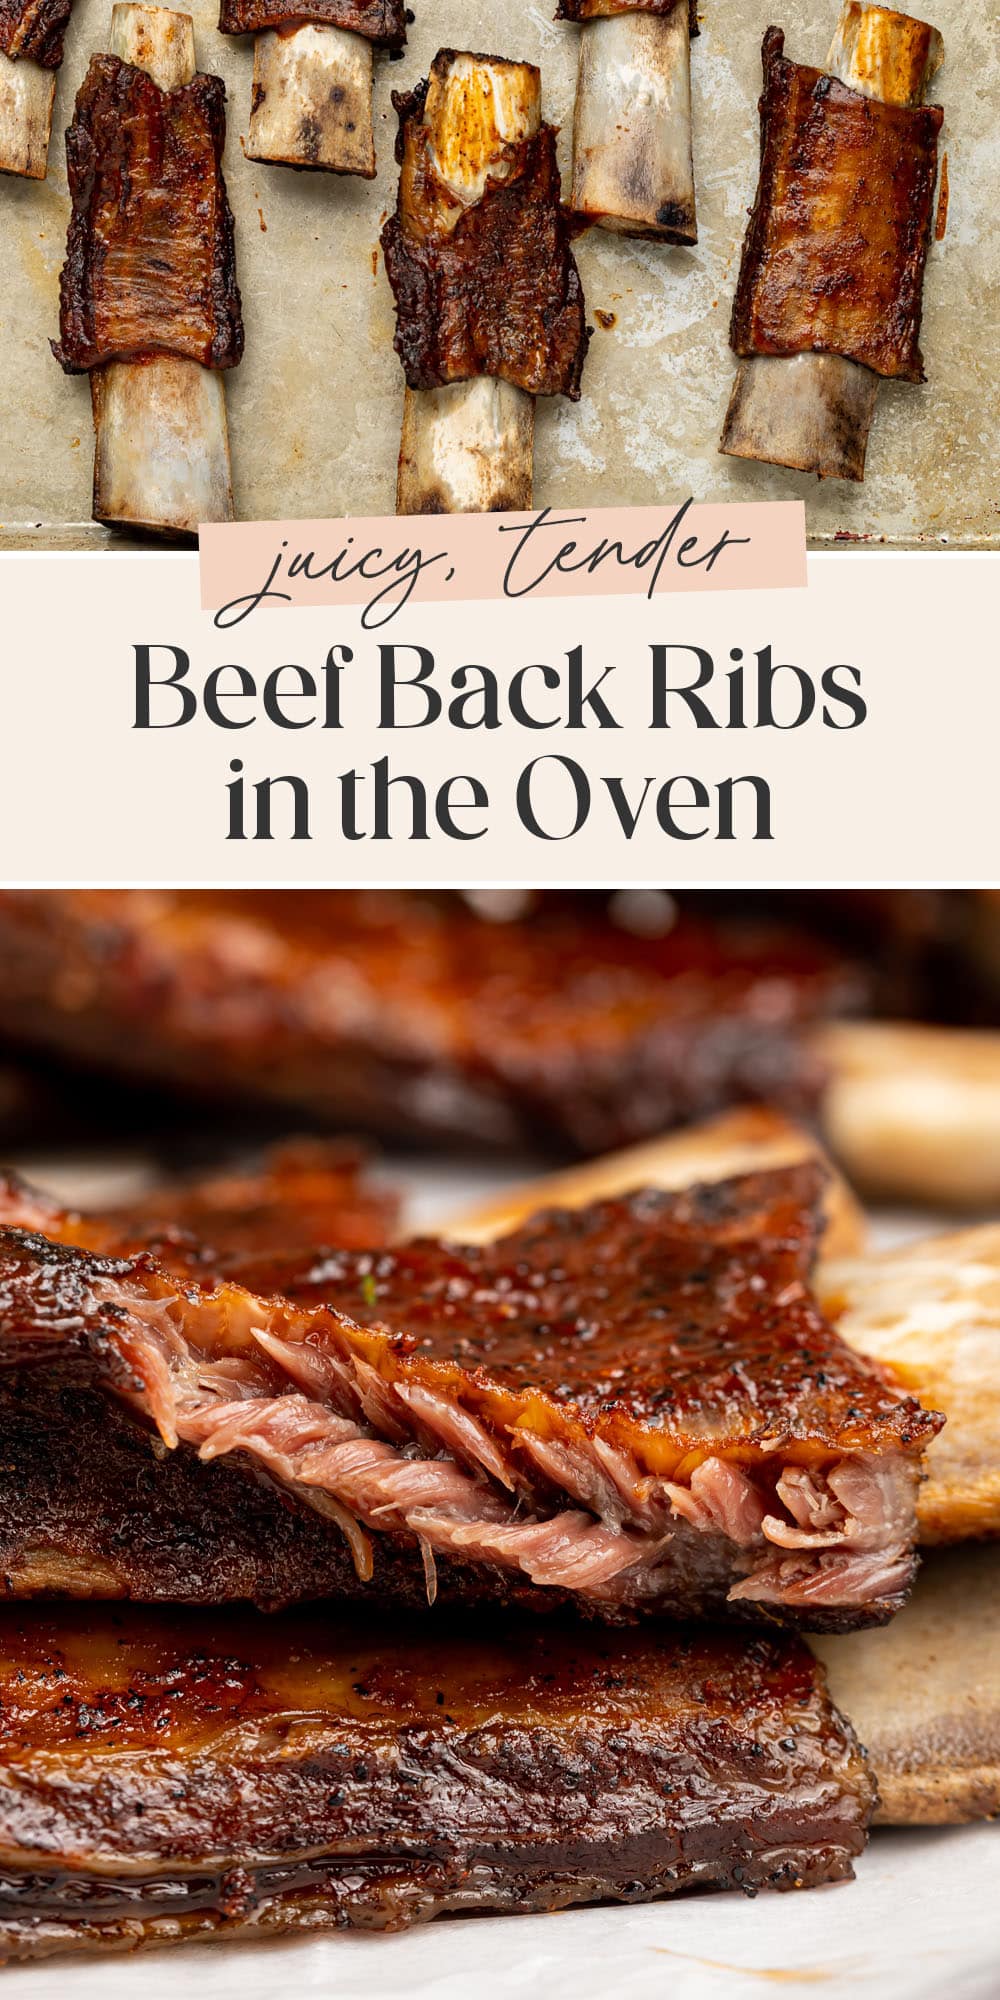
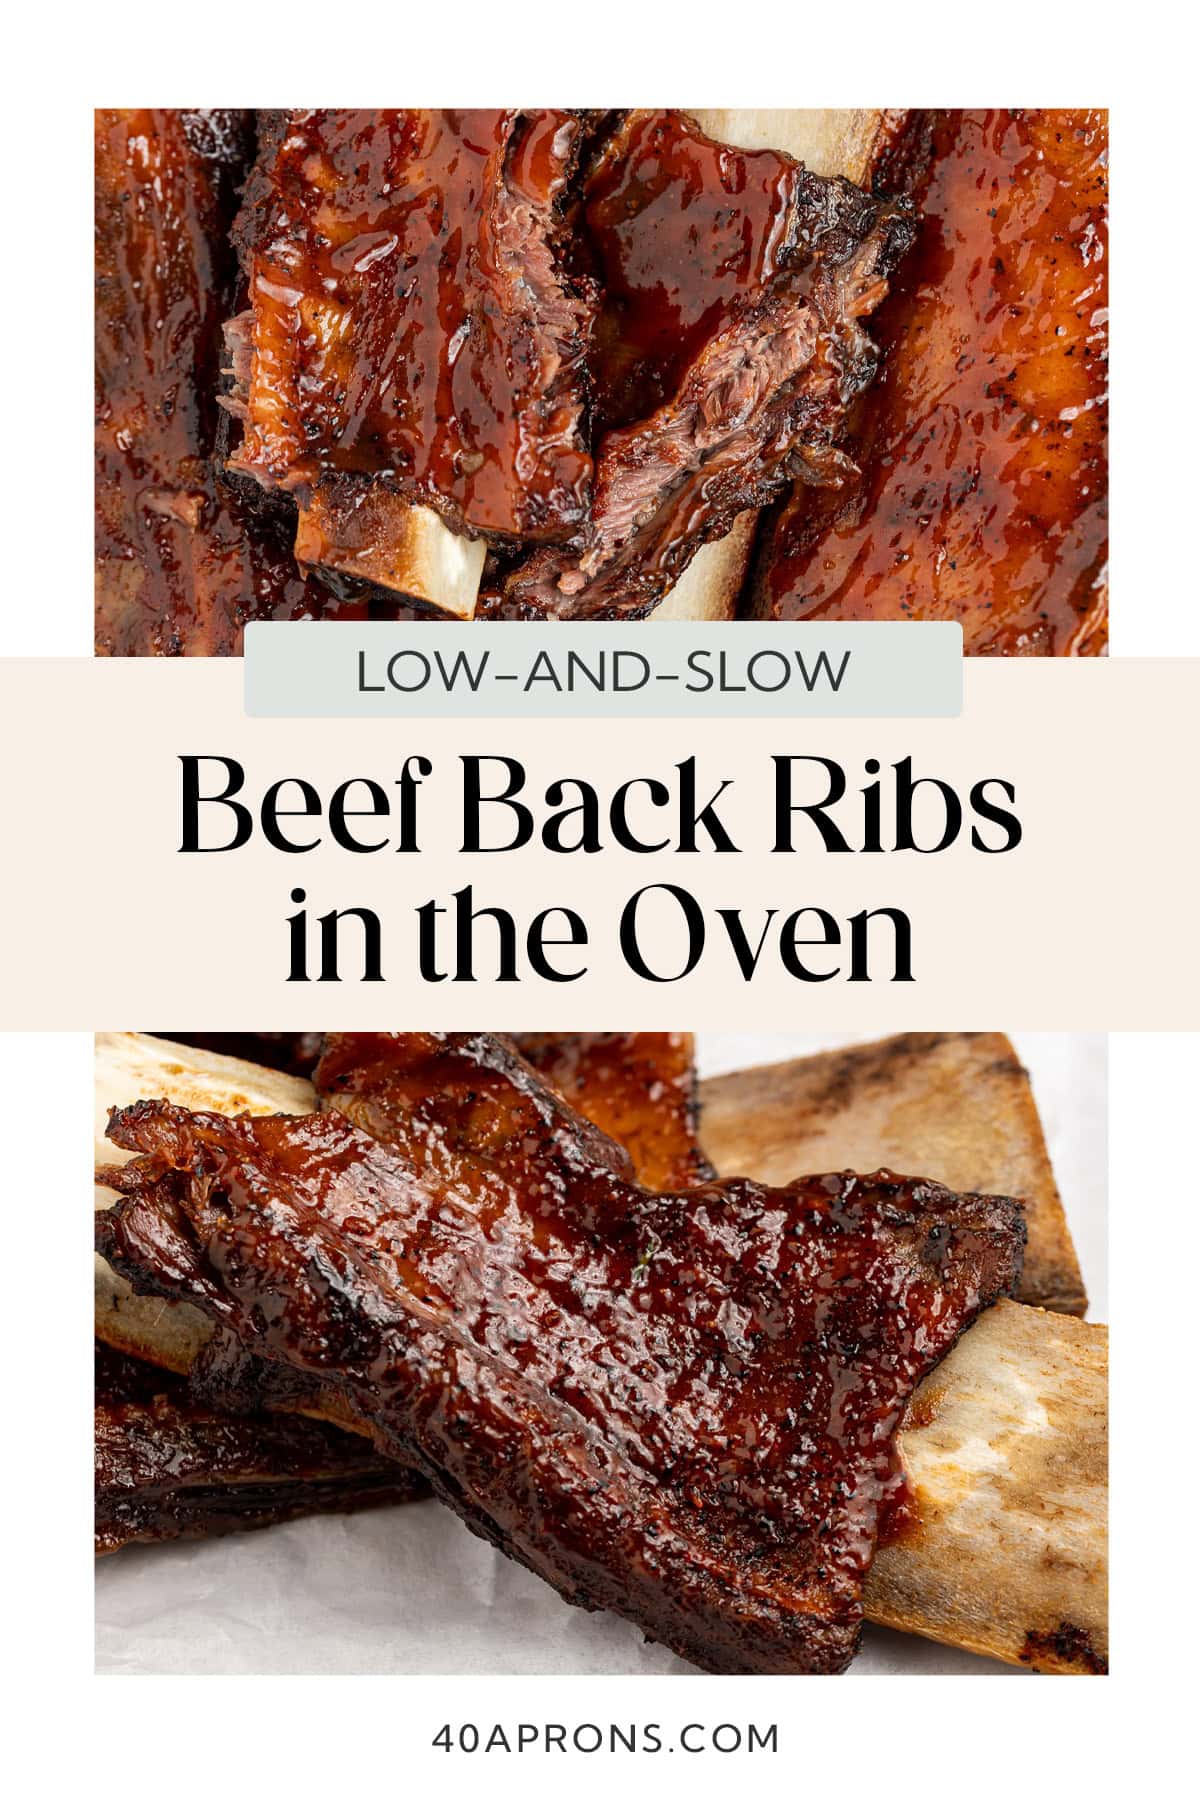
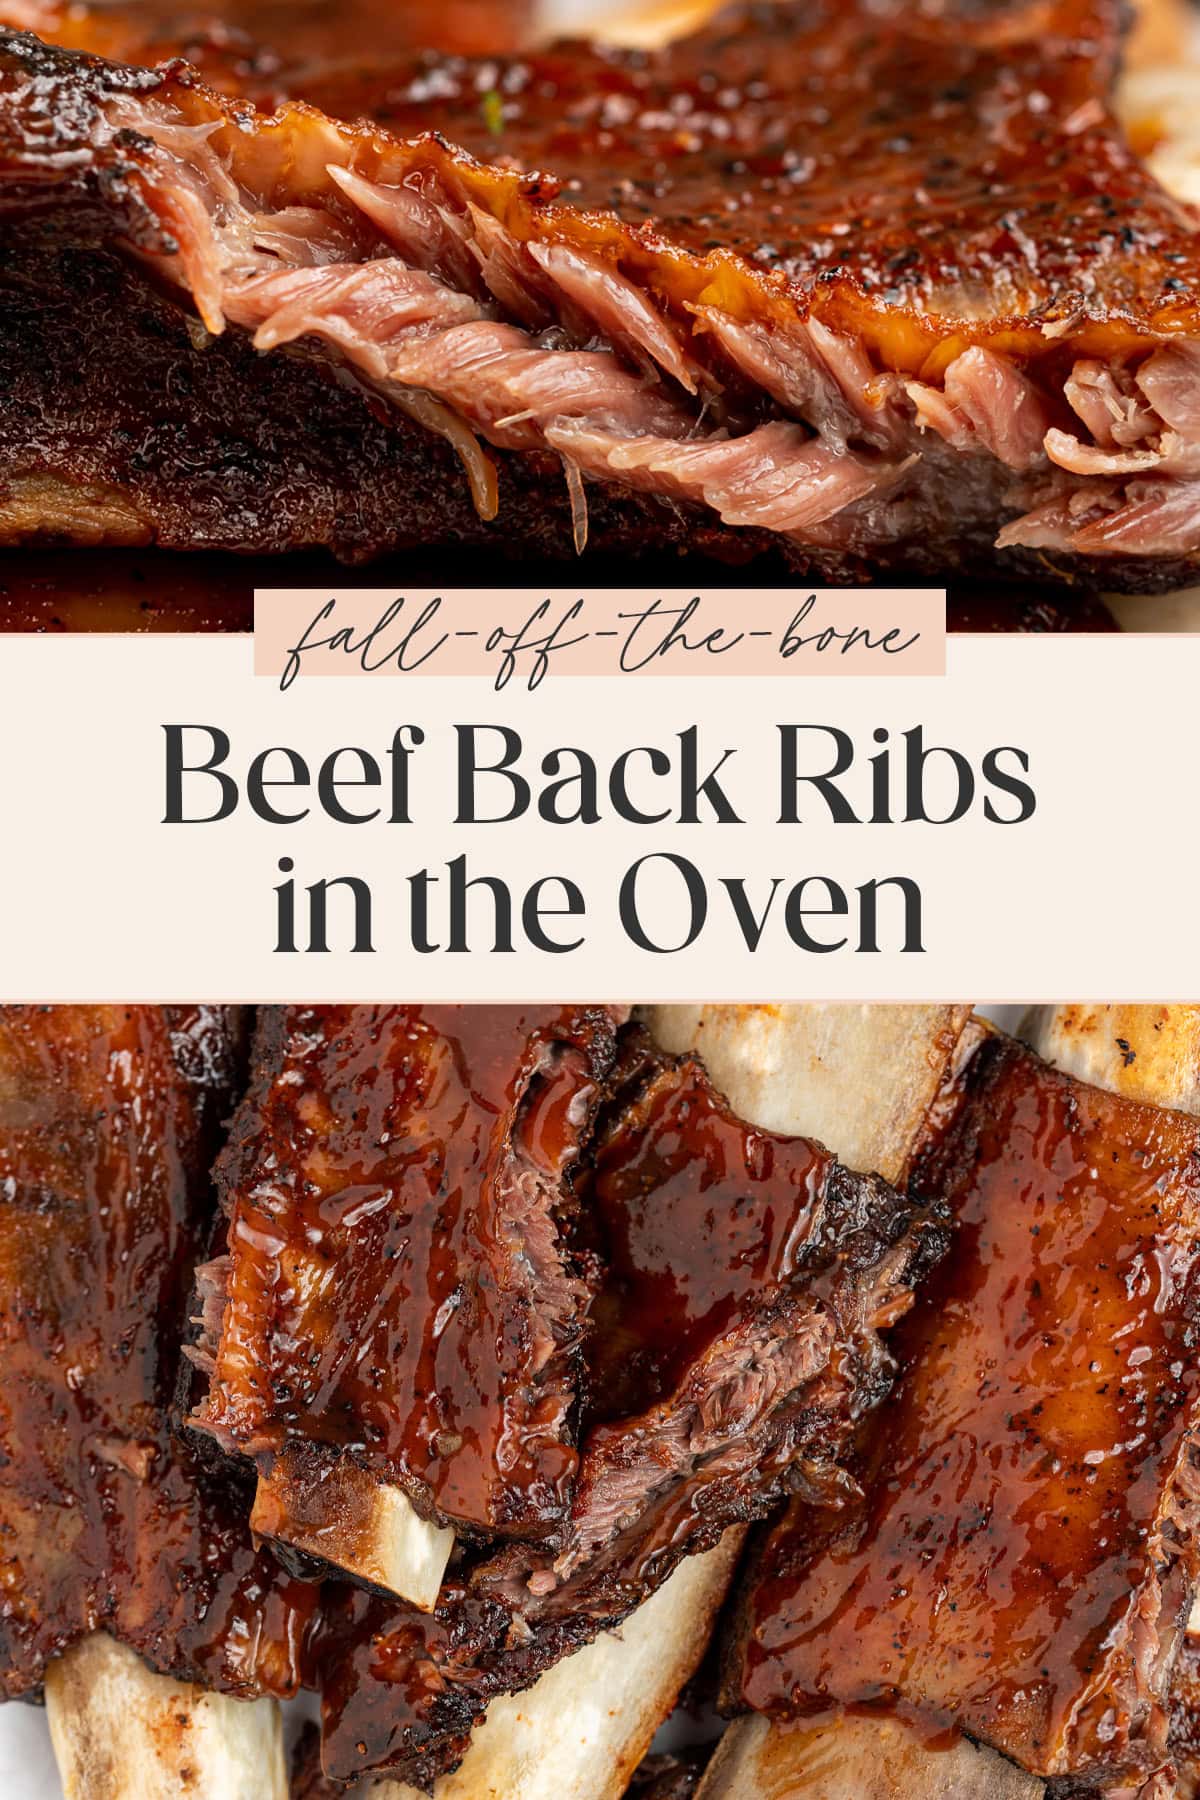
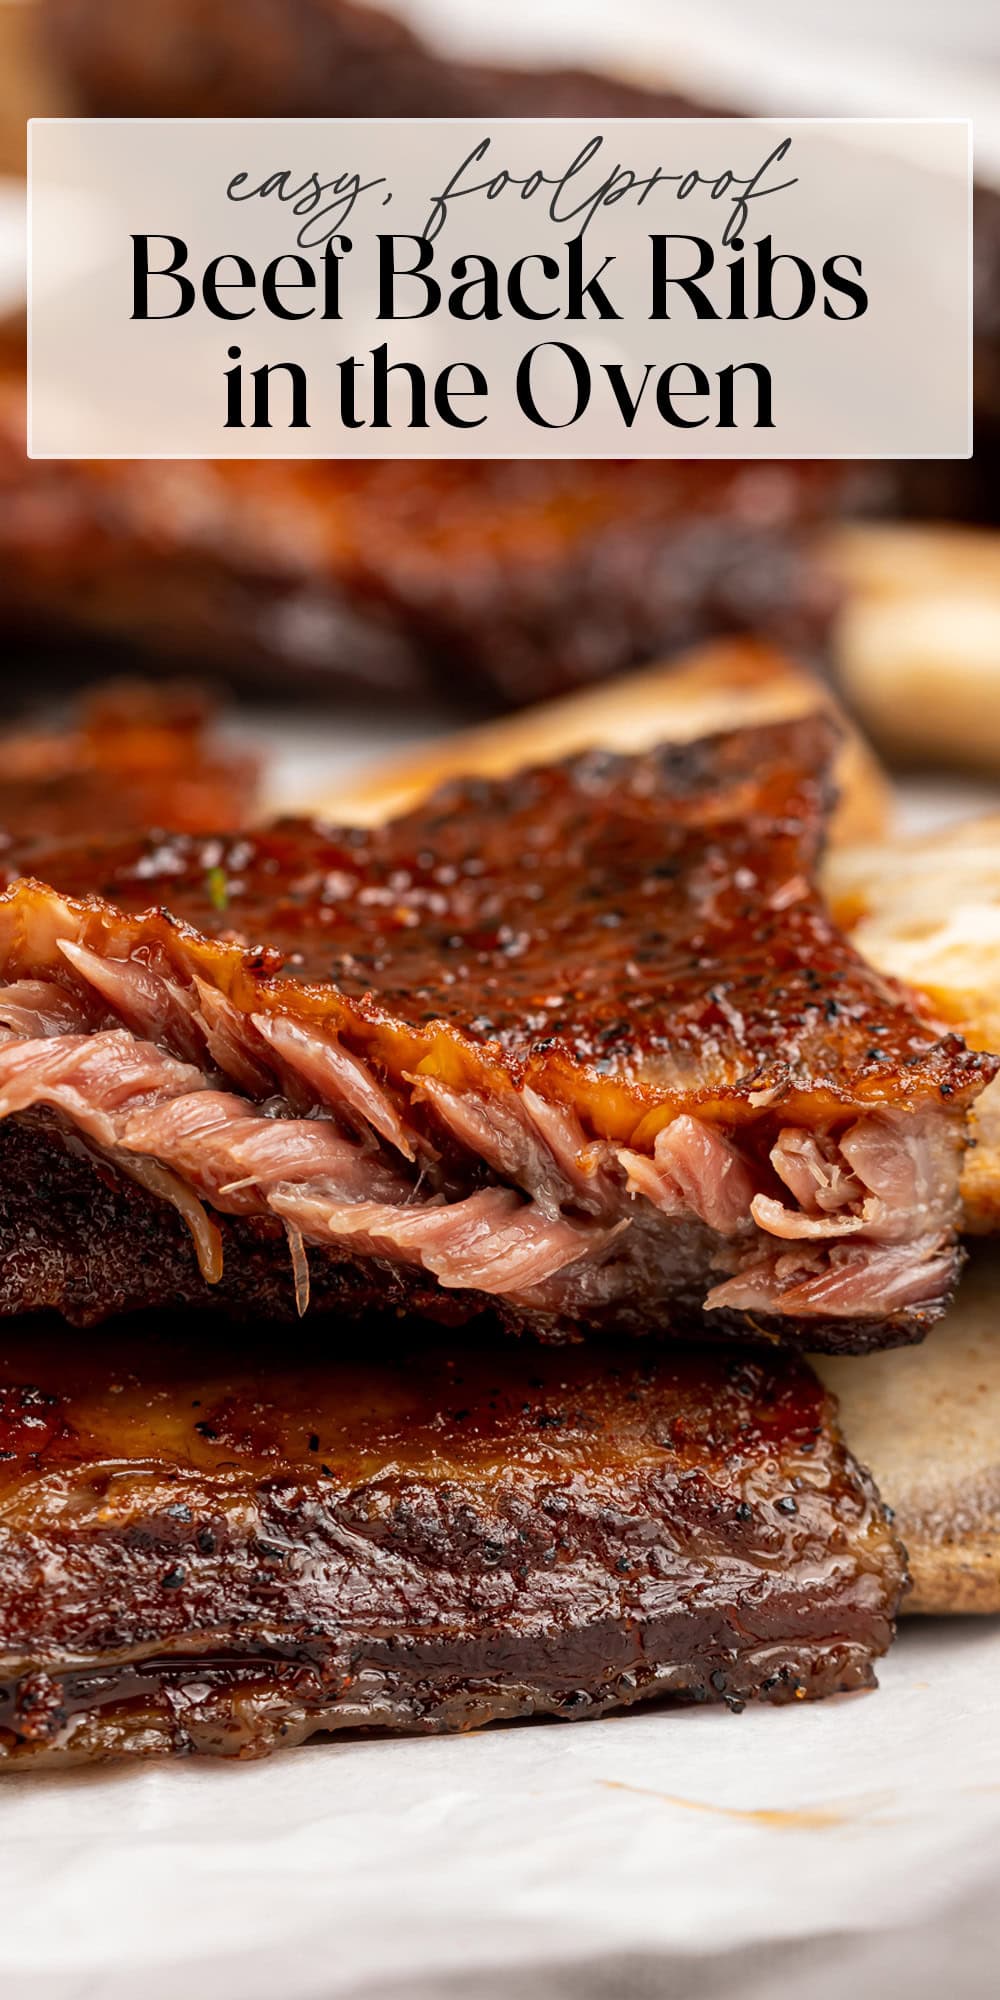
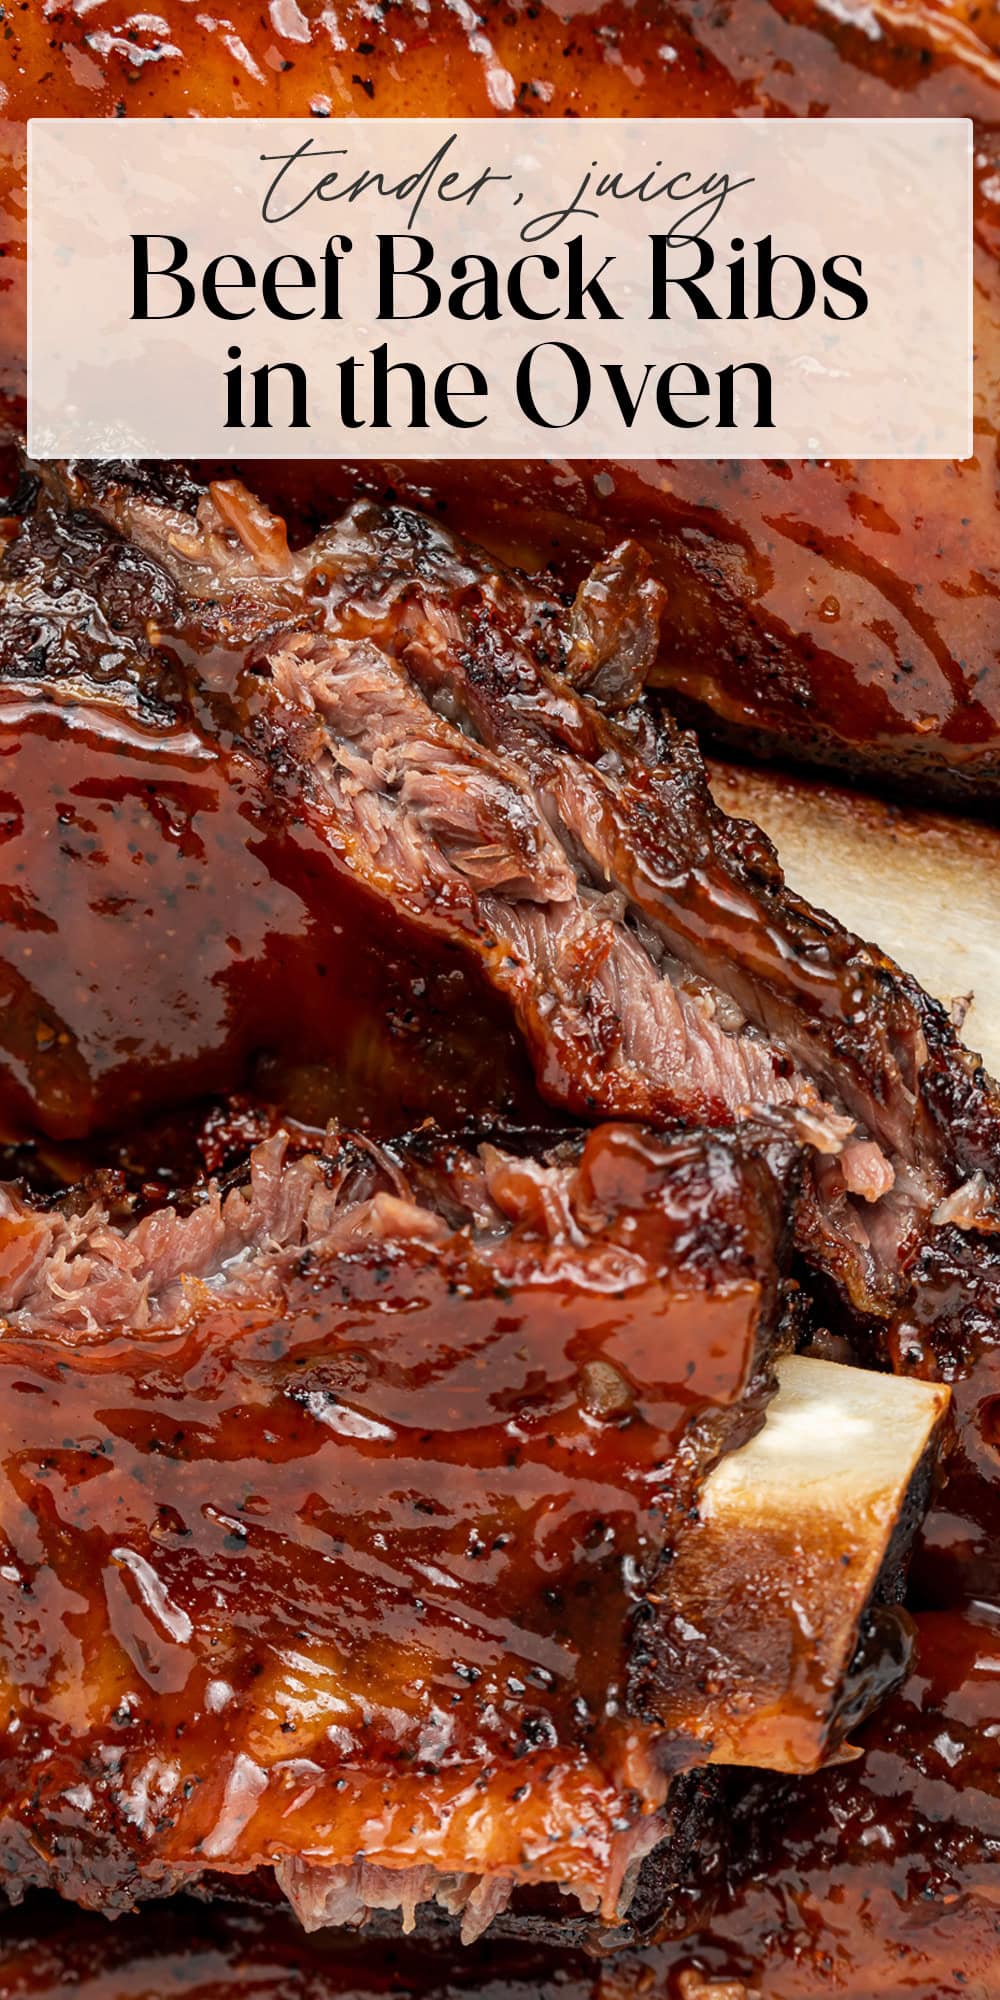
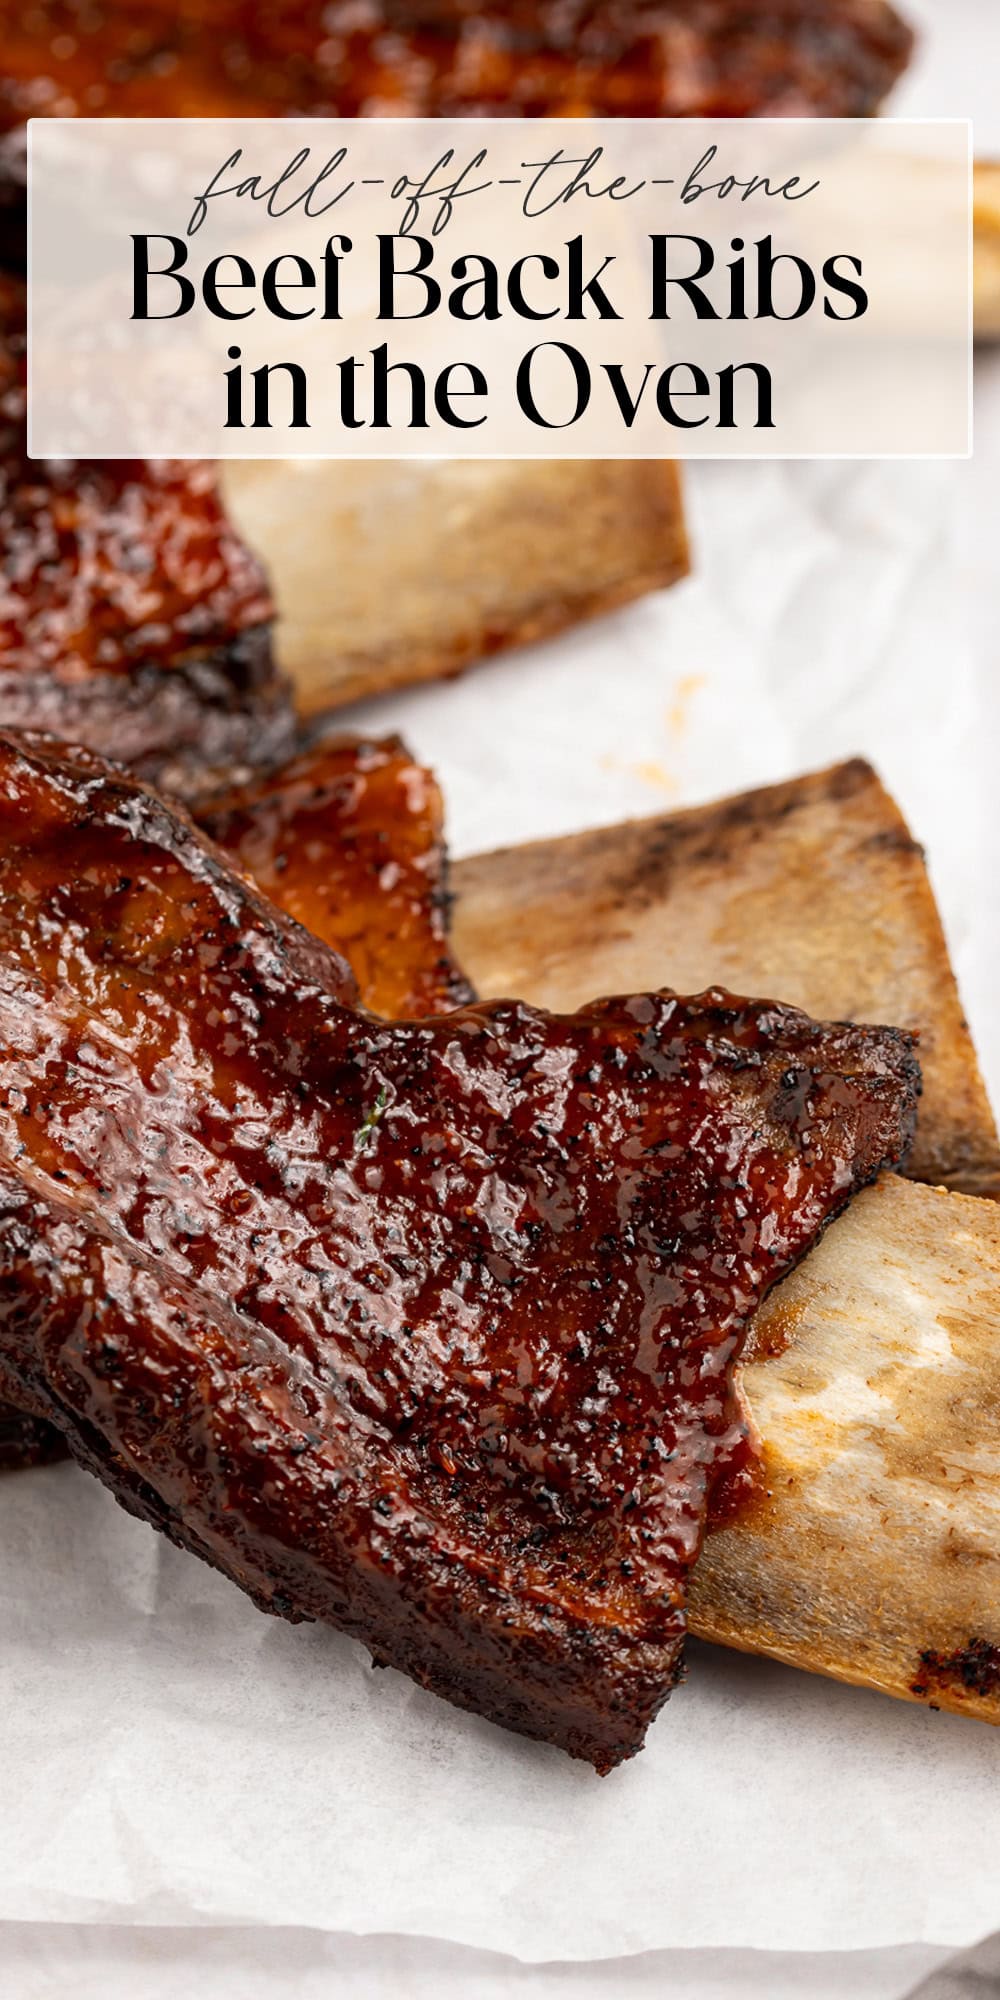
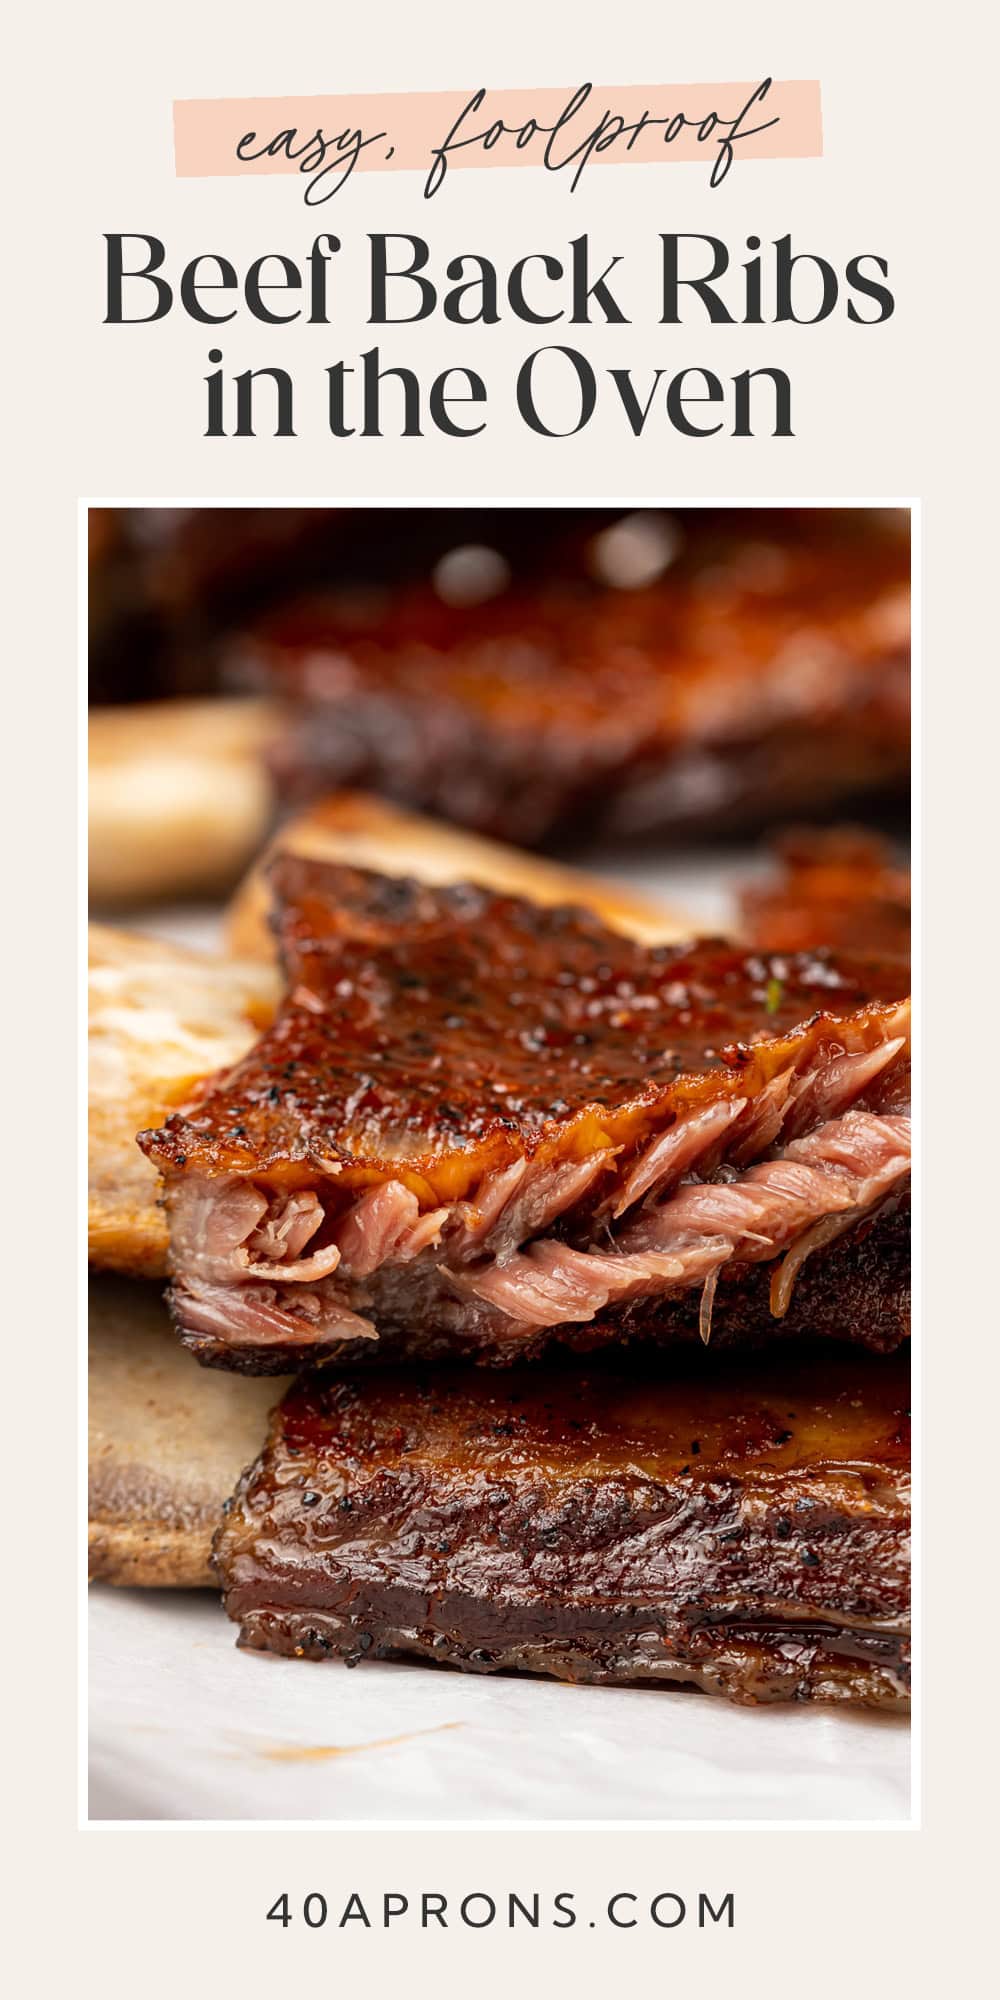
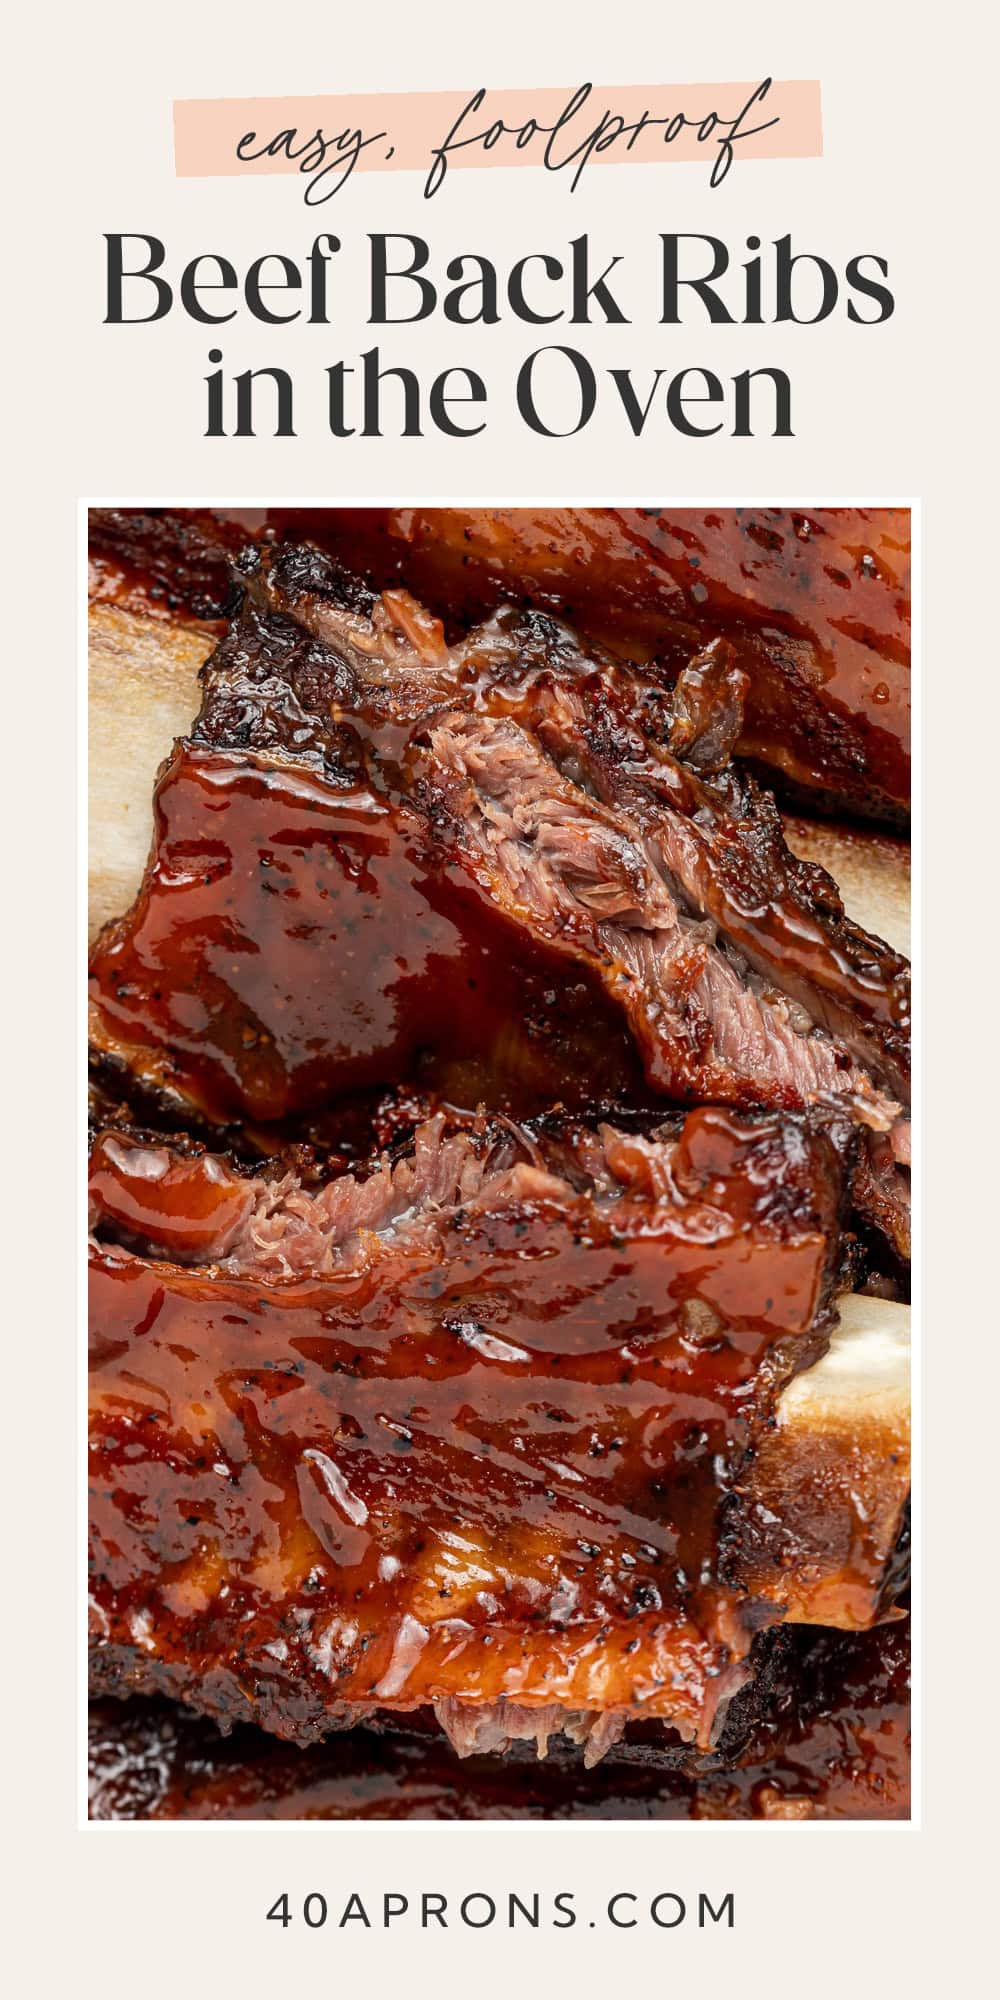
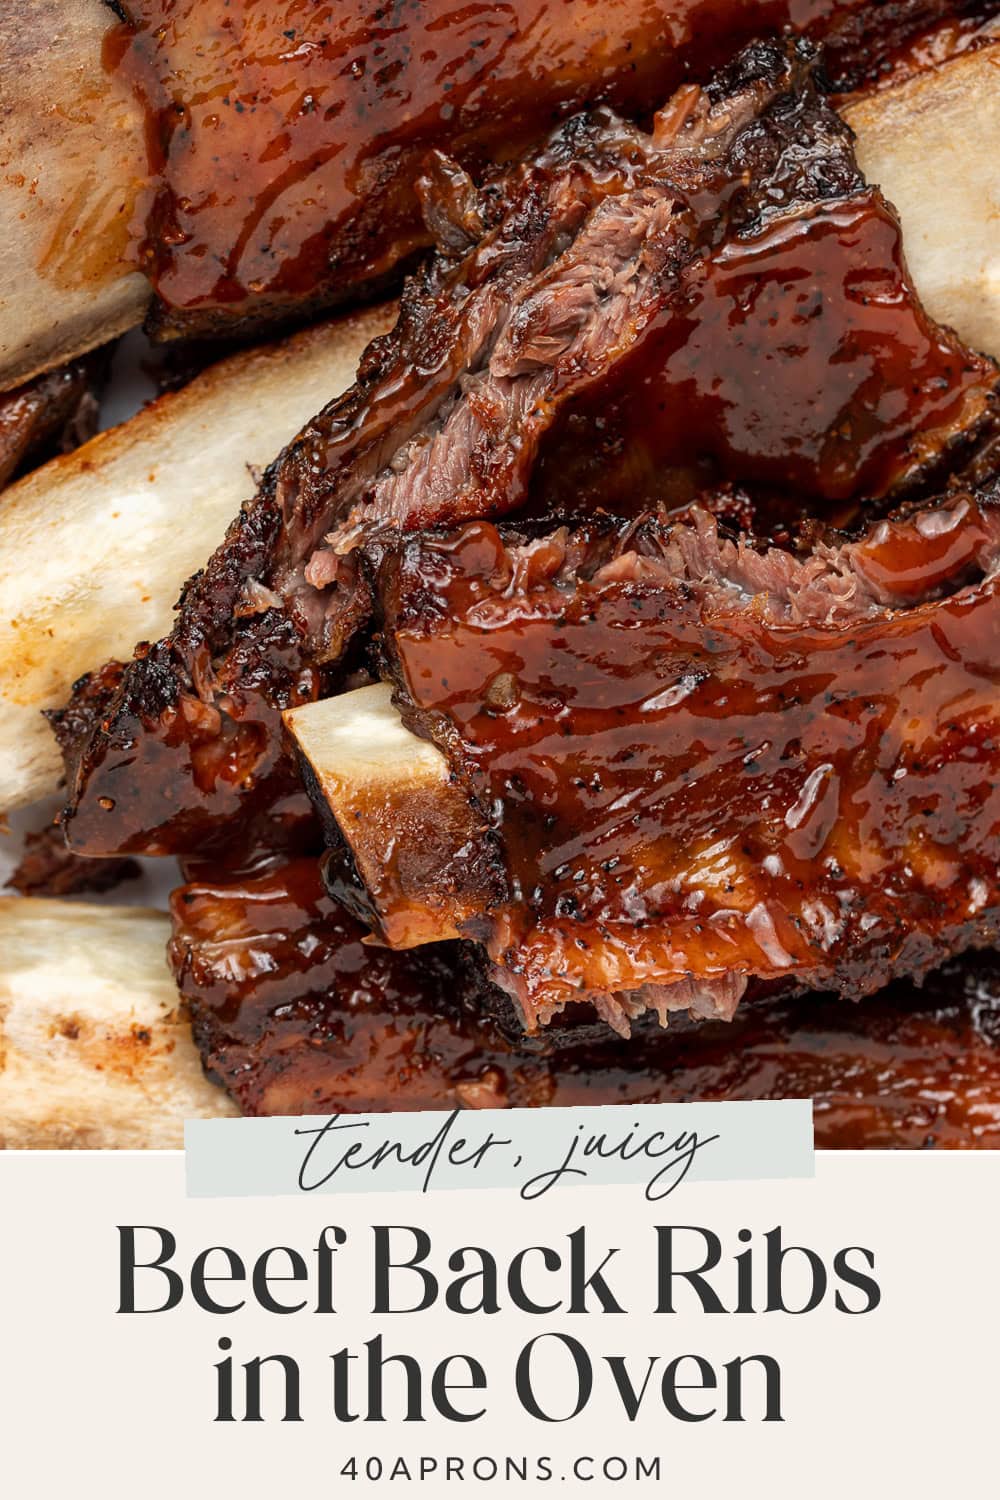
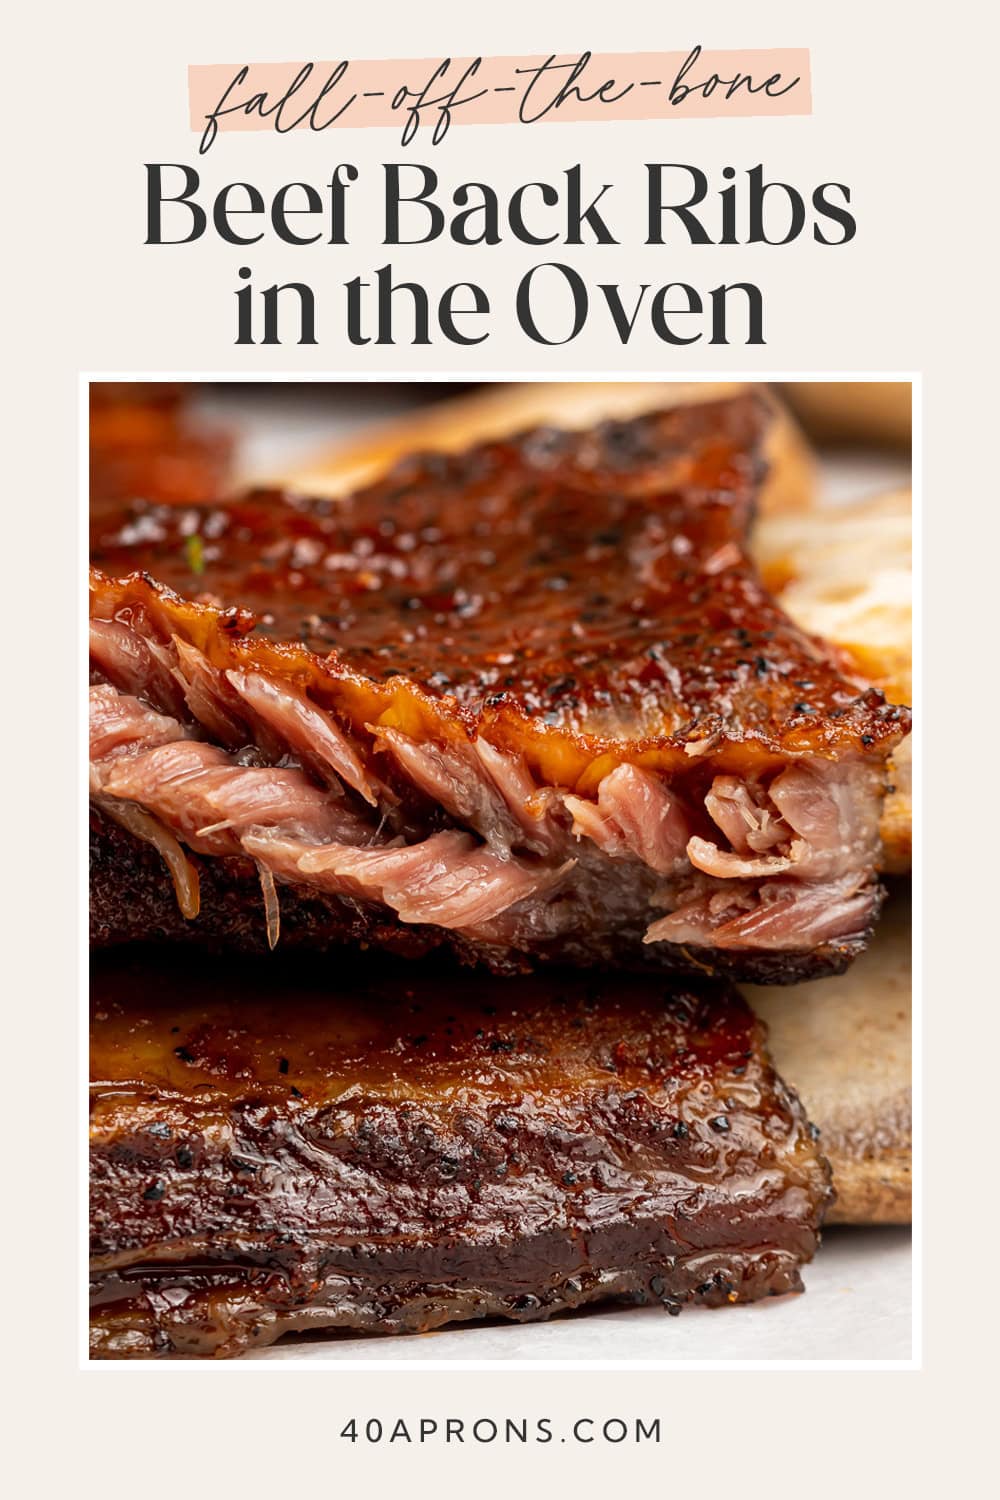
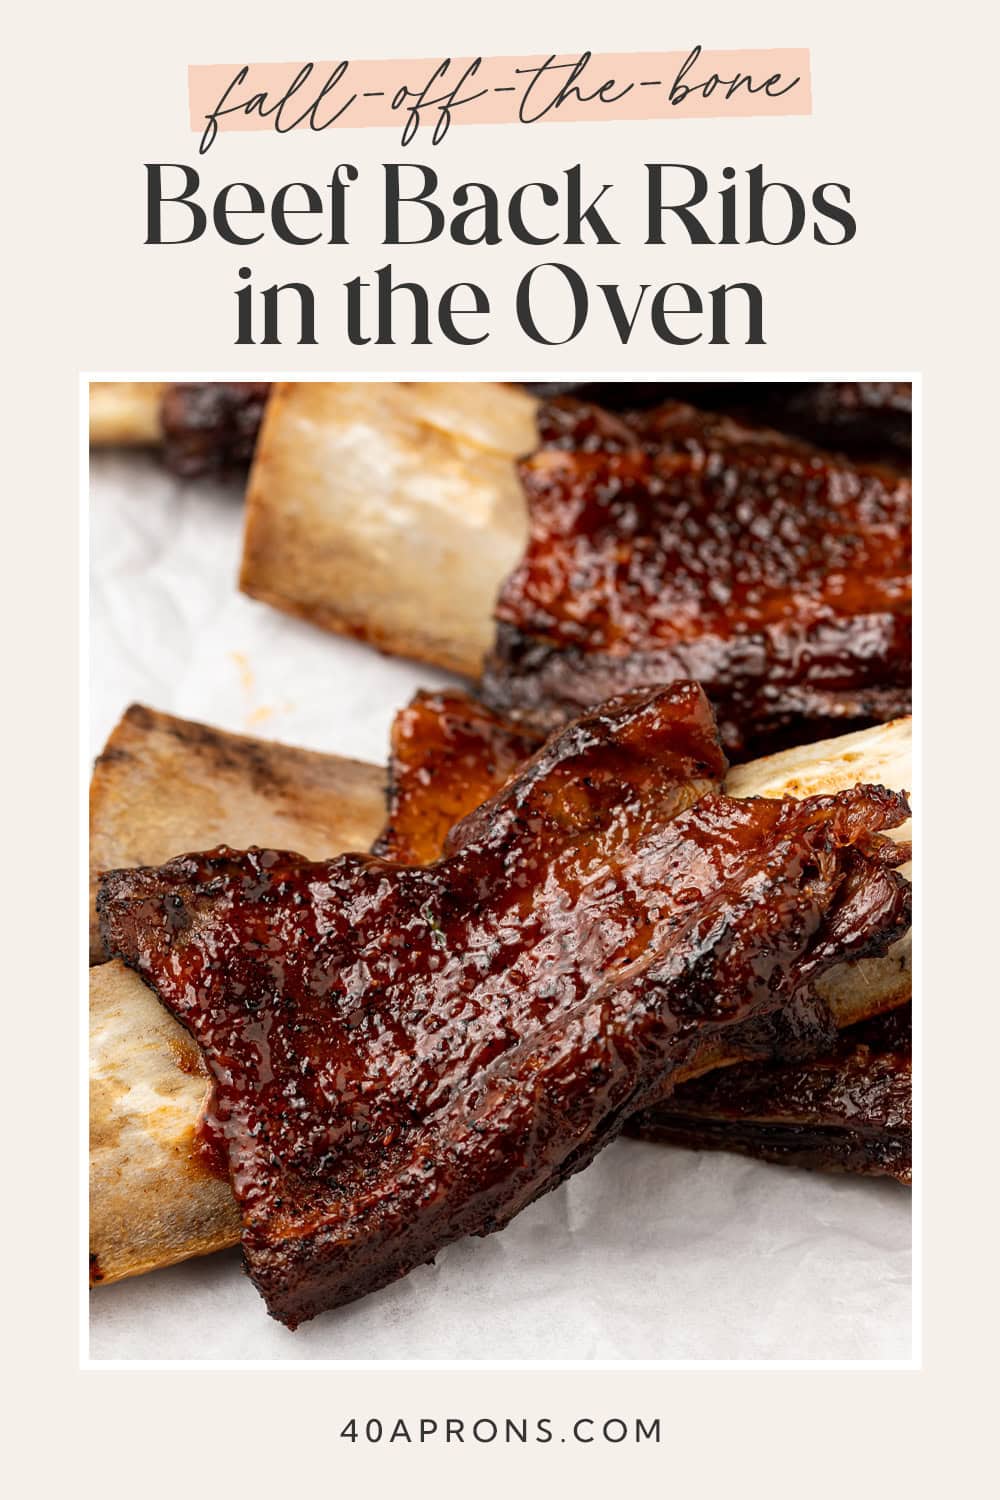
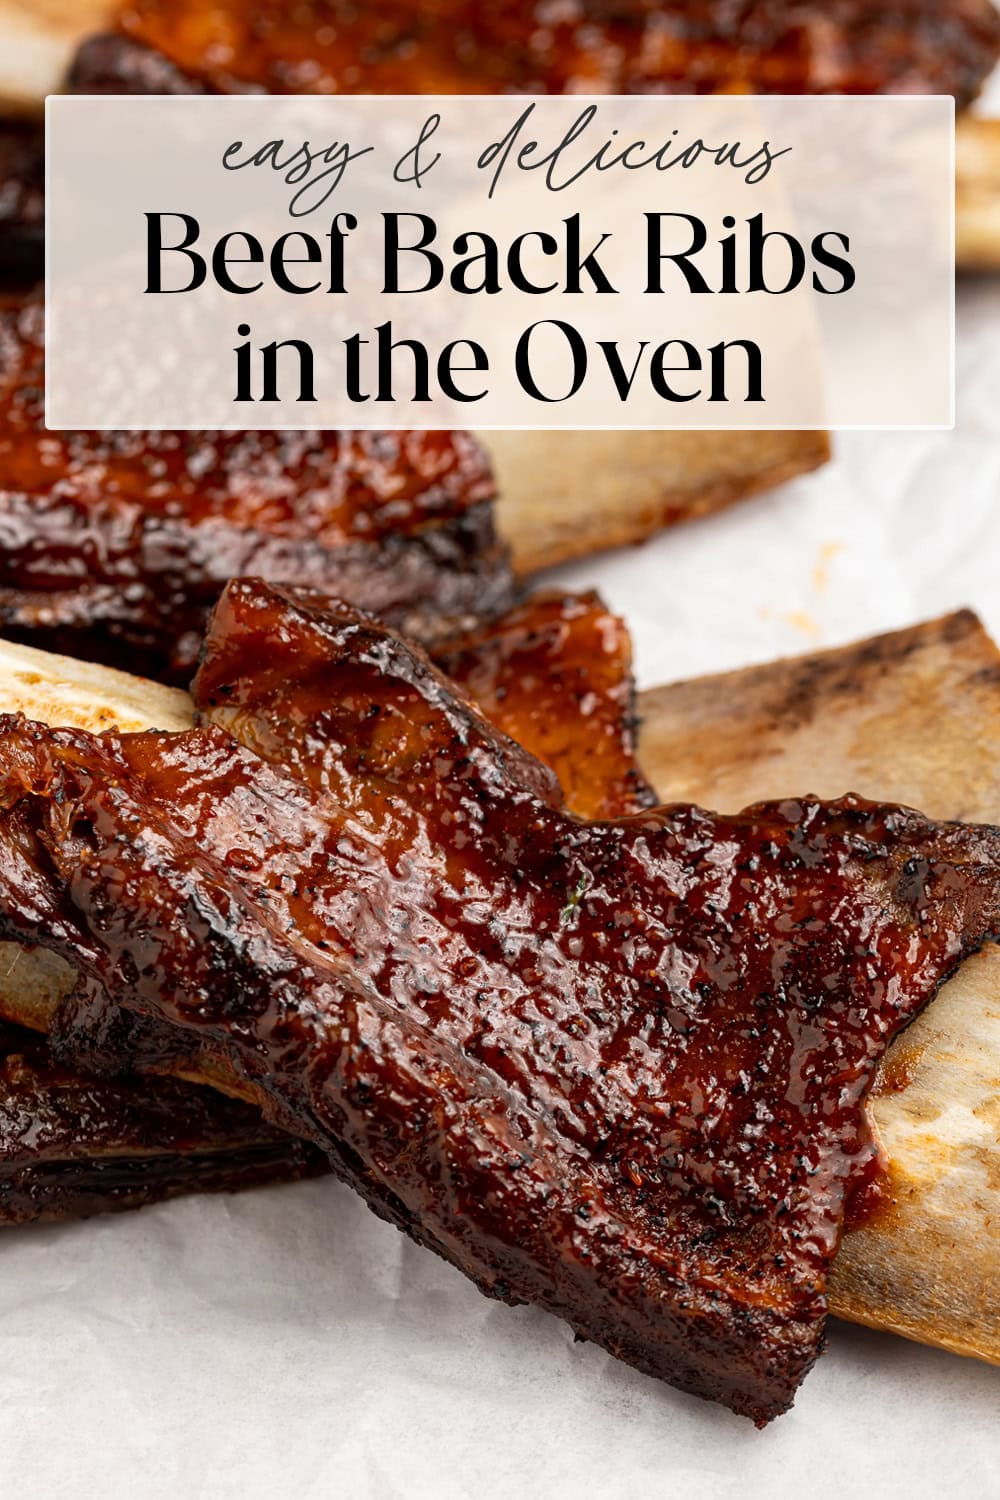
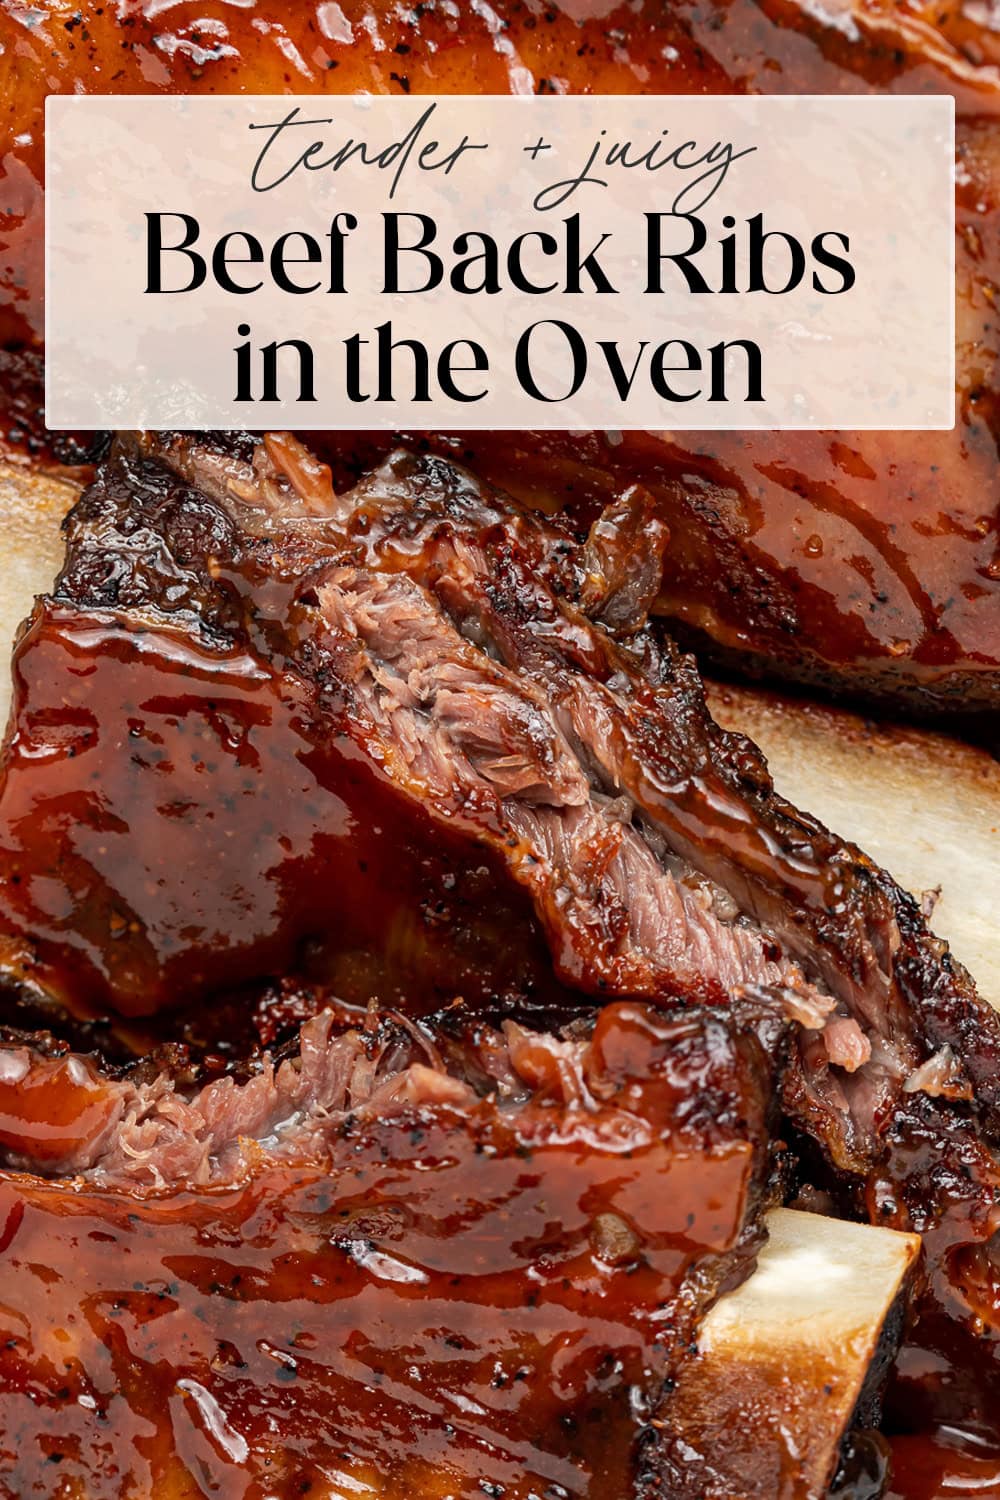
These beef back ribs are insanely juicy and flavorful! Baked in the oven until fall-off-the-bone tender, this foolproof recipe yields perfectly cooked ribs every time. Finish these oven baked beef back ribs with a slathering of your favorite barbecue sauce and enjoy!
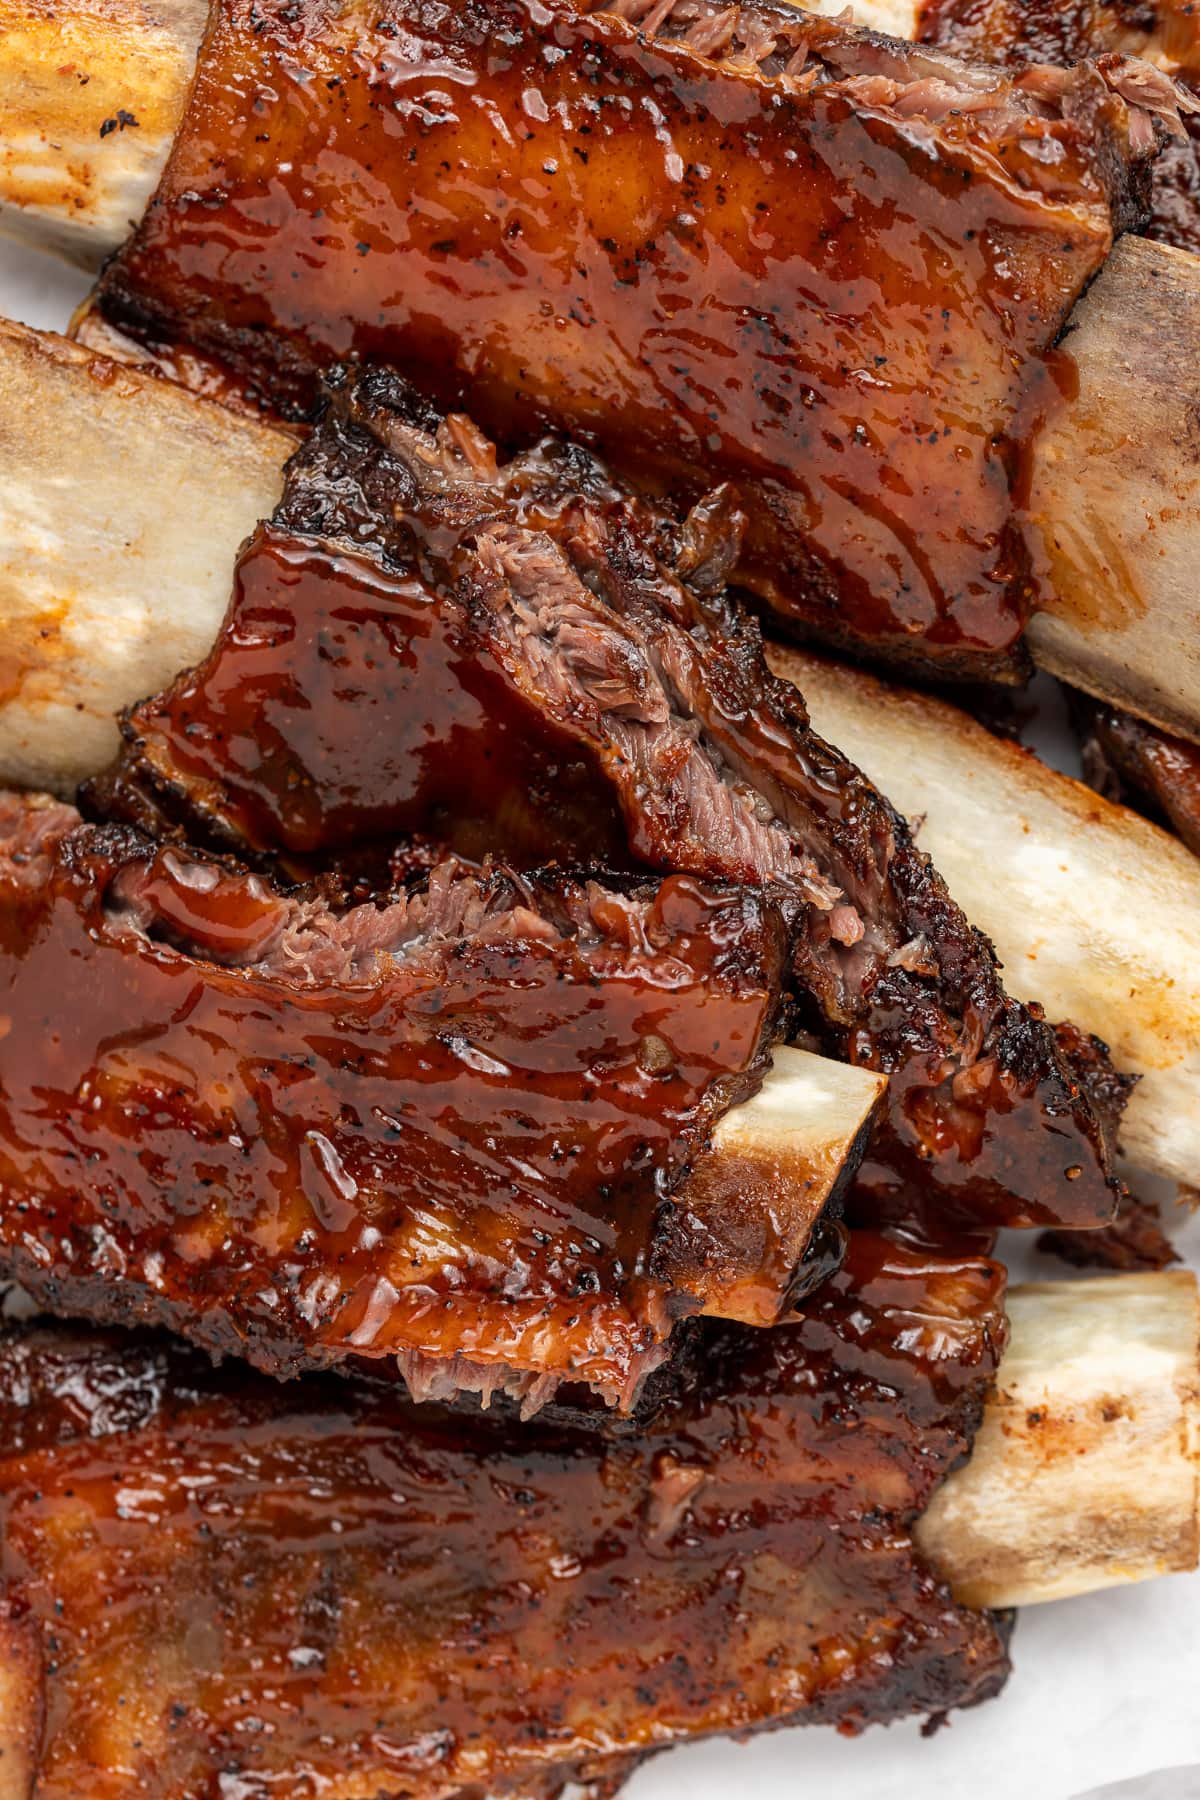
What Makes This Recipe So Good
- The oven takes all of the guesswork out of cooking this particularly tricky cut of meat! Simply season your beef back ribs, wrap them in foil, and transfer them to the oven. Leave them to cook low and slow, before returning to perfectly tender and juicy ribs – YUM!
- You can serve them however you’d like! The quick and easy homemade dry rub included in the recipe is insanely delicious on its own. However, if you’re like me and crave even more flavor, finish your ribs off with your favorite barbecue sauce. These beef back ribs are incredibly tasty no matter which way you serve them!
- They’re a total crowd pleaser! Everyone will go crazy for this intensely flavorful recipe. I especially love throwing this recipe together for dinner guests and watch as they go crazy over this dish!
Key Ingredients
Beef Back Ribs – Beef back ribs are the meat remaining after the butcher removes the ribeye roast off the bones. These ribs are known for being particularly lean since they don’t contain much meat. Though you’ll still find a decent amount of beef that when properly cooked is juicy and delicious! You can make this recipe using either a full rack of beef back ribs, or sliced ribs. I used sliced ribs since an entire rack is sometimes hard to come by.
Smoked Paprika – Since we’re cooking these ribs in the oven, the smoked paprika emulates that delightful smokey flavor as if you’d cooked them on the grill. If you don’t have smoked paprika, I highly recommend you pick some up. However, you can definitely use regular paprika instead!
Chef’s Tips
- Resist the urge to remove the ribs from the oven before at least the 3 hour mark. By baking them wrapped in foil, the meat soaks in as much flavor as possible. If you check on them too early, you risk releasing too much steam, and therefore flavor, from the beef back ribs.
- These ribs are best enjoyed immediately after cooking! However, you can store leftovers in an airtight container in the fridge for up to 4 days. To reheat, transfer the ribs to a baking sheet, cover them with aluminum foil, and bake at 350° Fahrenheit for 15 to 20 minutes or until warm throughout.
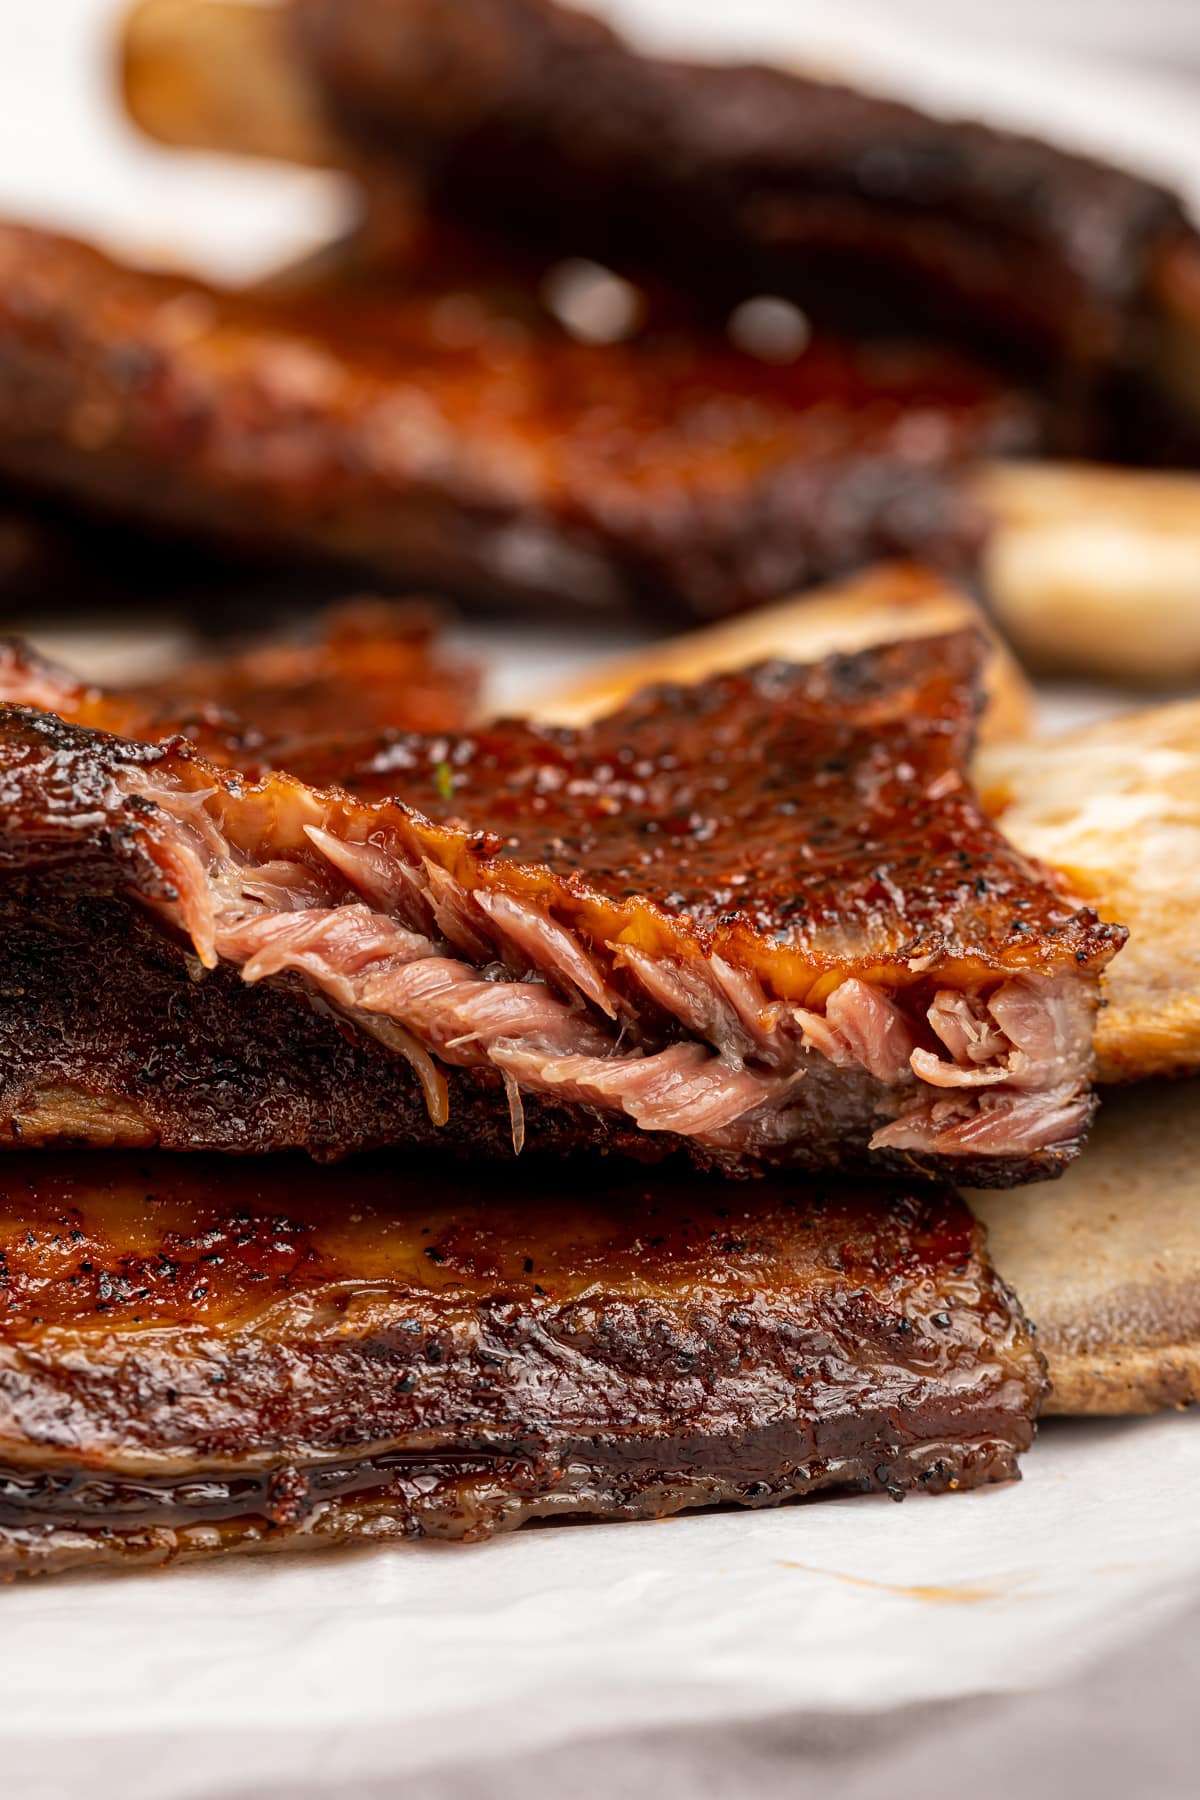
- Do not attempt to increase the temperature of your oven. Four hours seems like a long time, but trust me, it is so worth it! Cooking these beef back ribs low and slow encourages the collagen in the meat to slowly break down, creating super tender beef.
Other Barbecue Recipes You’ll Love
- Instant Pot Country Style Ribs
- Sous Vide Ribs
- Keto BBQ Sauce
- BBQ Jackfruit Sandwiches
- Chick-Fil-A Coleslaw
- Cauliflower Potato Salad
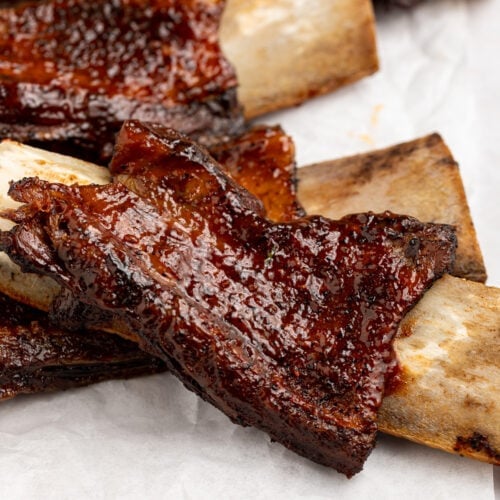
Beef Back Ribs in the Oven
Equipment
- baking sheet
- 2 large sheets Aluminum Foil
- Cutting board
- small mixing bowl
- small whisk or mixing sopon
Ingredients
For the Dry Rub
- 2 teaspoons smoked paprika
- 1 teaspoon garlic powder
- 1 teaspoon onion powder
- 1 teaspoon salt
- 1 teaspoon black pepper
For the Ribs
- 4 pounds beef back ribs
- ½ cup BBQ sauce see Notes
Instructions
- Preheat oven to 275° Fahrenheit. Line baking sheet with sheet of aluminum foil and set aside. Place 4 pounds beef back ribs on cutting board.
- Add 2 teaspoons smoked paprika, 1 teaspoon garlic powder, 1 teaspoon onion powder, 1 teaspoon salt, and 1 teaspoon black pepper to small mixing bowl. Mix until ingredients are well blended, then cover ribs with dry rub on all sides.
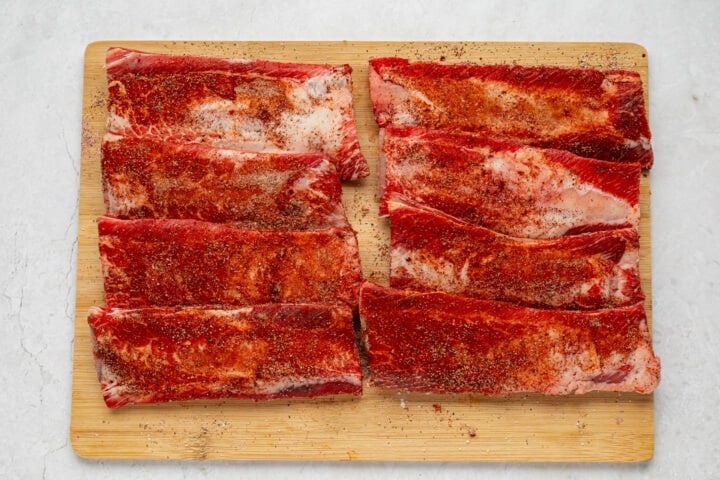
- Place seasoned ribs on foil-lined baking sheet, bone-side up. Cover ribs with second sheet of foil and wrap edges of foil sheets tightly to seal foil around ribs. Note: see video below if unsure how to cover ribs.
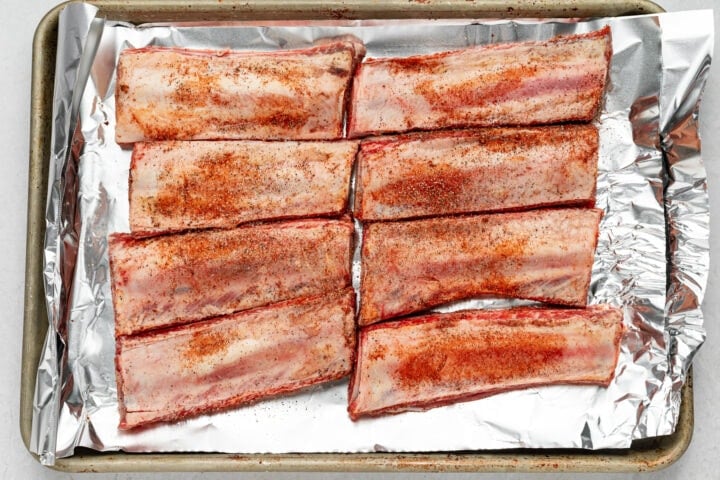
- Place baking sheet in oven and bake ribs bone-side up for 4 hours.
- After 4 hours, remove ribs from oven. Unwrap ribs and discard aluminum foil. Drain any remaining fat from baking sheet, then return ribs to baking sheet with bone side facing down.
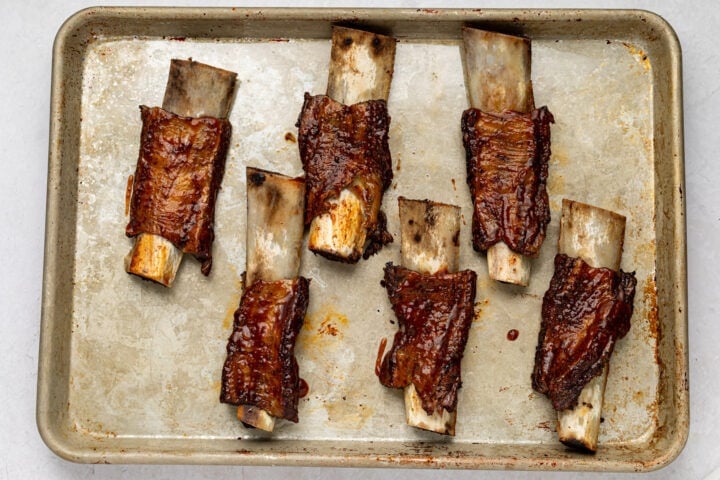
- Brush ½ cup BBQ sauce on ribs, coating ribs thoroughly on all sides.
- Set broiler to High. Place baking sheet approximately 6 inches below broiler and broil 3 to 5 minutes, or until skin of ribs is crispy and caramelized.
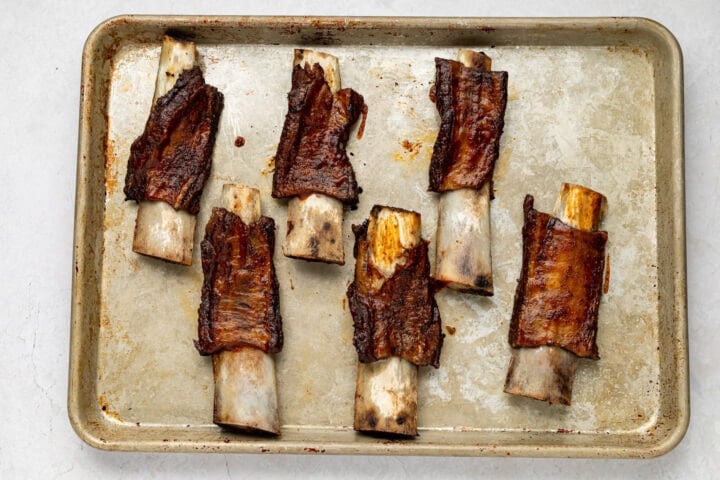
- Carefully remove baking sheet from oven. Divide ribs into preferred portions and serve warm with desired sides.
Video
Approximate Information for One Serving
Nutrition Disclaimers
Number of total servings shown is approximate. Actual number of servings will depend on your preferred portion sizes.
Nutritional values shown are general guidelines and reflect information for 1 serving using the ingredients listed, not including any optional ingredients. Actual macros may vary slightly depending on specific brands and types of ingredients used.
To determine the weight of one serving, prepare the recipe as instructed. Weigh the finished recipe, then divide the weight of the finished recipe (not including the weight of the container the food is in) by the desired number of servings. Result will be the weight of one serving.
Did You Make This Recipe?
Tag @40aprons on Instagram and be sure to leave a review on the blog post!
Never Miss A Meal!
New Recipes Straight To Your Inbox
A curated selection of our most recent recipes, delivered straight to your inbox once a week.


Every thing I need to know. Never thought about using the broiler as a final step. The Temperature at 275 is what I use when doing pork ribs. Renders fat and starts browning with out drying.
Glad you enjoyed the ribs! Thanks for sharing, Charlotte! 😊
Just put the ribs in the oven! I’ll check back with you about 4:00 PM EST!
Yay! We hope you enjoyed them, Wendy! 🙂
I found a full rack at Costco and it was delicious and very easy to prepare. However, the back ribs meat is never enough food for my two teen boys.
Glad you enjoyed the recipe, Cat! Thank you so much for leaving a review!
Hey, Sam girl, let me tell you I’ve done my pork ribs the same way. Which came out excellent meat tender and falling off the bone. I mean finger licking good. I will be making this tomorrow for Super Bowl Sunday will check back in with the result.
Let us know how they were!
Any cooking time difference if I only have 1 lb?
We didn’t test a quantity that small, but you’d likely need a lower cook time. I would start with an hour and check them after that, adding 30 minutes as needed.
Amazing!
Yay! Thanks for the review, Alison!
I have been using thin coatings of prepared mustard (makes no difference to brand) on chicken, pork or beef to hold the spices to the meat. You will not have any after taste of mustard after the product is cooking.
Bake, broil, smoke or grill it makes no difference, the mustard dissolves leaving a tasty coating of your applied spices.
Glad you already have a method that works for you! We don’t find that’s necessary, as the moisture from the meat is enough to hold the dry rub on just fine.
That’s a great tip, thank you. I hope it works for me as well. Especially since my husband dislikes mustard lol… shhhh
Just saw these beef back rubs in Costco…HAD to try them…3 hours @275 wrapped as detailed was perfect for me…very tender…then cooled/drained on paper towels…added a new bbq sauce (YES another Costco impulse purchase)…let that soak in for 20-30 minutes…then under the broiler…OMG TOO GOOD..Thank you Sam…love the recipe
YUM! So glad you enjoyed, Howard! Thanks so much for the review!
Costco. OK, thanks for the sourcing for the ribs.
Turned out ABSOLUTELY DELICIOUS ❣️❣️
Thanks so much, Margie! So happy you enjoyed the ribs!
cooked these for my birthday in July, the hard part is waiting! I have made them again and again. always turns out perfect
Thank you so much, Jennifer, and a very happy belated birthday to you!