This Post May Contain Affiliate Links. Please Read Our Disclosure Policy.
Short on time amid all the holiday hoopla? This quick turkey brine is ridiculously easy to throw together and gives you a juicy, flavorful turkey in a fraction of the time needed for a traditional brine. With fragrant aromatics like fresh rosemary, fresh thyme, and whole peppercorns, and plenty of salt to really lock in those flavors and juices.
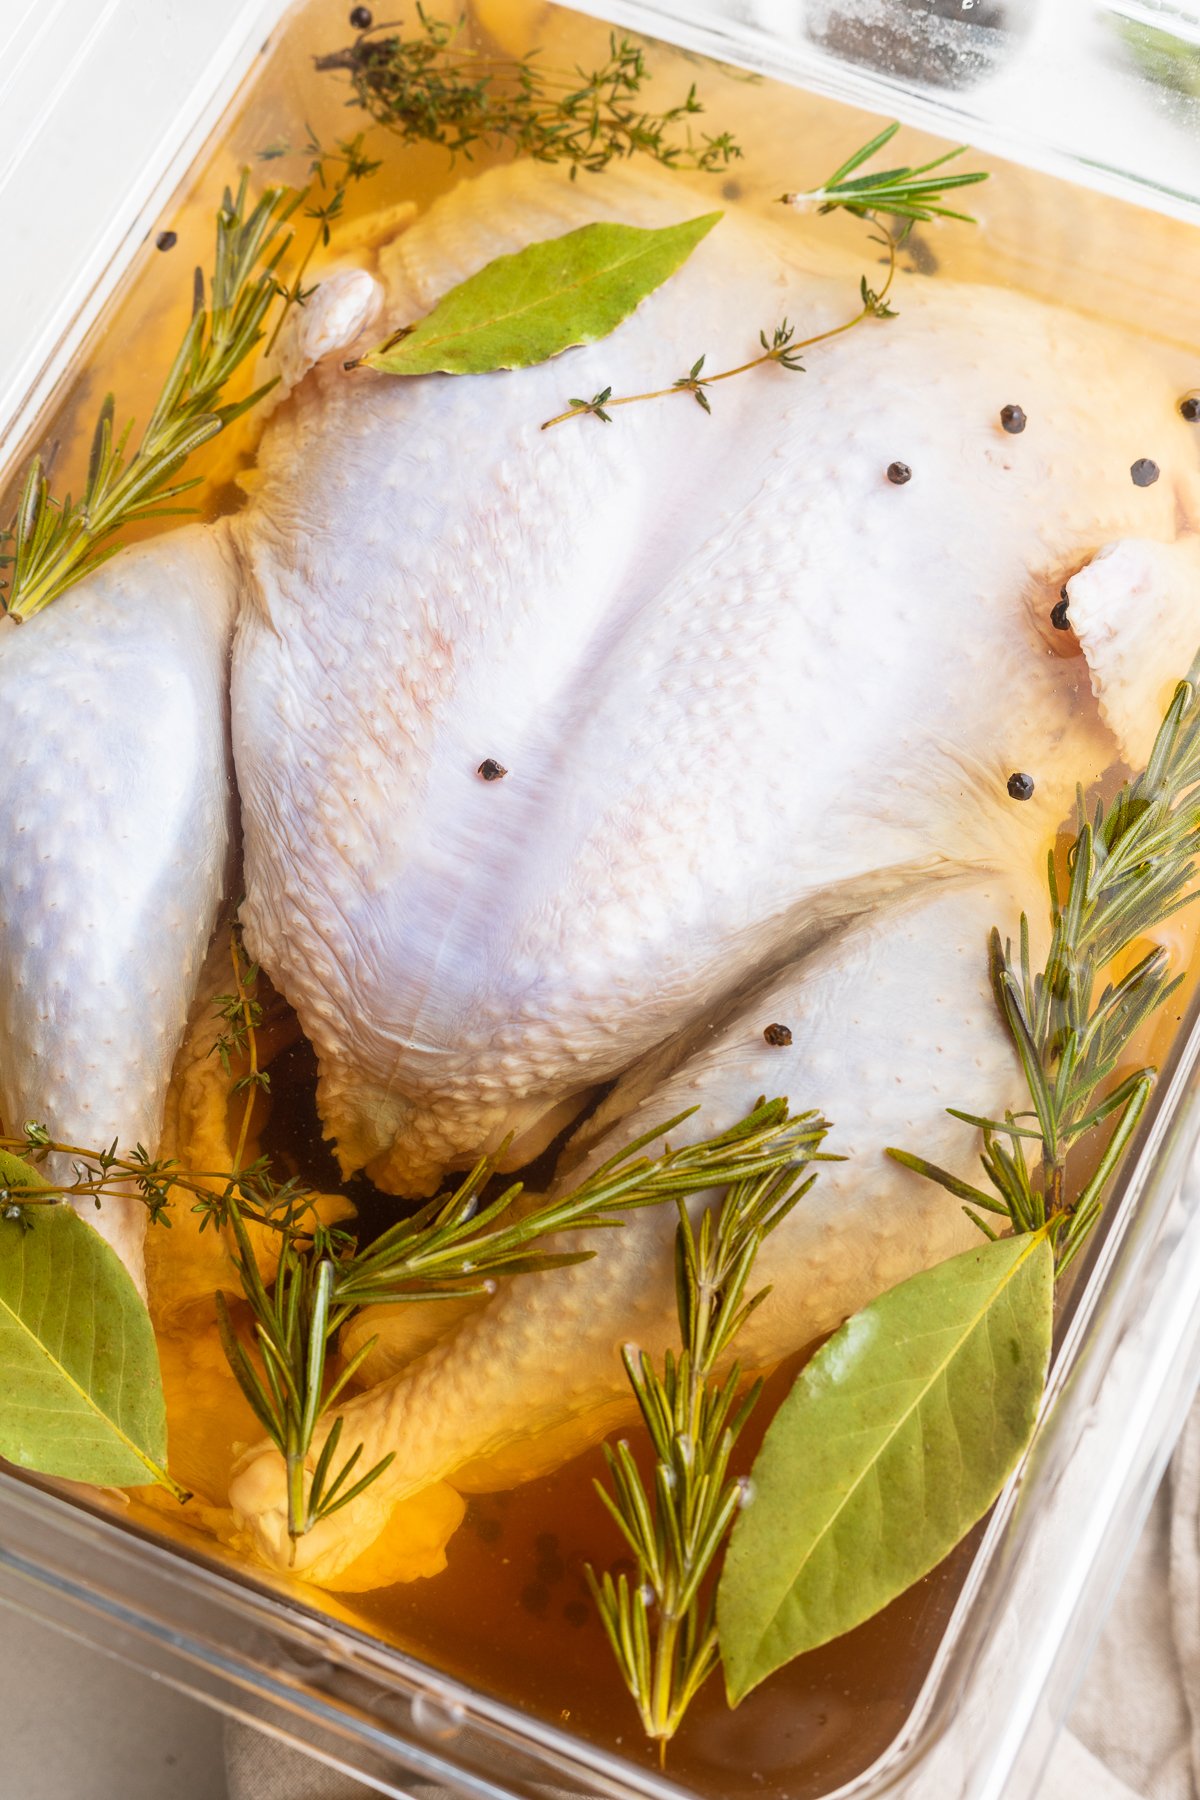
If you’ve never brined a turkey before and find yourself responsible for the star of your family’s Thanksgiving dinner, don’t panic. We’ve broken down how to brine a whole turkey step-by-step below. Be sure to read through the blog post before diving in so you know all the tricks and tips you’ll need for a perfect holiday turkey!
What is “Brining”, and Why Should You Do It?
Brining is a totally optional, but totally worth it, step that can be used for a variety of proteins. There are actually two different methods for brining meat – wet brining, which we do here, and dry brining, which is similar but essentially eliminates the liquid component. Wet brining is the most common method for things like whole turkeys, pork loins, and chickens.
Sort of like marinating, wet brining is the process of infusing meat with a saturated salt water solution to impart flavor while moisturizing and tenderizing the meat at the same time. Of course, the water can be combined with almost any liquid – apple cider, wine, beer – and you can add any extra seasonings you like, but at the most basic level you only need salt and water.
The process is simple – prepare your solution, then submerge the protein and let it soak for several hours. The protein absorbs the brine, making it infinitely more delicious.
🧂 What Makes This Recipe So Good
- This quick turkey brine uses a higher salt-to-liquid ratio to fast-forward the brining process. Traditional brines typically require 8, 12, sometimes even 36 hours of brining before you can start cooking the turkey, but not everyone has that kind of time – or fridge space. With a few simple tweaks, like adjusting the amount of salt and liquid used, you can speed up the entire brining process, bringing it down to just 3 to 4 hours at room temperature.
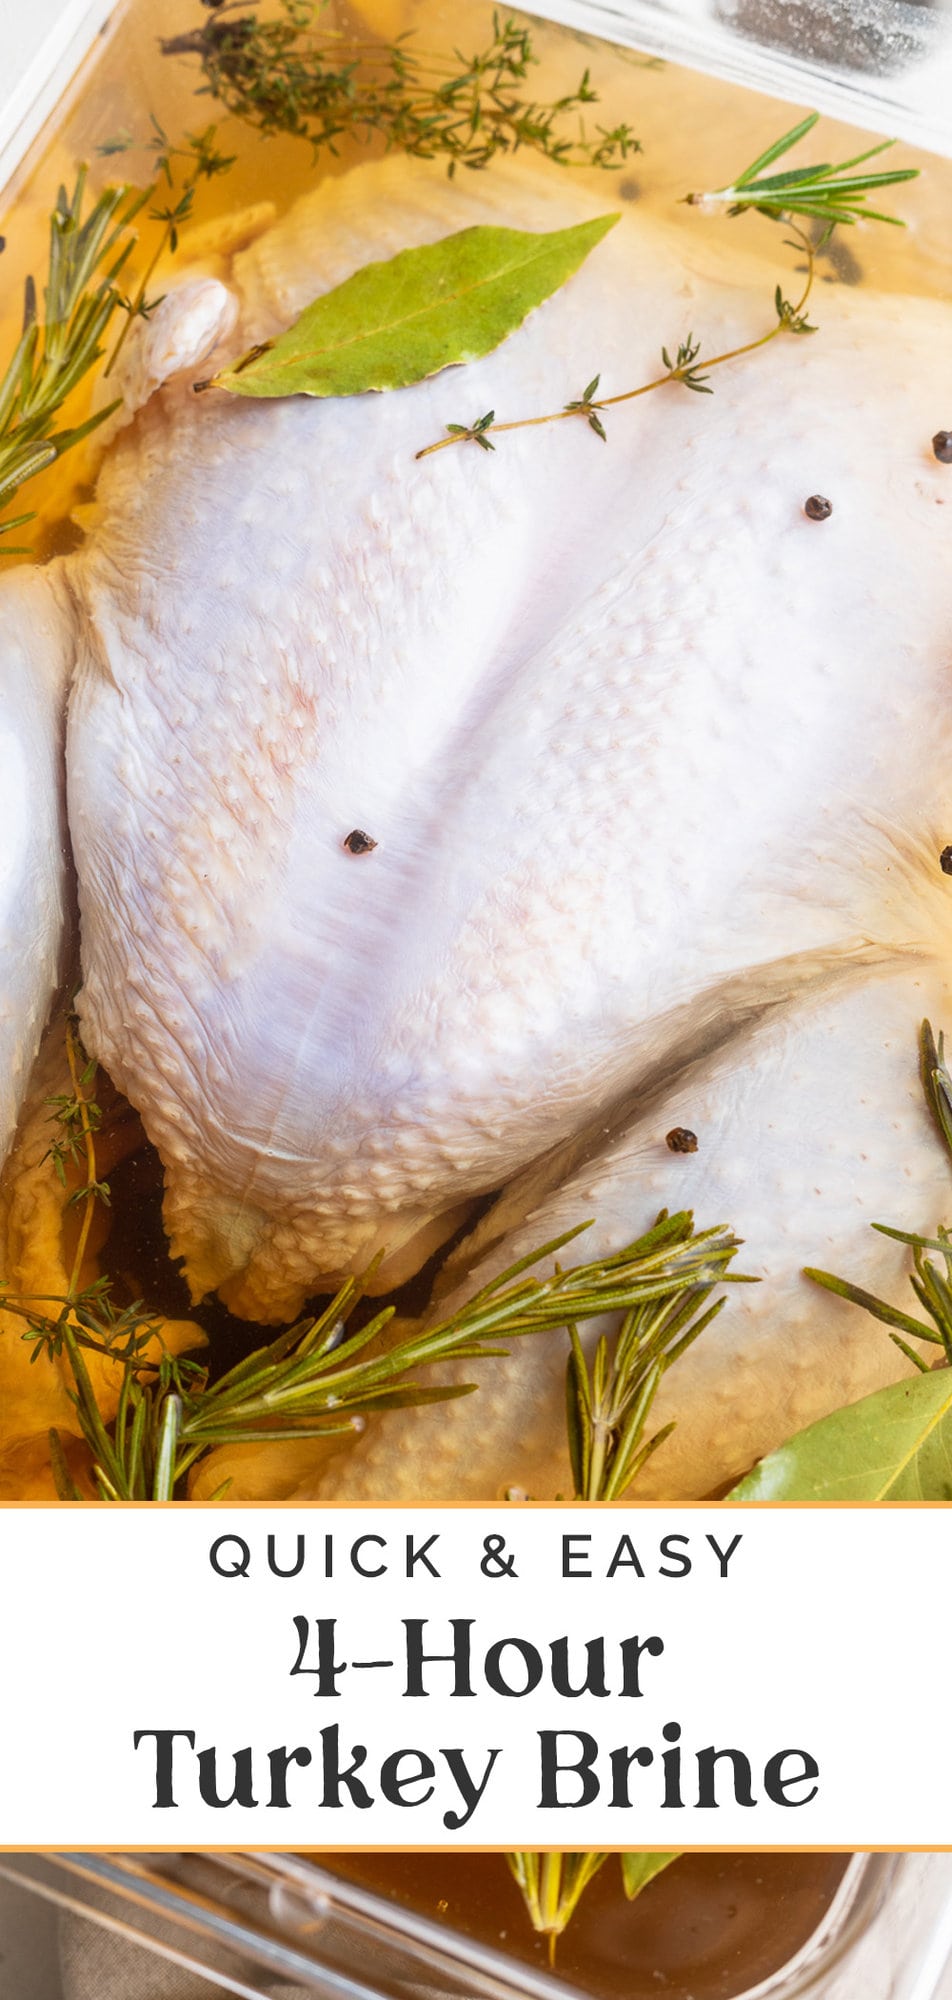
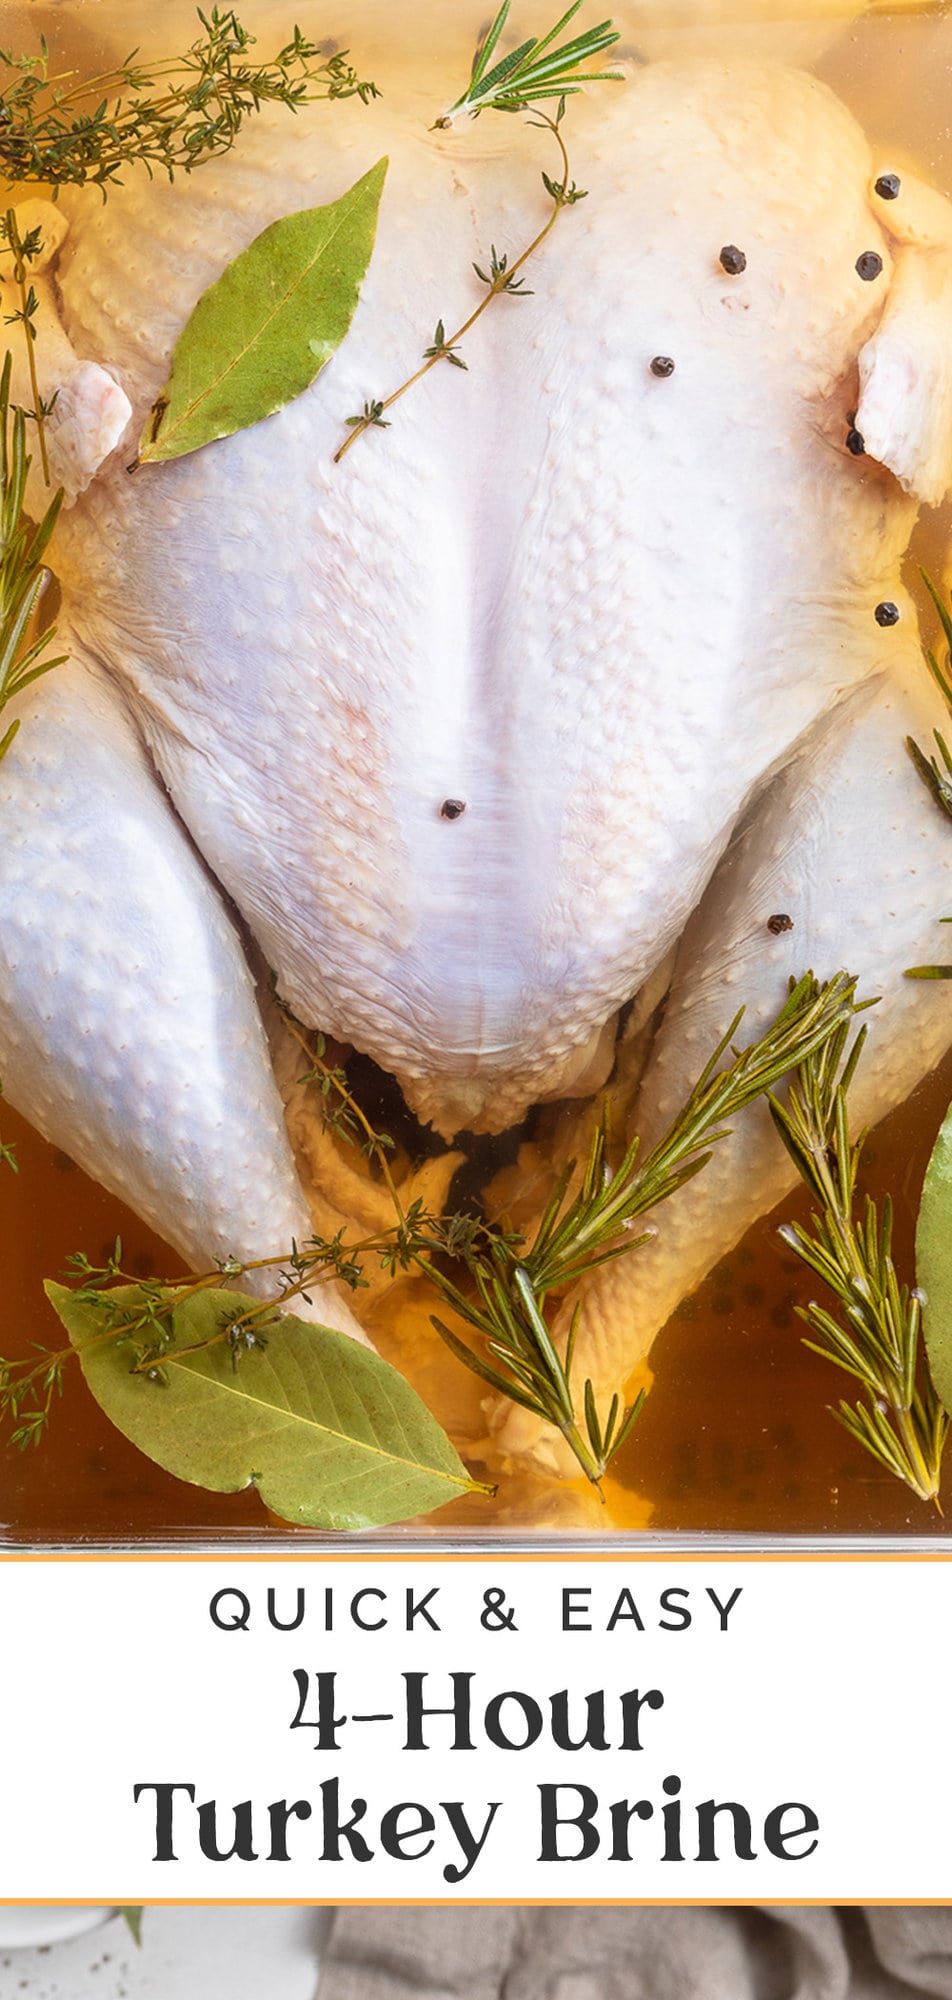
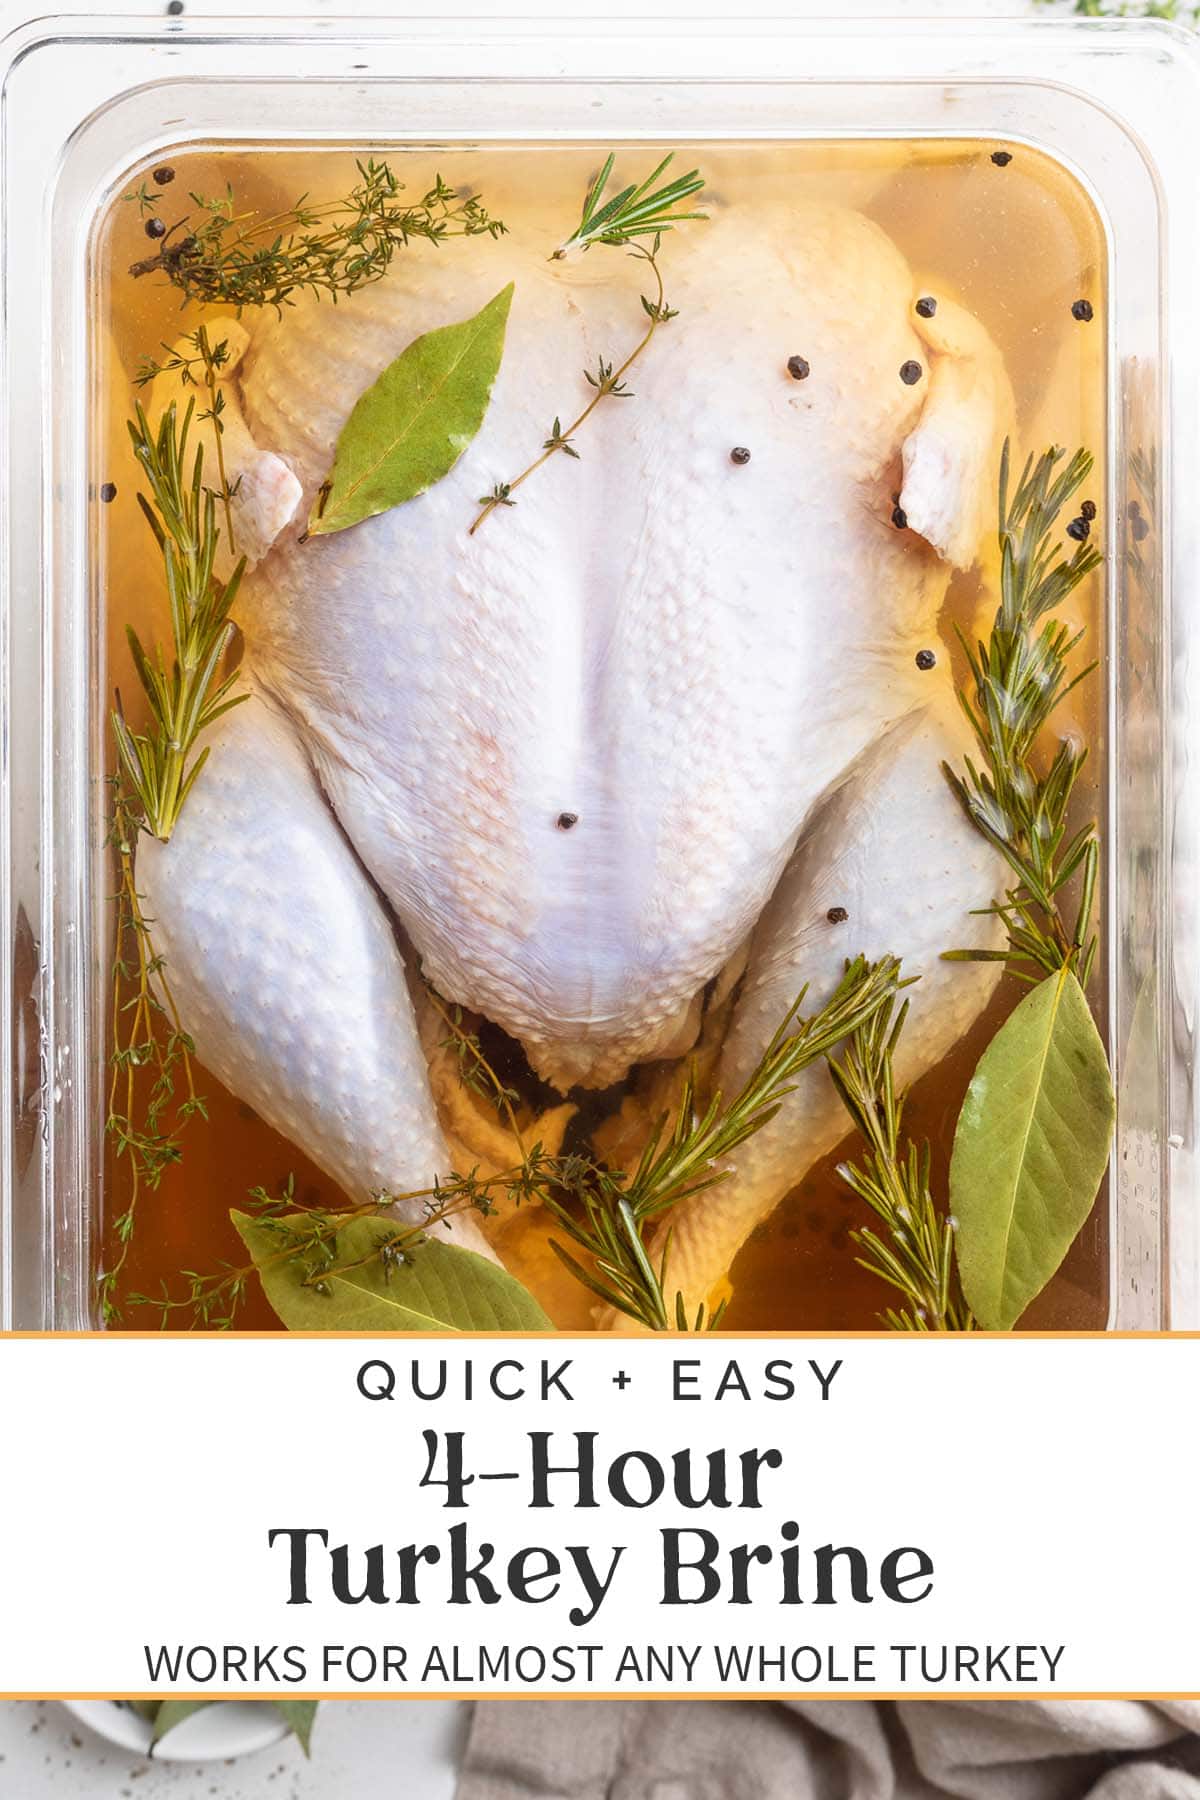
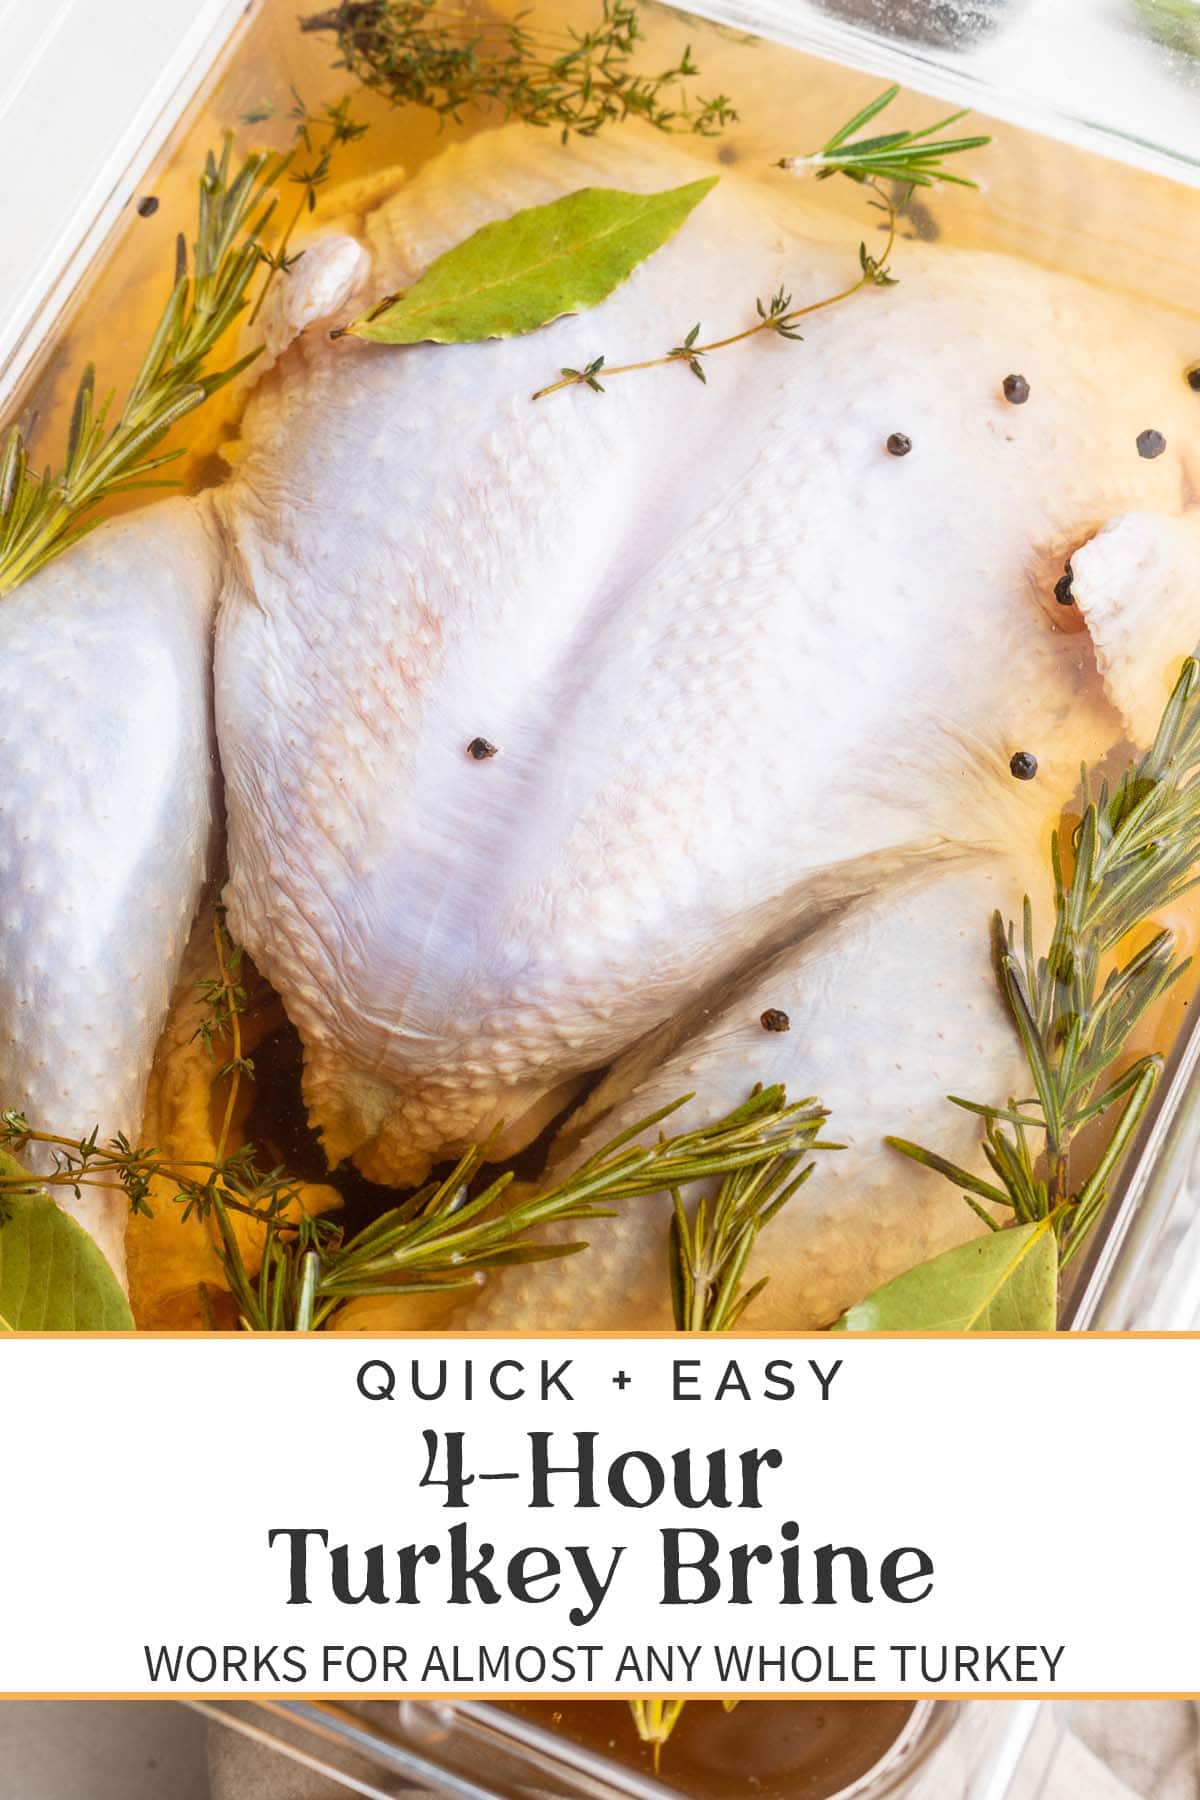
- Turkey brines are incredibly easy, and this one’s no exception. You don’t even even need a ton of ingredients for it! Before you know it, you’ll have a giant, naked, goofy-looking headless bird floating in a bath of salt, brown sugar, and fresh green sprigs.
- Feel free to get creative with your brine recipe. Add apple cider and thin slices of oranges. Change the herbs, throw in red pepper flakes or Cajun seasoning, replace part of the water with a turkey stock or vegetable broth. Just be very aware of any alterations that may add extra salt beyond what’s listed in the ingredients below – you don’t want to overdo it.
👩🏼🍳 Chef’s Tips
- Make sure the sugar is fully dissolved in the boiling water before you bring the temperature down with the cold water and ice. You likely won’t be able to dissolve the salt completely, which is just fine – this quick turkey brine works because it’s a super-saturated salt solution!
- The turkey absolutely must be fully submerged in the brine. If yours floats, put a heavy plate on top of it to weigh it down. If that’s not enough, you can add cans or jars of food on top of the plate until the turkey’s completely underwater. Just be sure you can still cover the brine container with a lid!
- Brined turkeys cook faster than unbrined turkeys, so once you’re finally cooking your bird, keep an eye on it to avoid drying it out or burning it. It would be awful to go through all of this prep and end up with a turkey you can’t enjoy!
If you’re not sure what size bird you should get, we’ve got a really simple formula to help you gauge just how much turkey you’ll need per person.
💬 Frequently Asked Questions
That’ll depend on the size of the turkey you’re brining. Any container that will hold the entire turkey + 3 gallons of water will work just fine. Don’t use a garbage bag or anything that’s not intended for food prep, though.
Yes, BUT! You don’t want to use it for a turkey that’s already been brined, or for a kosher turkey. Kosher turkeys are heavily salted before they even go to the grocery store. They don’t need the extra salt water bath.
Yes, IF you’re using a traditional brine that requires the turkey be submerged 6 hours or longer. You’d definitely need to refrigerate it the whole time. With this easy speed brine, though? The turkey can sit in the cold brine at room temperature for 3-4 hours with no problem. Your brine absolutely MUST be cold, though!
No! In fact, you should NOT salt a turkey again after it’s been brined. If you do a butter rub or anything like that when you cook the turkey, omit any added salt from your mixture.
Of course! Just dry the skin of the turkey really well with paper towels once you take it out of the brine. For the crispiest skin possible, I highly recommend air-drying the turkey by refrigerating it in a roasting pan overnight.
Seasonal Recipes You’ll Love
- Cranberry Orange Relish
- Crab Stuffed Mushrooms
- Crockpot Green Bean Casserole
- Stuffed Artichokes
- Gluten Free Gravy (With or Without Drippings)
- Savory Southern Cornbread Stuffing
- 30 of the Best Holiday Casseroles
- Vegan Pumpkin Cheesecake
- Potato Mousseline
- Air Fryer Sweet Potatoes
Quick Turkey Brine
Equipment
- Large saucepan
- Large wooden spoon
- large container with lid stockpot, cooler, or brining bag; see Notes
- refrigerator optional
- Paper towels
Ingredients
For the Turkey
- 1 whole turkey up to 10 pounds, see Notes
For the Turkey Brine
- 3 gallons very cold water divided
- 1 ½ cups table salt
- ⅔ packed cup brown sugar see Notes
- 1 tablespoon whole black peppercorns or whole mixed peppercorns
- 3 sprigs fresh rosemary
- 3 sprigs fresh thyme
- 3 bay leaves
- 1-3 cups ice cubes as needed
Instructions
- Fill large saucepan with 1 gallon cold water. Place saucepan over medium-high heat and bring water to boil.
- When water begins to boil, add salt, brown sugar, whole peppercorns, rosemary, thyme, and bay leaves. Remove saucepan from heat and stir ingredients together until salt and sugar have dissolved completely. Set saucepan aside.
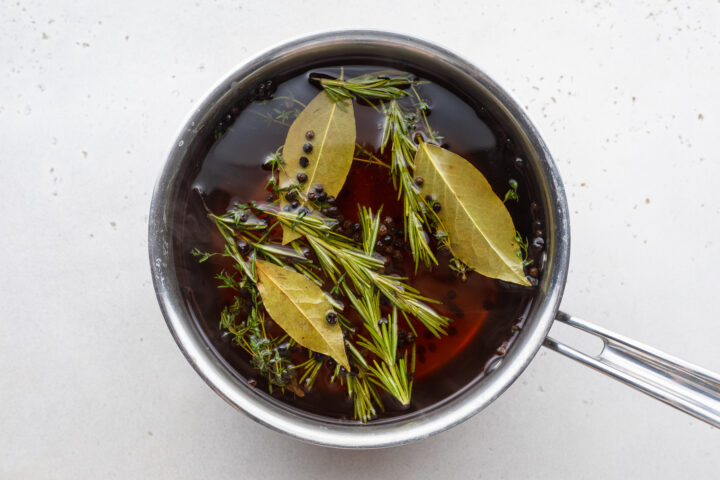
- Fill large container with remaining 2 gallons of very cold water. Pour brine mixture into cold water and stir quickly to incorporate, then let mixture sit until water has cooled completely. Add ice if needed to bring water below room temperature.
- When water is cool, place turkey breast-side down in container with brine. Turkey must be completely submerged in brine.
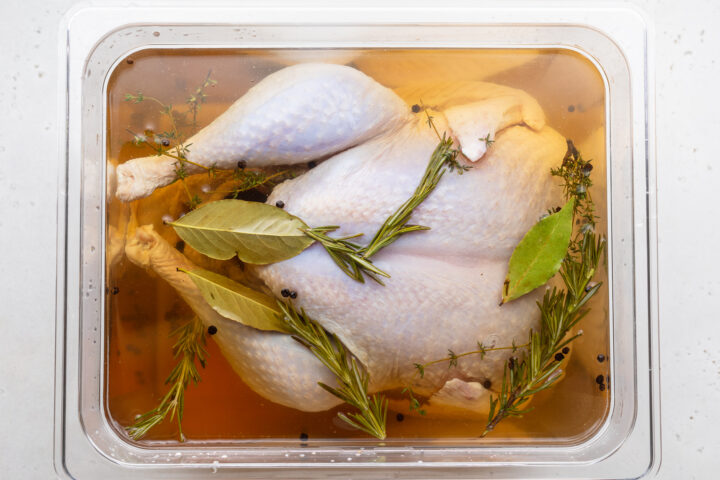
- Cover container and let turkey sit in brine at room temperature 3 to 4 hours. If preferred, refrigerate turkey in brine 6 to 8 hours instead. Be careful not to over-brine turkey.
- After turkey has sat in brine for desired length of time, remove turkey from container and discard brine. Pat turkey completely dry with paper towels, then cook turkey immediately using desired method, or place turkey in roasting pan and refrigerate overnight to air dry.
- Do not use this brine recipe if you’re cooking a kosher turkey! Kosher turkeys are heavily salted already, and this brine will be too much on top of that.
- It IS possible to over-brine a turkey, so don’t leave it in the brine too long. If you over-brine it, the turkey will be incredibly salty. You also don’t want to salt the brined turkey before cooking it like you would with a turkey that’s not brined.
- Make sure your container or brining bag is large enough to fit the entire turkey and 3 gallons of water.
- The turkey must be fully submerged in the brine. If needed, place a heavy plate or can(s) on top of the turkey to weigh it down.
- As written, this recipe yields enough brine for a turkey that weighs up to 10 pounds. For turkeys larger than 10 pounds, you’ll want to increase the brine recipe to ensure the turkey can be fully covered. Not sure what size turkey you need? Use this easy formula to make sure you’ve got enough to feed the whole group!
- Make it Keto: Use Brown Swerve instead of brown sugar.
Approximate Information for One Serving
Nutrition Disclaimers
Number of total servings shown is approximate. Actual number of servings will depend on your preferred portion sizes.
Nutritional values shown are general guidelines and reflect information for 1 serving using the ingredients listed, not including any optional ingredients. Actual macros may vary slightly depending on specific brands and types of ingredients used.
To determine the weight of one serving, prepare the recipe as instructed. Weigh the finished recipe, then divide the weight of the finished recipe (not including the weight of the container the food is in) by the desired number of servings. Result will be the weight of one serving.
Did You Make This Recipe?
Tag @40aprons on Instagram and be sure to leave a review on the blog post!



Never Miss A Meal!
New Recipes Straight To Your Inbox
A curated selection of our most recent recipes, delivered straight to your inbox once a week.
Thank you!
You have successfully joined our subscriber list.