
This Post May Contain Affiliate Links. Please Read Our Disclosure Policy.

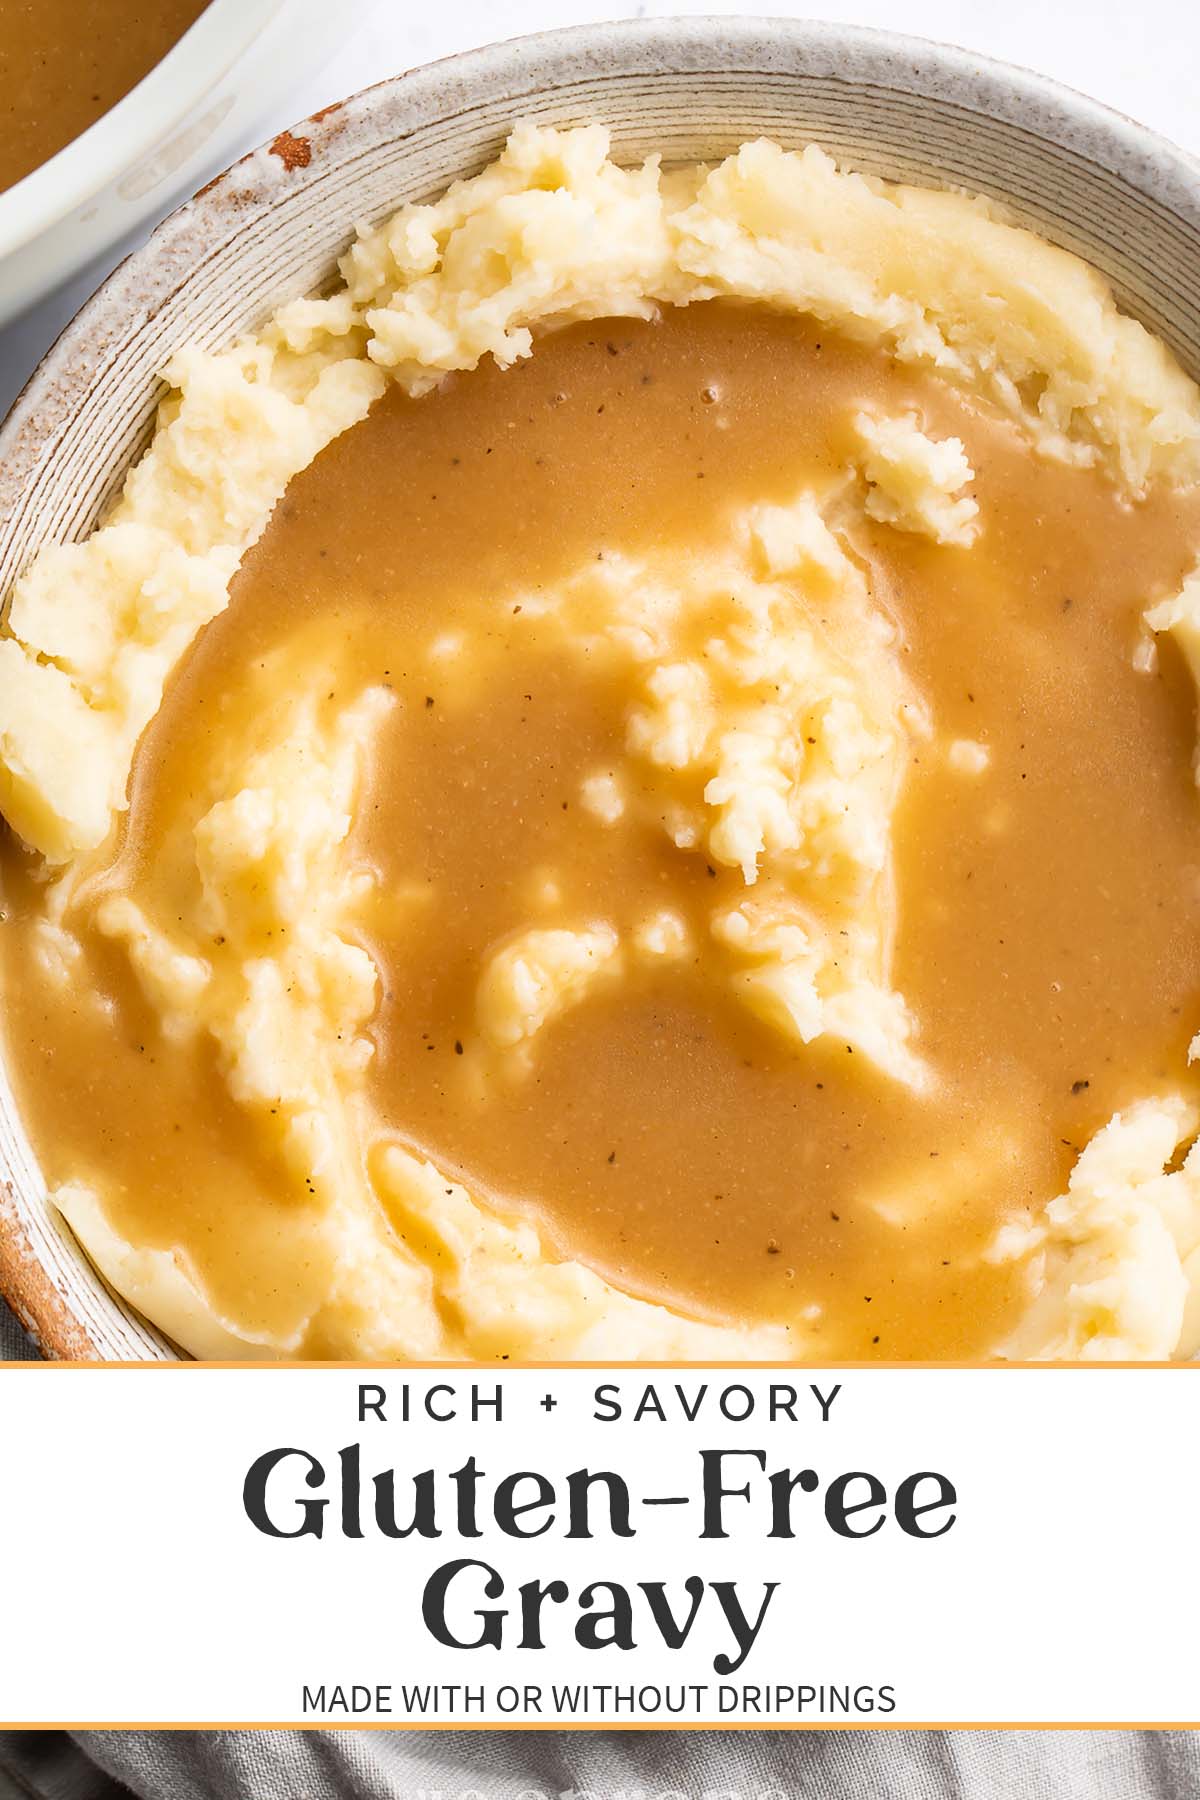
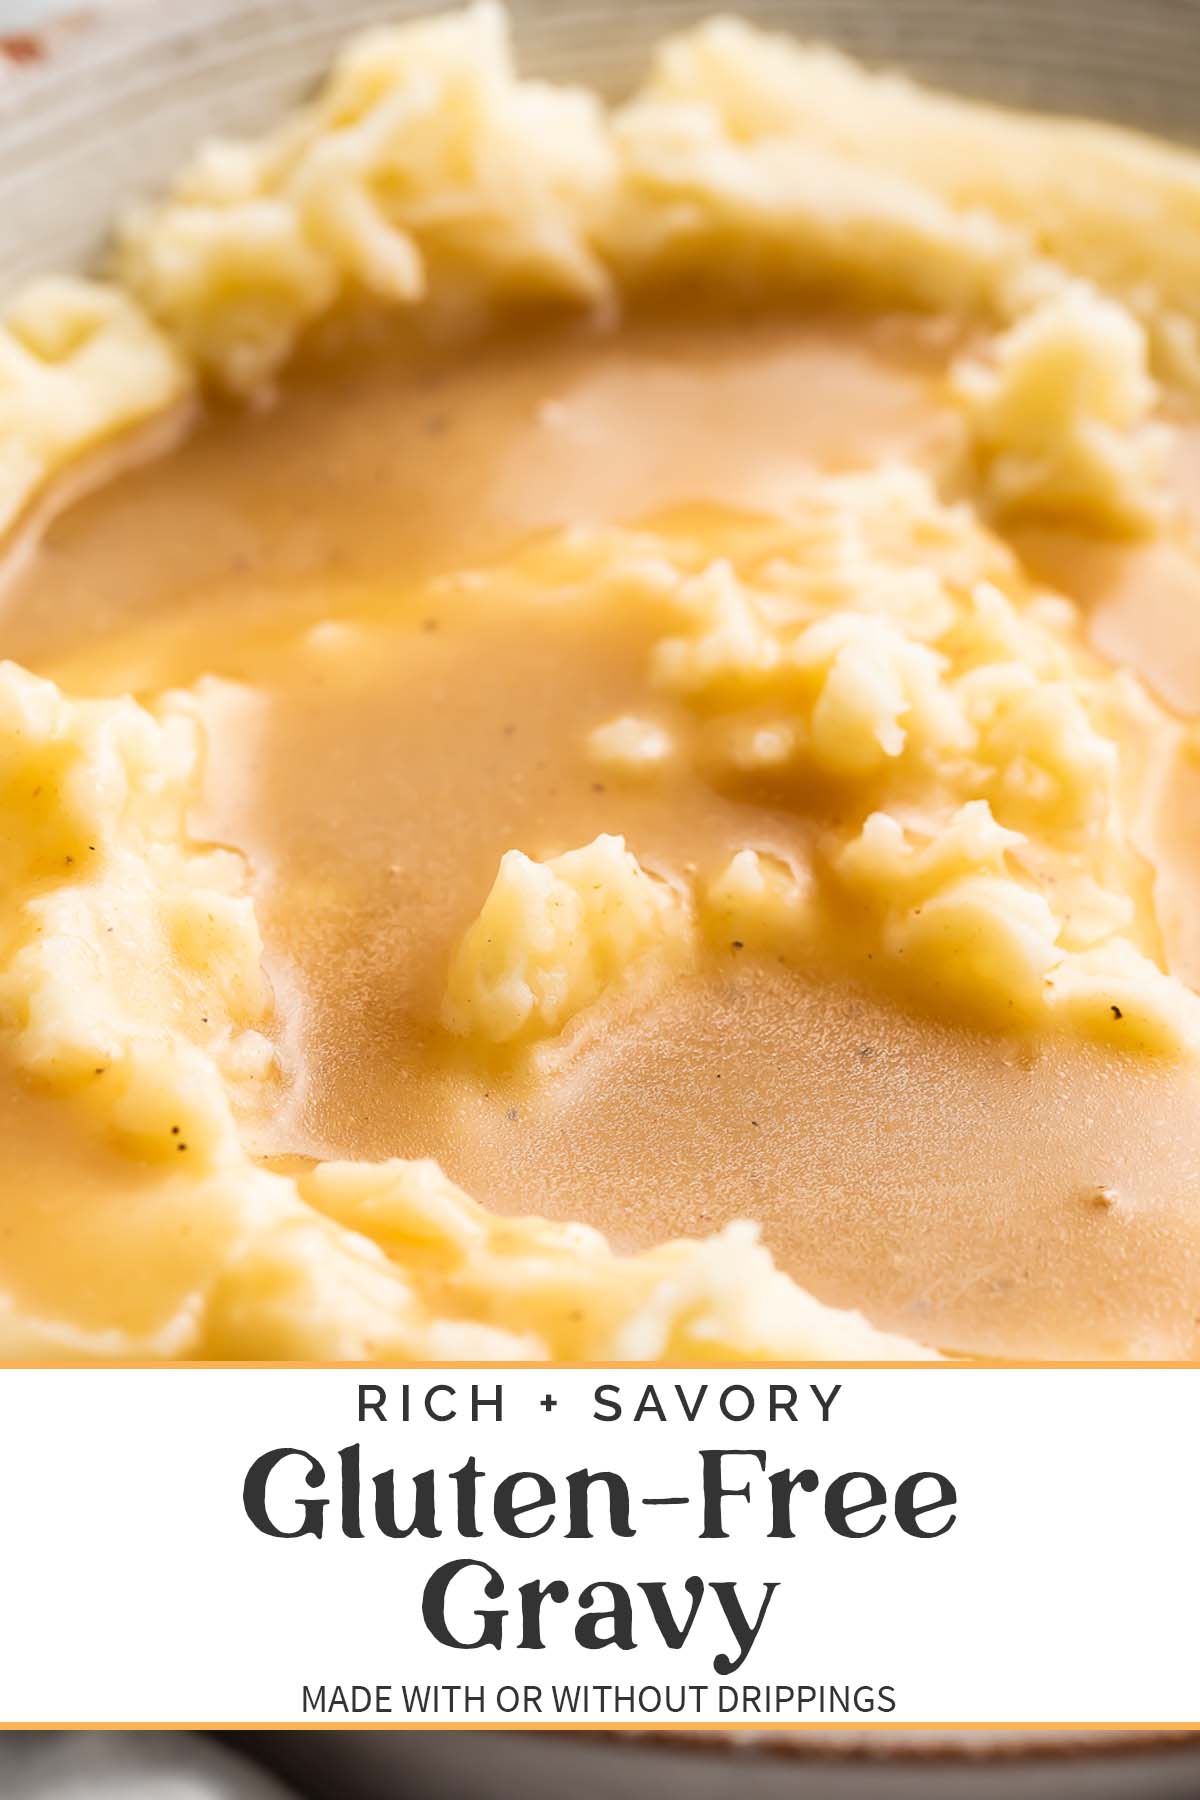
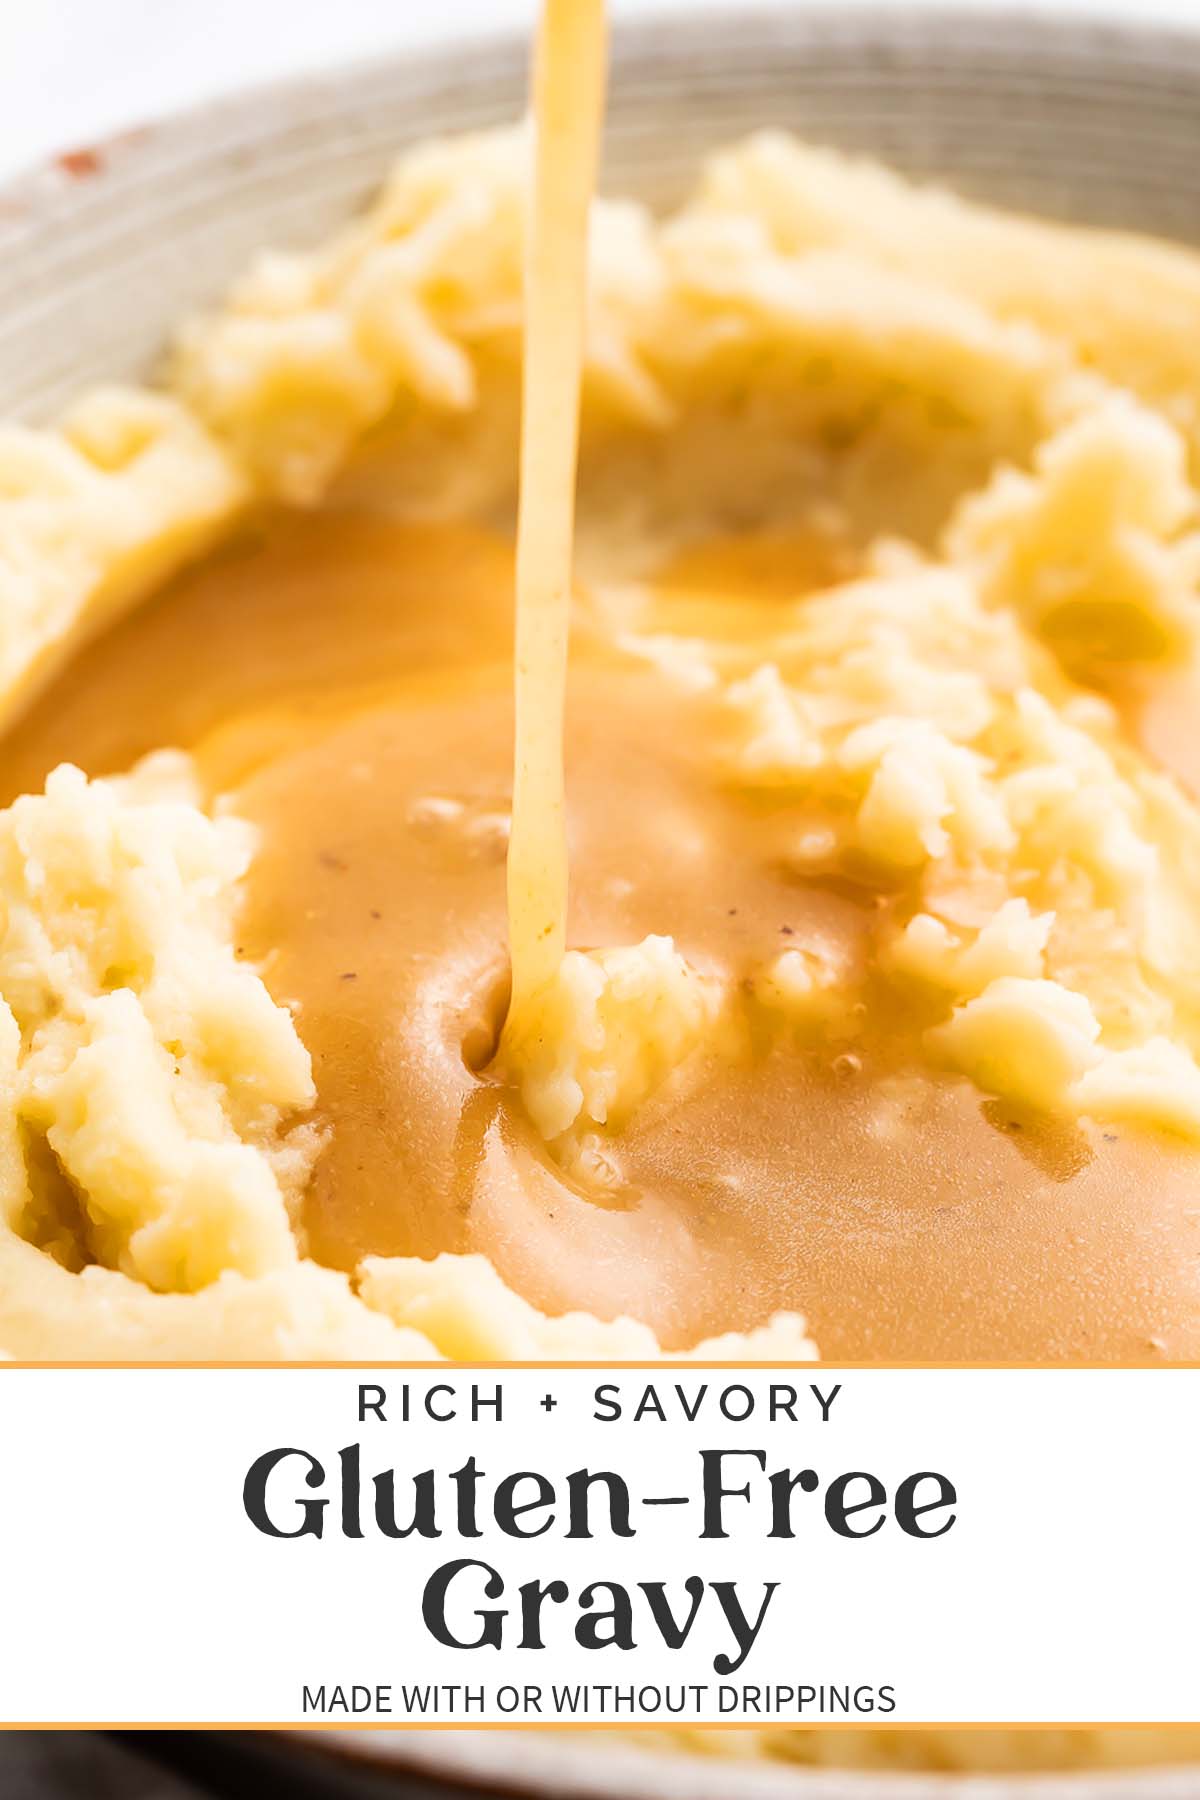
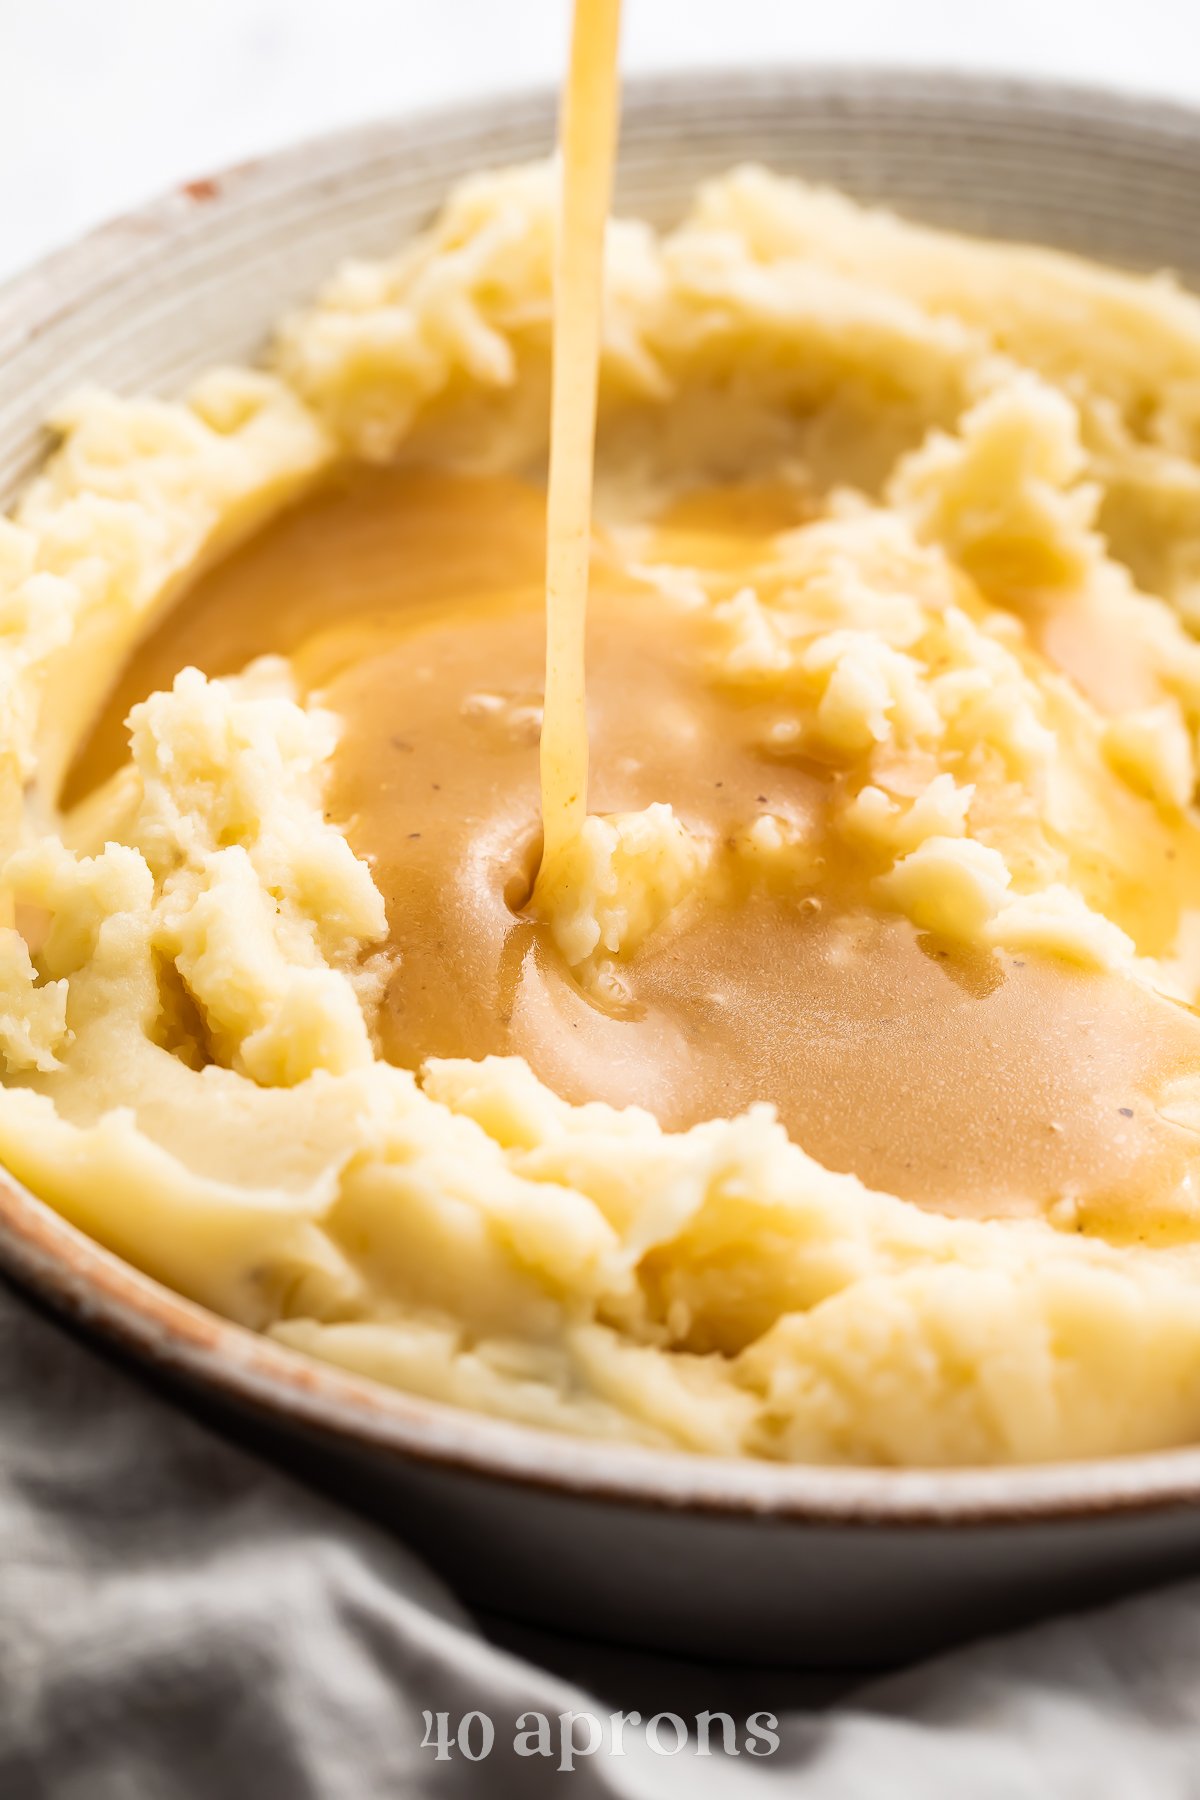
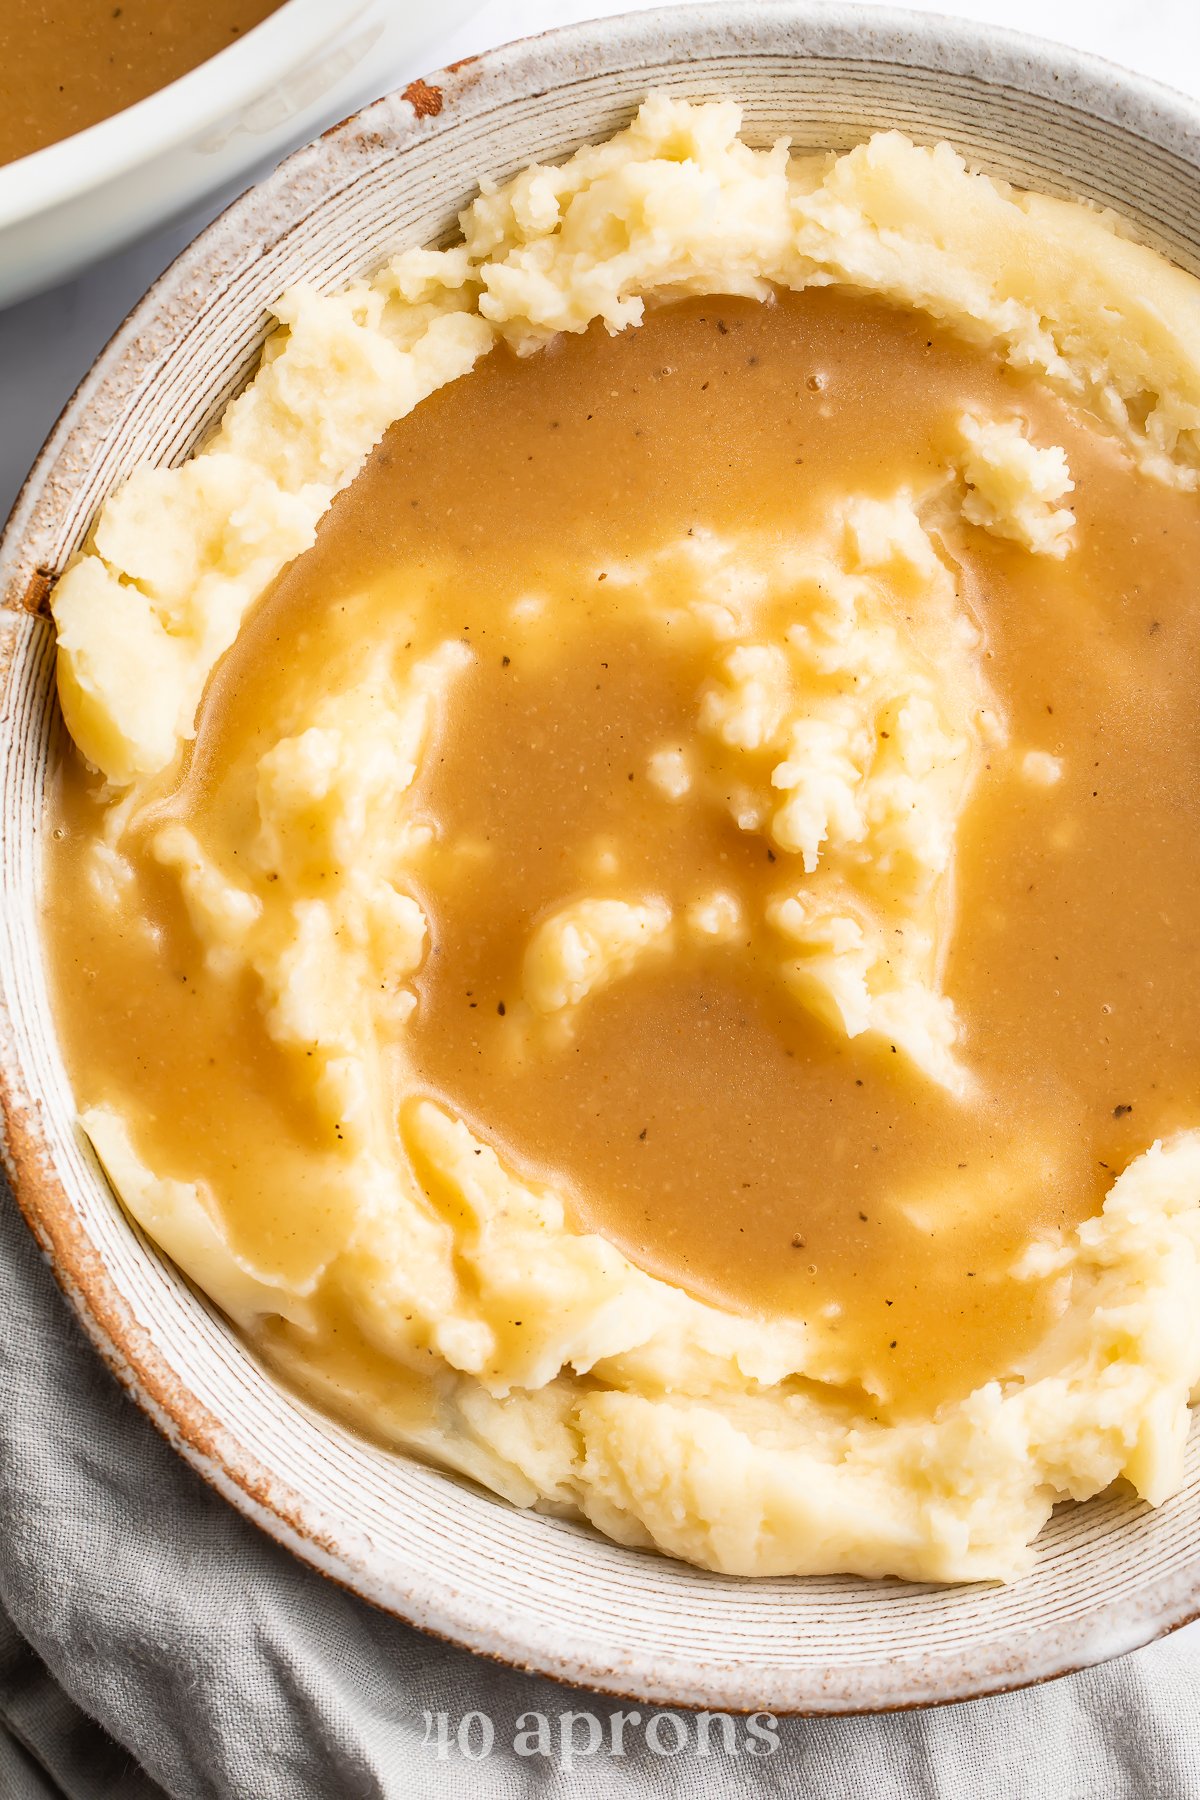
Savory and rich, this gluten free gravy is perfect over turkey, chicken, or beef and is so easy to make with or without drippings. Versatile and delicious, plus it doesn’t taste gluten free!
What Makes This Recipe So Good
- You’ll never believe this holiday gravy is 100% gluten free. That’s because it’s every bit as delicious as traditional gravy! Rich and savory and so easy to make, whether you use leftover drippings from your roasted meat or you start with a butter-based roux. And because it’s so good, everyone at the table will enjoy it – even if they’re not gluten free.
- This recipe uses incredibly simple, wonderfully neutral ingredients that give the gravy a ton of flavor but keep it super versatile. Why’s that a good thing? Because it means you can enjoy it with chicken, turkey, ham, and beef alike! I love when I can adapt a recipe to work with any meal, it just makes life so much easier.
- If you’re not using drippings, you can make your gluten free gravy up to 3 days ahead of time. Follow the recipe as written, using butter as your base. Let the gravy cool, then transfer it to an airtight container and refrigerate it until you need it. Reheat the gravy on the stovetop over low heat, and add extra stock if needed to get the right consistency. You can also add drippings to the gravy when you reheat it if you decide it needs a little something extra.
Chef’s Tips
- Any gluten-free flour will work in this gravy, but you may find that GF flours containing xanthan gum clump when they’re added to warm liquids. To avoid that, let the drippings or melted butter cool slightly before adding the flour. If it clumps anyway, you can typically fix it by whisking the mixture vigorously until it’s smooth or blending it with an immersion blender.
- Gluten free gravy is really hard to mess up, I promise. When it comes to the consistency, you can always salvage things. Too thick? Add more stock in small increments until you’ve got it thinned out like you want it. Too thin? Sprinkle in a little more flour to thicken things up.
- Did you know you can freeze gravy to use later on? Yup. This gluten free gravy actually freezes really well, since it’s made with flour and not cornstarch. Just let it cool completely, then transfer it to an airtight, freezer-safe container or plastic freezer bag. If you’re freezing it in a bag, lay the bag of gravy flat on a freezer shelf until it’s completely frozen, and then you can stand it or stack it as you need to make room. Let the frozen gravy thaw in the fridge overnight and then reheat it on the stove before serving.
Gluten-Free Holiday Dishes You Need This Season
- Gluten Free Breakfast Casserole
- Gluten-Free Lasagna
- Paleo Pancakes (Gluten Free, Dairy Free)
- Keto Pie Crust (Gluten Free, Low Carb)
- Gluten Free Cinnamon Rolls (Cinnabon Copycat)
- Gluten Free Stuffing
- Creamy Gluten Free Pecan Pie
- Gluten Free Meatloaf
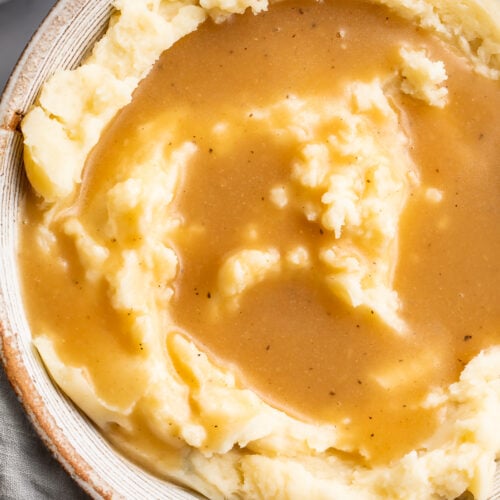
Gluten Free Gravy (With or Without Drippings)
A gluten-free version of a traditional holiday side dish, this homemade gravy is savory, rich, and so easy to make.
servings
Equipment
- medium saucepan
- whisk
Ingredients
- ¼ cup drippings or butter
- ¼ cup gluten-free all-purpose flour see Notes
- 2-3 cups low-sodium chicken stock or beef stock, or a combination of both; see Notes
- salt to taste, see Notes
- freshly cracked black pepper to taste
Instructions
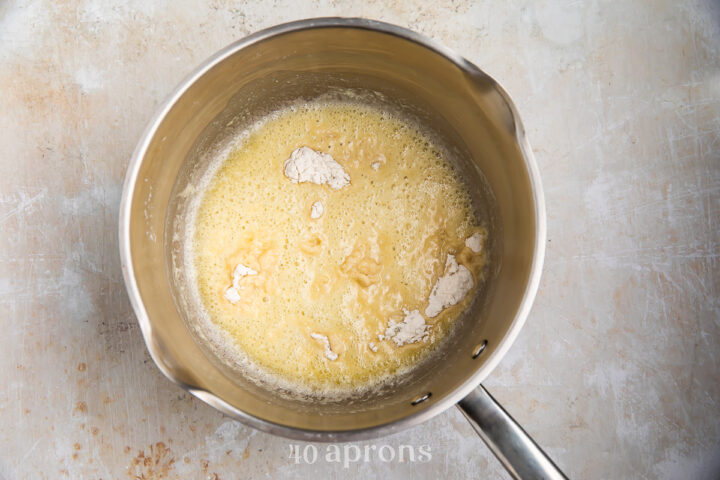
- Heat medium saucepan over medium heat. When saucepan is warm, add drippings and heat through. Alternately, add butter to warm saucepan and let butter melt completely, swirling pan occasionally to coat bottom with butter.
- When drippings (or butter) are warmed through (or melted), sprinkle flour over top of liquid and whisk ingredients together vigorously until fully combined. Reduce heat to medium-low and simmer mixture, stirring occasionally, until mixture is golden but not burnt.

- Slowly pour in 1 cup of stock and whisk until mixture is smooth. Pour in another 1 cup stock and whisk again until ingredients are fully combined.
- Increase heat under saucepan to medium. Let mixture simmer, uncovered, 3 to 5 minutes or until mixture has thickened slightly. Add another ½ to 1 cup stock as needed to achieve desired consistency, whisking well to ensure all ingredients are fully combined. Note: amount of stock needed will vary depending on type of gluten-free flour used.
- When desired consistency is achieved, taste gravy and season with salt and pepper as needed. Serve warm.
- Flour: Any gluten-free flour will work here, but if you use one that contains xanthan gum, you may find that the flour clumps when it’s added to the warm liquids. If it clumps, try whisking vigorously until the mixture smooths out. If that doesn’t work, try blending the gravy with an immersion blender (or a regular blender) until the lumps are gone.
- Stock: I recommend low-sodium stock just so you don’t end up with a gravy that’s too salty. You can always add salt, but you can’t take it away! Also, if you’re new to gluten-free cooking, be sure you double-check that the stock you use actually is gluten free. Most are, but some brands sneak in gluten-containing ingredients.
- Salt: Use a gluten-free soy sauce in place of salt to give the gravy a deeper, richer color.
Approximate Information for One Serving
Serving Size: 1servingCalories: 89calProtein: 2gFat: 7gSaturated Fat: 3gTrans Fat: 0gCholesterol: 7mgSodium: 268mgPotassium: 80mgTotal Carbs: 4gFiber: 0.3gNet Carbs: 4gCalcium: 14mgIron: 0.4mg
Nutrition Disclaimers
Number of total servings shown is approximate. Actual number of servings will depend on your preferred portion sizes.
Nutritional values shown are general guidelines and reflect information for 1 serving using the ingredients listed, not including any optional ingredients. Actual macros may vary slightly depending on specific brands and types of ingredients used.
To determine the weight of one serving, prepare the recipe as instructed. Weigh the finished recipe, then divide the weight of the finished recipe (not including the weight of the container the food is in) by the desired number of servings. Result will be the weight of one serving.
Did You Make This Recipe?
Tag @40aprons on Instagram and be sure to leave a review on the blog post!
Never Miss A Meal!
New Recipes Straight To Your Inbox
A curated selection of our most recent recipes, delivered straight to your inbox once a week.


Fast, easy, and a nice flavor. I appreciated the tip about not having xanthan gum in the flour, as the previous recipe I tried did clump for that very reason. Thanks!
We’re so glad you enjoyed it! Thanks for sharing, Lola!
Best gravy recipe, even with plant butter and chicken broth! I used gfJules flour and it wasn’t lumpy or gritty! Thank you!
We’re so glad you enjoyed it! Thanks for sharing, Nancy!
Turned out beautifully with these ratios. Thank you!
So glad you enjoyed it! 😊