This Post May Contain Affiliate Links. Please Read Our Disclosure Policy.
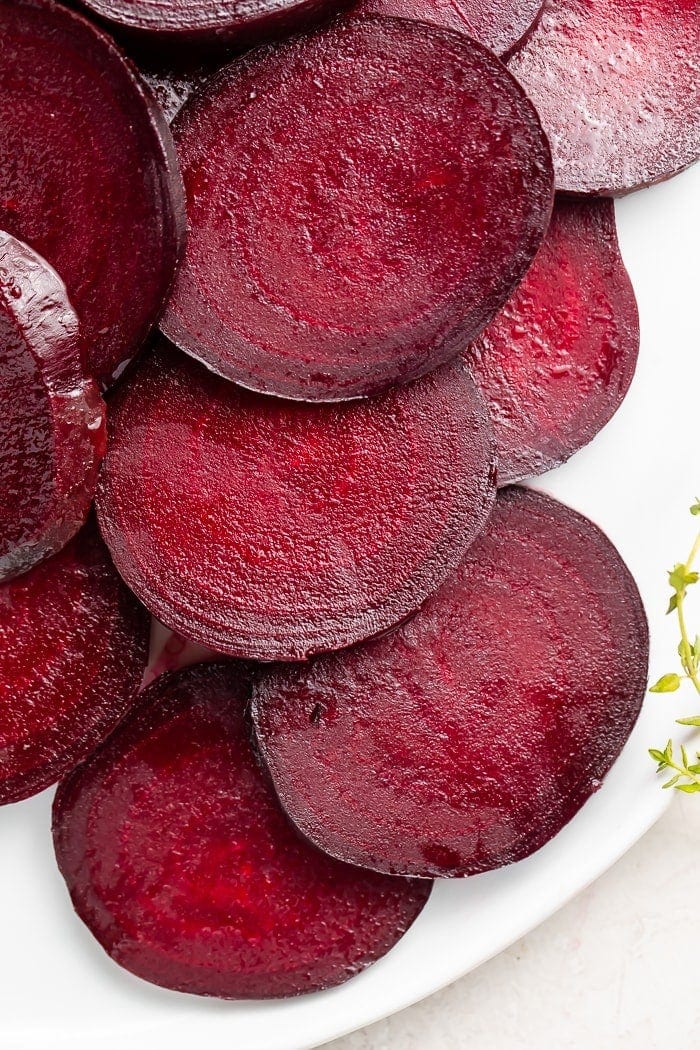
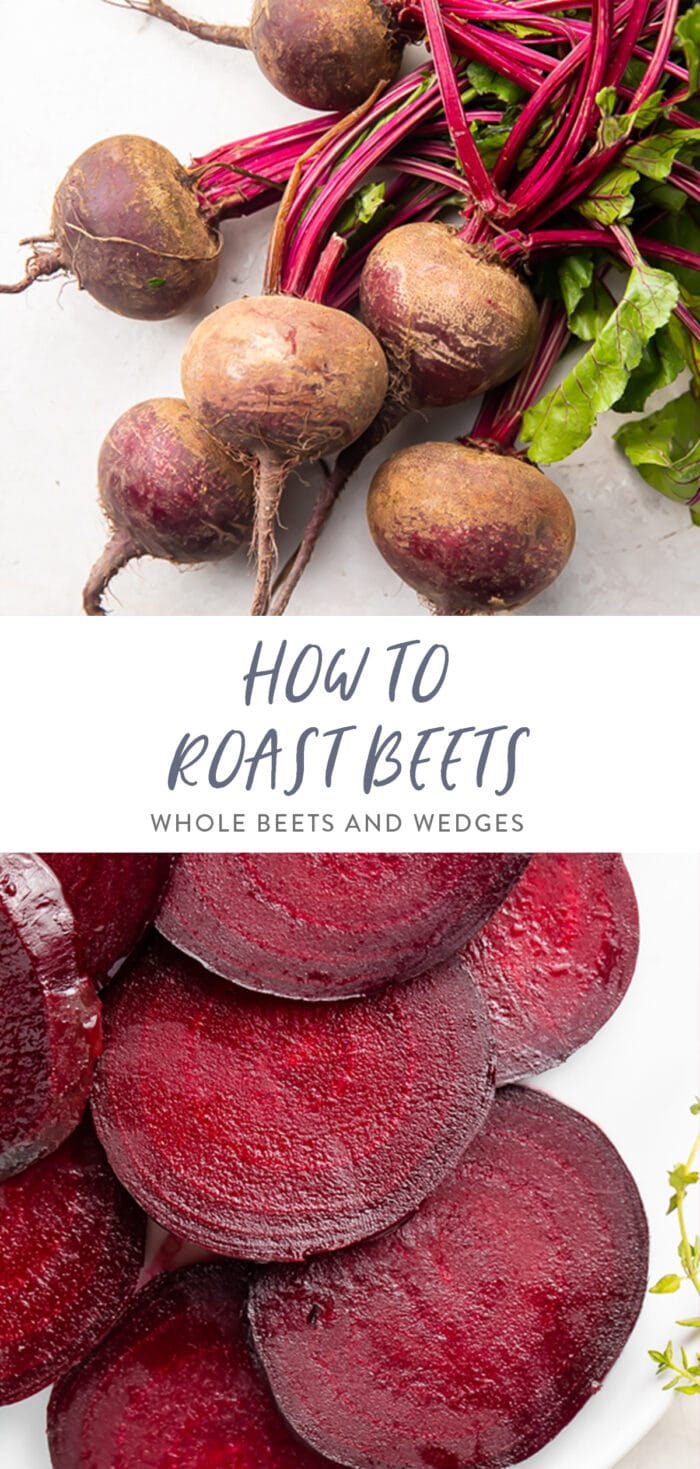
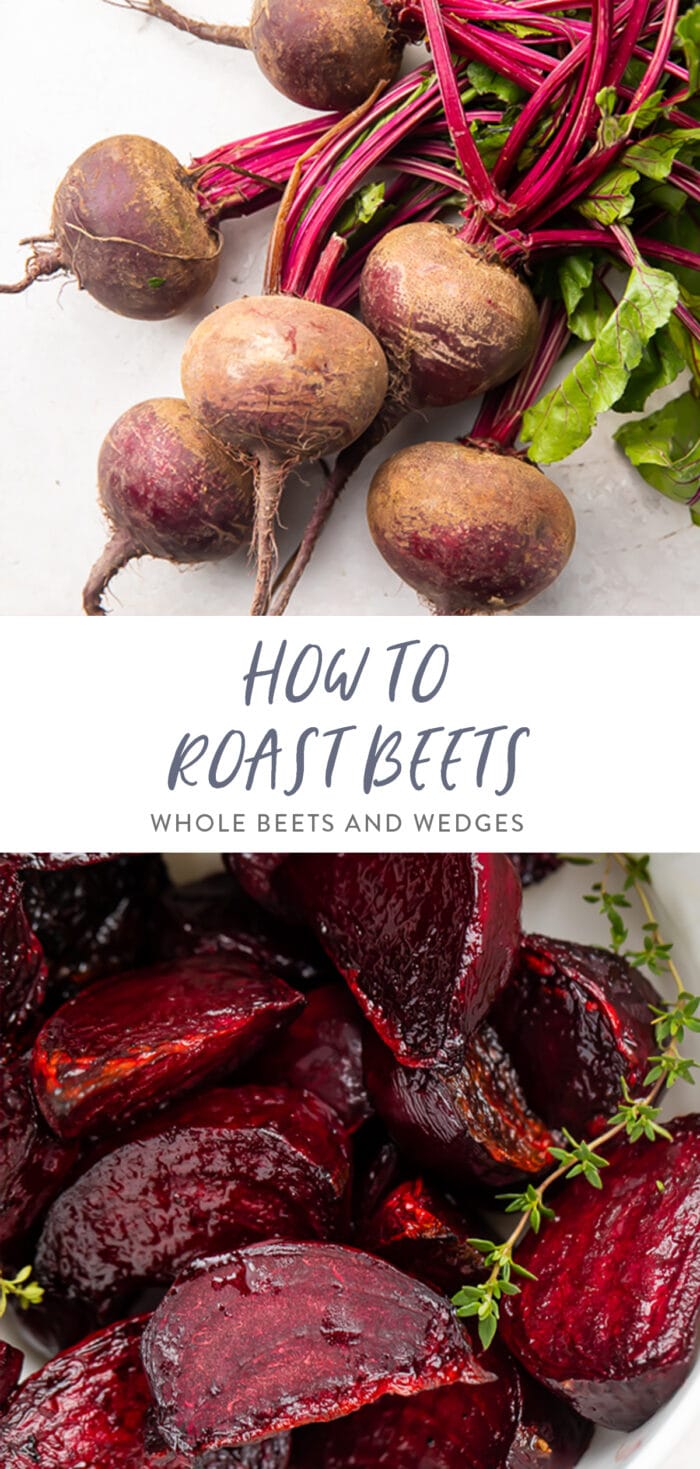
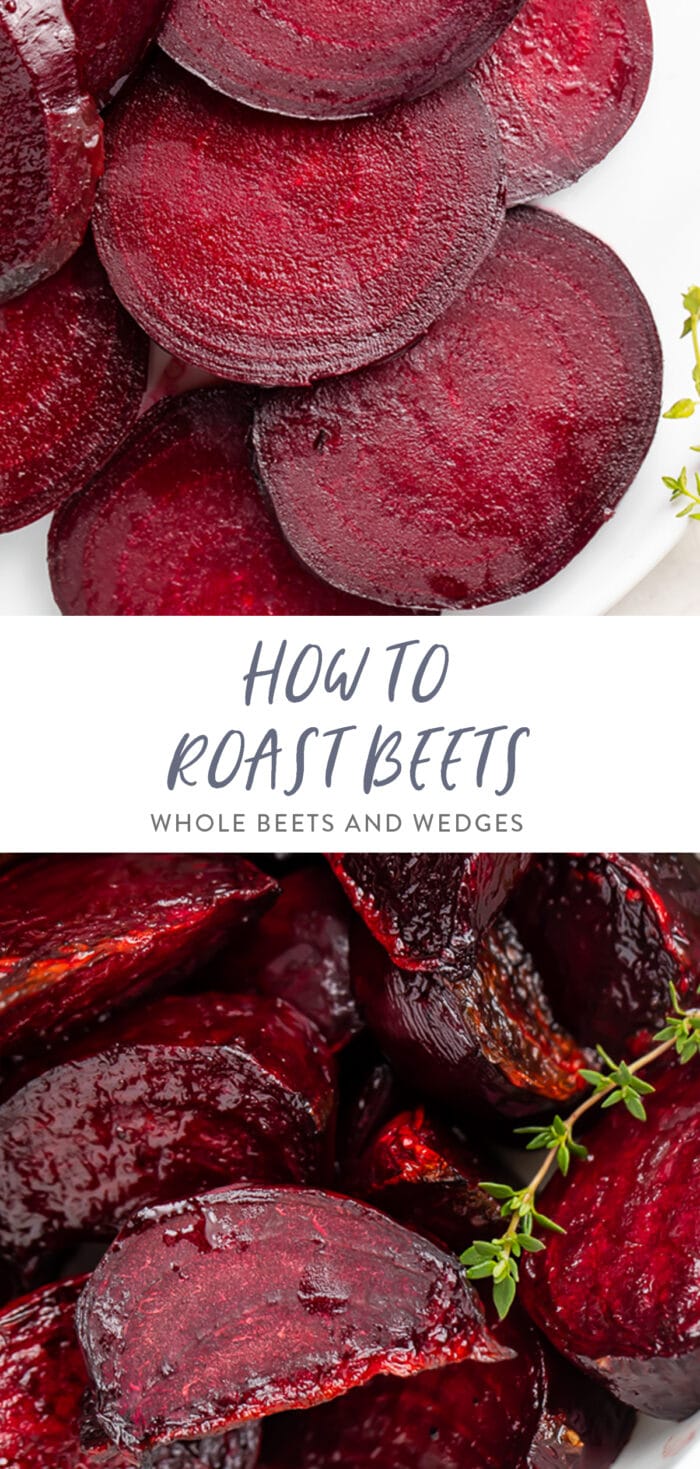
Knowing how to roast beets turns those deep red beauties into sweet, versatile veggies you’ll fall in love with. We’ll teach you how to roast them two ways, either whole or in wedges, perfect for salads or sides.
Why You’ll Want to Know How to Roast Beets
- You can store roasted beets in an airtight container in the refrigerator for up to one week – perfect for meal prep and holiday leftovers! They freeze well, too.
- Raw beets are crisp and crunchy, but roasted beets have a soft, buttery texture, similar to cooked yams.
- Serve them warm with butter and a little salt & pepper, or chilled on top of a salad.
Key Ingredients
Beets – These gorgeous cranberry-colored root veggies are full of vitamins and nutrients, and they’re low in calories and fat. Cooked, pureed beets can also be used to give red velvet cake its signature color!
Extra Virgin Olive Oil – EVOO is one of the most versatile items in your kitchen. Since it’s loaded with healthy fatty acids and antioxidants, it’s good for you both inside and out – no, really! We all know it’s used for baking, marinating, and vinaigretting, but some DIY skin and hair treatments call for EVOO, too.
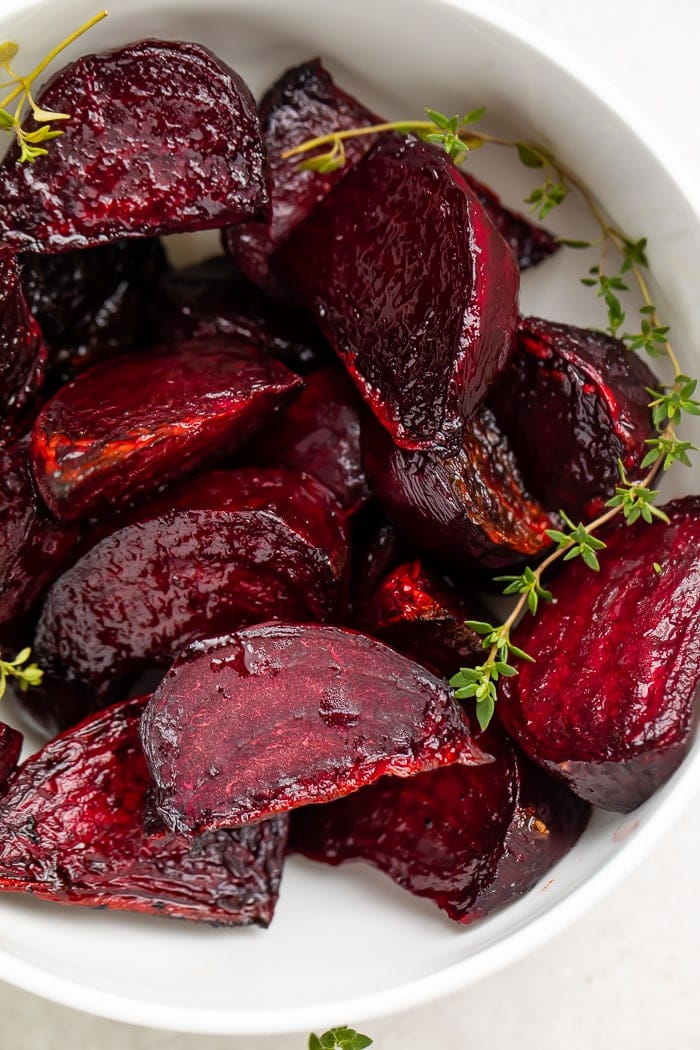
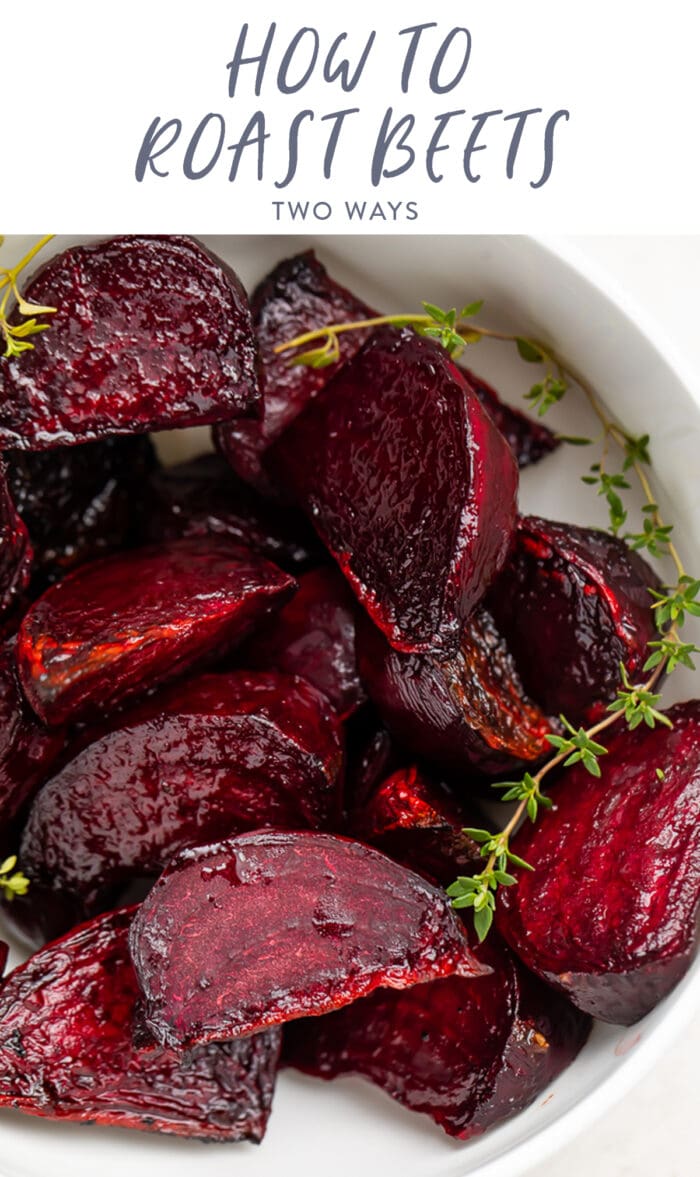
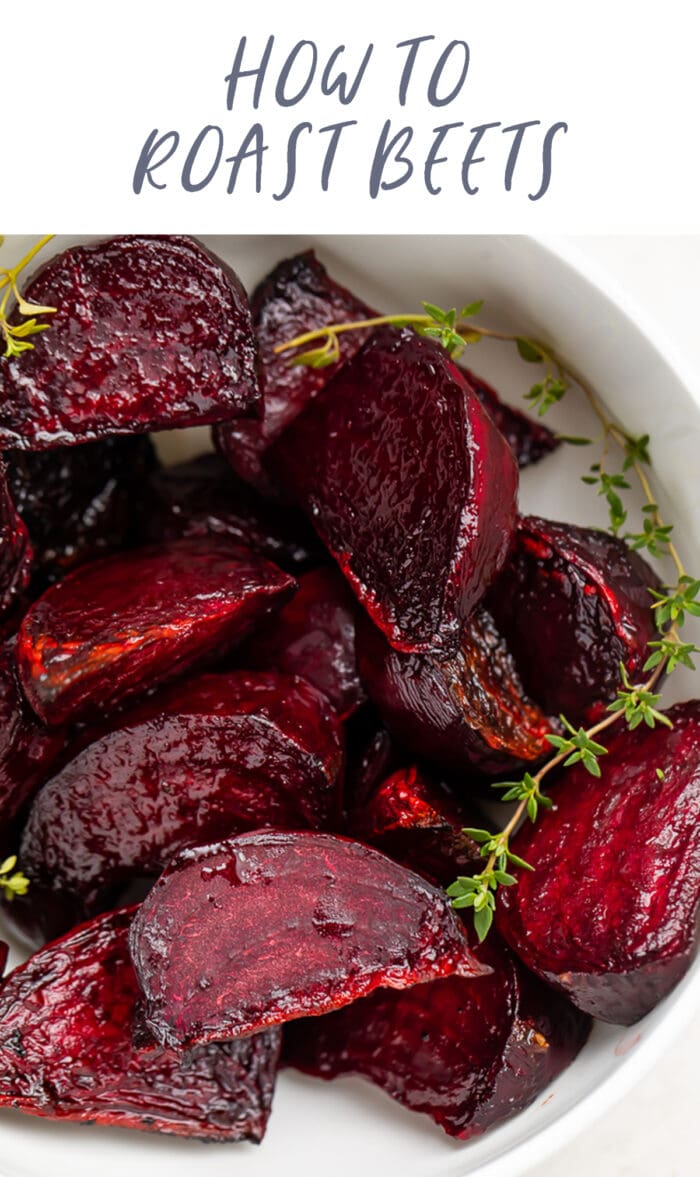
Roasted beet wedges are just as easy as whole roasted beets. You do need to remove the whole stem and peel your dirt-free beets using a peeler or a paring knife before you roast them. Once they’re peeled, cut them into wedges, then coat them in EVOO. No foil pouch needed here – spread the wedges evenly on a sheet pan and toss them in the oven!
Chef’s Tips
- If you’re roasting large beets whole, wrap them individually in foil to make sure they roast evenly.
- Perfectly tender roasted beets are easy to peel – just rub them with a paper towel and the skins will come right off! If they don’t, you’ll want to cook the beets a little longer.
- Beets are gorgeous, but the juice can stain everything. Don’t let that scare you away from them, though! Just be careful, wear an apron, and if you do happen to get beet juice on some fabric, immediately dab (don’t rub!) the spot with a paper towel to absorb the liquid, flush the area with cold water, then treat the area with stain remover or lemon juice & vinegar.
- The most common beets at your local grocery store are standard red beets, but if you’d like beets with a little sweetness, try to find Chioggia beets. They’re sometimes called Candy Cane Beets because they’re red-and-white striped inside, which also makes them fun for the holiday table.
More Roasted Recipes
- Roasted Sweet Potato Salad
- Oven Roasted Okra
- Roasted Cauliflower Steaks
- Oven-Roasted Brussels Sprouts with Bacon
- Roasted Fingerling Potatoes
- Roasted Radishes with Garlic Browned Butter
- How To Roast Garlic
- Roasted Potatoes and Carrots
How to Roast Beets
Equipment
- Aluminum Foil
Ingredients
- 4 beets fresh
- olive oil extra virgin
Instructions
Whole Roasted Beets
- Preheat oven to 400 degrees Fahrenheit. Wash beets and trim most of greens, leaving tuft of stem.
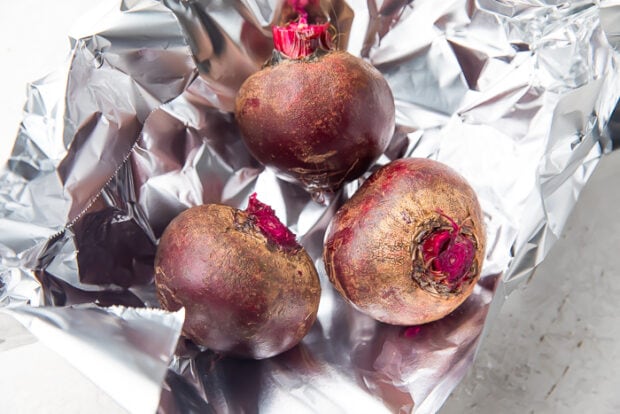
- Toss in extra virgin olive oil then wrap in foil.
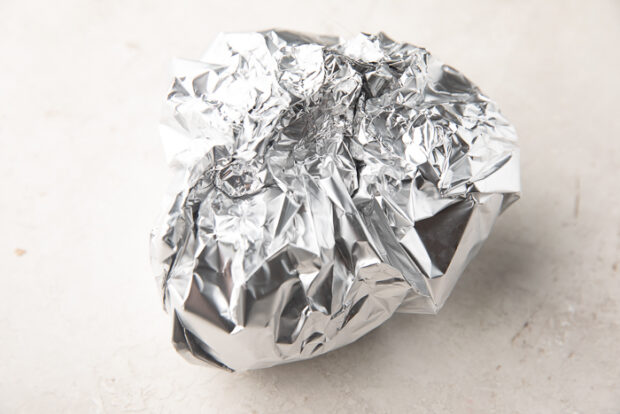
- Place foil pouch in oven and roast 35 minutes for small beets or 50 minutes for large beets. Test tenderness after 35 minutes by piercing beets with fork. Beets are cooked through when fork pierces smoothly.
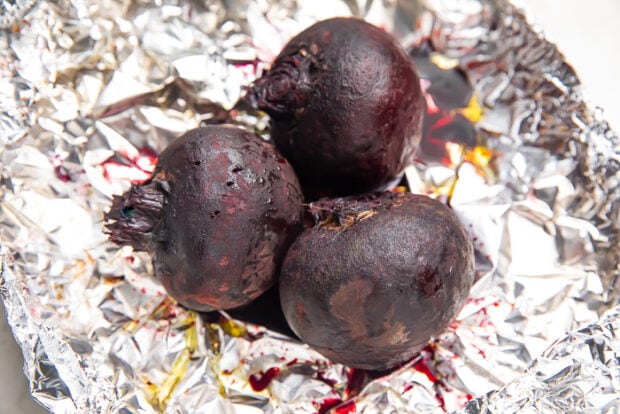
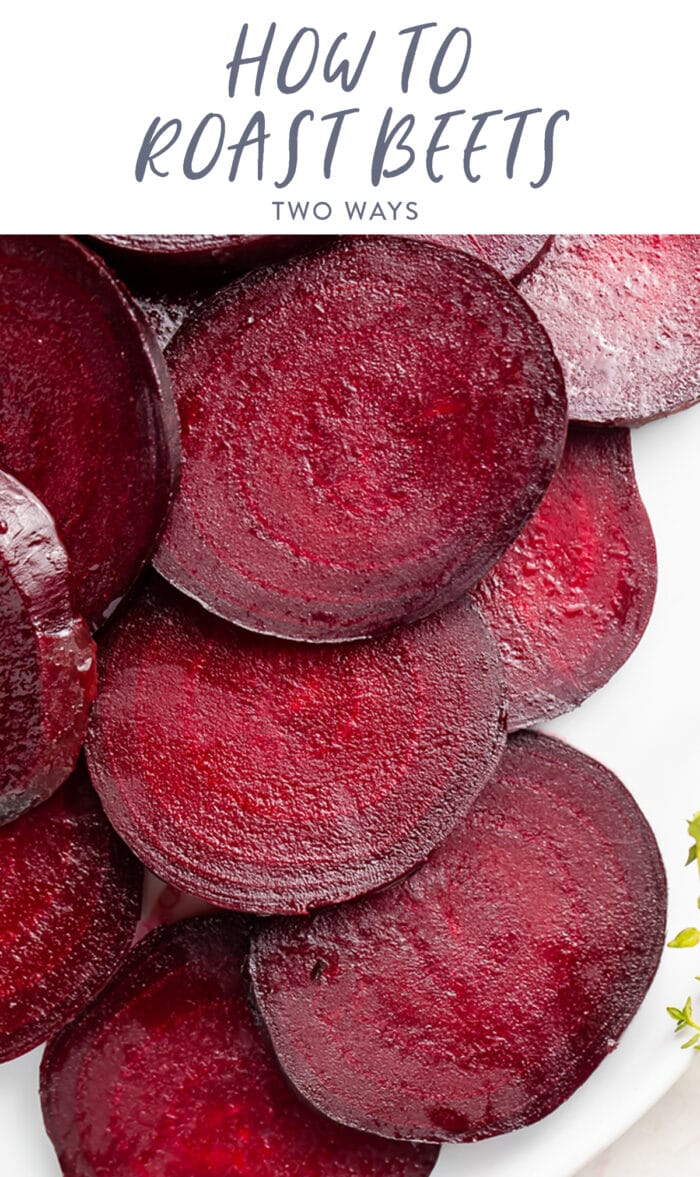
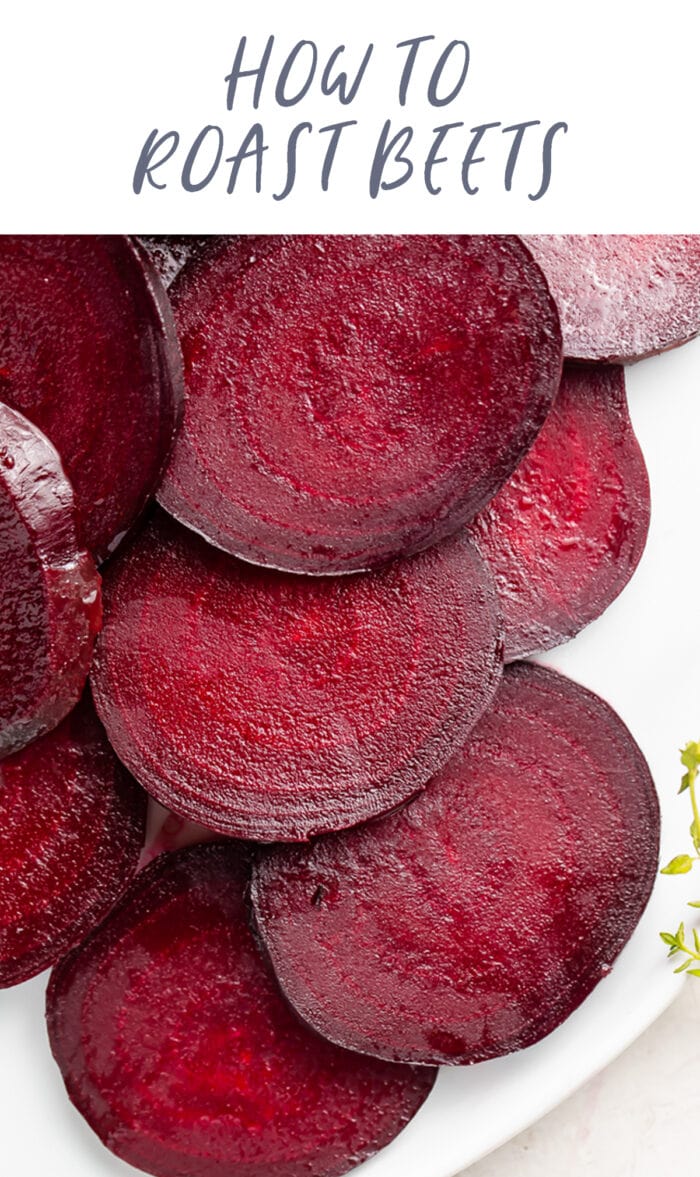
- Let cool, then remove skin. Slice into medallions and serve.
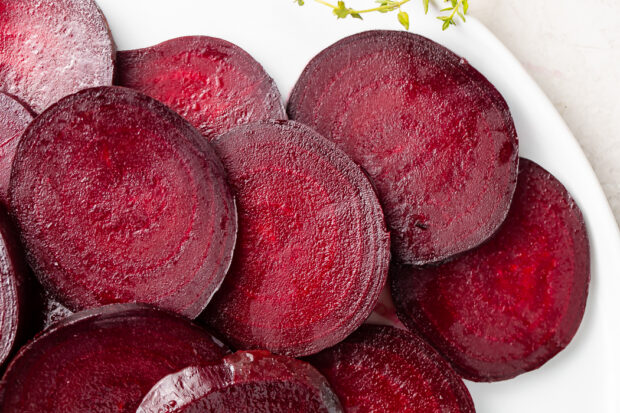
Roasted Beet Wedges
- Preheat oven to 400 degrees Fahrenheit. Wash beets and remove all of greens. Peel beets. For smaller beets, cut in half. For larger beets, cut into 8 wedges.
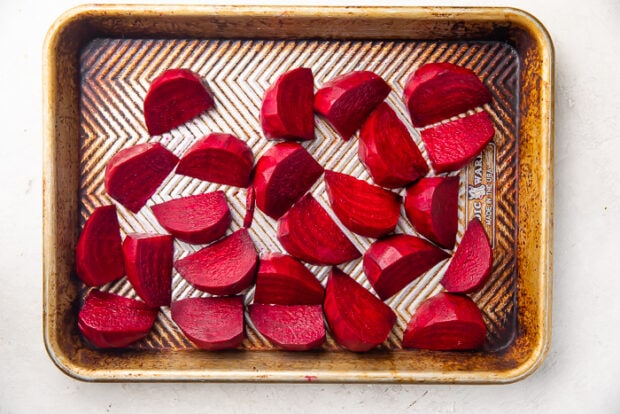
- Drizzle with extra virgin olive oil and toss to coat.
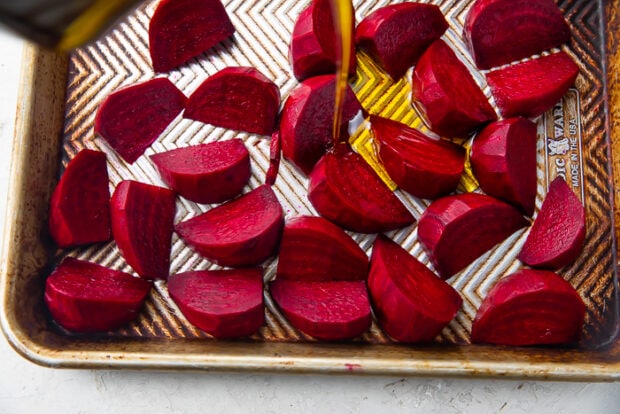
- Roast on sheet pan in oven for 35-40 minutes.
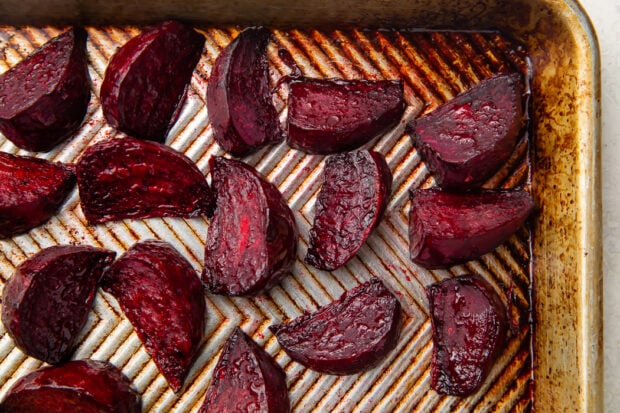
- Storage – roasted beets can be stored in the refrigerator for 5-7 days in an airtight container. They can also be frozen in a baggie or airtight container for 6-10 months.
- For a little flair, consider Chioggia beets. They’re slightly sweeter than standard red beets, and the candy cane effect of their inner red-and-white striping looks great on a holiday dinner table!
Approximate Information for One Serving
Nutrition Disclaimers
Number of total servings shown is approximate. Actual number of servings will depend on your preferred portion sizes.
Nutritional values shown are general guidelines and reflect information for 1 serving using the ingredients listed, not including any optional ingredients. Actual macros may vary slightly depending on specific brands and types of ingredients used.
To determine the weight of one serving, prepare the recipe as instructed. Weigh the finished recipe, then divide the weight of the finished recipe (not including the weight of the container the food is in) by the desired number of servings. Result will be the weight of one serving.
Did You Make This Recipe?
Tag @40aprons on Instagram and be sure to leave a review on the blog post!



Never Miss A Meal!
New Recipes Straight To Your Inbox
A curated selection of our most recent recipes, delivered straight to your inbox once a week.
Thank you!
You have successfully joined our subscriber list.