This Post May Contain Affiliate Links. Please Read Our Disclosure Policy.
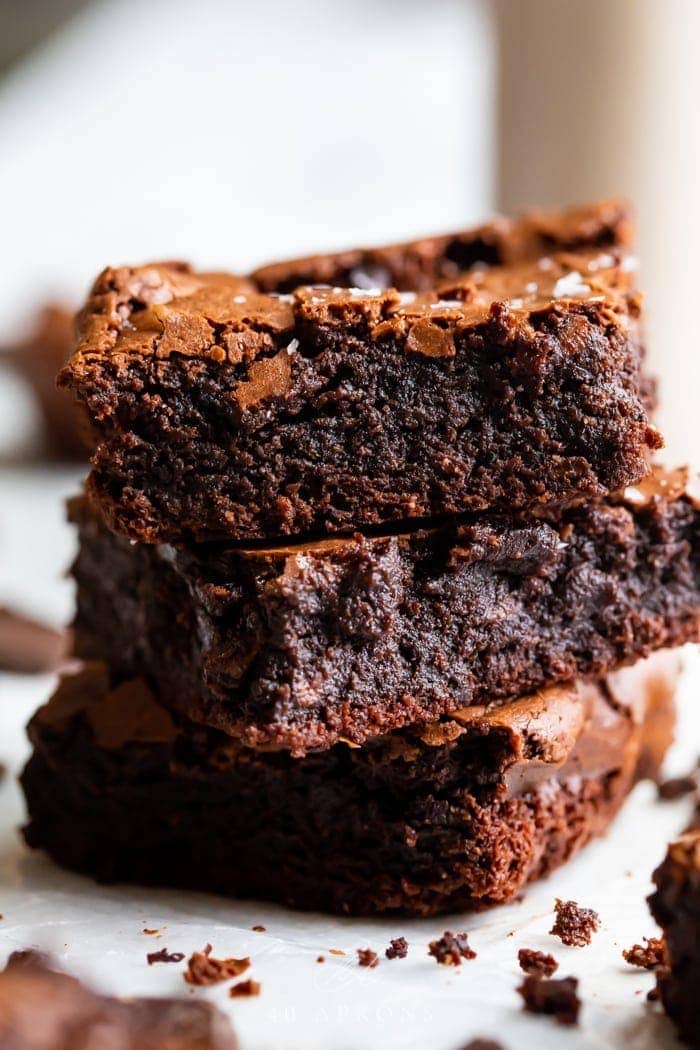
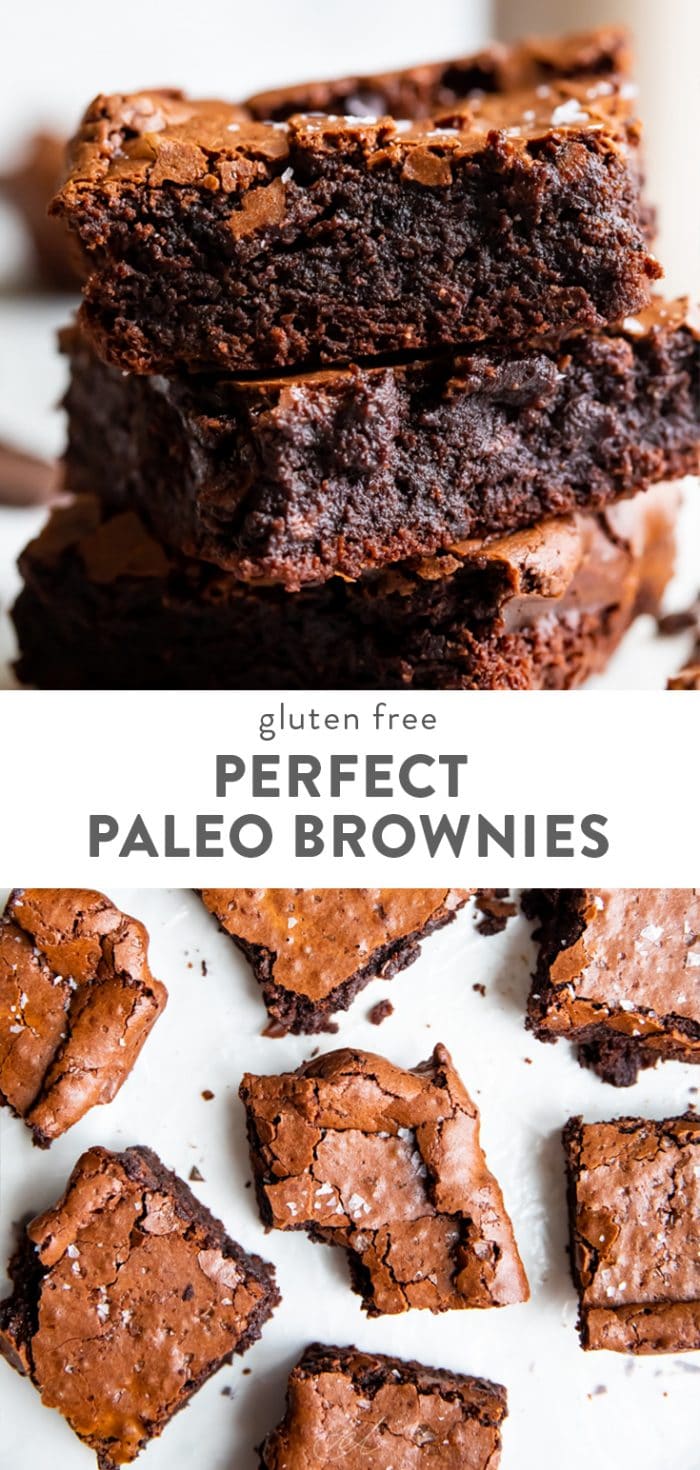
These gluten free, paleo brownies are simply perfect: they’re fudgy and dense with a crunchy, crackly top and chewy edges. Not only that, they’re quick and easy to make! Made with almond and coconut flour, they’re grain free and dairy free, too. They’re topped with a sprinkle of flake salt for the perfect gourmet complement to these rich, delicious brownies.
Why This Recipe Is So Good
This is one recipe that I refused to quit testing until I thought it was just perfect. I made several batches before this ding-ding-ding winner, and none were just right beforehand.
I wanted these paleo brownies to be fudgy but not overly dense. These gluten free brownies needed them to have a crackly top, which seemed essentially impossible to eke out of a gluten free brownie. But, hey, spoiler alert: it’s absolutely possible! I needed them to have chewy edges with super rich middle pieces. And lastly, they needed to be fully brownies, not just a shorter or slightly denser cake.
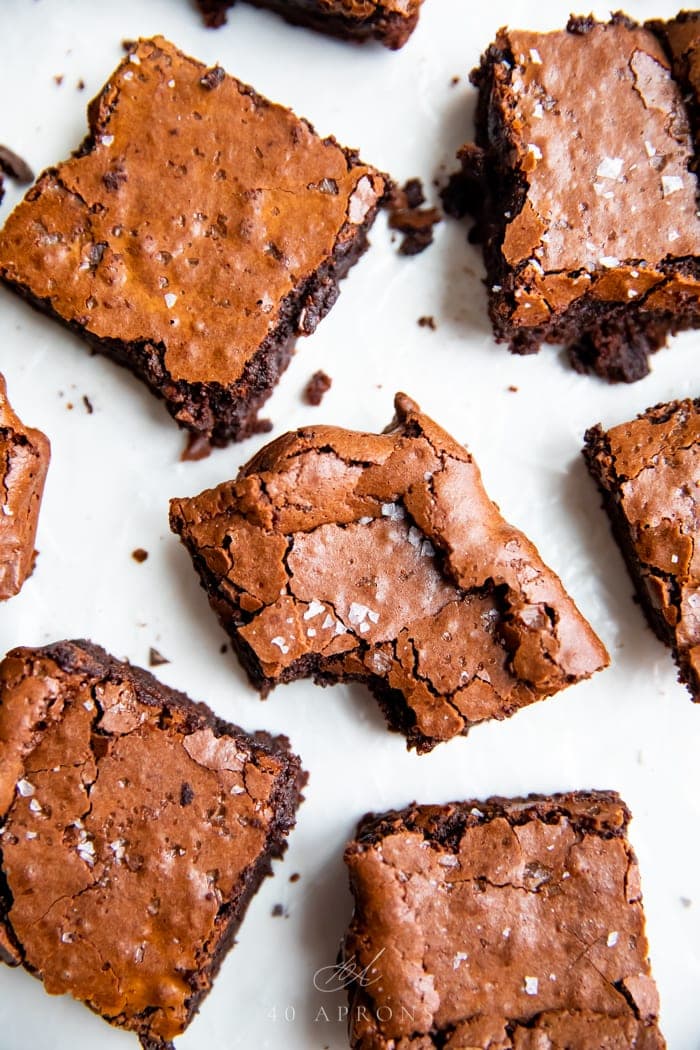
They needed to be just as good as (or better than!) a regular, ol’ brownie that you’d find at bakery, not “good for being paleo” or “good for being gluten free”. Verdict: this recipe absolutely smashed that requirement.
- They’re everything I love in a brownie: fudgy, with a crackly, crunchy top, and chewy corners. They’re dense and rich and just sweet enough.
- These paleo brownies are actually quite easy to make and come together very quickly.
- This recipe is gluten free, grain free, and refined sugar free, too, making them much healthier than your average brownies.
- The little bit of liquid coffee used in this paleo brownies recipe enriches the chocolate flavor. Use whatever is leftover from breakfast! No need to go grab a cup at Starbucks, though, if you’re out. Water will be fine here.
- Pairing melted chocolate and cocoa creates a super rich complexity to the chocolate that you’ll just love.
- A little sprinkling of flake or sea salt before baking makes these super elegant. The salt enhances the rich chocolate in the best way!
I previewed this recipe on my Instagram Stories right when I made them, and my followers absolutely freaked out! I even gave away a sneak peek of the recipe to dozens of people, we were all so excited about these paleo brownies.
Chef’s Tips
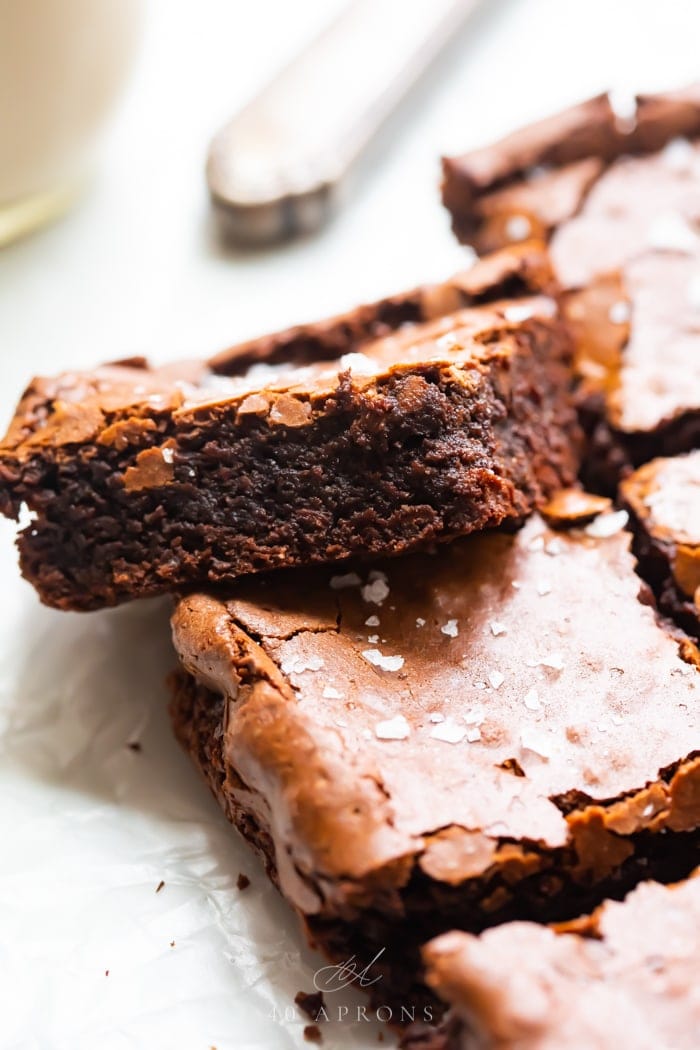
- Make sure you whip the eggs and sugar until the color lightens and the mixture becomes fluffy and a bit sticky. This is what contributes to the crunchy, crackly top, and you won’t have it if you skip this part.
- The measurements must be exact. This is not an “eyeball it” recipe.
- Test for doneness by inserting a toothpick into the center of the recipe: you’ll see moist crumbs on the toothpick when done, not brownie batter. You definitely want to err on the side of under-baking these, but not too much. If you underbake them, they won’t be as chewy and will be a little more saturated tasting than fudgy. Test often for those moist crumbs!
How to Get a Crackly, Crunchy Top on These Brownies
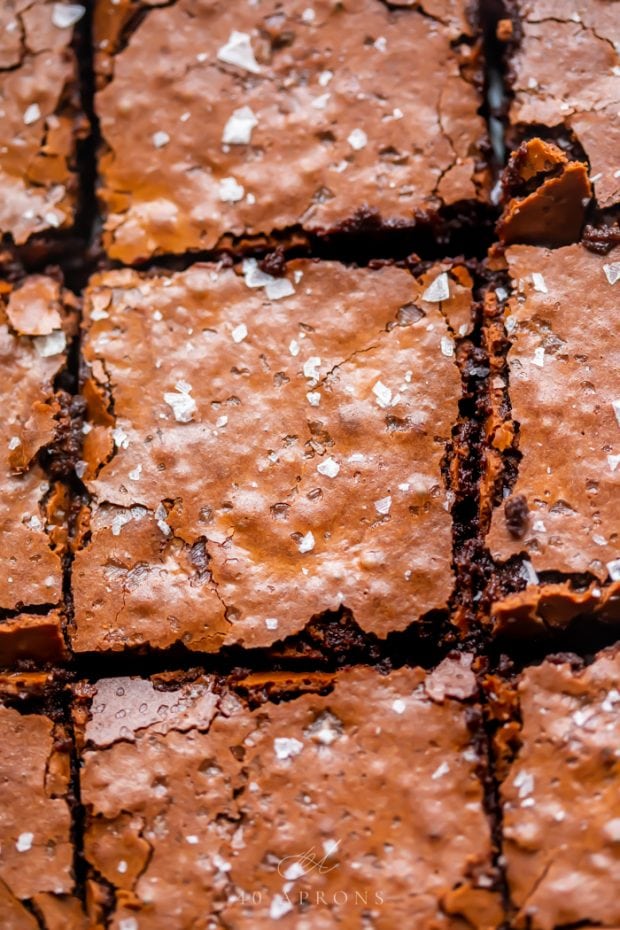
The crackly, crunchy top on these gluten free brownies happens when you whip the eggs with the coconut sugar until the mixture becomes light in color, like a peanut butter frosting, fluffy, and a bit sticky. There will not be any “peaks” that form, but you will see the entire mixture increase in volume and change in texture.
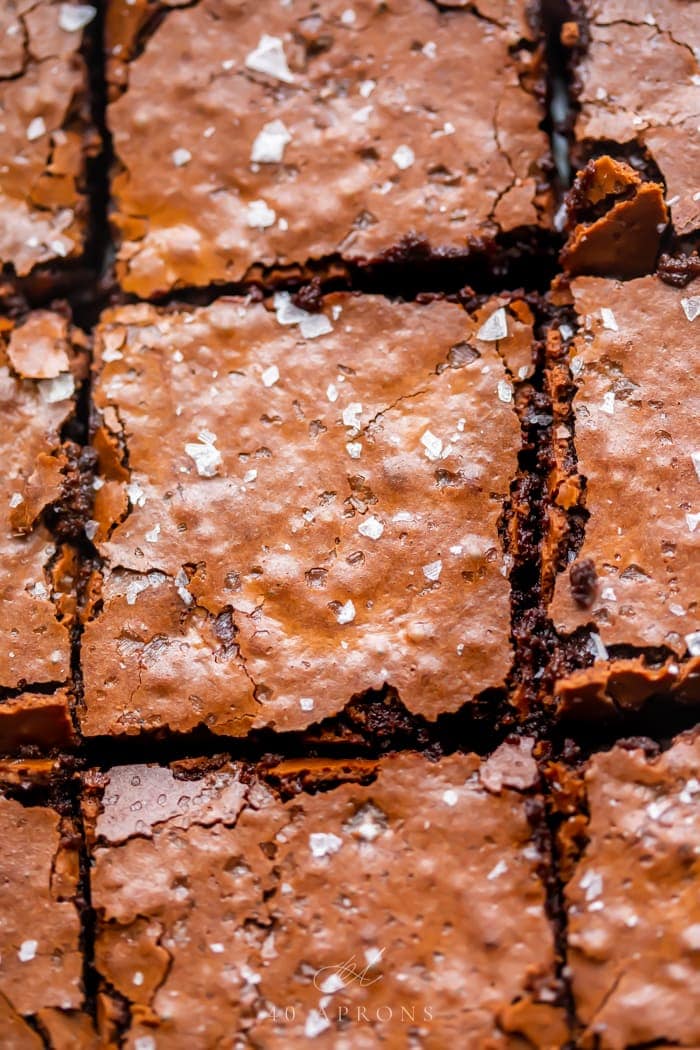
This process creates a meringue layer on the very top of the gluten free brownies, allowing this crispy, air-filled layer to pull away from the fudgy base. It’s absolutely divine, so don’t skip it! In fact, I have not tested the recipe without beating the eggs with the coconut sugar. If you opt to skip this part, you’re on your own, friend! But let me know how it goes – I’d love to know!
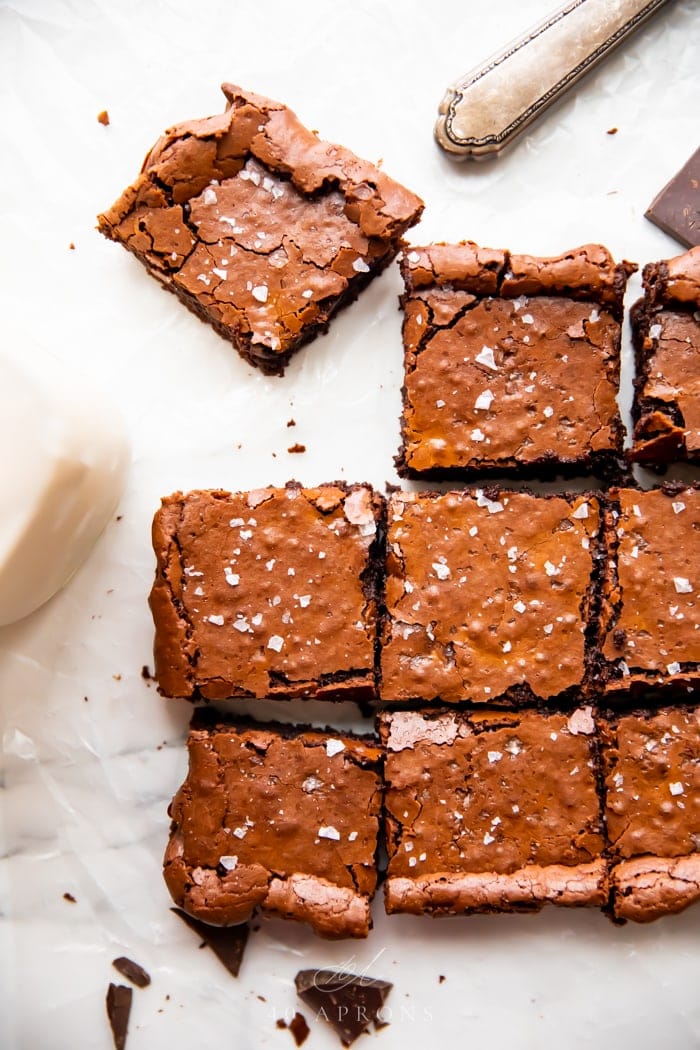
Oh, and that sprinkle of flake salt or sea salt on top? Paired with the crunchy, meringue top, it’s sheer perfection.
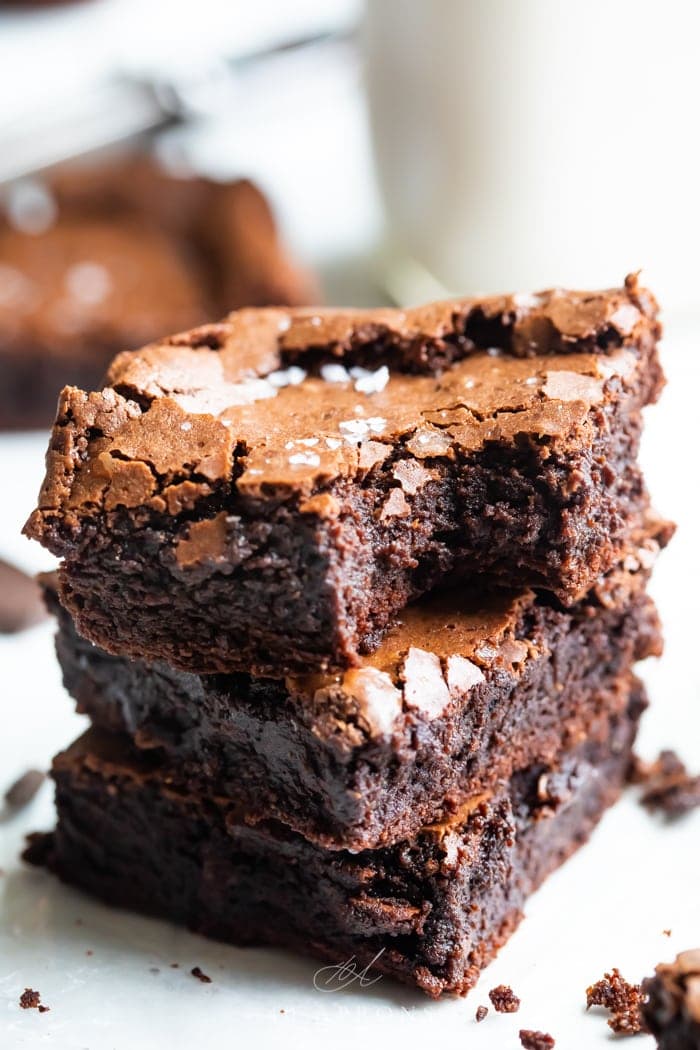
Just look at that perfect, crunchy top layer!
Stocking a Paleo Pantry for Baking with Thrive Market
Let’s be real: the grocery store can be expensive, especially if you’re finding paleo ingredients. That’s where Thrive Market makes my life so much easier. Their inventory of 4,000+ products are categorized by any diet or lifestyle that you follow. Paleo? Check. Vegan? Yup. Sugar-free? Definitely. High fiber? You bet. And with prices that are 25-50% below traditional retail price, you’re saving money on all of the pantry staples that you need—all shipped right to your door. These are the pantry staples that I always order from Thrive Market that I use in these paleo brownies:
- EnjoyLife Semi-Sweet Chocolate Mini Chips
- Thrive Market Almond Flour
- Thrive Market Coconut Flour
- Simply Organic Vanilla Extract
- Thrive Market Coconut Sugar
- Thrive Market Refined Coconut Oil
Finding Paleo Chocolate Chips
If you’re pretty darn paleo, you can use Enjoy Life chocolate chips. These are dairy free but still contain a bit of processed sugar. If you’re very strictly paleo, try using 7 oz. of this paleo chocolate bar from Thrive Market. It’s sweetened with coconut sugar, making it totally paleo. How cool is that?! You’ll want to chop the bar into chocolate-chip-ish-sized pieces, but otherwise you can make the recipe as written. Use 7 ounces weighted, or about 1 cup of chopped chocolate.
Other Recipes You’ll Love
- Black Bean Brownies
- Gluten Free Sugar Cookies
- Vegan Cookie Dough
- Gluten Free Cinnamon Rolls (Cinnabon Copycat)
- Paleo Carrot Cake Cupcakes with Cream Cheese Frosting
- Turtle Bars Recipe (Paleo, Vegan)
- Gluten Free Red Velvet Cake
And if you’re looking for a classic version of perfect, fudgy brownies, this recipe from Erren’s Kitchen is lovely!
Perfect Paleo Brownies (Fudgy, Crunchy Top, Gluten Free)
Equipment
- 9×9 baking dish
- parchment paper
- Medium bowl
- Hand mixer or stand mixer
- Medium microwave-safe bowl
- Silicone spatula
- toothpick or knife, to check doneness
- wire cooling rack optional
Ingredients
- 3 large eggs
- 1 cup coconut sugar
- ⅓ cup almond flour
- 2 tablespoons coconut flour
- 2 tablespoons dark cocoa powder see Notes
- 2 tablespoons prepared coffee cool or at room temperature; use water if coffee isn't available
- 1 teaspoon vanilla extract
- 1 ¼ cup dairy-free chocolate chips divided; or paleo chocolate, see Notes
- 10 tablespoons refined coconut oil ½ cup + 2 tablespoons
Instructions
- Preheat oven to 325º Fahrenheit. Line 9×9 baking dish with parchment paper and set aside.
- In a medium bowl, combine eggs and coconut sugar. Using a hand mixer or stand mixer, beat on high until light and fluffy, about 3-5 minutes. Mixture will have increased in volume and will be sticky, rather than thin or runny. Stir in almond flour, coconut flour, dark cocoa powder, cooled liquid coffee, and vanilla extract. Stir until combined.
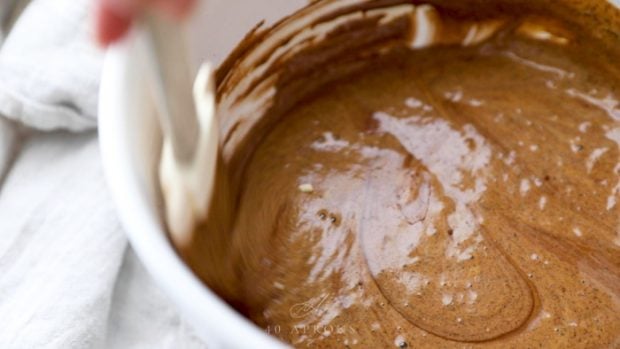
- In a medium, microwave-safe bowl, combine 1 cup chocolate chips and coconut oil. Microwave in 60-seconds bursts, stirring very well in between each round, until the chocolate has just melted. Stir until completely smooth, then pour into the brownie batter. Stir well to combine.
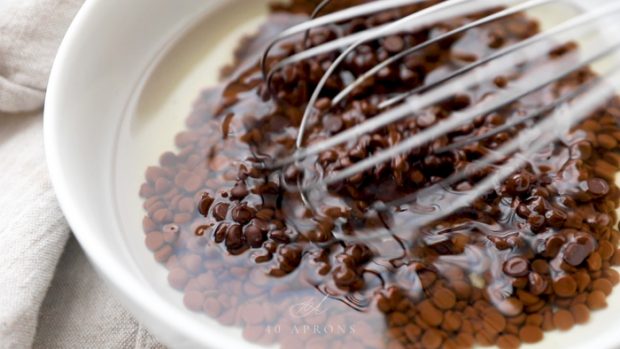
- Fold in remaining ¼ cup chocolate chips.
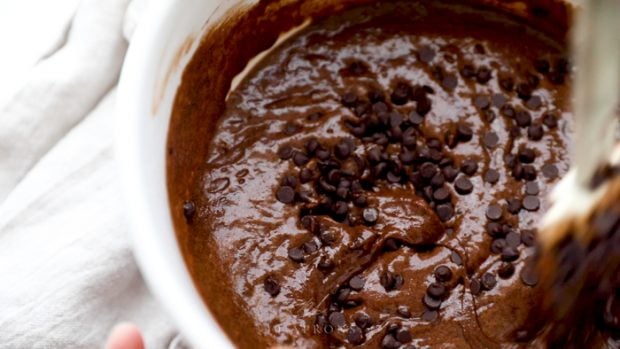
- Pour brownie batter into the prepared pan, making sure batter fills all corners evenly. Bake 35-40 minutes, or until a toothpick inserted into the center of the brownies comes out with moist crumbs. The toothpick should not be coated in batter, but it should not be clean, either. When you see moist crumbs, remove from the oven and let cool completely on the counter or on a wire rack. When cool, lift out of the baking pan using the sides of the parchment paper. Cut into 9 equal squares.
Video
- The measurements must be exact! This is not an “eyeball it” recipe.
- Cocoa Powder: I love dark cocoa powder in this recipe, as it produces a very rich taste and dark, dramatic look. You can use regular cocoa powder here with great results, and you can try black cocoa powder, too, for an even more dramatic brownie!
- Chocolate: I use Enjoy Life semi-sweet dairy-free chocolate chips for most recipes. However, these contain a bit of processed sugar. If you strictly eat no processed sugar, try these paleo chocolate bars from Thrive Market. Chop them to be about chocolate chip size and use approximately 7 ounces by weight, or 1 cup volume. This will result in a darker, richer brownie, since the chocolate percentage is much higher than semi-sweet chocolate chips.
Approximate Information for One Serving
Nutrition Disclaimers
Number of total servings shown is approximate. Actual number of servings will depend on your preferred portion sizes.
Nutritional values shown are general guidelines and reflect information for 1 serving using the ingredients listed, not including any optional ingredients. Actual macros may vary slightly depending on specific brands and types of ingredients used.
To determine the weight of one serving, prepare the recipe as instructed. Weigh the finished recipe, then divide the weight of the finished recipe (not including the weight of the container the food is in) by the desired number of servings. Result will be the weight of one serving.
Did You Make This Recipe?
Tag @40aprons on Instagram and be sure to leave a review on the blog post!
Never Miss A Meal!
New Recipes Straight To Your Inbox
A curated selection of our most recent recipes, delivered straight to your inbox once a week.


DELISH. My guys LOVE these and they are so easy to make! They really are perfect.
Wow! I’m so amazed how wonderful this recipe turned out. It’s SO GOOD!! SO SO GOOD. I’ve made these for friends twice now. With my second batch, I added walnuts for an added crunch – no other changes to the recipe. Lastly, because these are so good and I can probably eat a batch all by myself, I cut these into smaller bite pieces instead of 9 equal square pieces. Enjoy!!!
Delicious, but I didn’t get a crackly top. Still, the recipe is a keeper
I love how fudgy these are and the crackle top is my favorite part!
Wow, what a delicious recipe! I love the coffee, such a yummy touch! And, that crunchy top – yum!
I’m a brownie girl and made these yesterday and they really were perfect! Loved the crunchy top!
I am soooo happy to hear that!!
I cant eat sugar, would I still get a crackly top with swerve?
Thank you so much for the great tips – my 9 year old is making these right now and so easy for her to follow!
YAY! I am so glad she was able to easily follow. Love that!
I love how simple this recipe is yet packed with so much deliciousness. Will be making it again. love it!
These look so fudgy and delicious! I’ll try them soon!
Holy. Smokes. Just made these and they’re AH-mazing. I was licking the beaters like a kid!
Ahhh love that! I totally lick the beaters, too – ha!