
This Post May Contain Affiliate Links. Please Read Our Disclosure Policy.
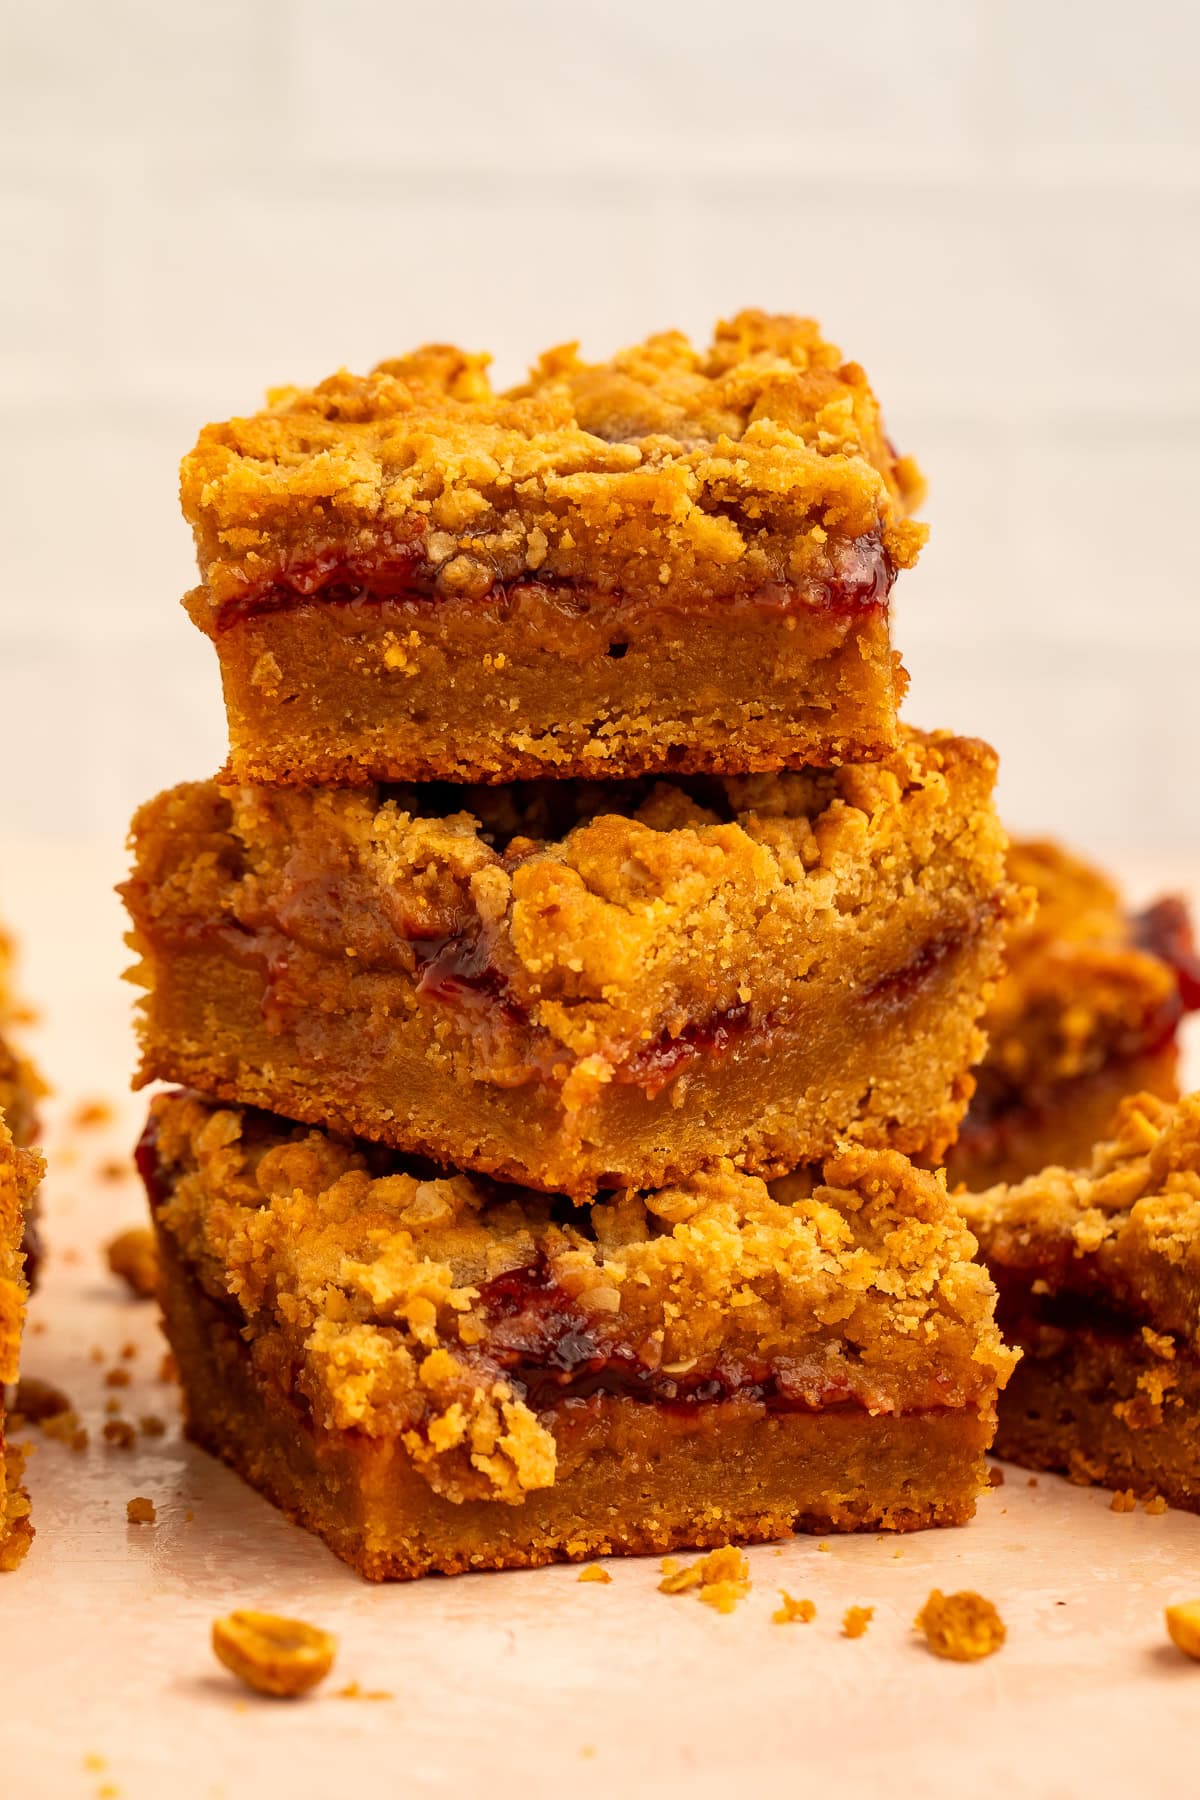
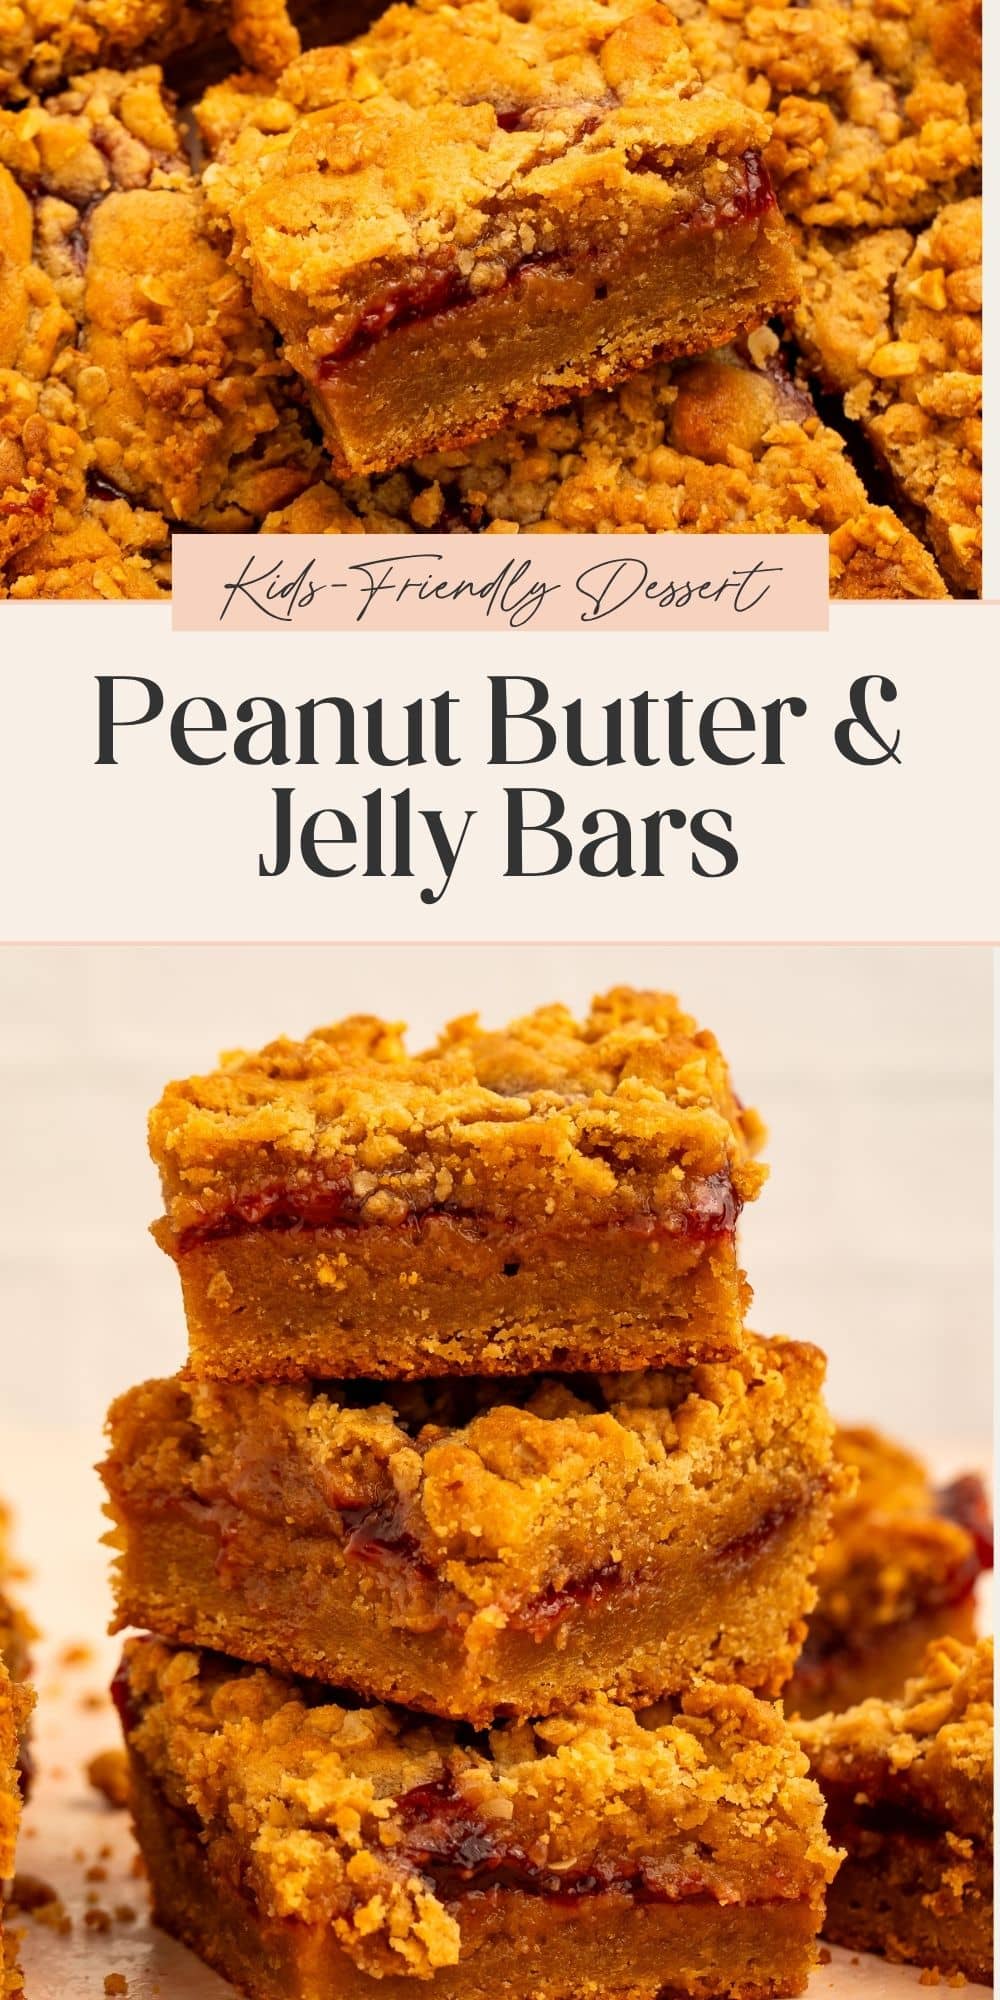
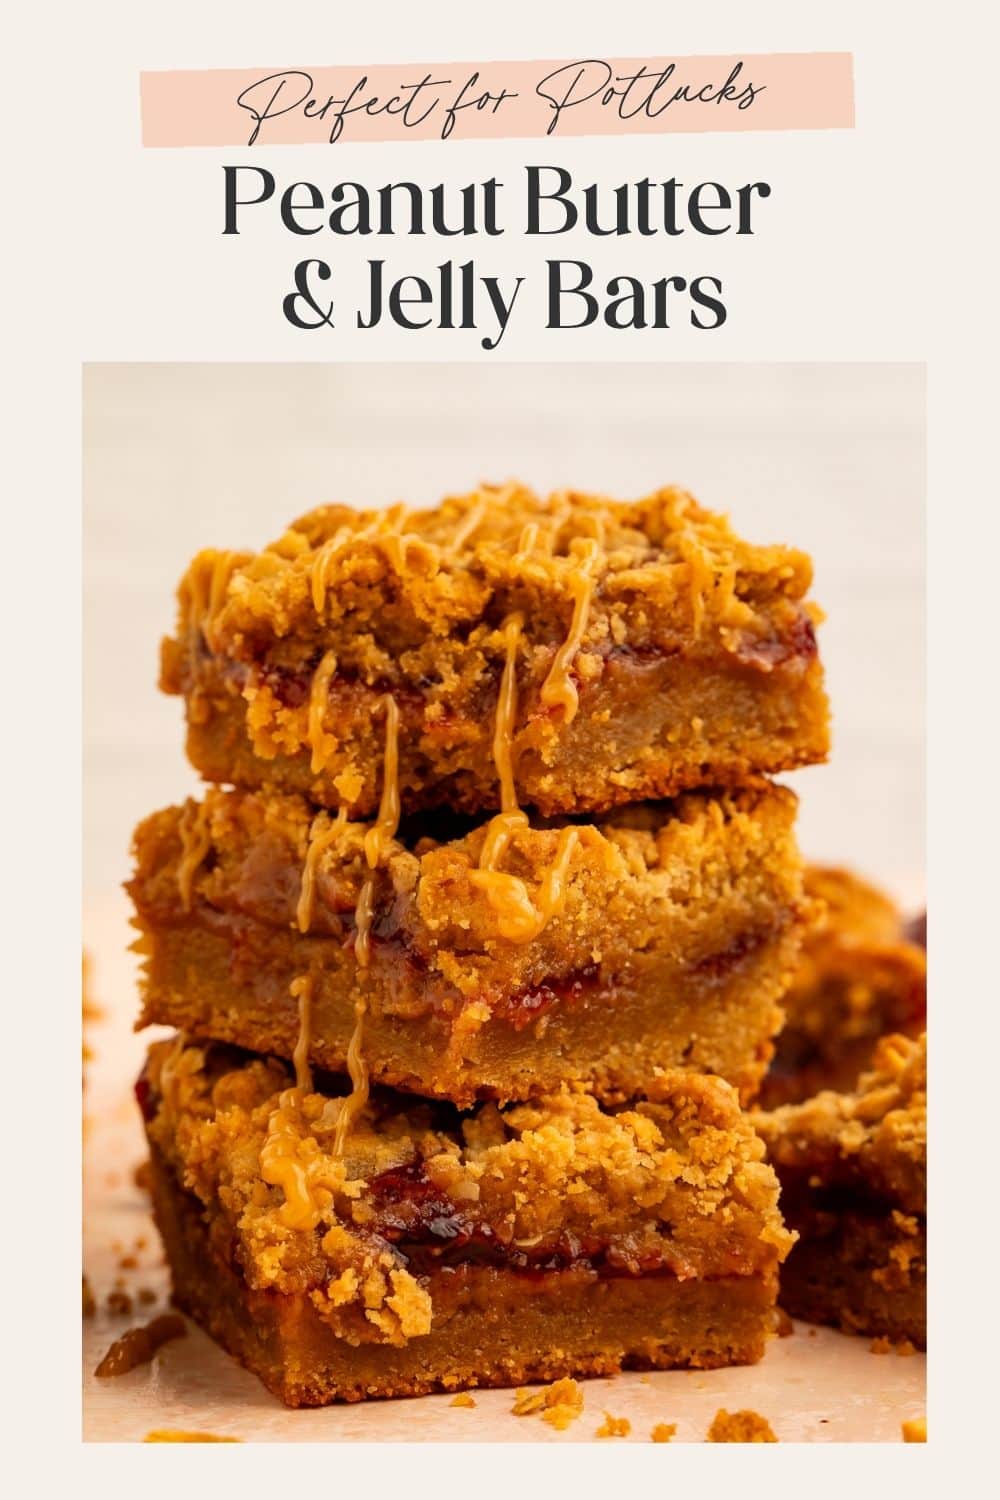
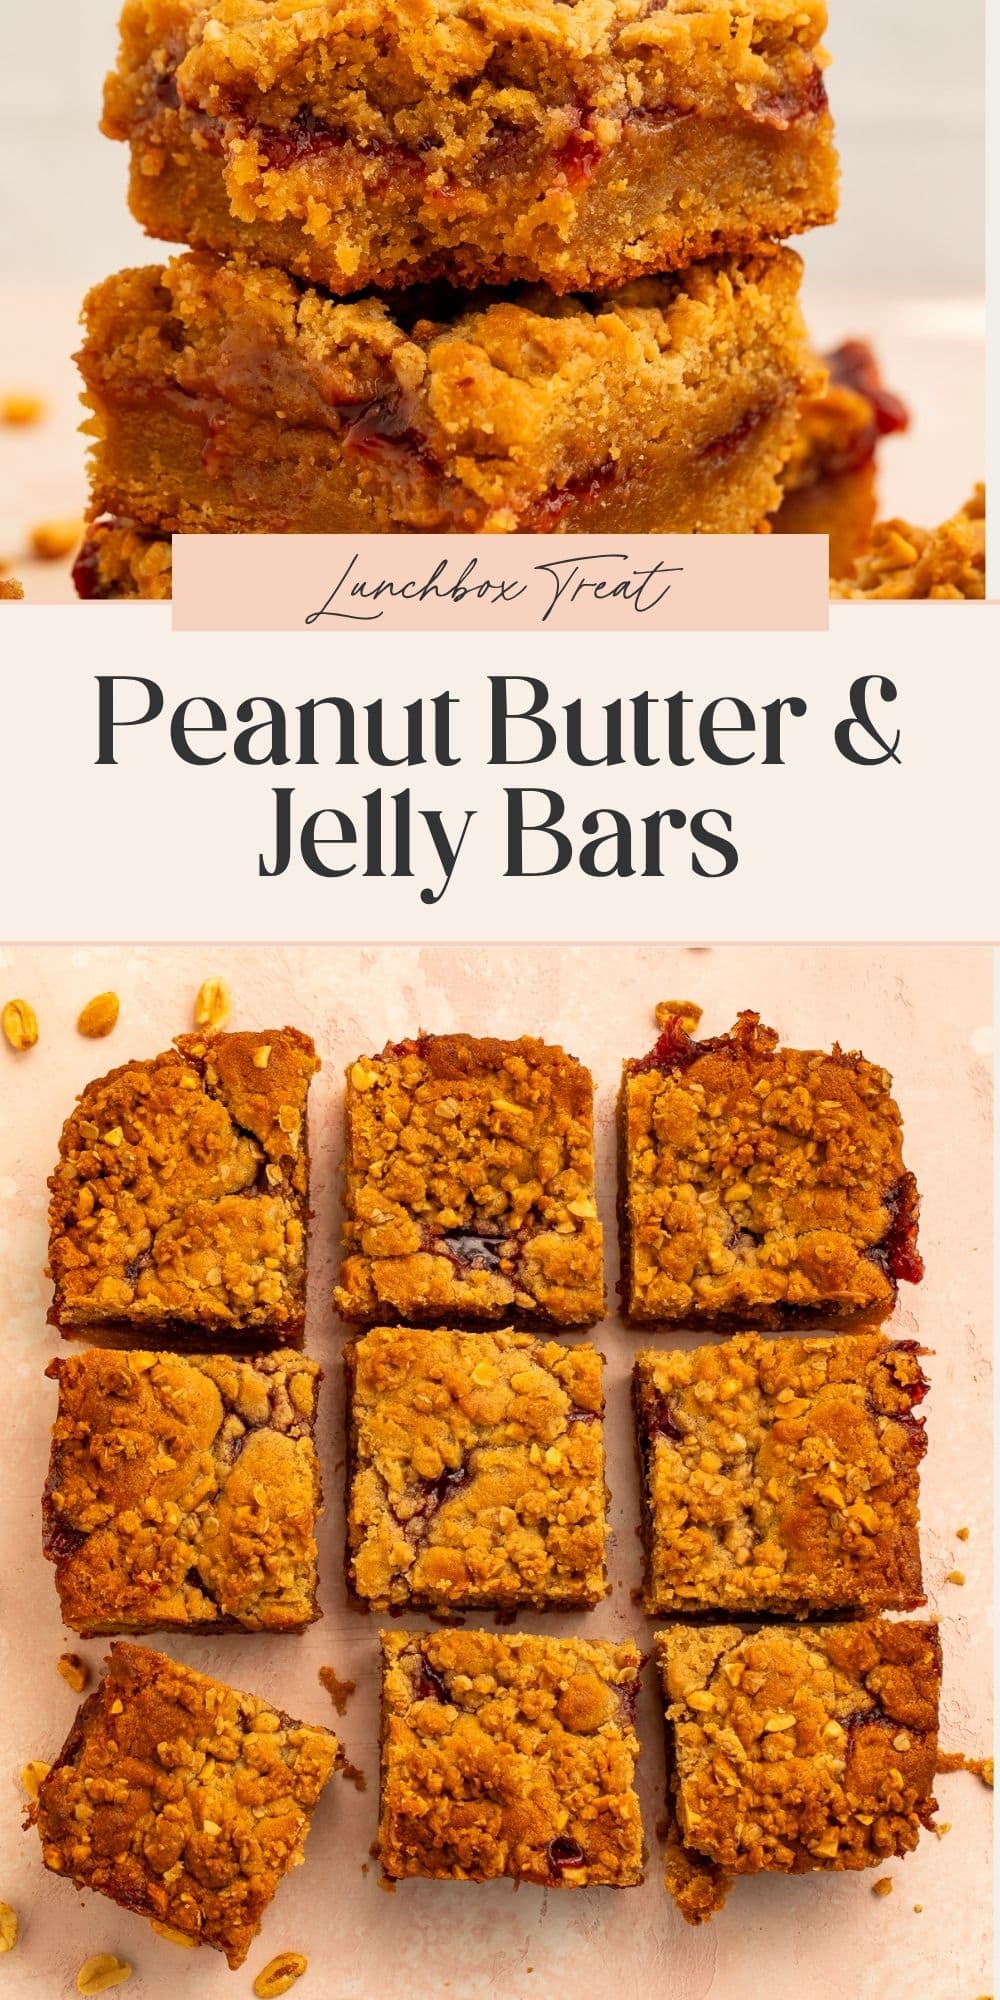
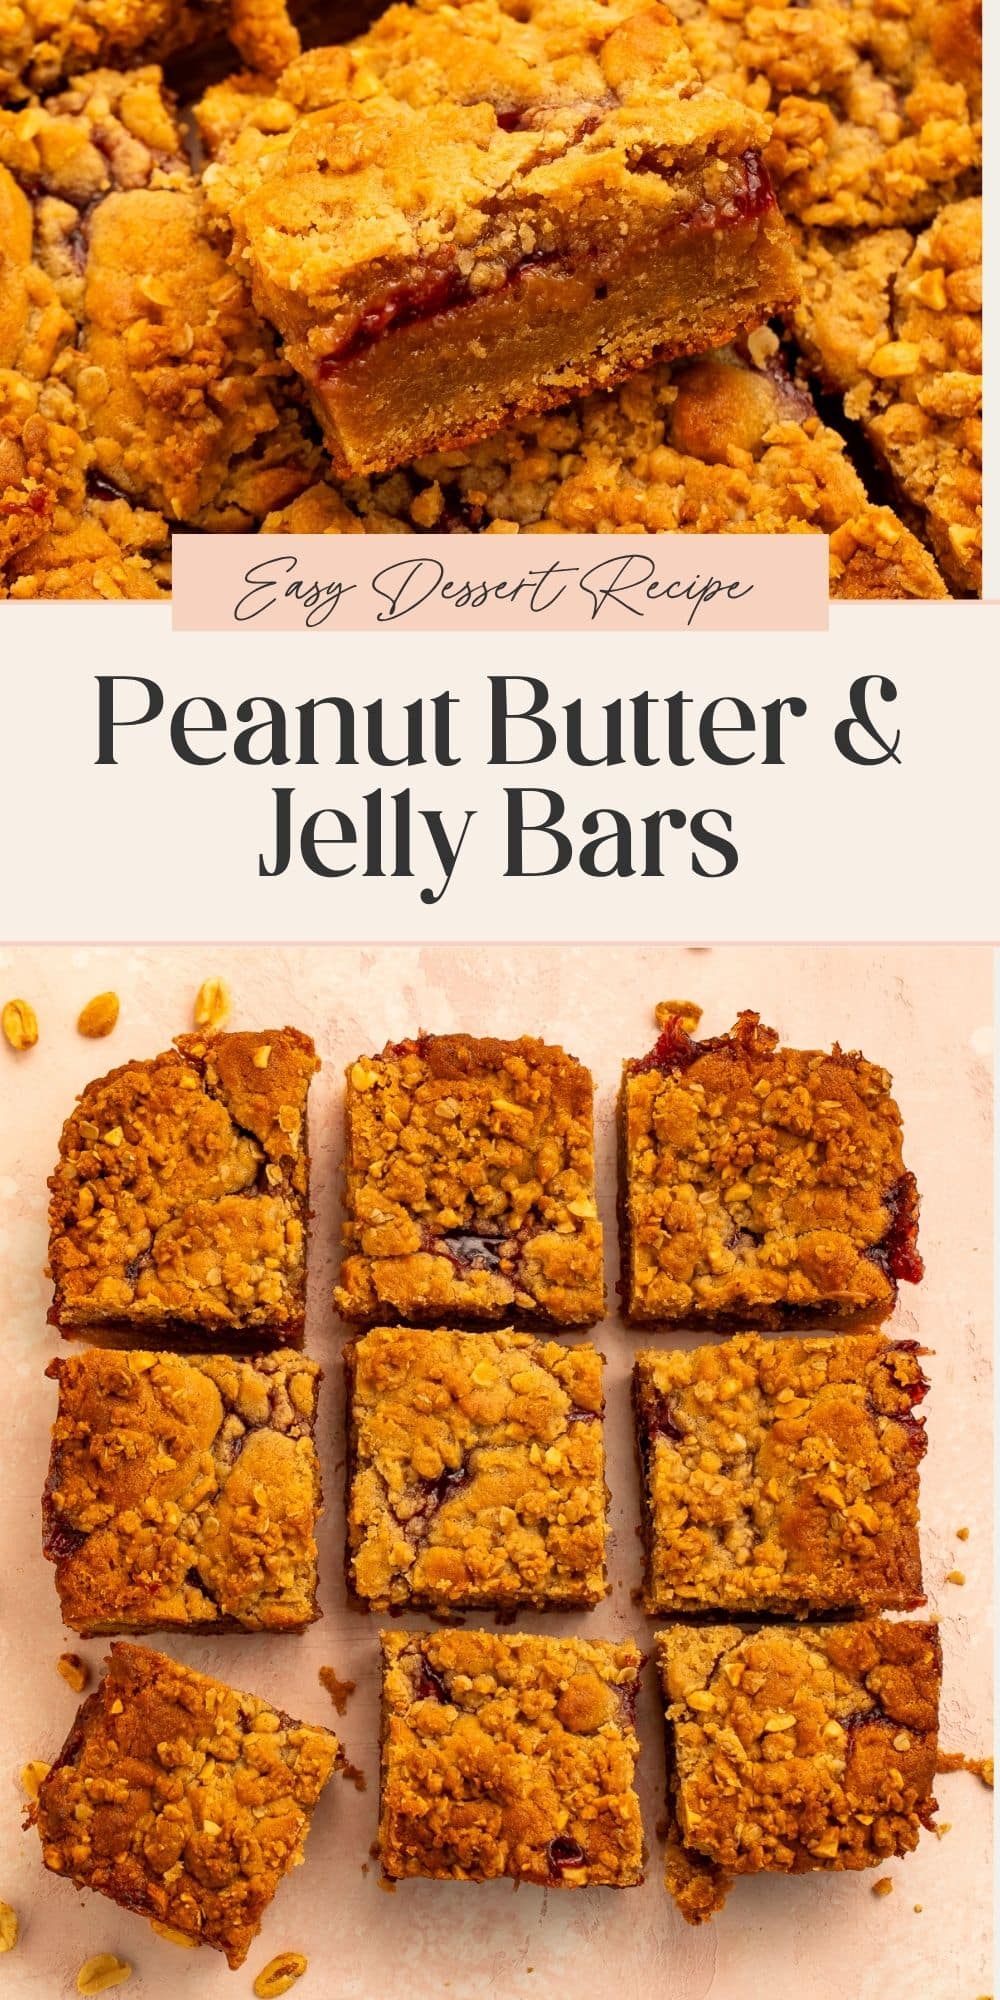
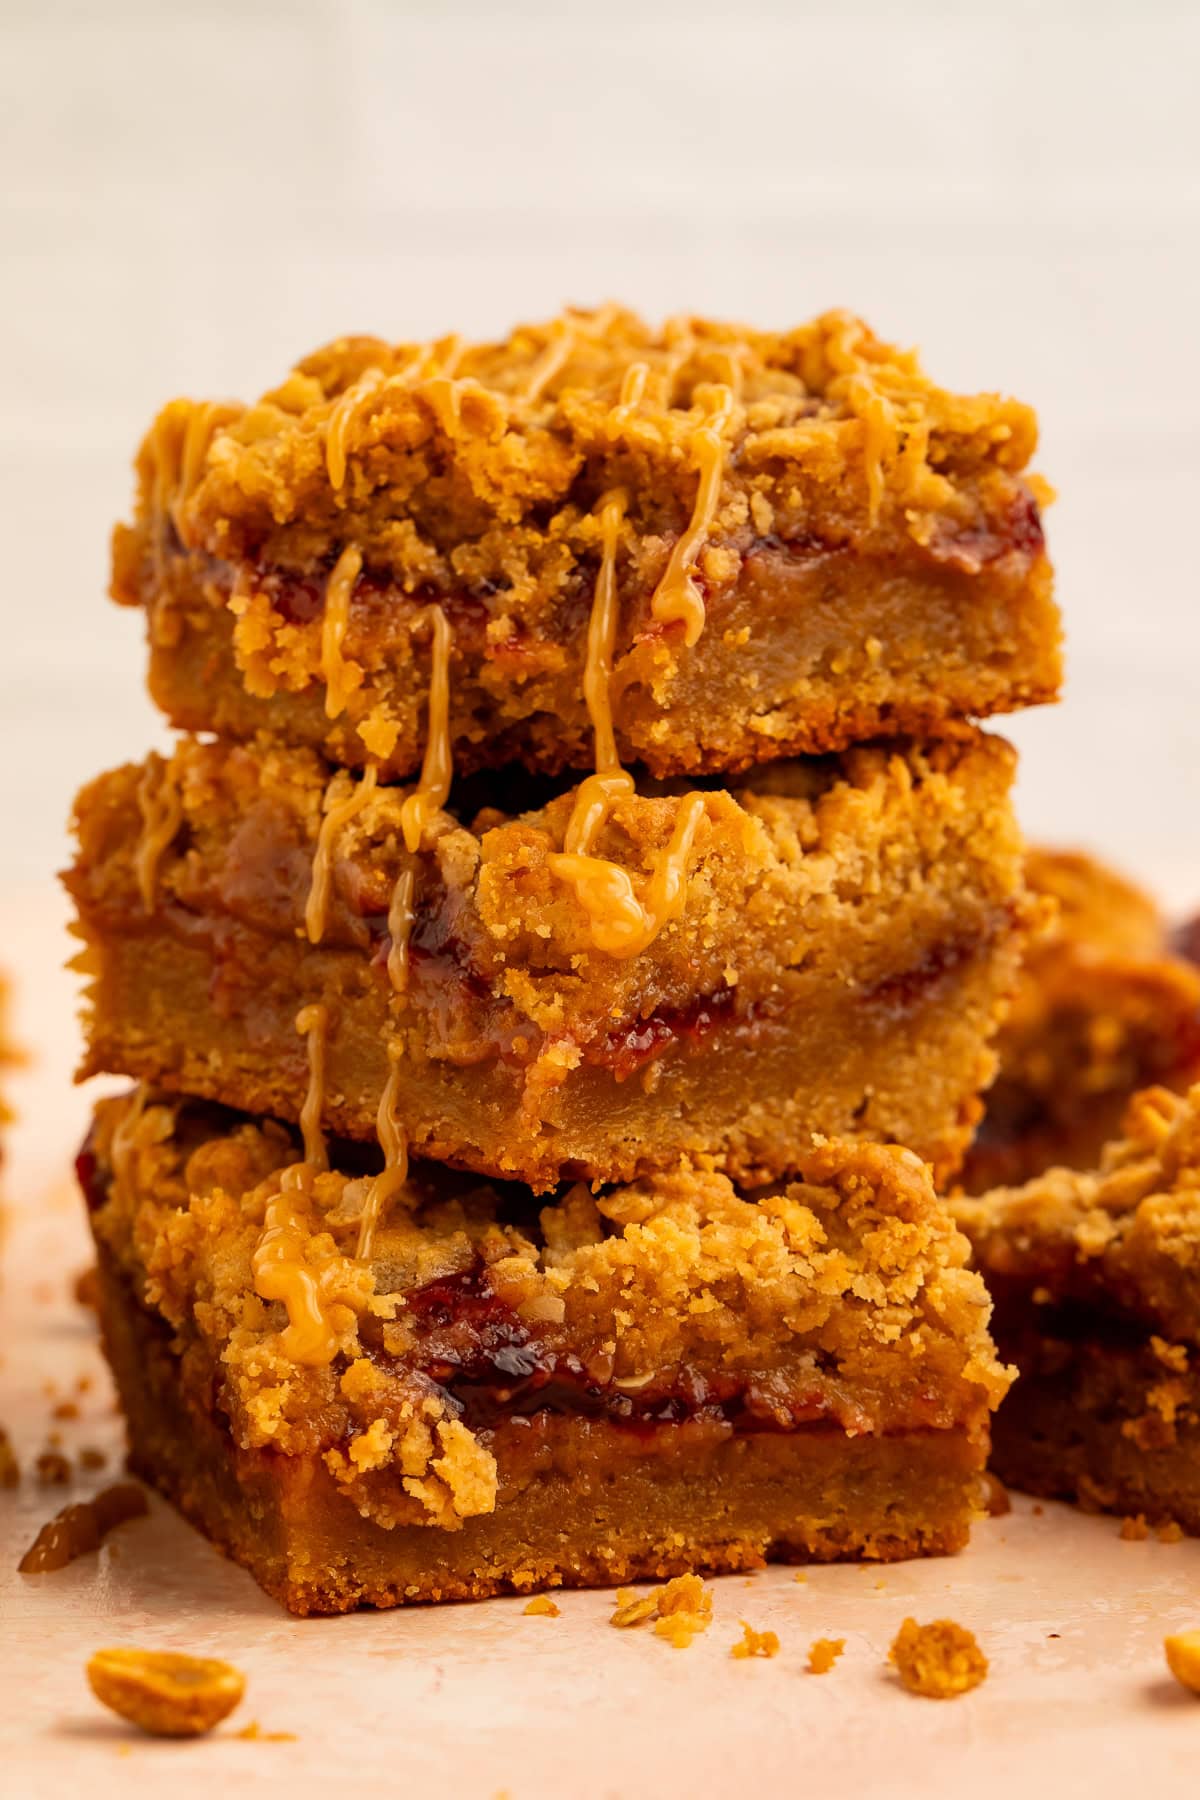
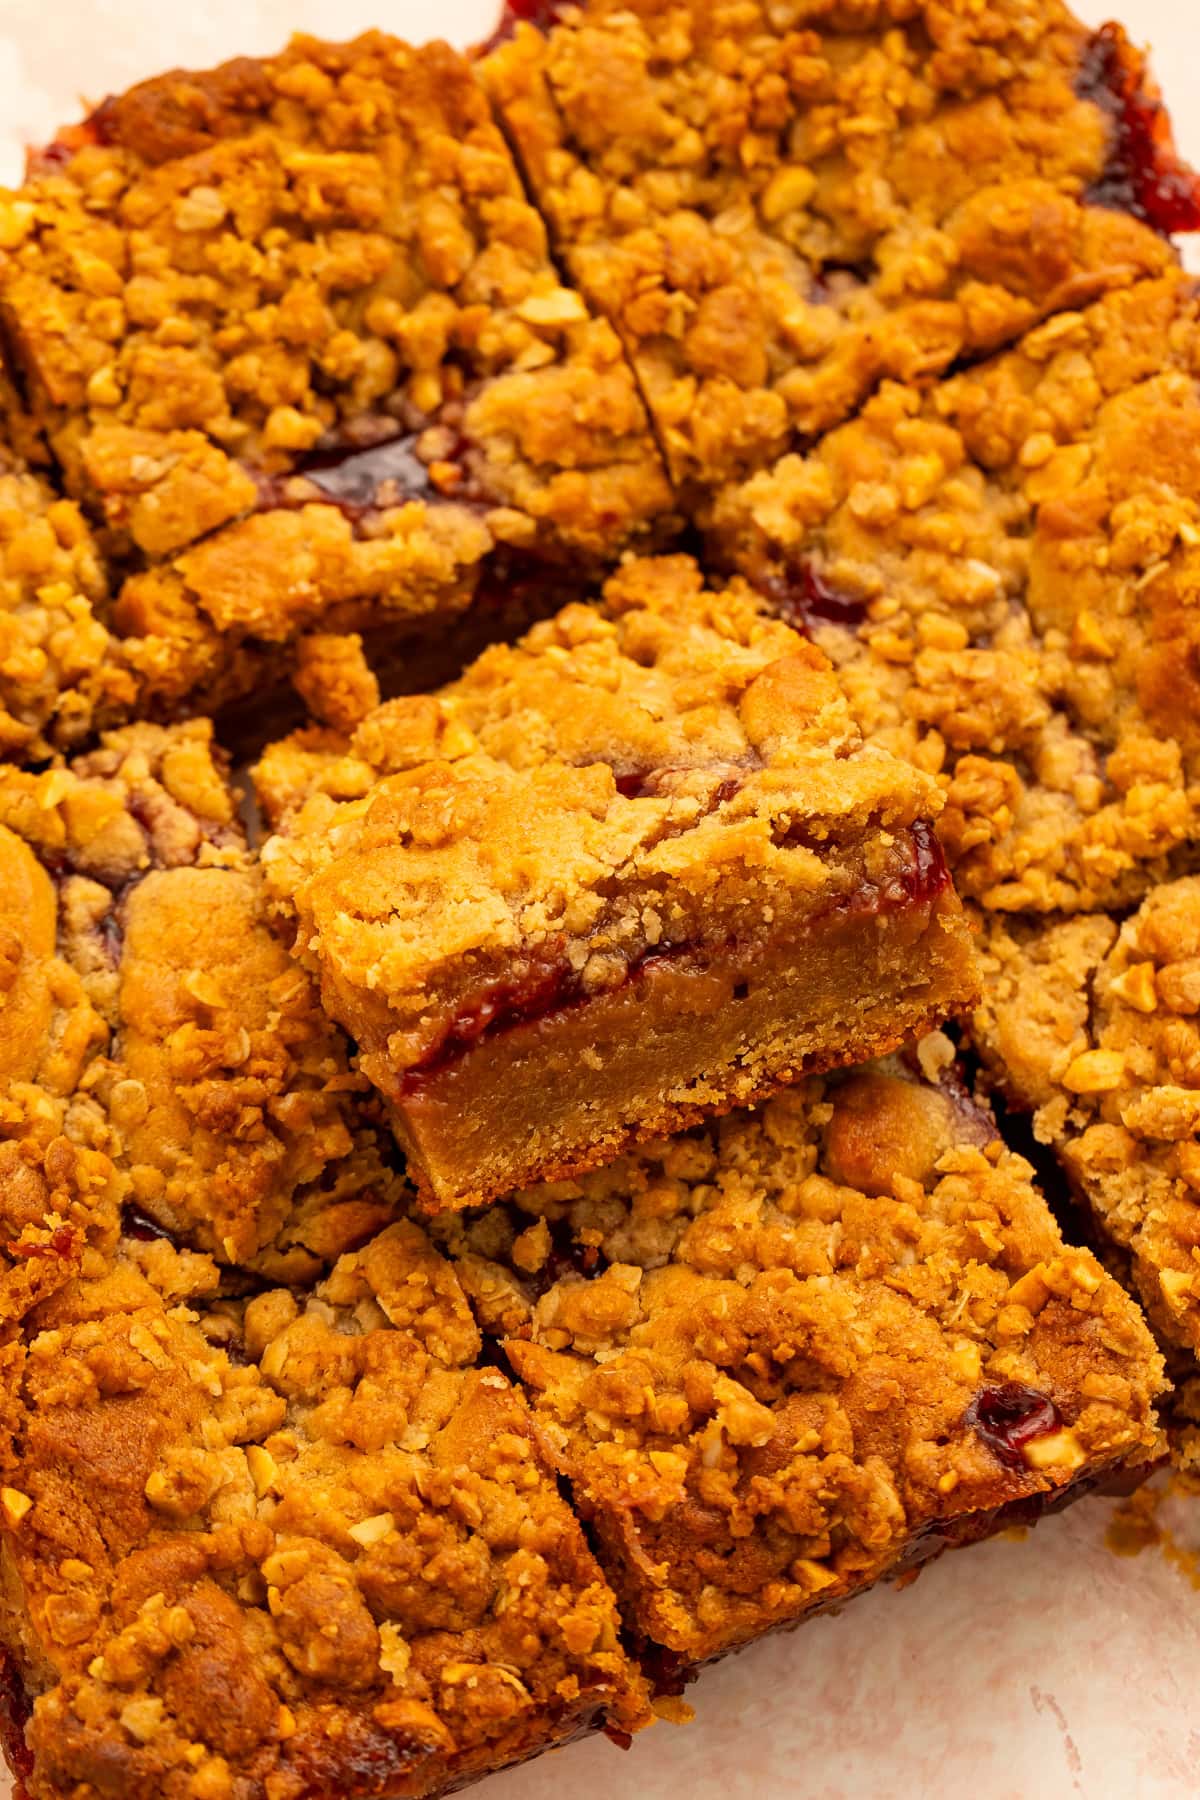
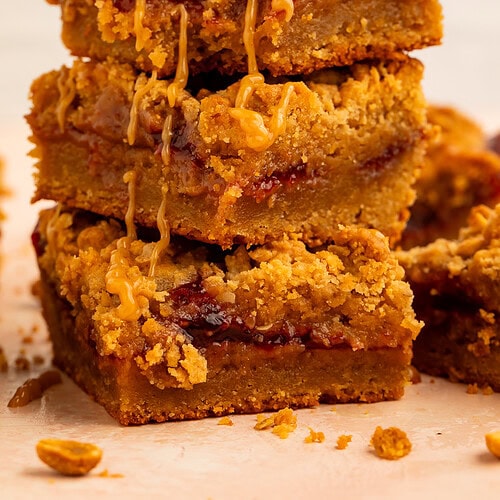
These peanut butter & jelly bars are the ultimate sweet treat for PB&J lovers! A buttery peanut butter shortbread-style base is topped with a thick layer of your favorite jam or preserves before being finished with an oaty peanut butter crumble topping and an optional peanut butter glaze.
See recipe card below for full list of measurements, ingredients, and instructions.
Why These PB&J Bars Are Your New Favorite Sweet Treat
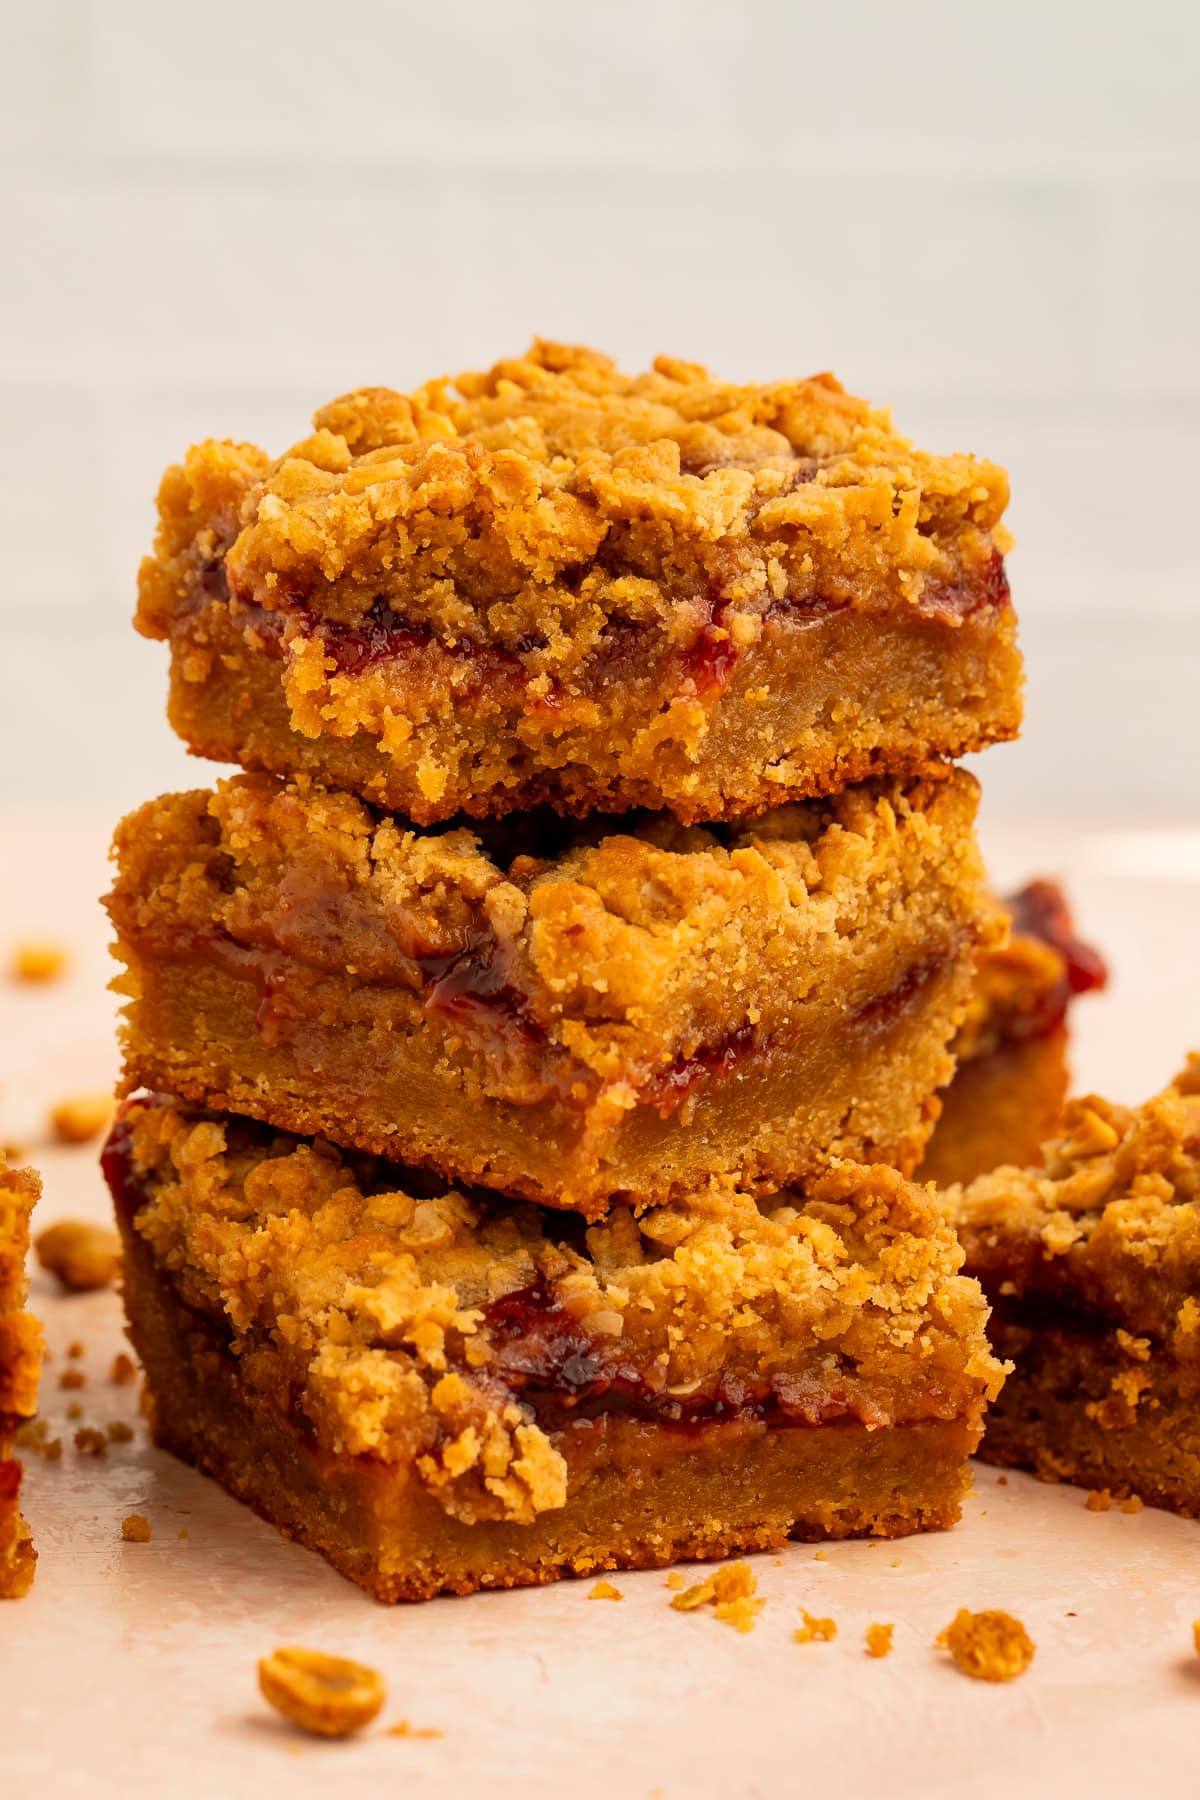
- I love baking these sweet, buttery jars packed with peanut butter flavor and a light, crumbly oat topping sandwiching a sweet, slightly tangy gooey jam middle. With three distinct textures (the soft chewy base, thick jammy middle and buttery, slightly crisp topping) they’re a PB&J in portable form, the size and shape of the bars making them perfect for packing up for lunchboxes or play dates.
- This recipe uses peanut butter in both the biscuit base and the crumbly oat topping (along with an optional handful of chopped peanuts) for maximum peanut flavor!
- By allowing these bars to cool completely before slicing, you’re guaranteed neat, clean bars every time unlike some other recipes that skip this stage and tend to fall apart a little around the edges when you slice them.
- I’ve also included optional add-ins of lemon juice and cornstarch (instructions on if and when to use them are in the recipe card!) to make sure your favorite brand of jam or preserves will work in these bars without turning them into a too-sweet or too-runny mess!
What I Learnt Testing This Recipe
- Do not skip the chill before cutting. These bars are intentionally thick and moist, so they need time to set. I only made this mistake once! I’ve also found if you wipe the knife between cuts you get cleaner bars.
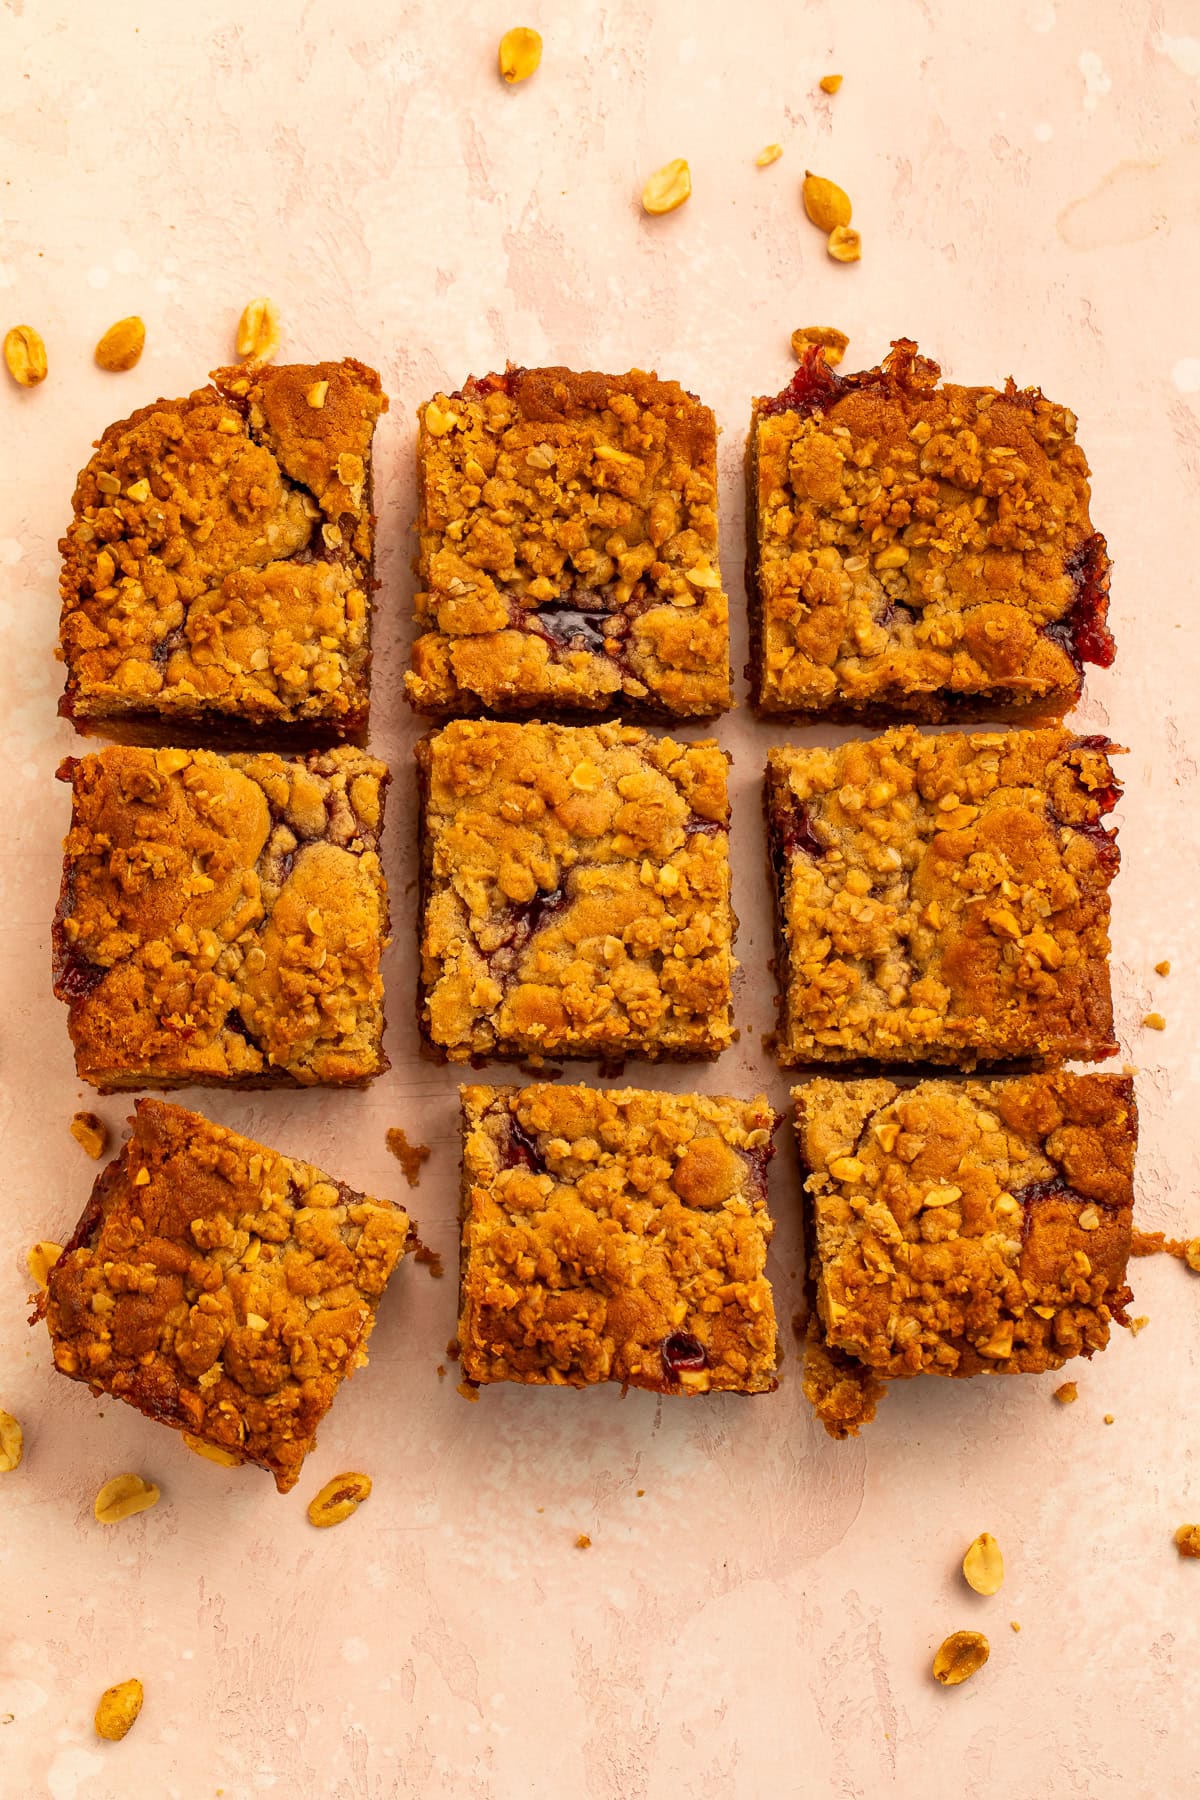
- This recipe can yield either 16 good snack or dessert-sized bars, or 9 very large, bakery-style squares depending on how you cut them. With a very sharp knife you could also get them smaller for bake sale-style bites.
- For even more peanut butter flavor, drizzle the cooled bars with a quick glaze made from ¼ cup peanut butter + ½ cup powdered sugar + 2 to 3 tablespoons milk + pinch of salt. The reason I’ve not added this to the recipe card is it makes the bars a bit sticky and as I know many of you will want to add these to lunchboxes or make them for meal-prep I wanted to keep things packable and portable!
Ingredients
Creamy peanut butter – Use regular creamy peanut butter like Jif or Skippy, not natural peanut butter. Natural PB can make the base oily, crumbly, or weirdly dense.
Unsalted butter – Melted and slightly cooled.
Light brown sugar and granulated sugar – Using a mix of sugars I find gets the best texture while still adding those toasty brown sugar flavors.
Eggs – This recipe calls for 2 large eggs plus one yolk. You can save the extra white for meringue cookies or egg white omelettes. They also freeze well.
Vanilla extract – This will add that signature bakery flavor to your PB&J bars!
All-purpose flour – If you want a gluten-free version, while I’ve not tried it with this recipe Bob’s Red Mill 1-1 Gluten Free Baking Flour usually works really well in bakes like this.
Baking powder and baking soda – I know this isn’t a cake or a muffin where you need a good rise, but a bit of raising agent in these bars will help get that light, crumbly texture.
Jam or preserves – For a thicker jam moment, use preserves instead of jelly. Raspberry or strawberry preserves give the best bakery-style layer. Grape gives the most classic lunchbox PB&J flavor.
Lemon juice – This is optional, but really good for balancing the bars if your jam is very sweet!
Cornstarch – Again this is optional, only add it if your jam is really runny!
Old fashioned oats – These will add texture to your crumble topping. You can substitute quick cook oats, but your topping will have less texture.
Chopped peanuts – These are an optional add-in for the peanut butter crumble topping. I love them for the added crunch and extra layer of peanut flavor!
Storage Tips
Store the cooled bars in an airtight container at room temperature for 3-4 days, or in the refrigerator for up to a week. I like them cold from the fridge, but you can also let them sit at room temperature for 10–20 minutes if you prefer a softer texture!
Frequently Asked Questions
I’ve chosen a 8×8-inch pan to get nice thick bars, but the recipe would work in a 9×9 one. Remember that your bars will be thinner, and keep an eye on them in the oven as the different pan might well reduce the cooking time a little!
Yes! Bake them in a 9×13-inch pan and again, as you would using a bigger pan for a smaller batch keep an eye on them in the oven as you’ll also likely need a little less baking time.
Making changes to a recipe can result in recipe failure. Any substitutions or variations listed are simple changes that I believe will work in this recipe, but results are not guaranteed.
Peanut Butter & Jelly Crumble Bars

Equipment
- 8×8-inch metal pan
- baking parchment
Ingredients
Peanut Butter Base
- 1 cup creamy peanut butter not natural/drippy
- ¾ cup unsalted butter melted and slightly cooled
- 1 cup packed light brown sugar
- ¼ cup granulated sugar
- 2 large eggs
- 1 large egg yolk
- 2 teaspoons vanilla extract
- 2 cups all-purpose flour
- 1 teaspoon baking powder
- ¾ teaspoon kosher salt
- ¼ teaspoon baking soda
Jam Layer
- 1 ¼ cups jam or preserves strawberry, raspberry, grape, or mixed berry all work
- 1 tablespoon lemon juice optional but great if the jam is very sweet
- 1 tablespoon cornstarch only if your jam is thin or runny
Peanut Butter Crumble Topping
- ¾ cup all-purpose flour
- ½ cup old-fashioned oats
- ⅓ cup packed light brown sugar
- ¼ teaspoon kosher salt
- 5 tablespoons unsalted butter melted
- ⅓ cup creamy peanut butter
- ¼ cup chopped peanuts optional but excellent

Instructions
- Preheat oven to 350°F. Line an 8×8-inch metal pan with parchment paper, leaving overhang on two sides so you can easily lift the bars out of the pan later.
- In a large bowl, whisk together melted butter, peanut butter, brown sugar, and granulated sugar until smooth. Whisk in eggs, egg yolk, and vanilla.
- Add flour, baking powder, salt, and baking soda. Stir until just combined. The dough will be thick and soft, almost like a peanut butter cookie dough/blondie batter.
- Press about two-thirds of the peanut butter dough into the bottom of the pan. Use slightly damp hands or a spatula to press it into an even, compact layer.
- In a small bowl, stir together the jam with lemon juice if the jam is a little sweet. If the jam is loose, stir in the cornstarch. Spread the jam evenly over the base, leaving about a ¼-inch border around the edges so it does not bubble too aggressively against the pan.
- Dollop the remaining peanut butter dough over the jam in small pieces.
- For the crumble, stir together flour, oats, brown sugar, and salt. Add melted butter and peanut butter. Mix until clumpy. Stir in chopped peanuts if using.
- Scatter the crumble over the jam and peanut butter dollops, leaving a few little jam pockets visible.
- Bake for 35–42 minutes, until the top is golden, the edges are set, and the center looks puffed and no longer wet. A toothpick inserted into a peanut butter section should come out with moist crumbs, not raw batter. Avoid testing through a jam pocket.
- Cool completely in the pan, then chill for at least 1 hour before slicing. This is what makes them cut into thick, clean bars instead of collapsing.
Approximate Information for One Serving
Nutrition Disclaimers
Number of total servings shown is approximate. Actual number of servings will depend on your preferred portion sizes.
Nutritional values shown are general guidelines and reflect information for 1 serving using the ingredients listed, not including any optional ingredients. Actual macros may vary slightly depending on specific brands and types of ingredients used.
To determine the weight of one serving, prepare the recipe as instructed. Weigh the finished recipe, then divide the weight of the finished recipe (not including the weight of the container the food is in) by the desired number of servings. Result will be the weight of one serving.
Did You Make This Recipe?
Tag @40aprons on Instagram and be sure to leave a review on the blog post!












Never Miss A Meal!
New Recipes Straight To Your Inbox
A curated selection of our most recent recipes, delivered straight to your inbox once a week.
Thank you!
You have successfully joined our subscriber list.