
This Post May Contain Affiliate Links. Please Read Our Disclosure Policy.
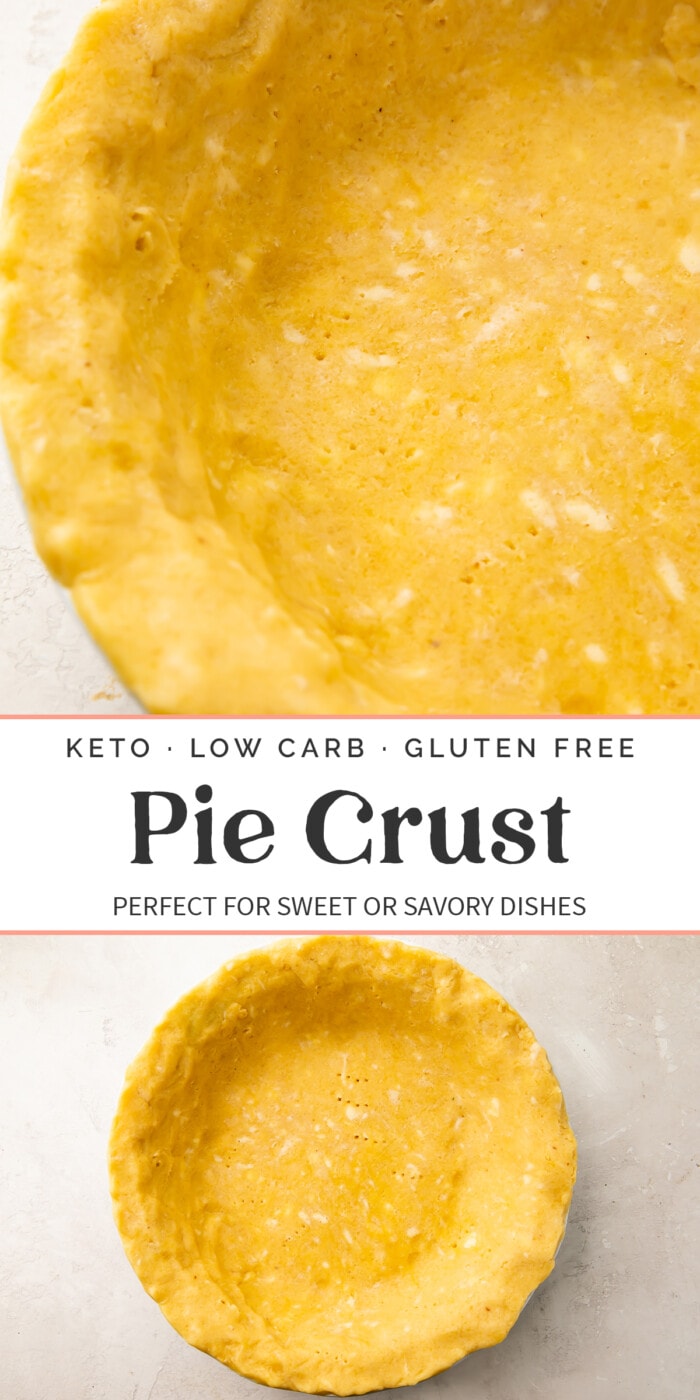
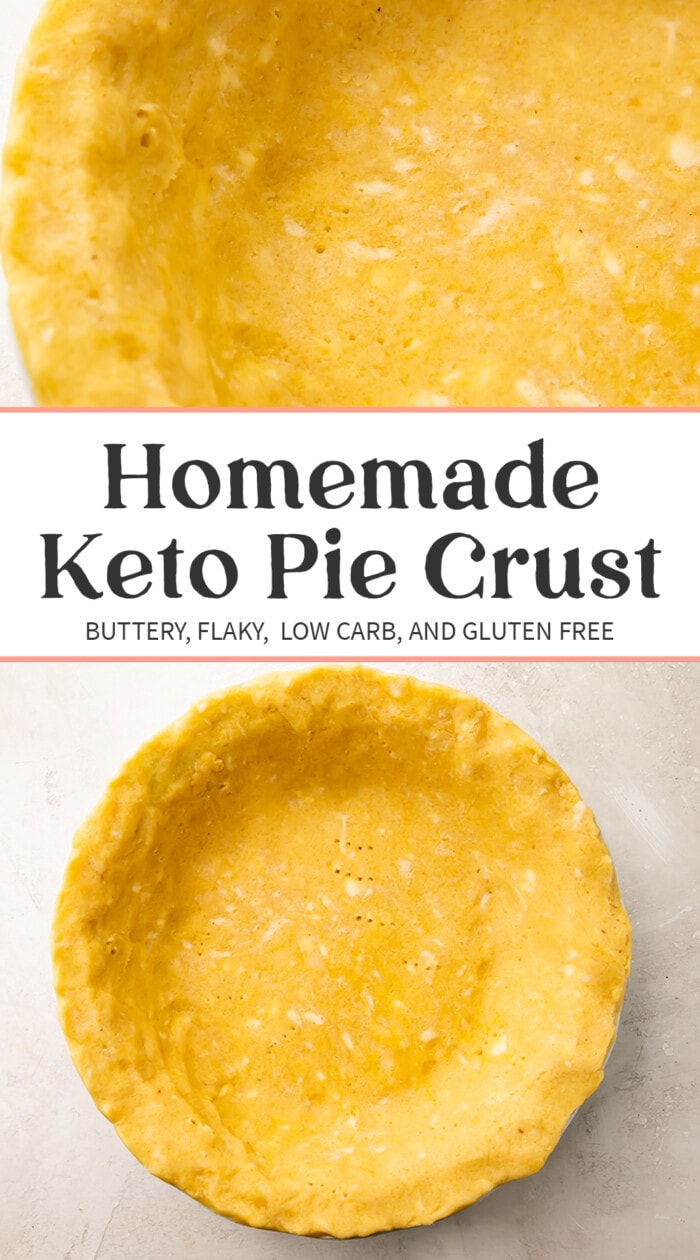
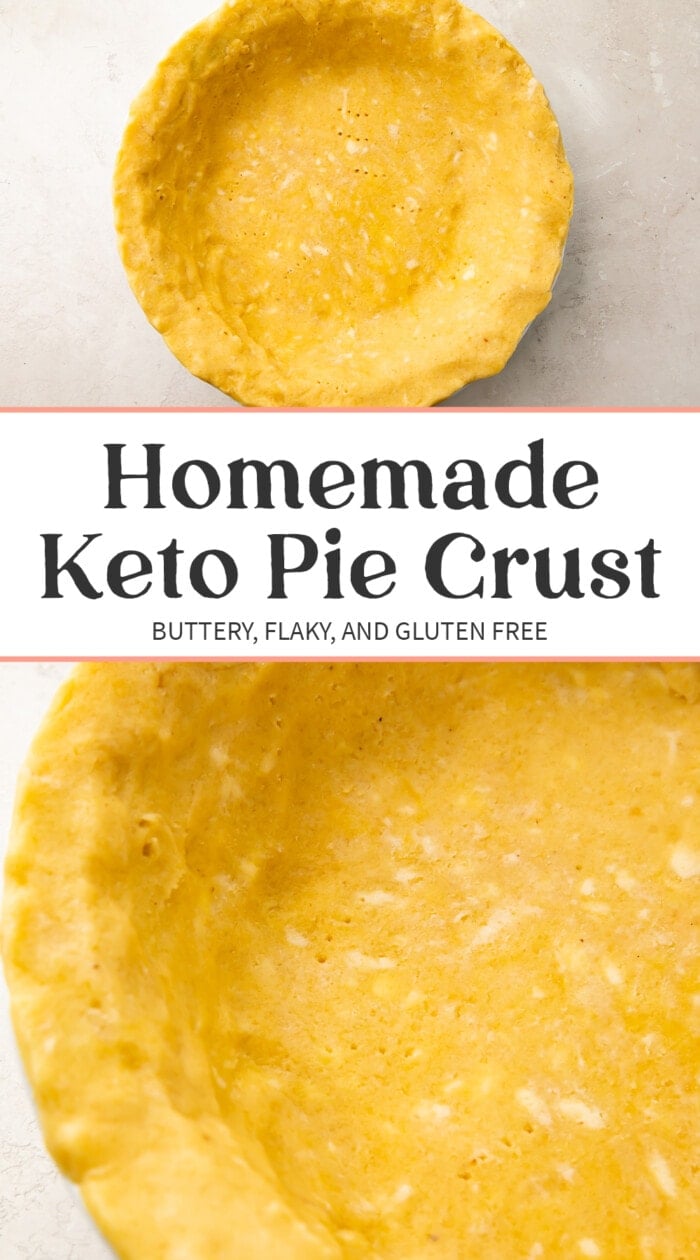
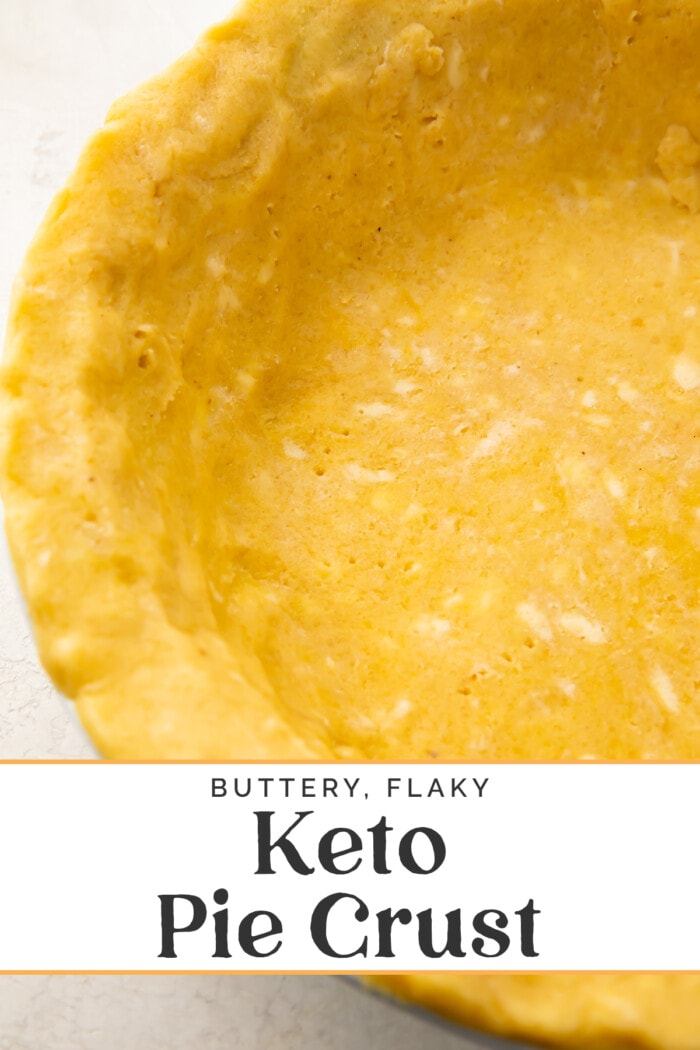
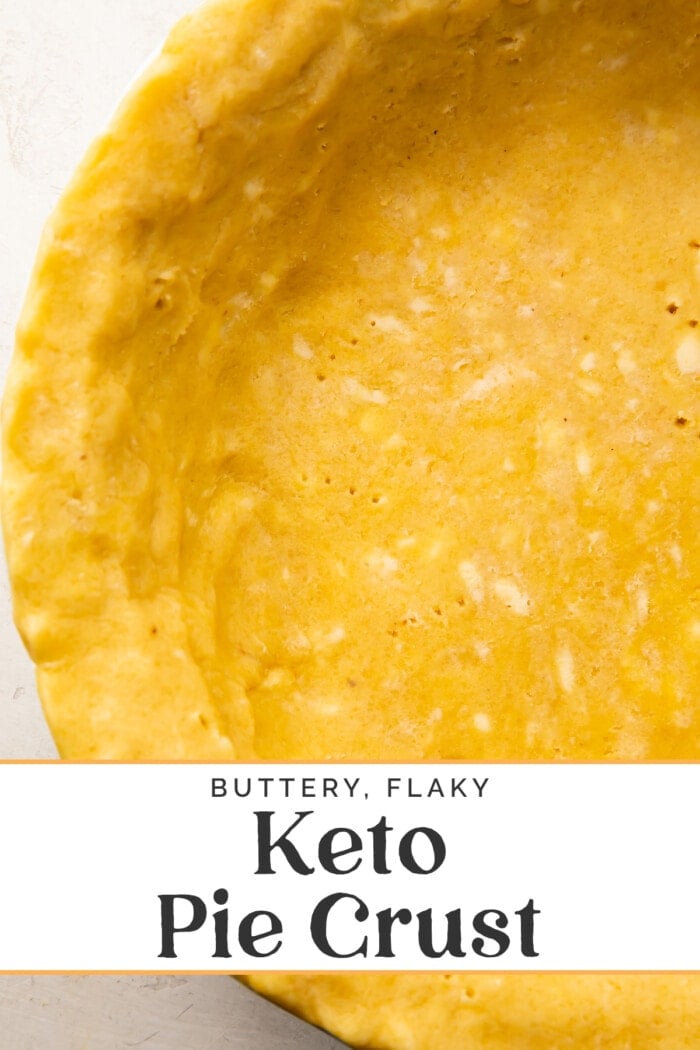
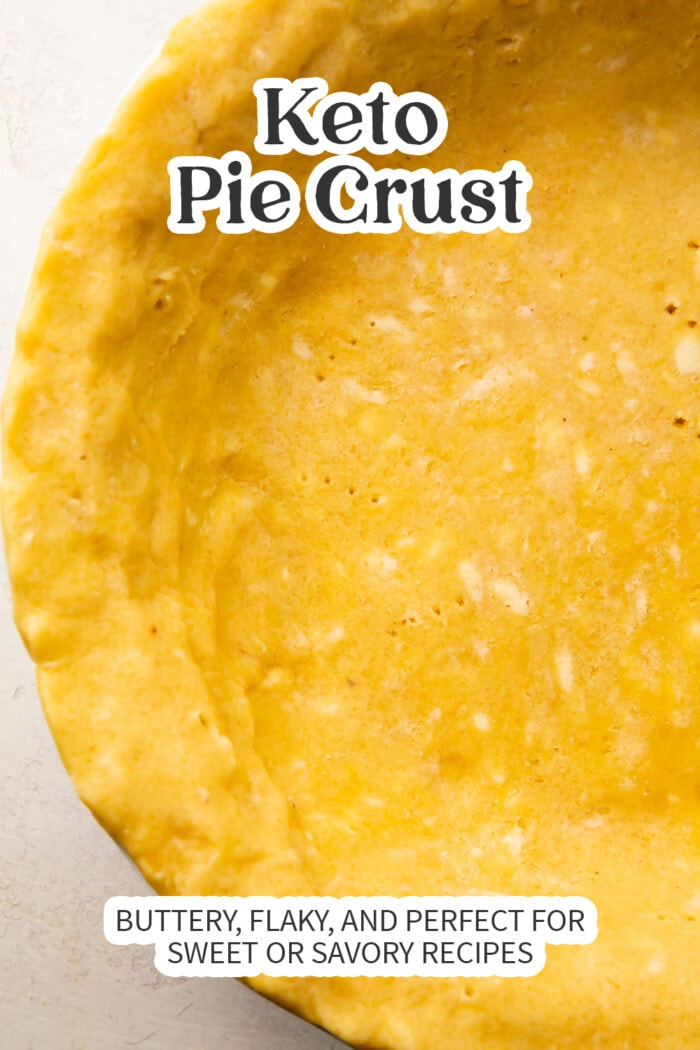
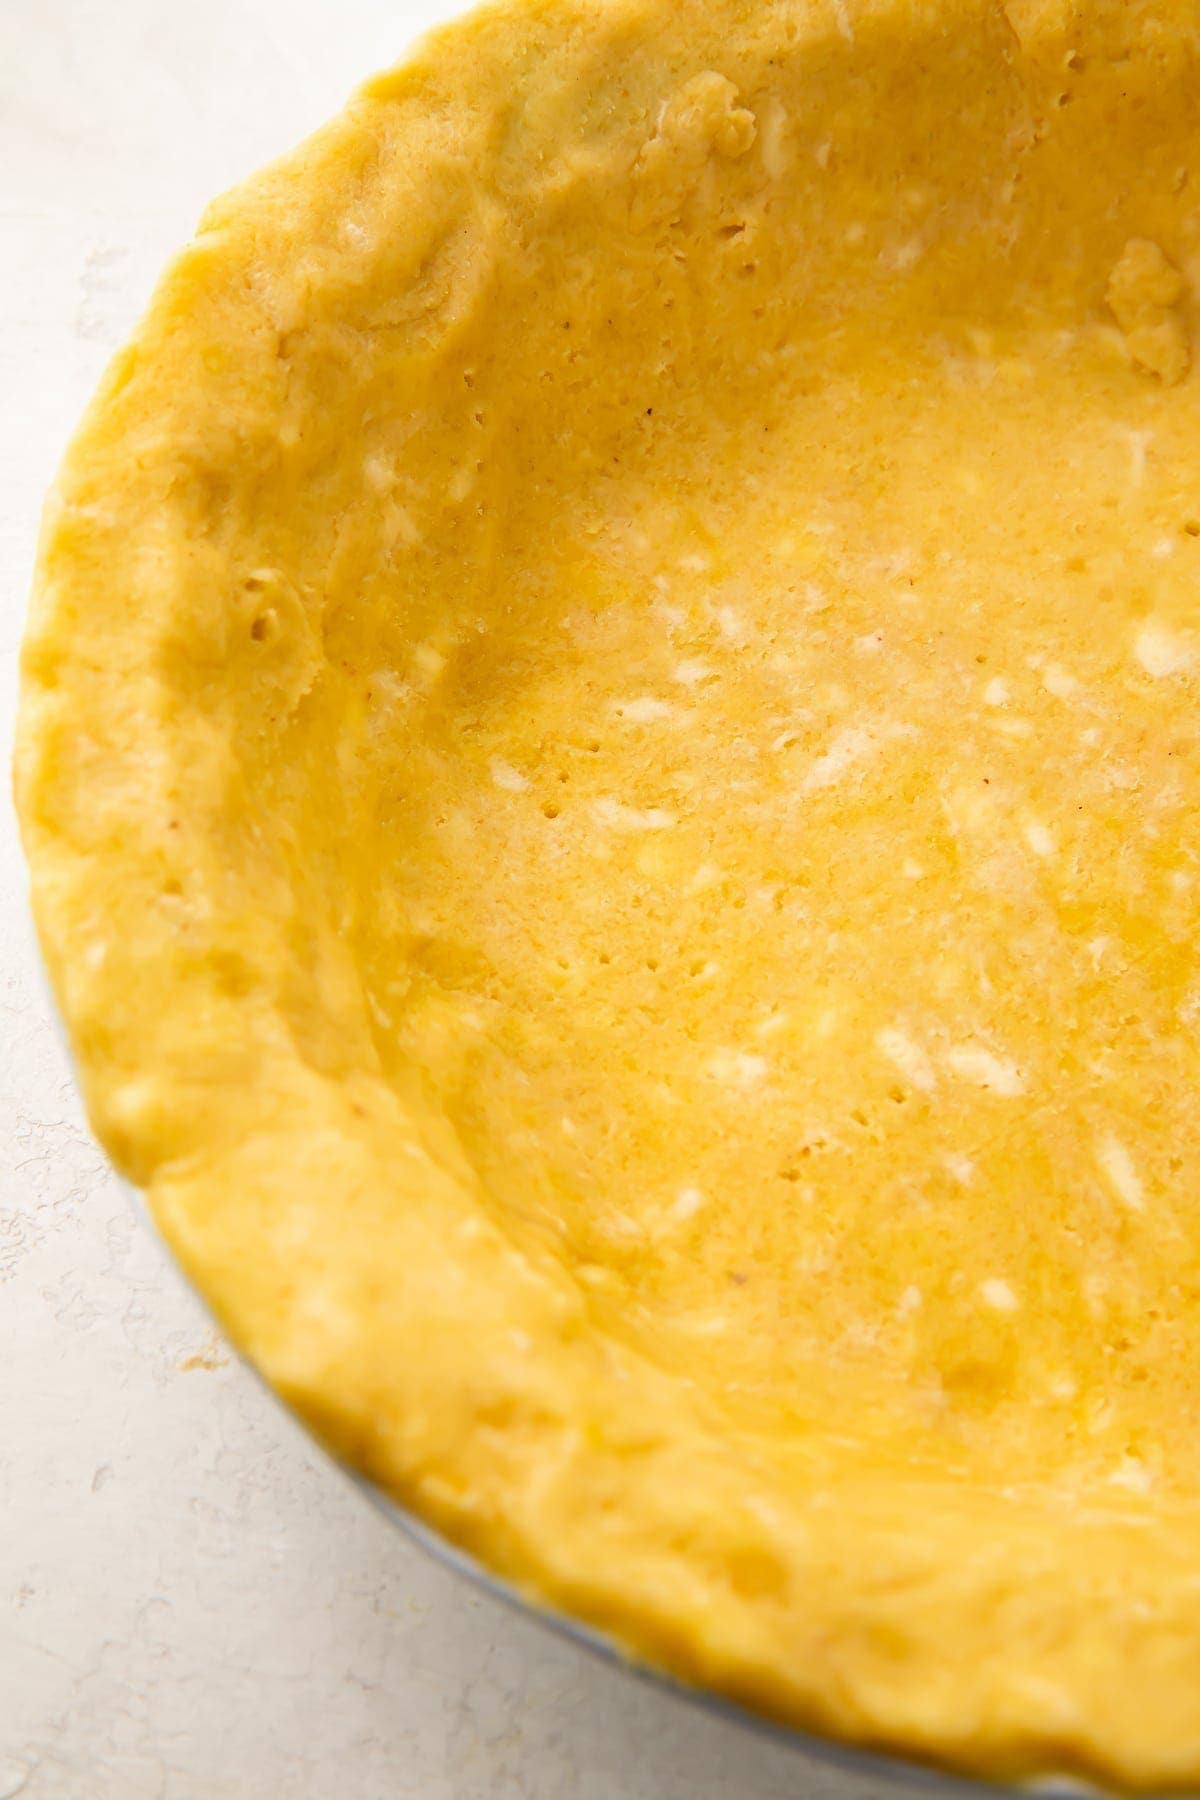
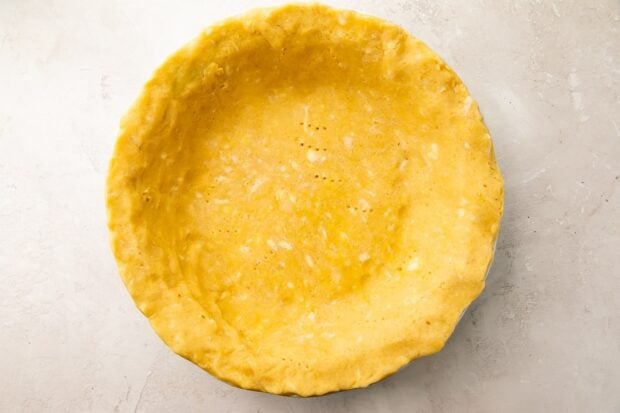
This is our favorite keto pie crust! It’s easy to make and is super rich, flaky, and delicious. We use it in everything from our keto pumpkin pie to keto chicken pot pie – it’s just delicious. Perfect for the holidays or anytime you need a super low carb pie crust!

What Makes This Recipe So Good
- This keto pie crust is super flaky and super buttery and just all-around SUPER delicious! Seriously, no one will ever know it’s gluten free, sugar free, and low carb.
- It’s super easy to find a place in your daily macros for this pie crust, since there’s only 7g total carbs per slice, and only 2g net! If you watch your numbers closely, be sure to calculate everything using your specific ingredients, since macros can vary from one brand to another.
- You can use it for a variety of sweet or savory keto recipes! Pie, pot pie, quiche… you can even roll it out flat and cut it into smaller sections for keto empanadas or turnovers!
Can You Freeze This for Later?
Absolutely! You can freeze the keto pie crust either before baking it or after. Just let it thaw overnight in the refrigerator when you’re ready to use it.
Key Ingredients
Flours – To get the taste and texture right, it’s really important that you use BOTH coconut flour AND almond flour! I promise the pie crust won’t taste like coconut. Because of the way each flour absorbs moisture, you won’t be able to use all of one or the other. You really have to use a blend.
Xanthan Gum – This is a must for keto pie crust. It’s a staple in a lot of keto and gluten-free recipes, so I’m betting you have some in the pantry already. Xanthan gum gives the dough the elasticity it lacks without any gluten-containing ingredients and helps the dough keep some of its moisture. Don’t skip it! And be careful not to use too much, or you’ll end up with a gummy texture that I promise you won’t enjoy.
Chef’s Tips
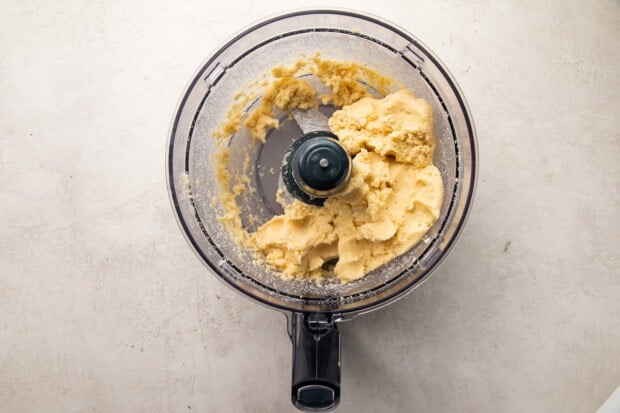
- Don’t process the dough too much! You want it to resemble moist crumbles, NOT a totally smooth dough. If you process it too much, the keto pie crust will turn out dense and tough, not light and flaky. You’ll likely still have chunks of cold butter and cream cheese in the dough, which is perfect!
- On that note, make sure the butter and cream cheese are cold, not room temperature! If they’re too warm, you’ll skip the moist crumbles stage of mixing and go straight to the wet, smooth dough. It’ll throw off the whole texture and make the keto pie crust hard to work with.
- There’s no gluten in this recipe, so you won’t be able to handle it quite the same way you would a traditional pie crust. Be very gentle when you’re rolling it out and transferring it to the pie plate, so as not to crack or break the crust.
More Keto Recipes You Have to Try
- Perfect Keto Charcuterie Board
- Keto Quiche (with a Keto Crust!)
- Keto Broccoli Cheese Soup
- Marry Me Chicken (Chicken in a Sun Dried Tomato Cream Sauce)
- Keto Beef Stew (Low Carb, Gluten Free)
- Everything Bagel Chicken with Scallion Cream Cheese Sauce (Keto)
- Keto Cinnamon Roll French Toast Bites in the Air Fryer
- 2-Ingredient Keto Magic Shell (Sugar-Free Chocolate Shell)
Keto Pie Crust (Gluten Free, Low Carb)
Equipment
- Food processor
- Plastic wrap
- Wax paper (or parchment paper – wax preferred)
- rolling pin
- Pie plate
- Fork
Ingredients
- 50 grams coconut flour or scant ½ cup
- 125 grams almond flour or 1 cup + 4 teaspoons
- ¾ teaspoon xanthan gum
- ¼ teaspoon salt
- 130 grams unsalted butter cold, cut into cubes; about 1 stick + 1 ½ tablespoons
- 70 grams cream cheese cold, about 2 ⅓ ounces
- 1 large egg beaten
- 2 ½ teaspoons apple cider vinegar
Instructions
- Add coconut flour, almond flour, xanthan gum, and salt to food processor. Pulse until evenly distributed.
- Add cold butter and cold cream cheese to food processor with flour mixture. Pulse until crumbly, just a few seconds or so.
- Add in beaten egg and apple cider vinegar. Pulse until dough just begins to come together and resembles moist crumbs (not smooth dough!).

- Spread plastic wrap out on counter. Pull dough mixture together and transfer onto plastic wrap. Form dough into ball, then press down to flatten dough. Wrap dough in plastic wrap and refrigerate at least 1 hour, up to 3 days.
- After refrigerating dough, lay out one sheet of wax paper on counter. Transfer chilled dough to wax paper, then cover with another sheet. Roll pie crust between wax paper into 12"-round circle. If dough cracks or falls apart, simply press pieces back together and continue rolling.
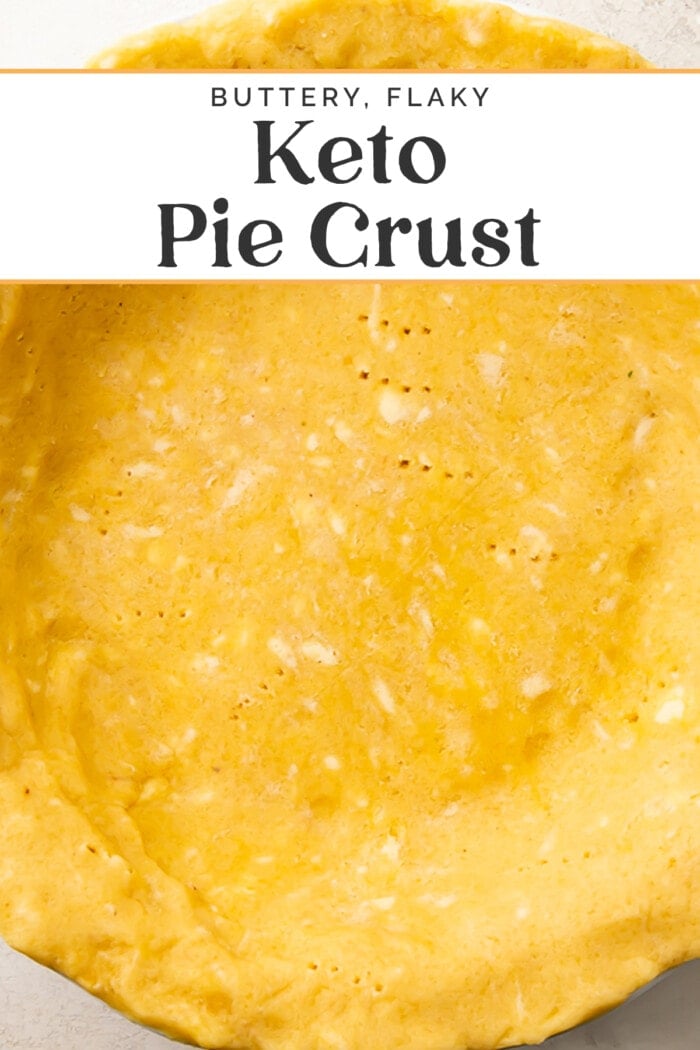
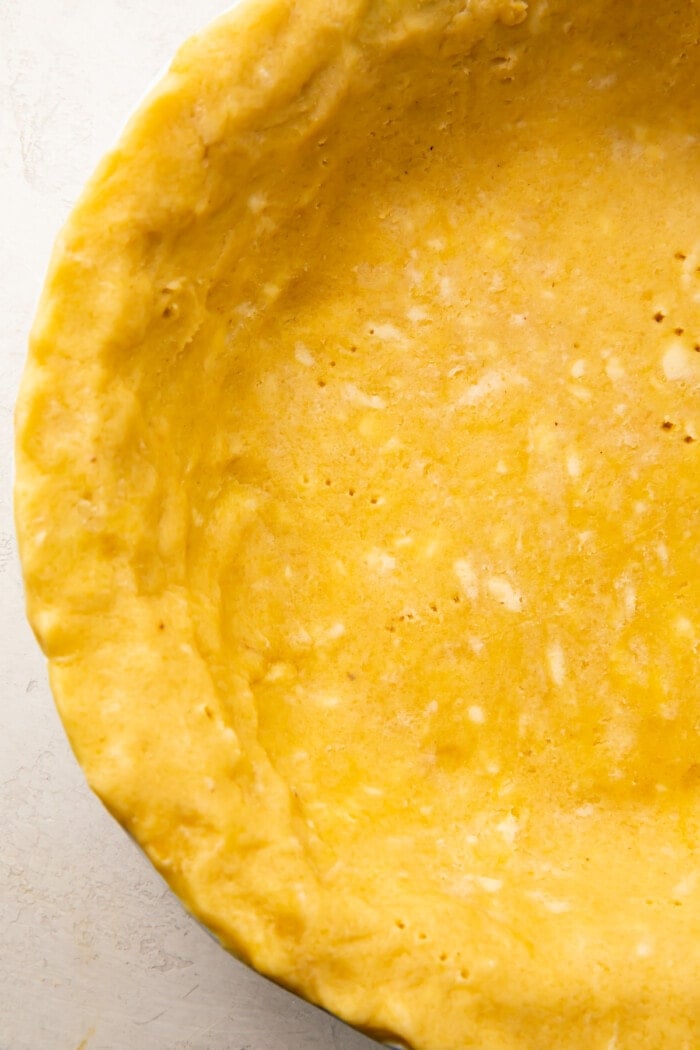
- Remove top sheet of wax paper. Carefully lift bottom sheet of wax paper off counter and hold over pie plate. Flip dough over so crust is now "face-down" in palm and carefully peel away remaining wax paper, laying dough in pie plate as you go. Gently press dough into pie plate and trim away any excess from edges. Prick dough all over with fork.
- Place pie plate in freezer for 10 minutes. While dough chills, preheat oven to 325° Fahrenheit. After 10 minutes in freezer, transfer pie plate to oven and bake 8 to 10 minutes or until lightly golden.
- Let pie crust cool completely, then transfer to airtight container and freeze until ready to use. If using immediately, fill baked pie crust with desired filling and continue baking until pie of choice is ready.

Approximate Information for One Serving
Nutrition Disclaimers
Number of total servings shown is approximate. Actual number of servings will depend on your preferred portion sizes.
Nutritional values shown are general guidelines and reflect information for 1 serving using the ingredients listed, not including any optional ingredients. Actual macros may vary slightly depending on specific brands and types of ingredients used.
To determine the weight of one serving, prepare the recipe as instructed. Weigh the finished recipe, then divide the weight of the finished recipe (not including the weight of the container the food is in) by the desired number of servings. Result will be the weight of one serving.
Did You Make This Recipe?
Tag @40aprons on Instagram and be sure to leave a review on the blog post!
Never Miss A Meal!
New Recipes Straight To Your Inbox
A curated selection of our most recent recipes, delivered straight to your inbox once a week.


First (and last) truly flaky keto crust that I have found.
Thank you
We’re so glad you love it! Thanks for sharing, Darlene!
Cheryl, I can’t use gums at all and you say not to leave it out. Can I possibly use gluccomannon instead? Or is there anything else you can recommend? This recipe looks great with the cream cheese.
Thank you in advance
A flax gel made from ground flaxseeds might work! Be sure to let us know if you try it!