
This Post May Contain Affiliate Links. Please Read Our Disclosure Policy.
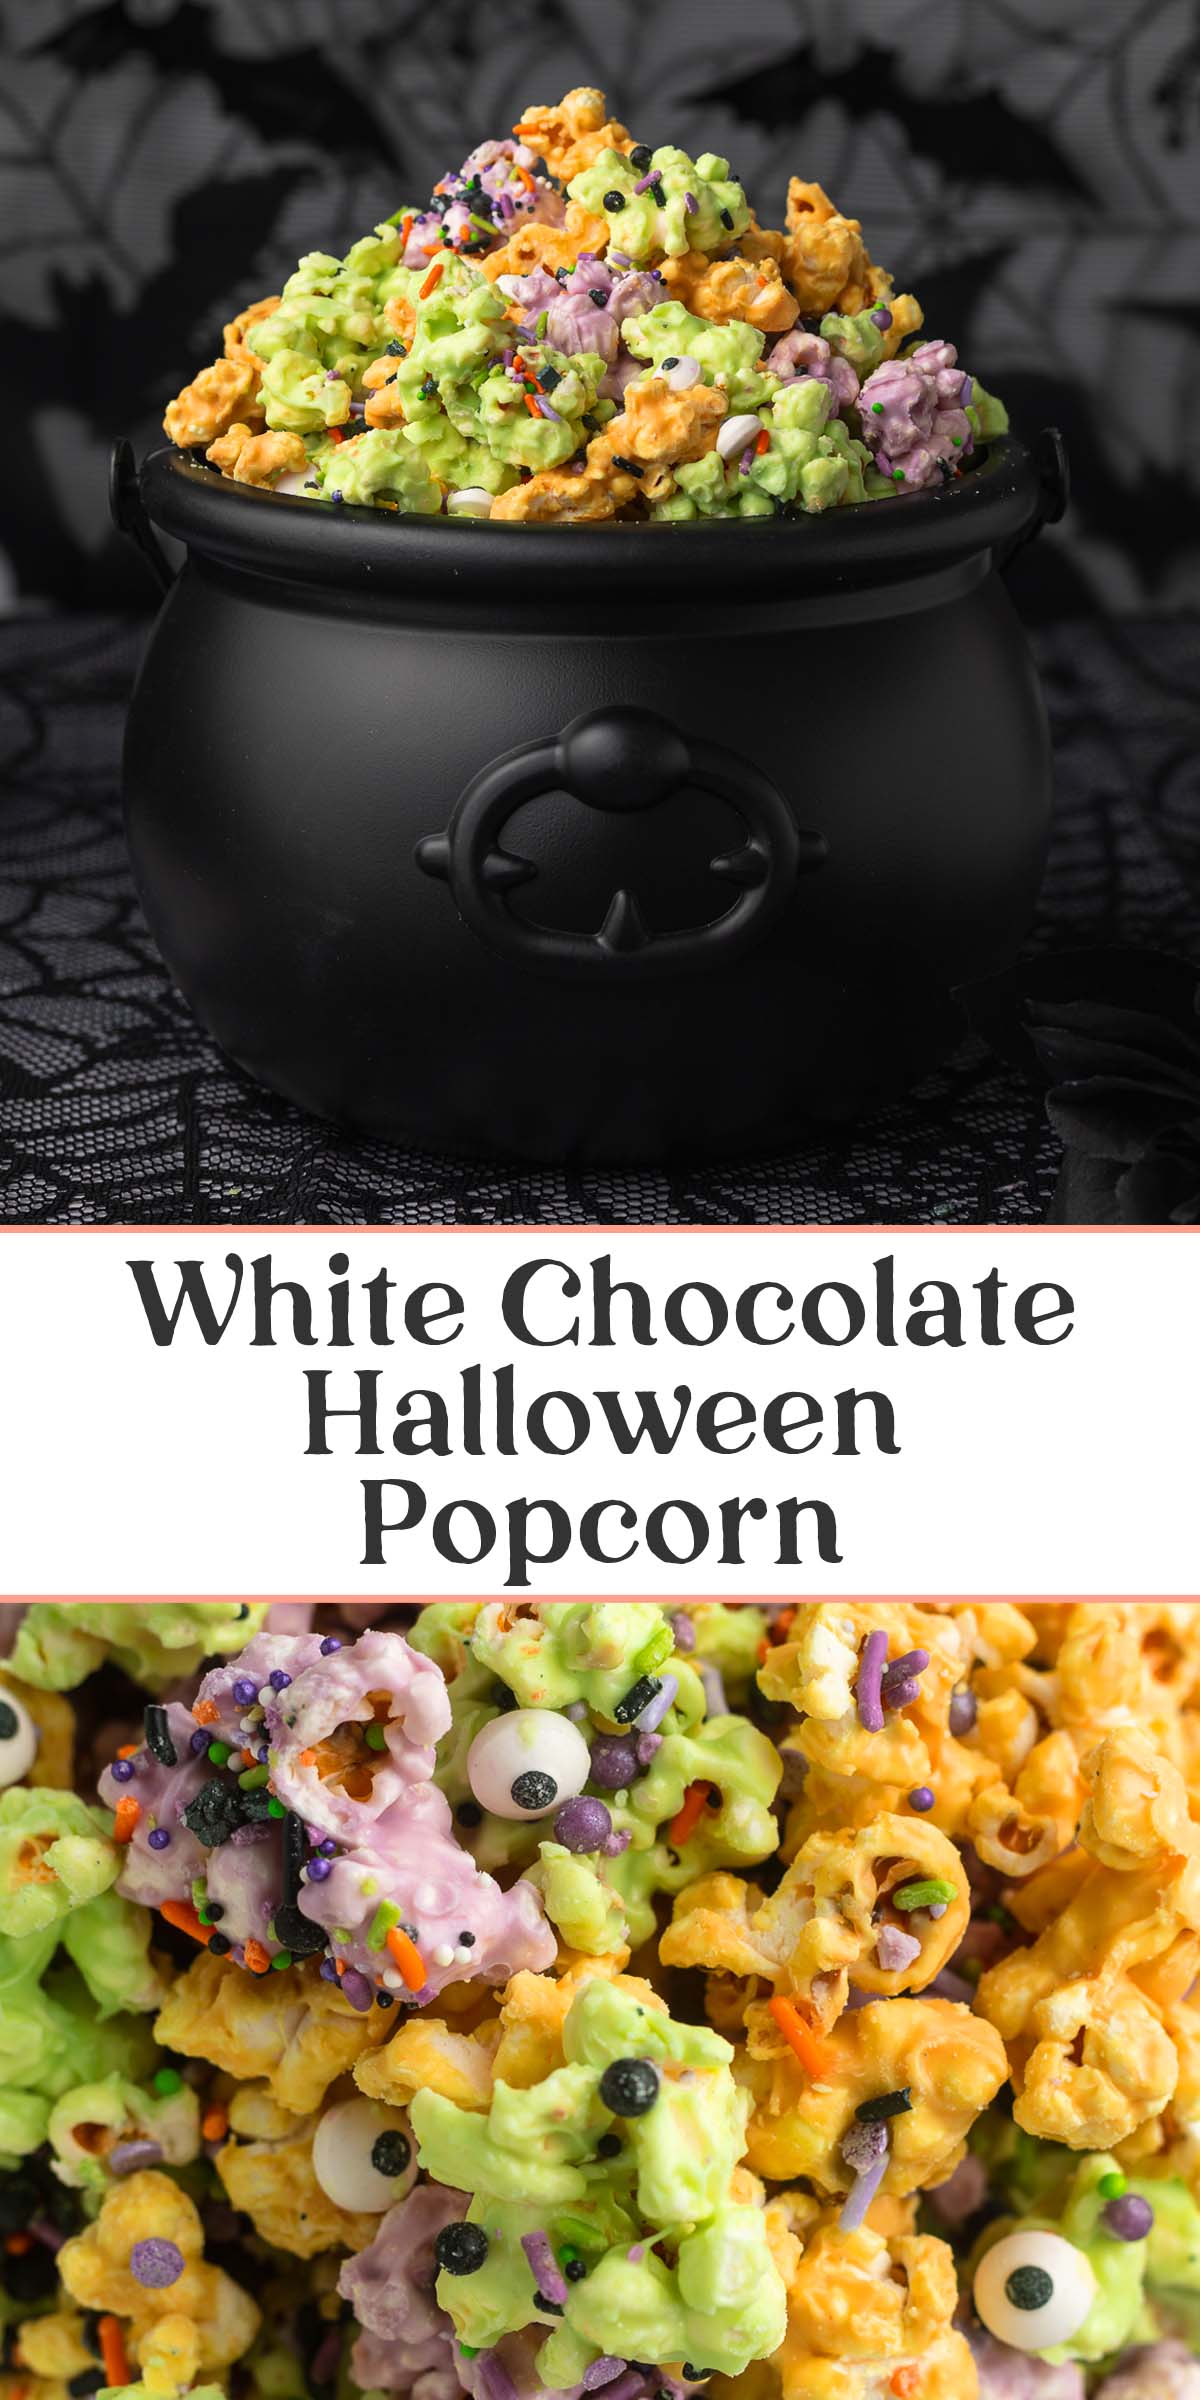
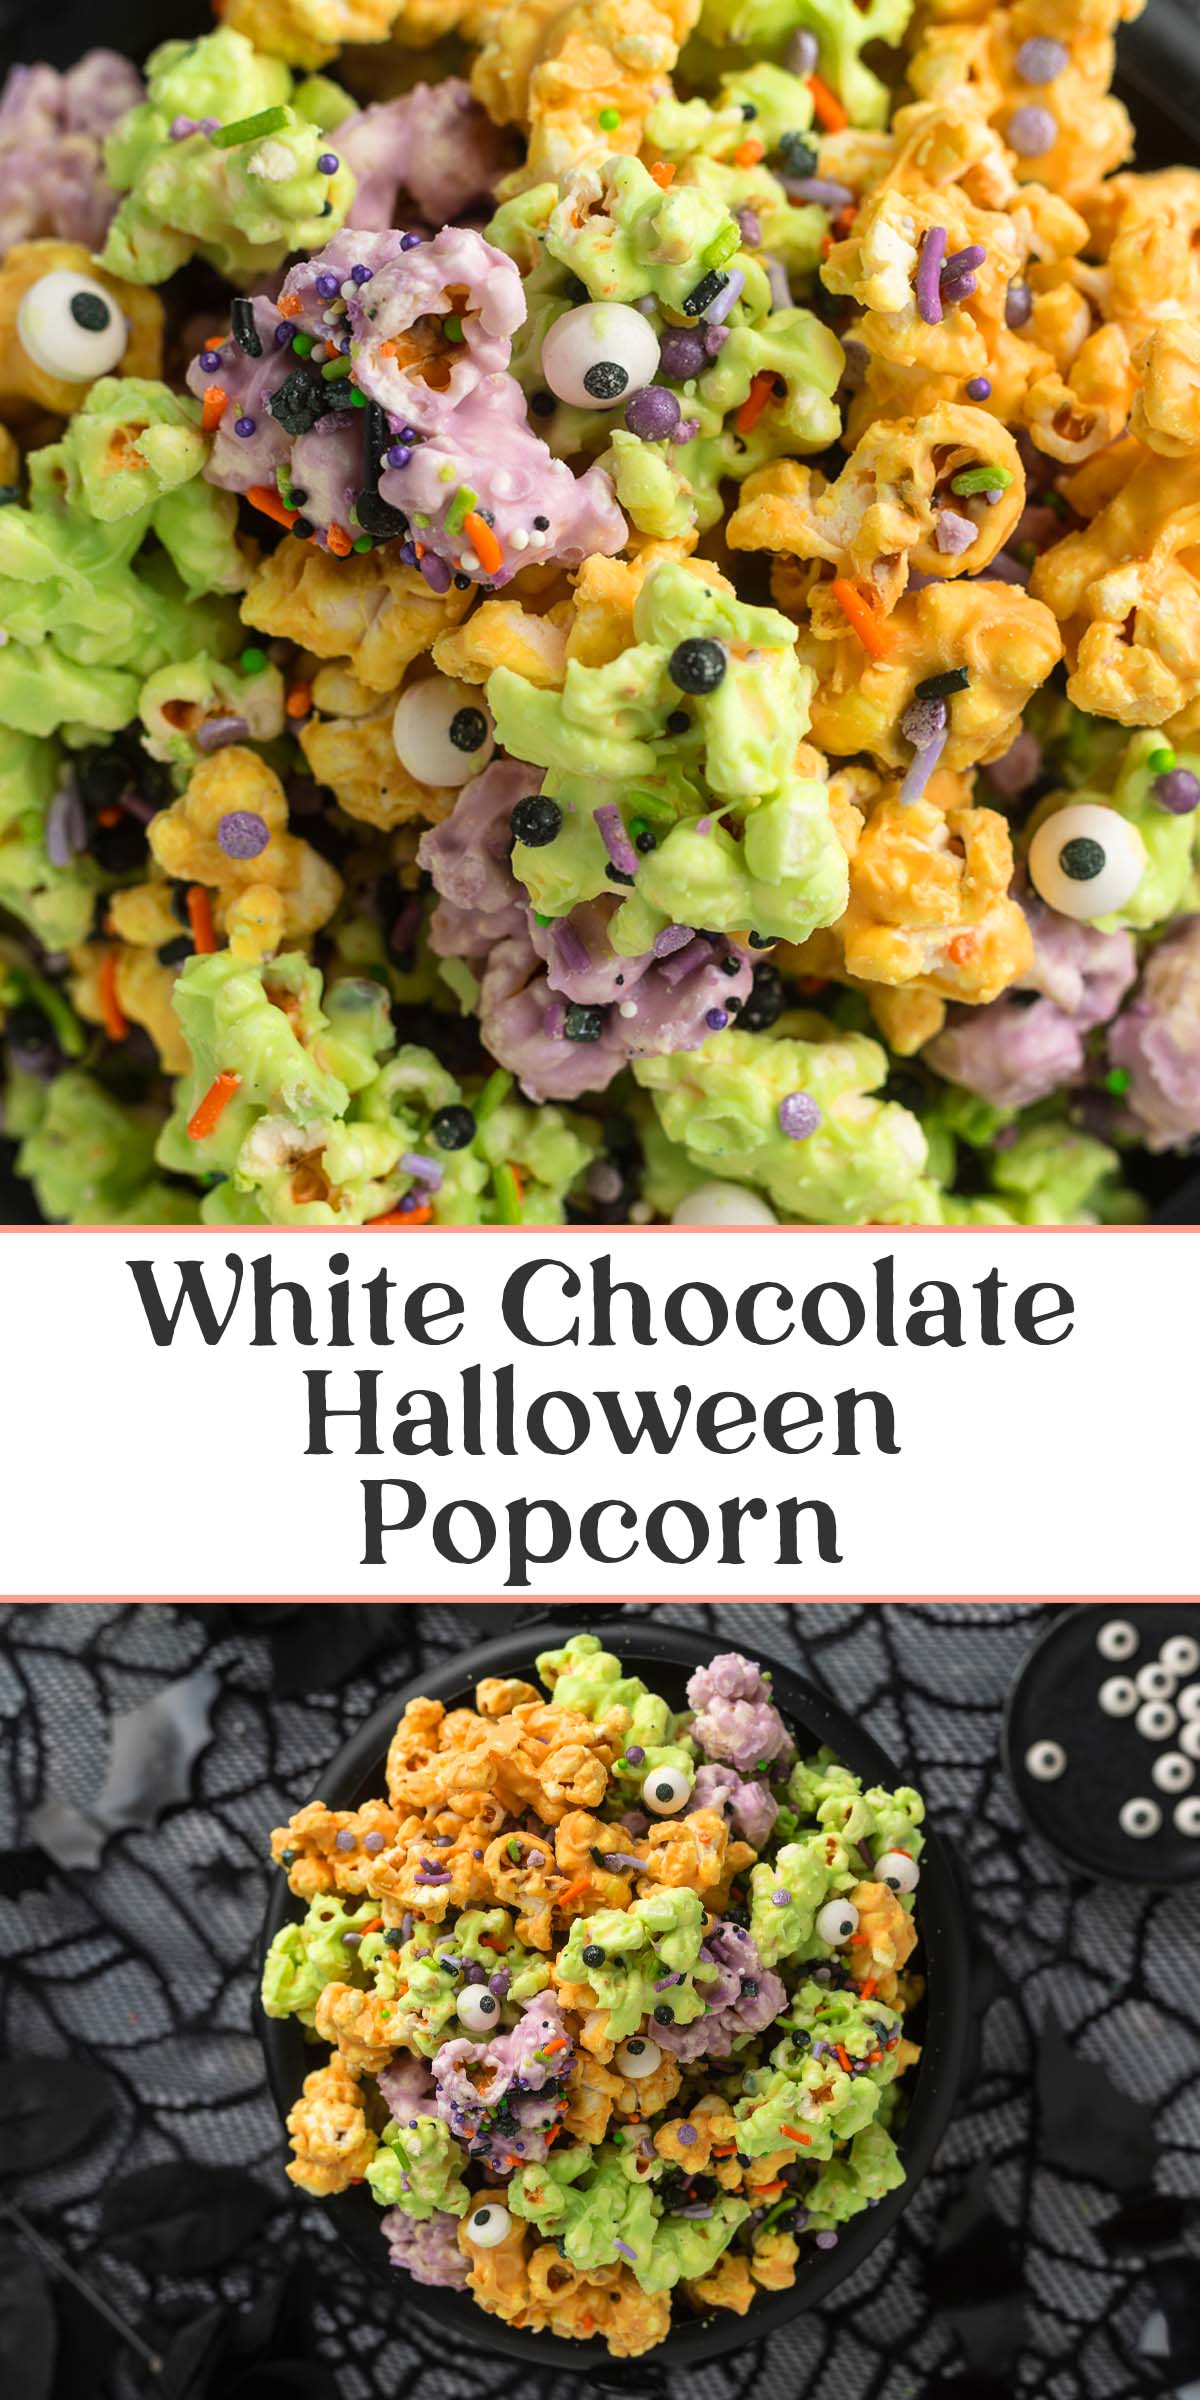
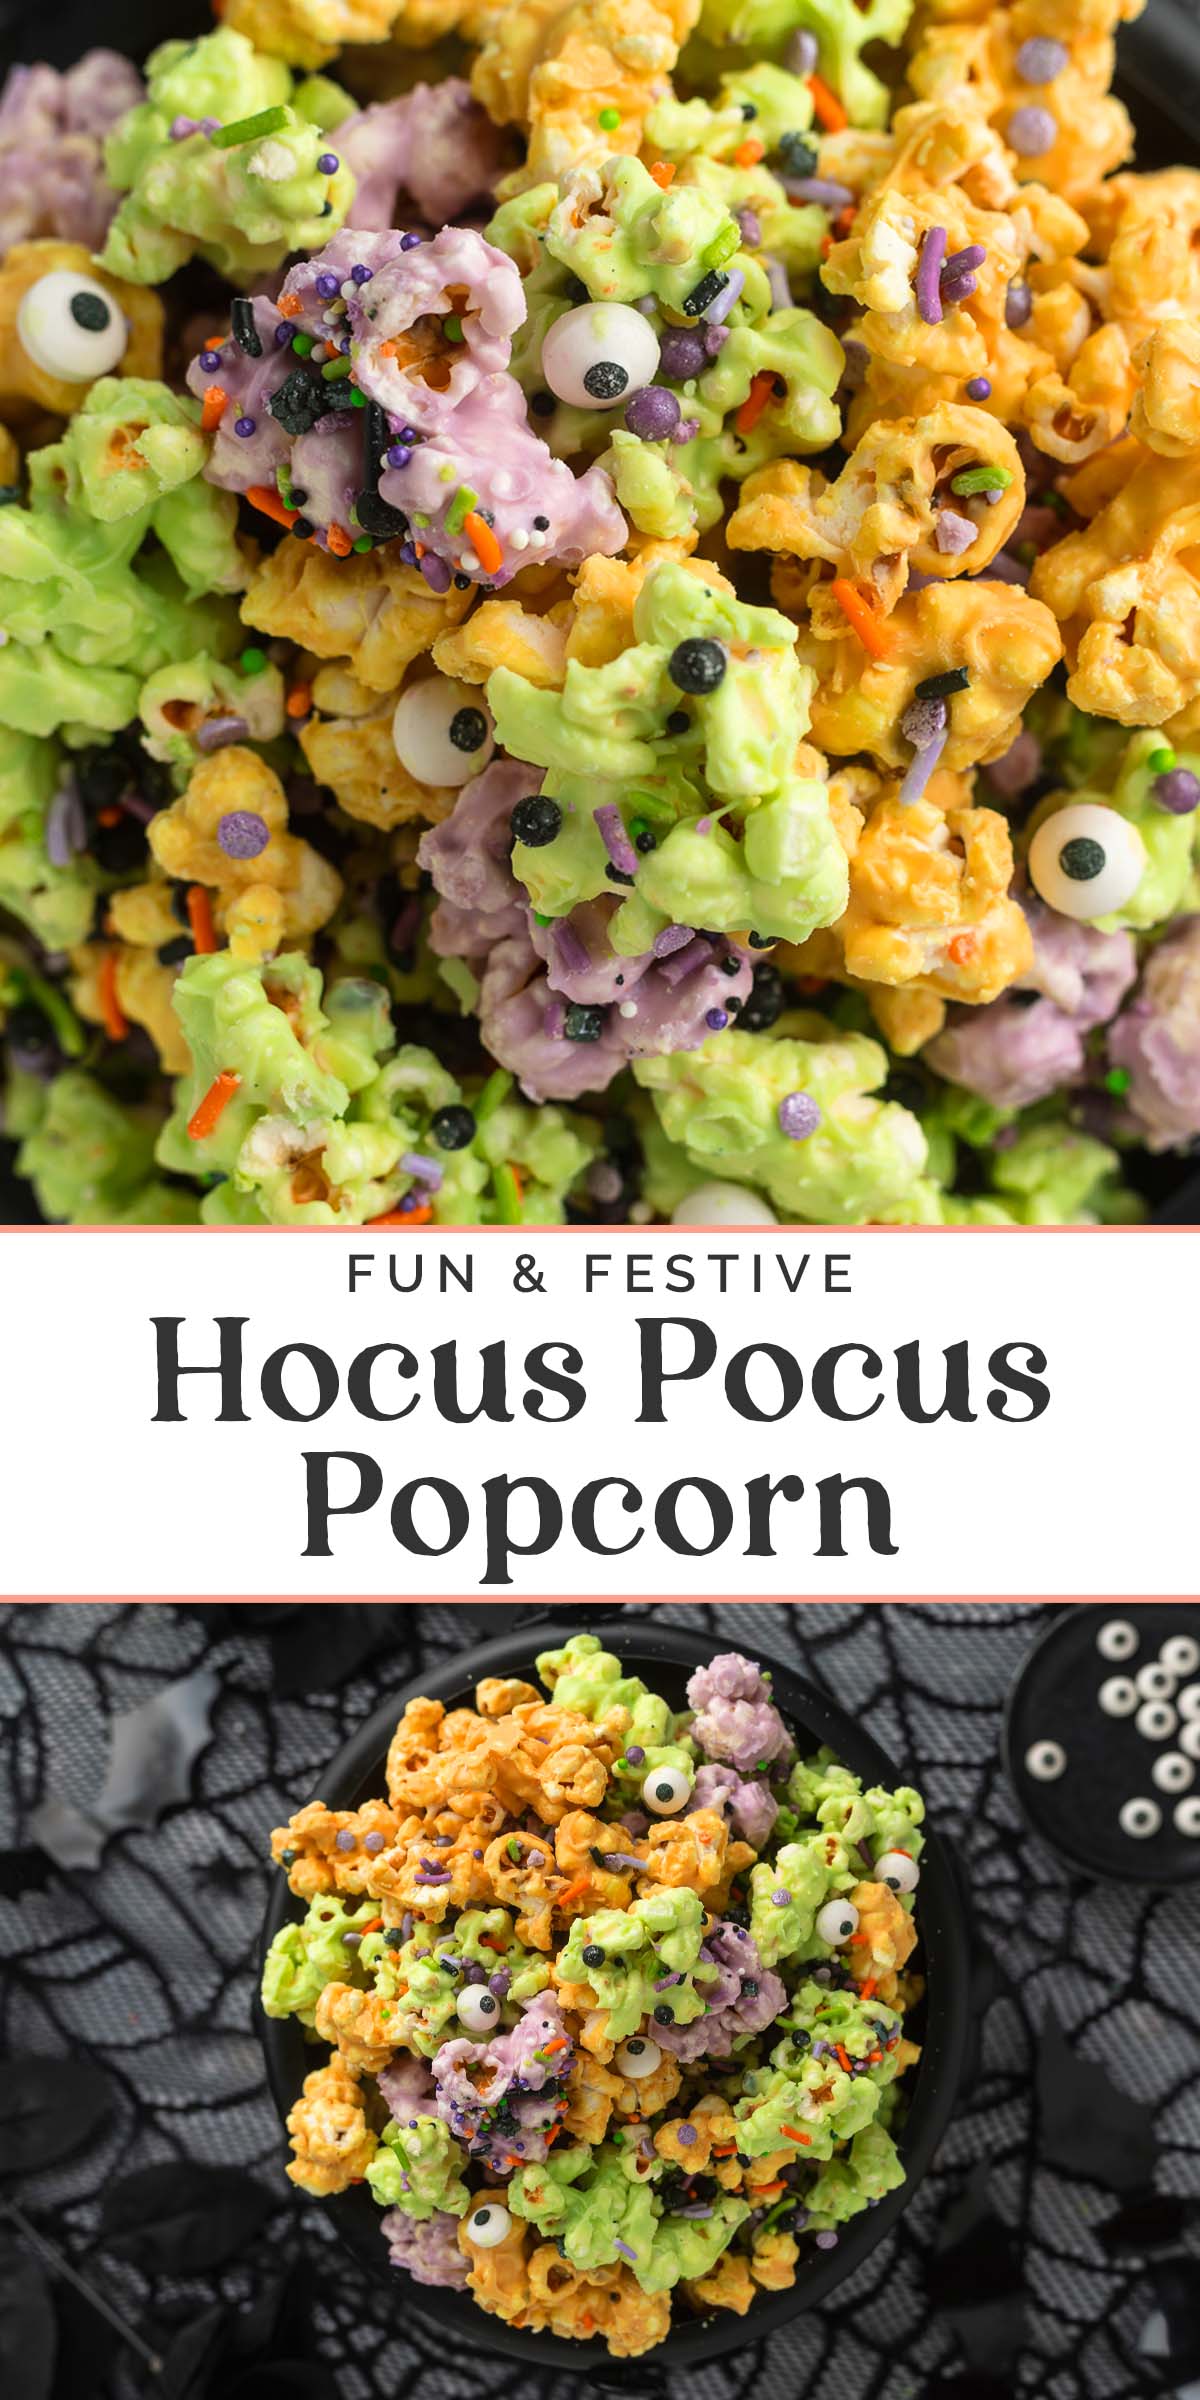
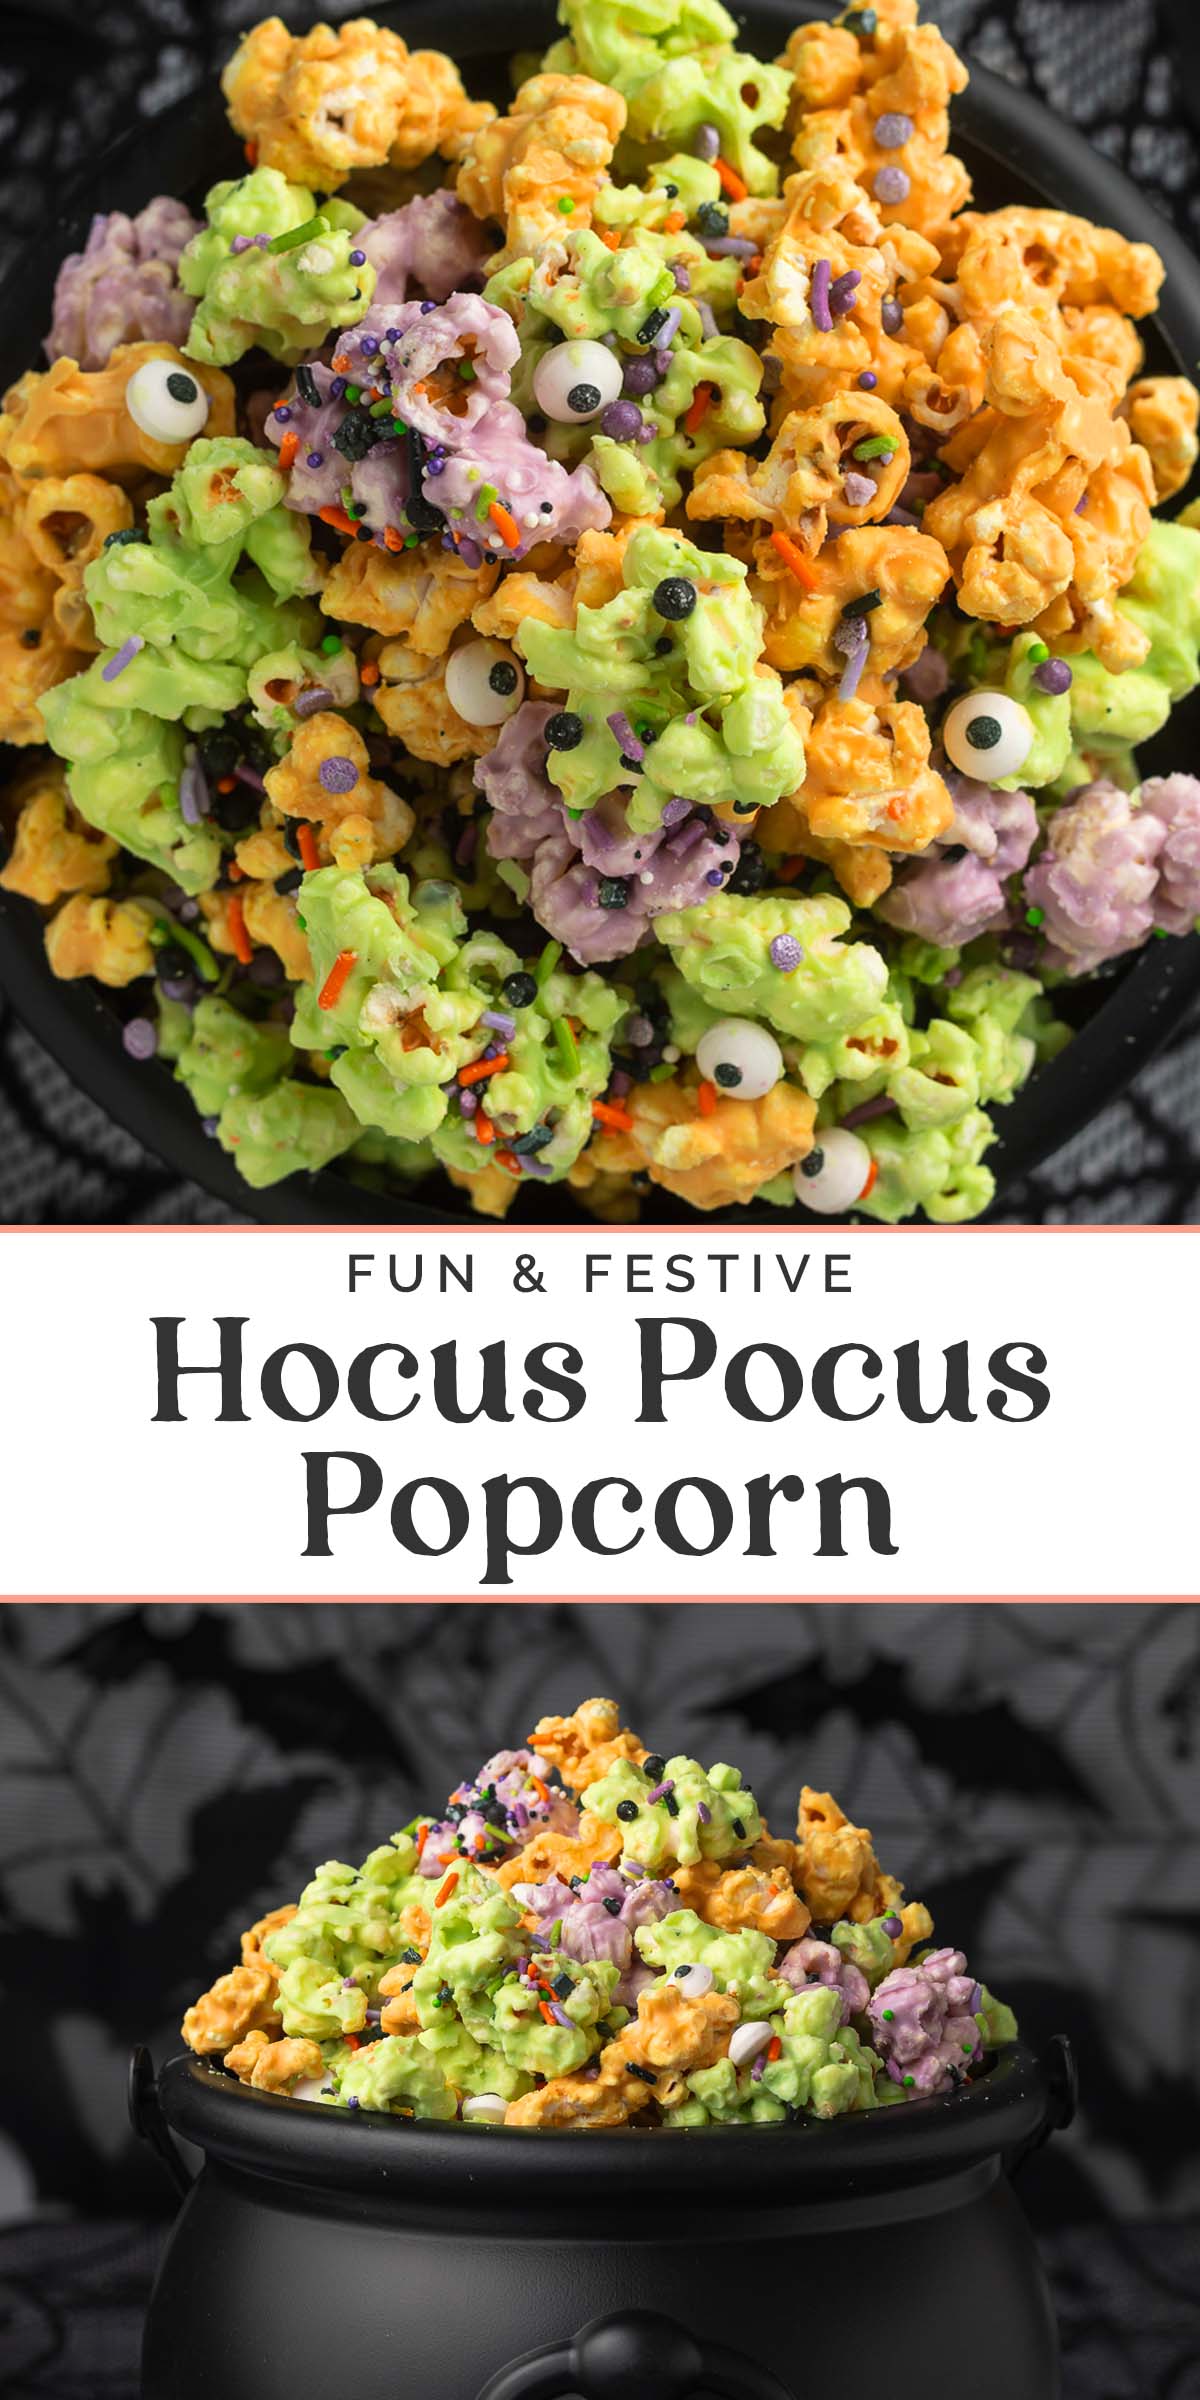

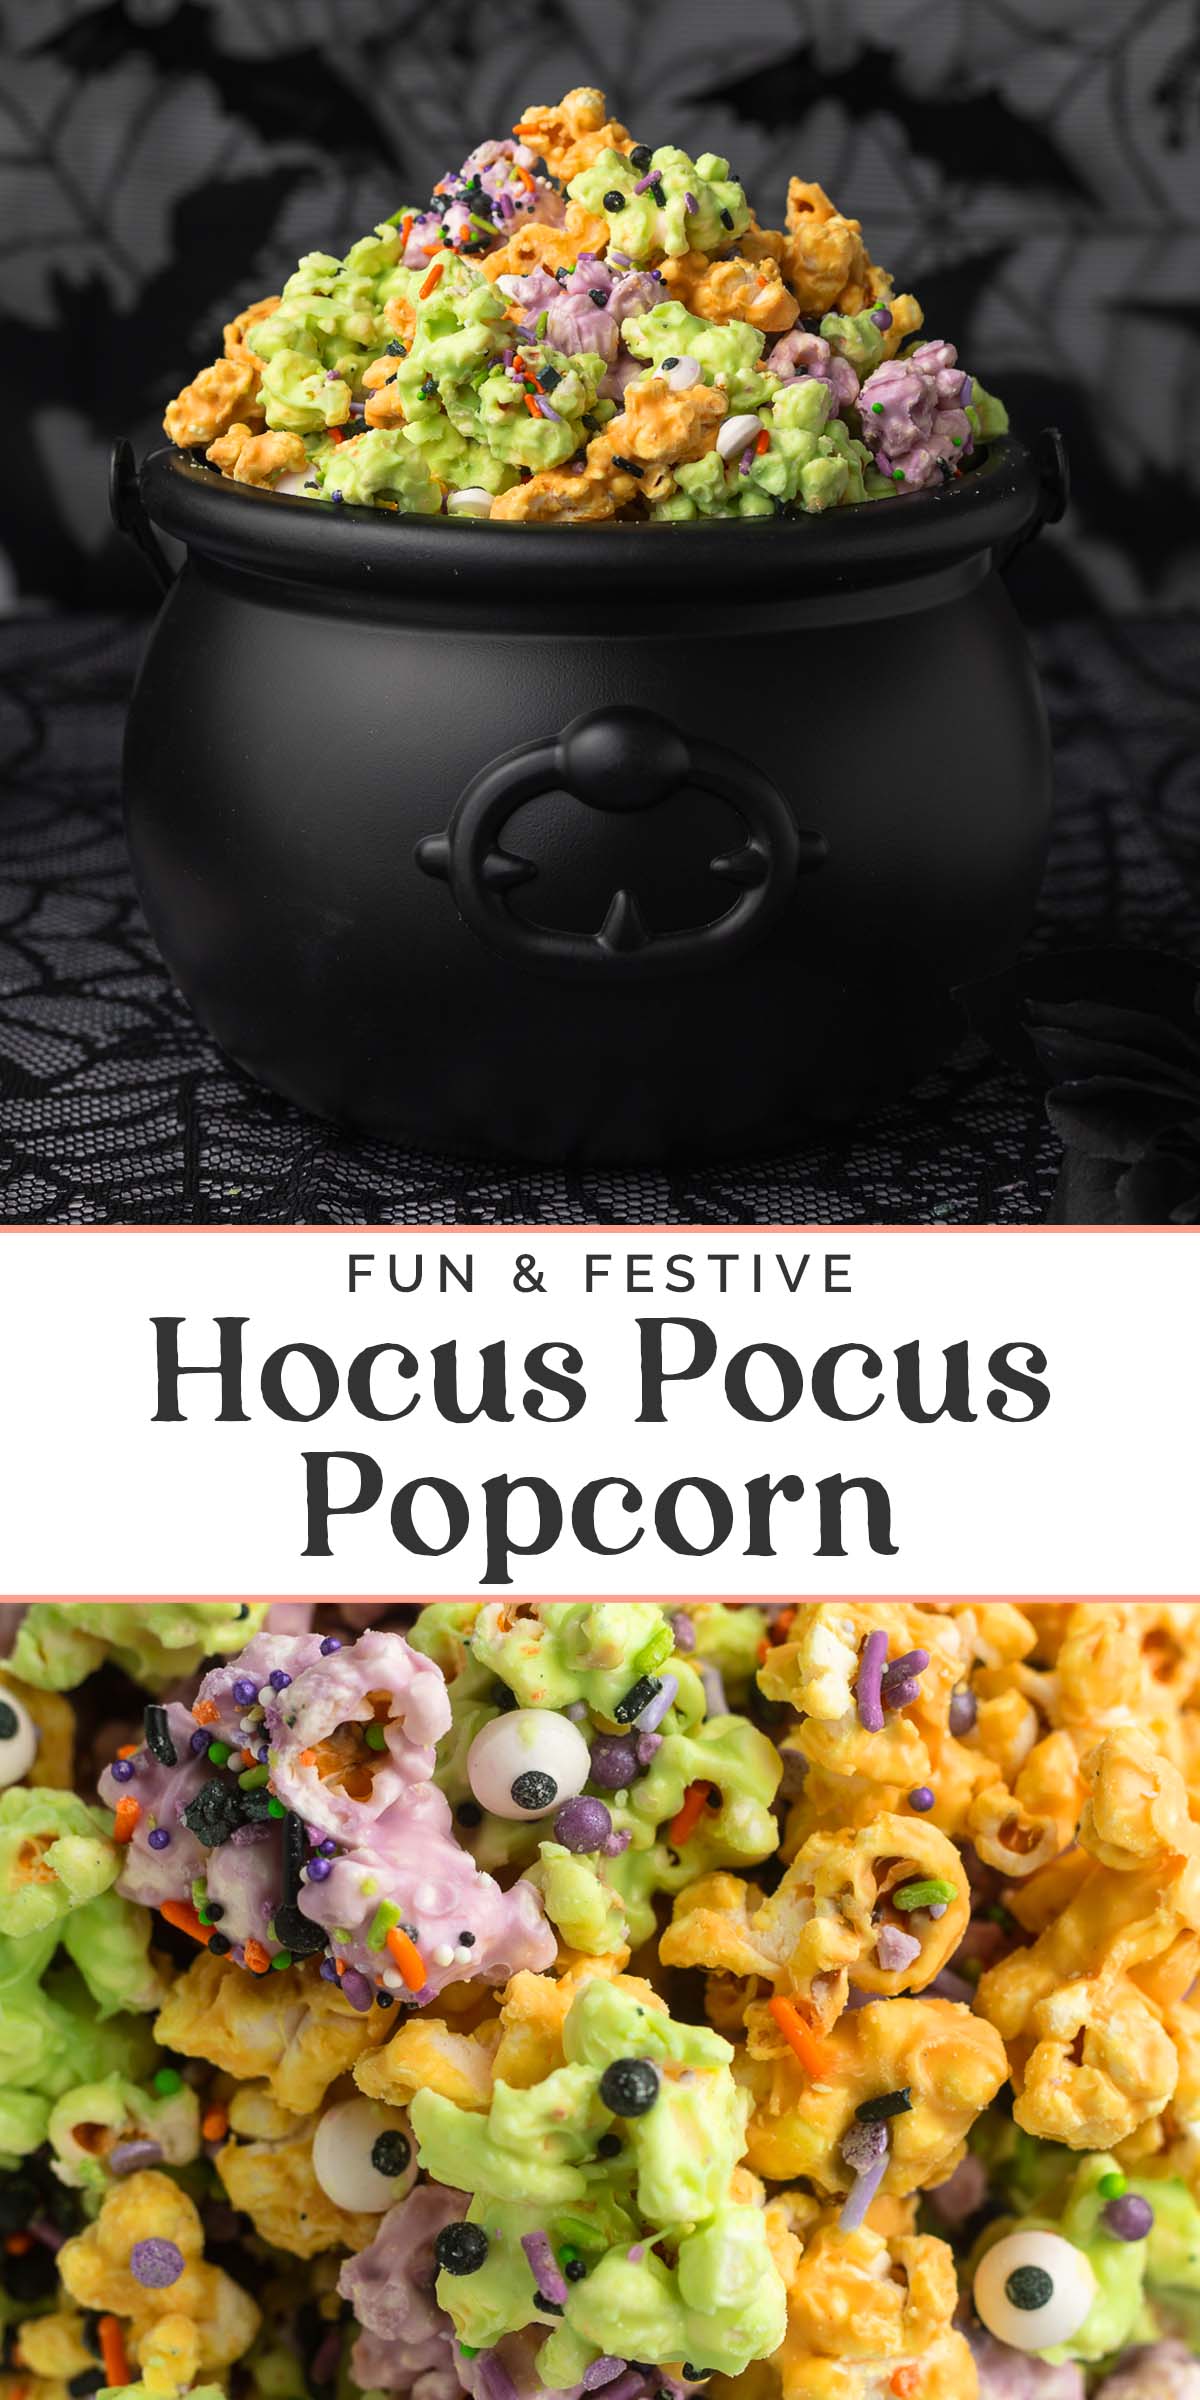
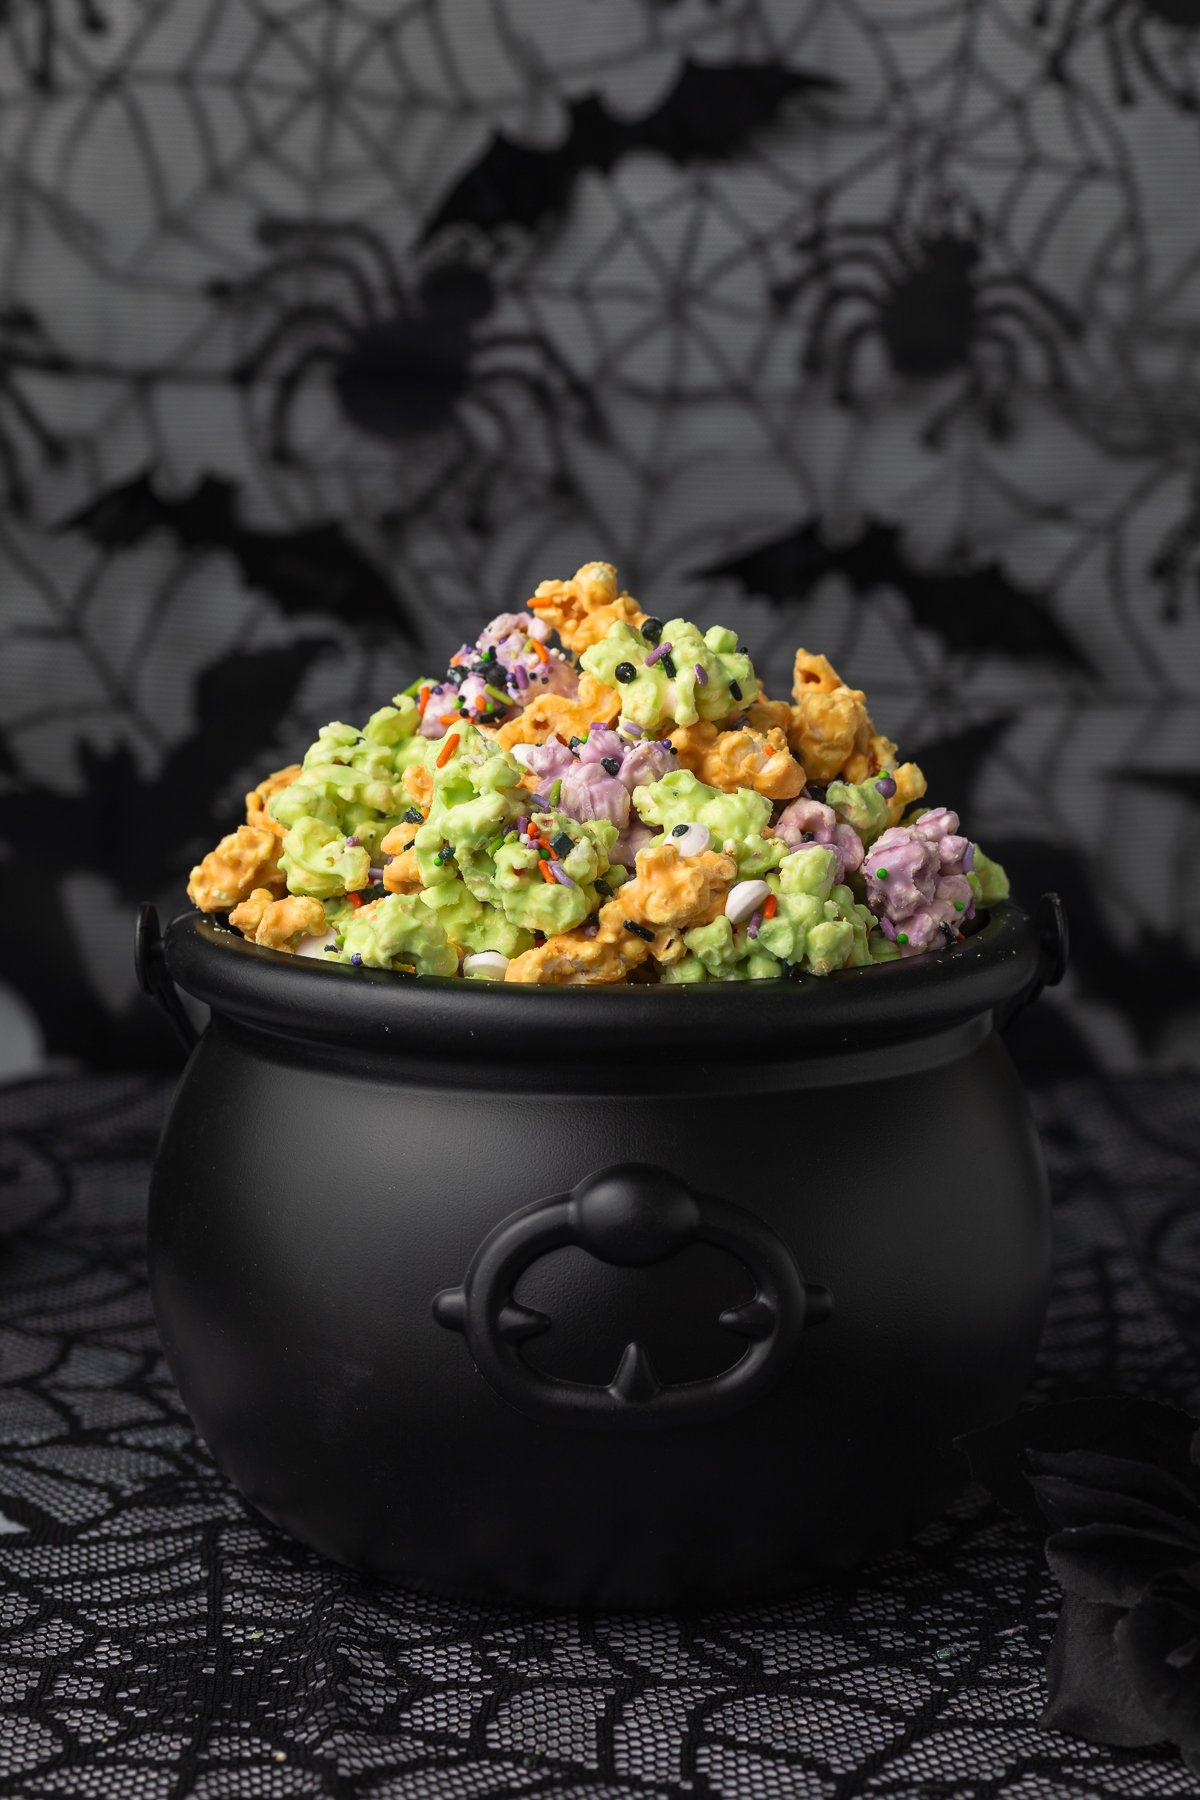
Something yummy this way comes! This deFRIGHTful Hocus Pocus popcorn is an easy and festive Halloween snack that’s as much fun to make as it is to eat. Salty popcorn is tossed in colorful white chocolate and littered with spooky mix-ins, creating a tasty and visually impressive treat (no tricks!). Serve it in a cauldron for a witchy centerpiece, or portion it into individual goodie bags for your little one’s classroom party.
What Makes This Recipe So Good
- This is one of the best Halloween party or spooky movie night snacks, especially if you’ve got kids! Not only is it super delicious, it’s really fun to make AND to look at. Seriously, I know you’re not supposed to play with your food (or whatever), but this Hocus Pocus popcorn is like snack time and arts & crafts time all rolled in to one. Go wild with the mix-ins, have fun with the colors, come up with creative ways to serve it. You can even use the food coloring to teach your littles about the magic of color mixing! Tasty AND educational.
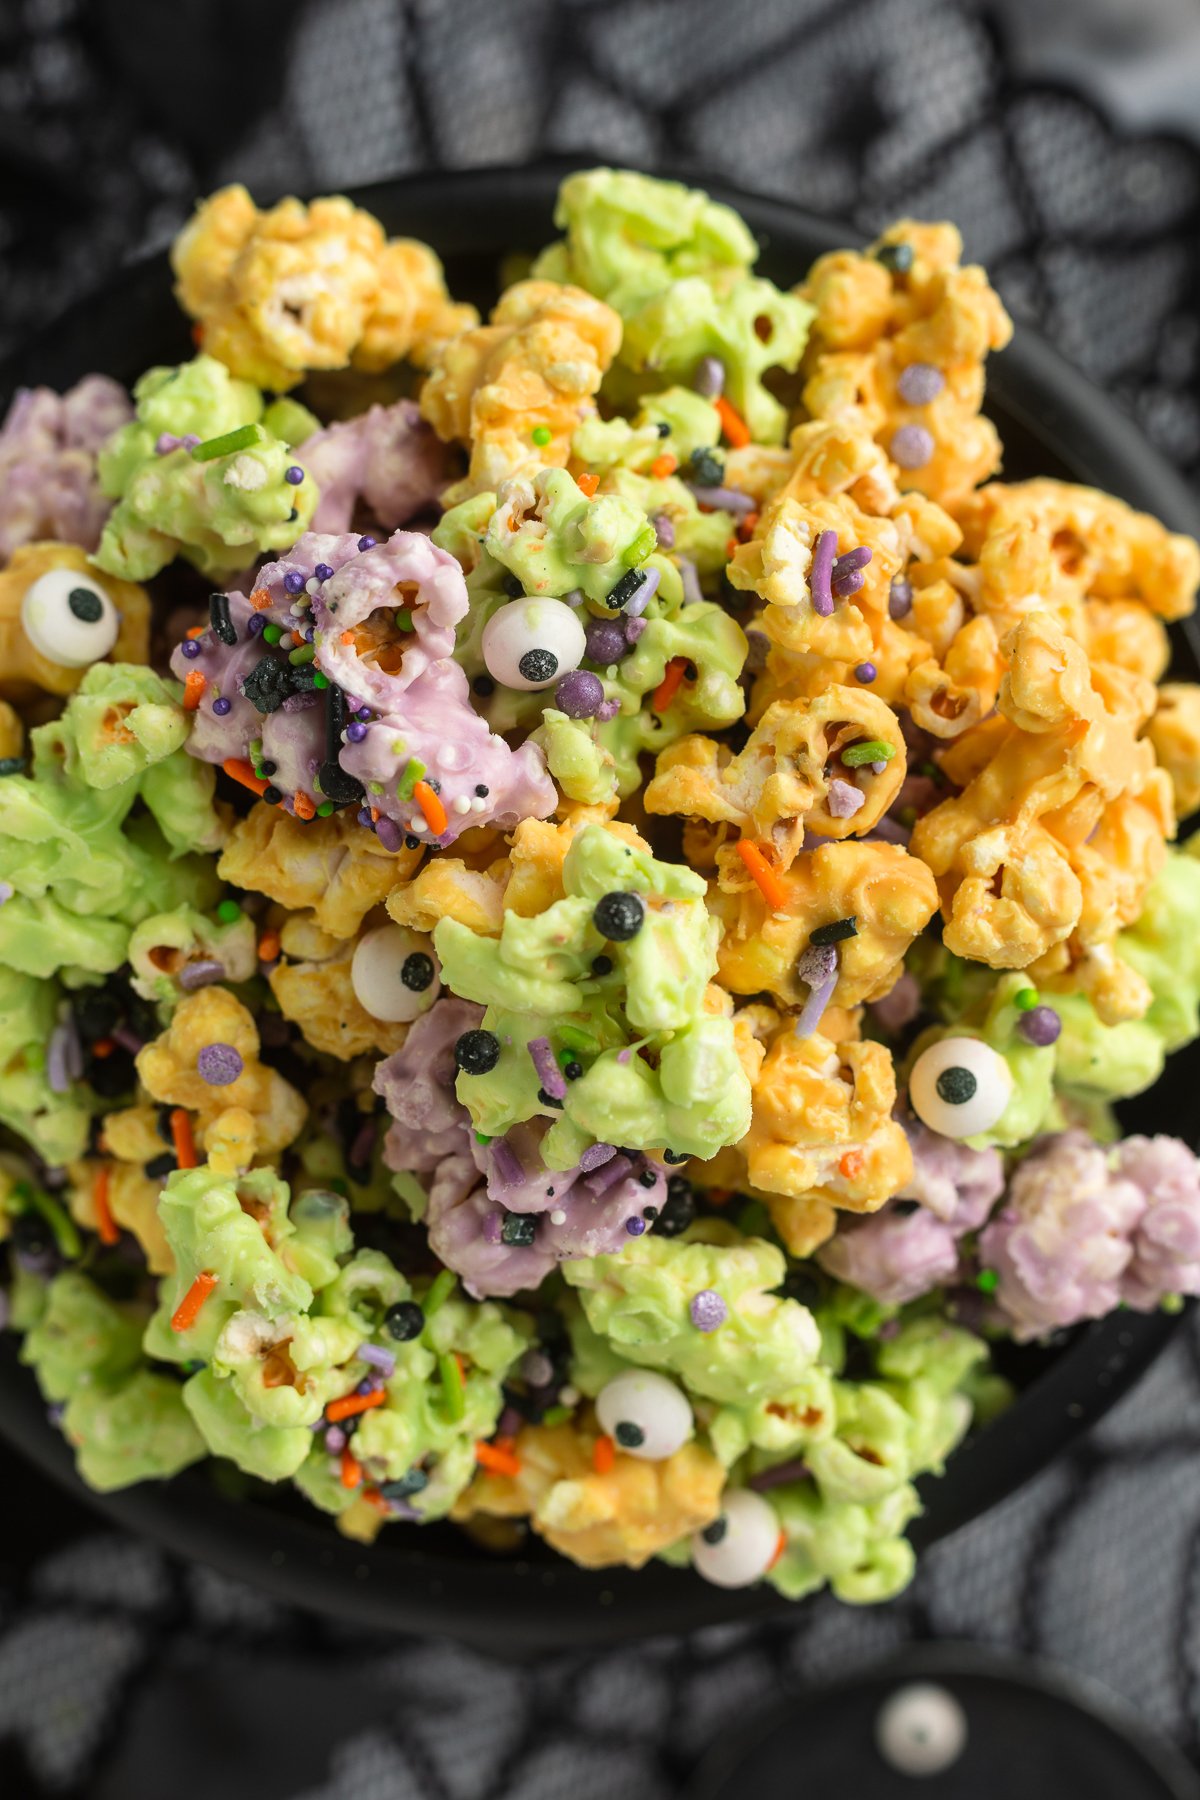
- Each and every piece of popcorn is coated in a rich, sweet, colorful white chocolate coating. You’ve probably had popcorn drizzled with chocolate before, and if so then you know that the problem with a drizzle is how uneven it is! Some pieces will have a ton of chocolate, others won’t have much at all, and the whole underside of the popcorn goes bare. Instead of a drizzle, we toss our popcorn in melted white chocolate so each piece is fully covered, giving the perfect combo of salty and sweet in every bite.
- Room moms and teachers, get excited! White chocolate popcorn is super easy to adapt for any potential food allergies or dietary needs, making this a great option for a classroom Halloween party. Nut free, dairy free, gluten free, vegan, vegetarian, low carb, added-sugar free, all natural – Halloween popcorn can do it all. Just beware the curse of the sugar rush… and crash.
Chef’s Tips
- When it comes to melting chocolate, especially white chocolate, it’s important – nay, CRUCIAL – that your bowls and your spatula (or spoon) are 100% dry. Even the smallest amount of moisture will cause the chocolate to seize, making it clumpy and crumbly. If that happens, don’t panic – you can add a little more coconut oil as needed until the chocolate is smooth again. Just don’t overdo it, or you’ll get chocolate that’s really thin and runny and won’t coat the popcorn well.
- The key to perfect Hocus Pocus popcorn? Really nailing the actual popcorn part. You can pop your favorite microwave popcorn, or you can use a stovetop method like we did here. For the best stovetop popcorn, make sure you use a really good pot and resist the urge to dial up the heat. If the oil even so much as tiptoes near burnt, you’ll end up with burnt-tasting popcorn, even if it looks perfect. Heat the oil on its own first, and test it by dropping just 2 or 3 kernels in. Once those pop, the oil’s hot enough to add the rest.
- When you add the kernels to the oil, cover the pot immediately and shake the whole the thing so the kernels can settle in one even layer. That way, they’re much more likely to pop evenly, since they’ll all be covered in hot oil. Keep shaking them until you hear them start popping, and then shake the pot periodically after that so you rotate any unpopped kernels down to the oil.
- Covering the pot with the lid captures the heat and focuses it all on the kernels, but it can also trap steam that’ll make the popcorn soft instead of crisp. You can position the lid ever-so-slightly askew so the steam can seep out but the majority of the heat stays in.
More Party-Perfect Recipes
- Creamy Jalapeño Popper Dip (Low Carb, Keto)
- Whole30 Grazing Board (Paleo, Dairy Free, Gluten Free)
- Buffalo Chicken Sliders
- Cocktail Blini (For Caviar and More!)
- Puking Pumpkin with Guacamole “Vomit”
Hocus Pocus Halloween Popcorn (White Chocolate Popcorn)
Salty popcorn is tossed in colorful white chocolate and littered with spooky mix-ins for a Halloween snack that's all treats, no tricks.
servings
Equipment
- 3 large baking sheets
- parchment paper
- Large pot with lid
- stovetop
- 3 large mixing bowls
- 3 medium microwave-safe bowls completely dry, see Notes
- 3 silicone or rubber spatulas completely dry, see Notes
- Microwave
- large bowl or plastic cauldron optional, for serving
- mini plastic cauldrons optional, for serving; see Notes
- Halloween-themed goodie bags optional, for serving; see Notes
Ingredients
For the Popcorn
- ½ cup popcorn kernels see Notes
- 3 tablespoons coconut oil
- popcorn salt optional, to taste
For the White Chocolate Coating
- 6 cups white chocolate chips or chunks divided
- 3 teaspoons coconut oil divided
- food coloring orange, green, & purple (or red, yellow, & blue to mix); see Notes
Suggested Mix-Ins (All Optional)
- 1 cup Halloween sprinkles divided
- 1 cup mini chocolate chips divided
- ¾ cup small candy eyes divided
- 1 cup candy corn divided
- 1 cup M&Ms brown, green, orange, or purple; divided
- 1 cup Reese's Pieces divided
Instructions
- Cover each of 3 large baking sheets with parchment paper. Set aside. Set out 3 large bowls and set aside until popcorn is popped.
- Heat 3 tablespoons coconut oil in large pot over medium heat, being very careful not to burn oil. When oil is hot and shimmering, add 2 to 3 kernels to test oil. When test kernels pop, add remaining ½ cup popcorn kernels and immediately cover pot with lid. Secure lid with one hand and shake pot until kernels begin to pop. Once kernels begin to pop rapidly, return pot to heat.
- Listen closely to popping kernels and shake pot periodically. When popping slows to approximately 3 to 5 seconds between pops, remove pot from heat. If desired, sprinkle popcorn salt over popcorn in pot and toss to coat, then divide popcorn evenly among 3 large bowls. Remove any unpopped kernels.
- Place 2 cups white chocolate and 1 teaspoon coconut oil in each of 3 microwave-safe mixing bowls.
- Place one bowl of white chocolate in microwave. Microwave 30 seconds, then stir with dry spatula. Repeat, microwaving in 30 second intervals and stirring after each, until white chocolate is completely melted. Note: Be careful not to burn chocolate. If chocolate seizes, stir in coconut oil in ¼ teaspoon increments until mixture is smooth.
- When chocolate is melted, carefully remove bowl from microwave. Add 2 to 3 drops orange (or red and yellow) food coloring to bowl and stir until color is fully incorporated. Add more food coloring as needed, mixing well after each addition, until desired shade is achieved.
- Transfer orange-colored white chocolate to one large mixing bowl with popcorn. Gently toss or stir until popcorn is fully coated in white chocolate.
- Transfer coated popcorn to one baking sheet lined with parchment paper. Gently spread popcorn out into one flat, even layer. While chocolate is still melty, sprinkle one third of desired mix-ins over top of popcorn. Set baking sheet with prepared orange popcorn aside.
- Repeat steps 5 through 8 with second bowl of white chocolate, green (or yellow and blue) food coloring, popcorn, and desired mix-ins. Set baking sheet with prepared green popcorn aside.
- Repeat steps 5 through 8 with second bowl of white chocolate, purple (or red and blue) food coloring, popcorn, and desired mix-ins. Set baking sheet with prepared purple popcorn aside.
- Leave all three colors of prepared popcorn to dry 5 minutes. Once chocolate is completely dry, break each color of popcorn into pieces, chunks, or clusters. Transfer popcorn to large bowl or cauldron to serve. Alternately, divide popcorn evenly between mini plastic cauldrons or Halloween-themed treat bags and secure with ribbon or twist ties.
- Mini Cauldrons: If you’re making mini cauldron treats for a classroom Halloween party or just to serve as individual portions, you’ll want to use some sort of cellophane wrap to wrap around the cauldrons so the popcorn stays fresh. Use ribbon or twist ties to close the cello wrap.
- Treat Bags: If you’re making goodie bags for a classroom Halloween party, make sure the bags you use are sealable, or you’ll also need ribbon or twist ties to close them!
- Bowls & Spatulas: When melting chocolate, especially white chocolate, it’s absolutely crucial that your bowls and spatulas (or spoons) be 100% completely dry and moisture-free. Even the smallest amount of moisture will make the chocolate seize and clump when it melts.
- Popcorn: We used the stovetop method for our popcorn, but you can totally pop bags of popcorn in the microwave instead if you prefer! Make sure you use salted, unbuttered microwave popcorn.
- Food Coloring: Feel free to use gel or liquid food colors, or any food coloring alternatives that you prefer. Use as much or as little color as needed to get your desired shades.
- Make it Vegan: Use vegan white chocolate and vegan food coloring or a vegan food coloring alternative. Make sure any mix-ins you use are vegan, too.
- Make it Dairy Free: Use dairy-free white chocolate. Make sure any mix-ins you use are dairy free, too.
- Make it Low Carb: Use a keto white chocolate and low-carb mix-ins.
- Make it Gluten Free: Use a chocolate that’s certified gluten free (to avoid cross-contamination) and make sure any mix-ins you use are gluten free, too.
Approximate Information for One Serving
Serving Size: 1servingCalories: 548calProtein: 6gFat: 34gSaturated Fat: 21gCholesterol: 19mgSodium: 81mgPotassium: 276mgTotal Carbs: 58gFiber: 1gSugar: 53gNet Carbs: 57gVitamin A: 27IUVitamin C: 0.5mgCalcium: 179mgIron: 0.4mg
Nutrition Disclaimers
Number of total servings shown is approximate. Actual number of servings will depend on your preferred portion sizes.
Nutritional values shown are general guidelines and reflect information for 1 serving using the ingredients listed, not including any optional ingredients. Actual macros may vary slightly depending on specific brands and types of ingredients used.
To determine the weight of one serving, prepare the recipe as instructed. Weigh the finished recipe, then divide the weight of the finished recipe (not including the weight of the container the food is in) by the desired number of servings. Result will be the weight of one serving.
Did You Make This Recipe?
Tag @40aprons on Instagram and be sure to leave a review on the blog post!
Never Miss A Meal!
New Recipes Straight To Your Inbox
A curated selection of our most recent recipes, delivered straight to your inbox once a week.


This is SO fun and festive, and I’m always down for white chocolate popcorn. 😍 Great recipe!