
This Post May Contain Affiliate Links. Please Read Our Disclosure Policy.
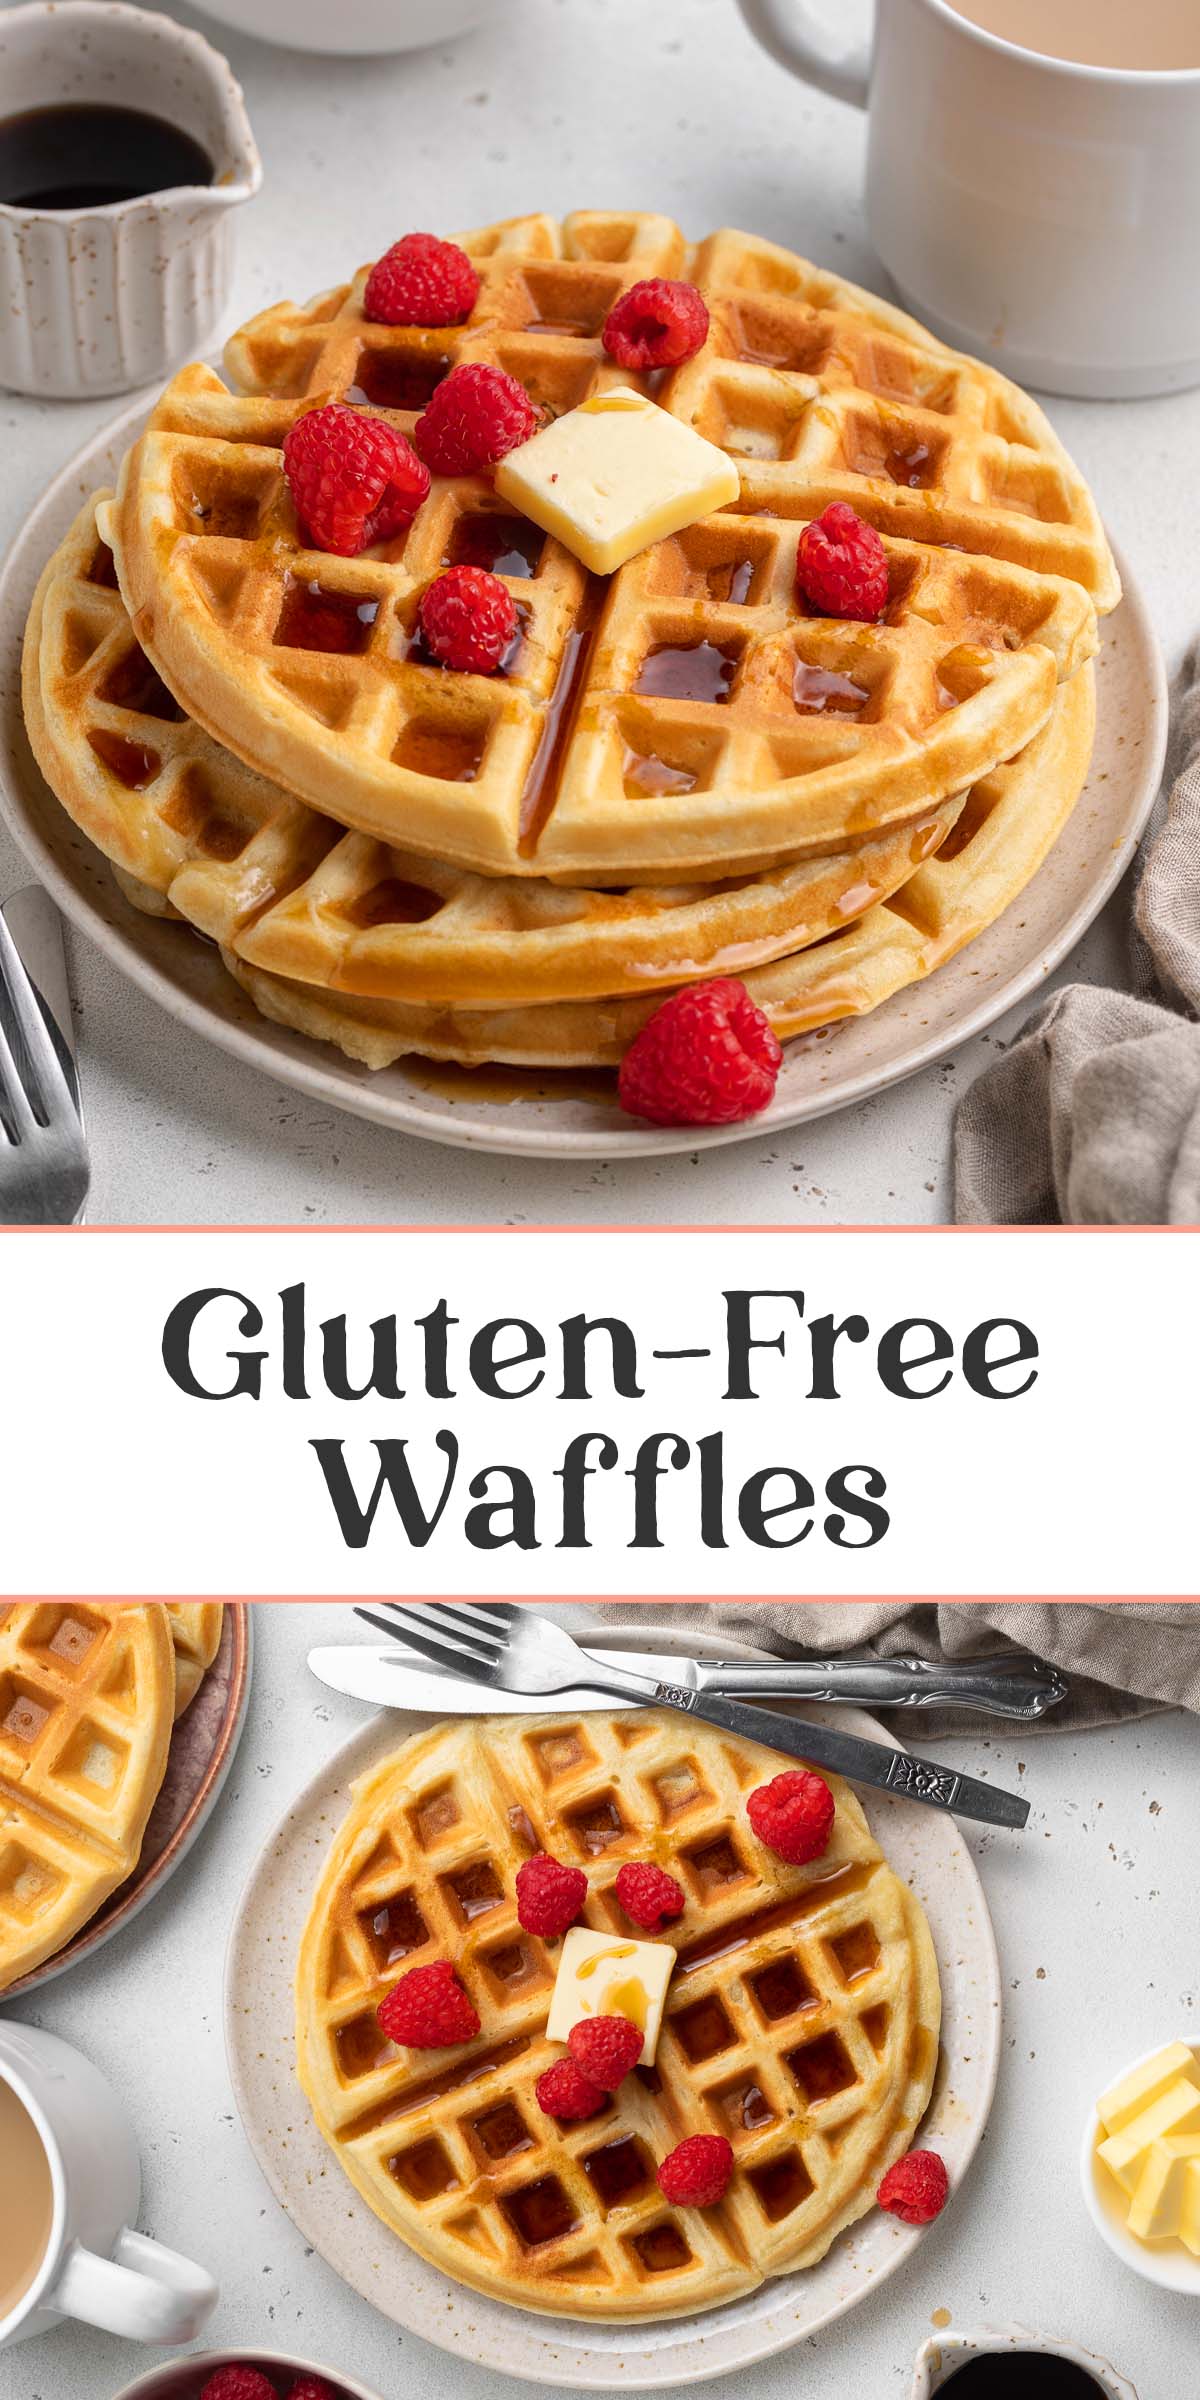
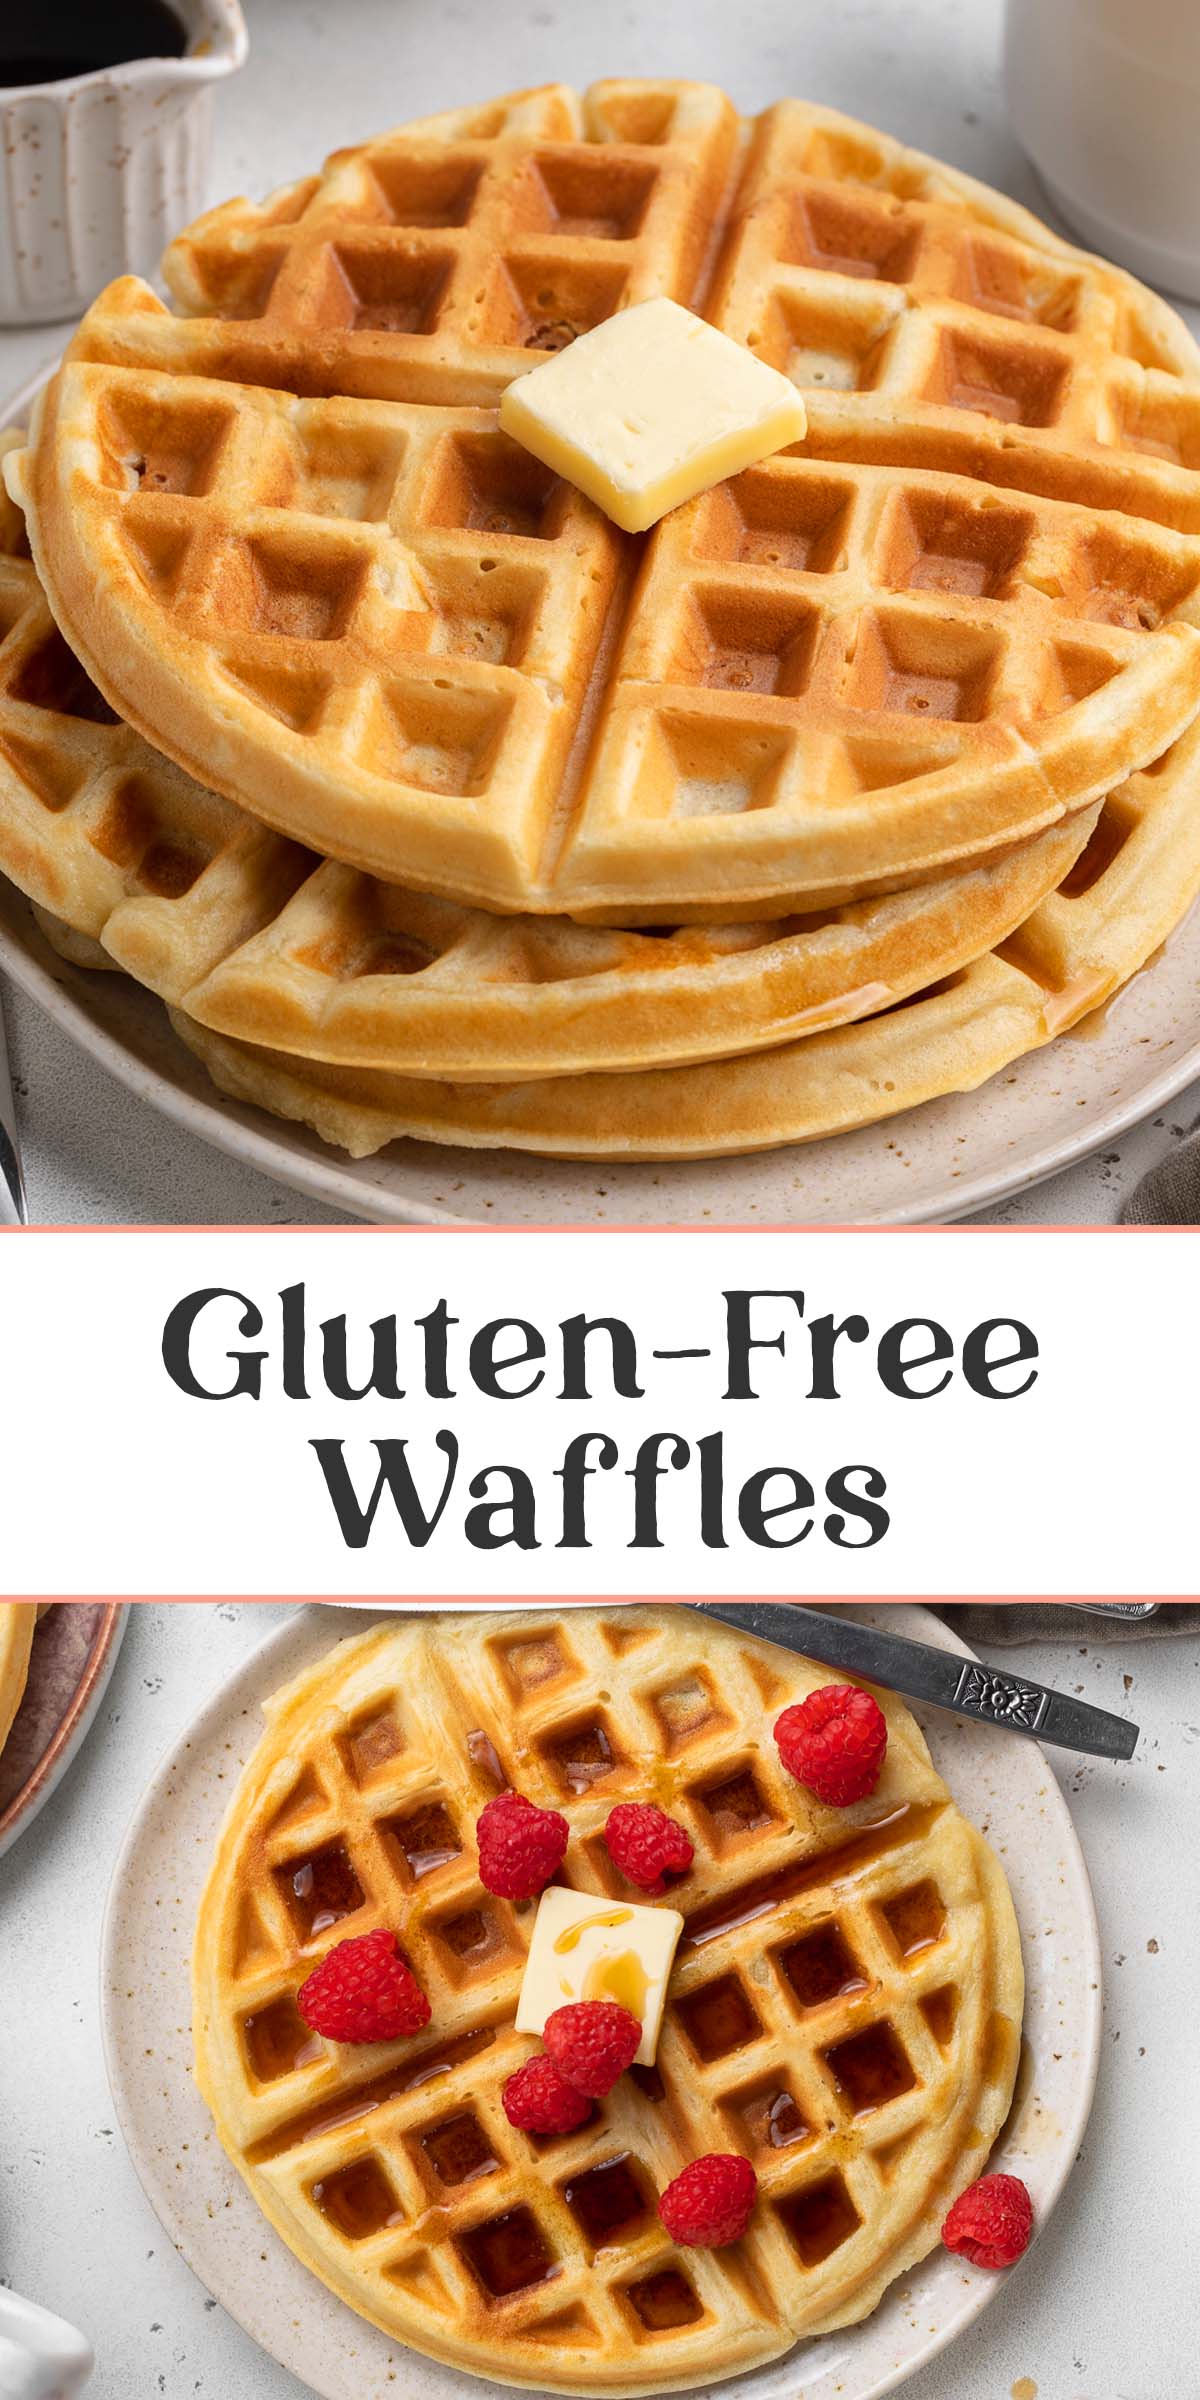
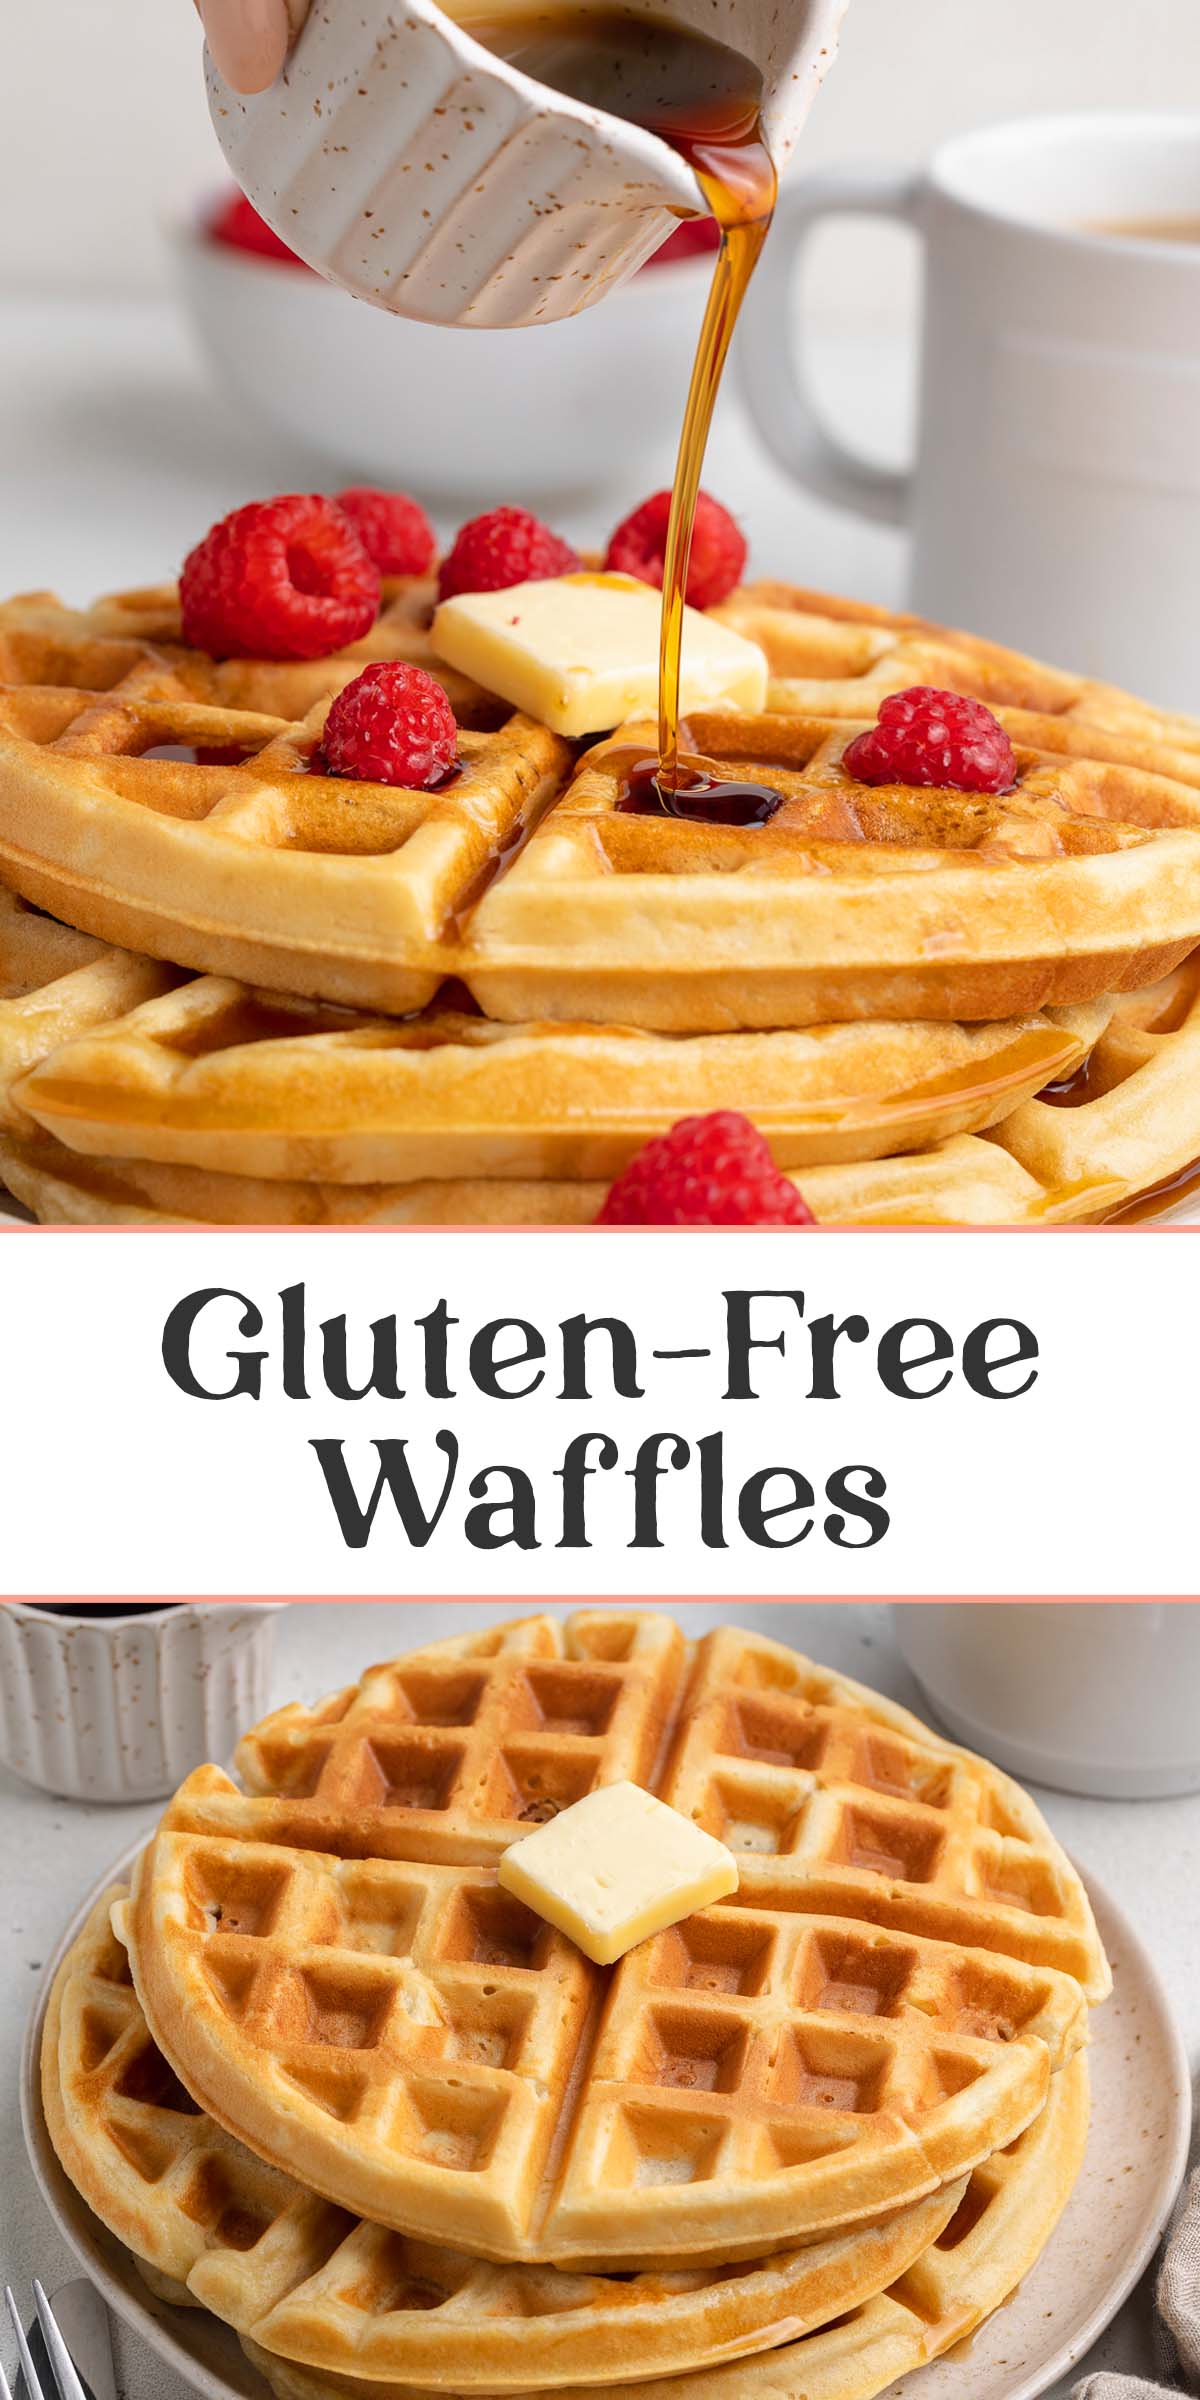
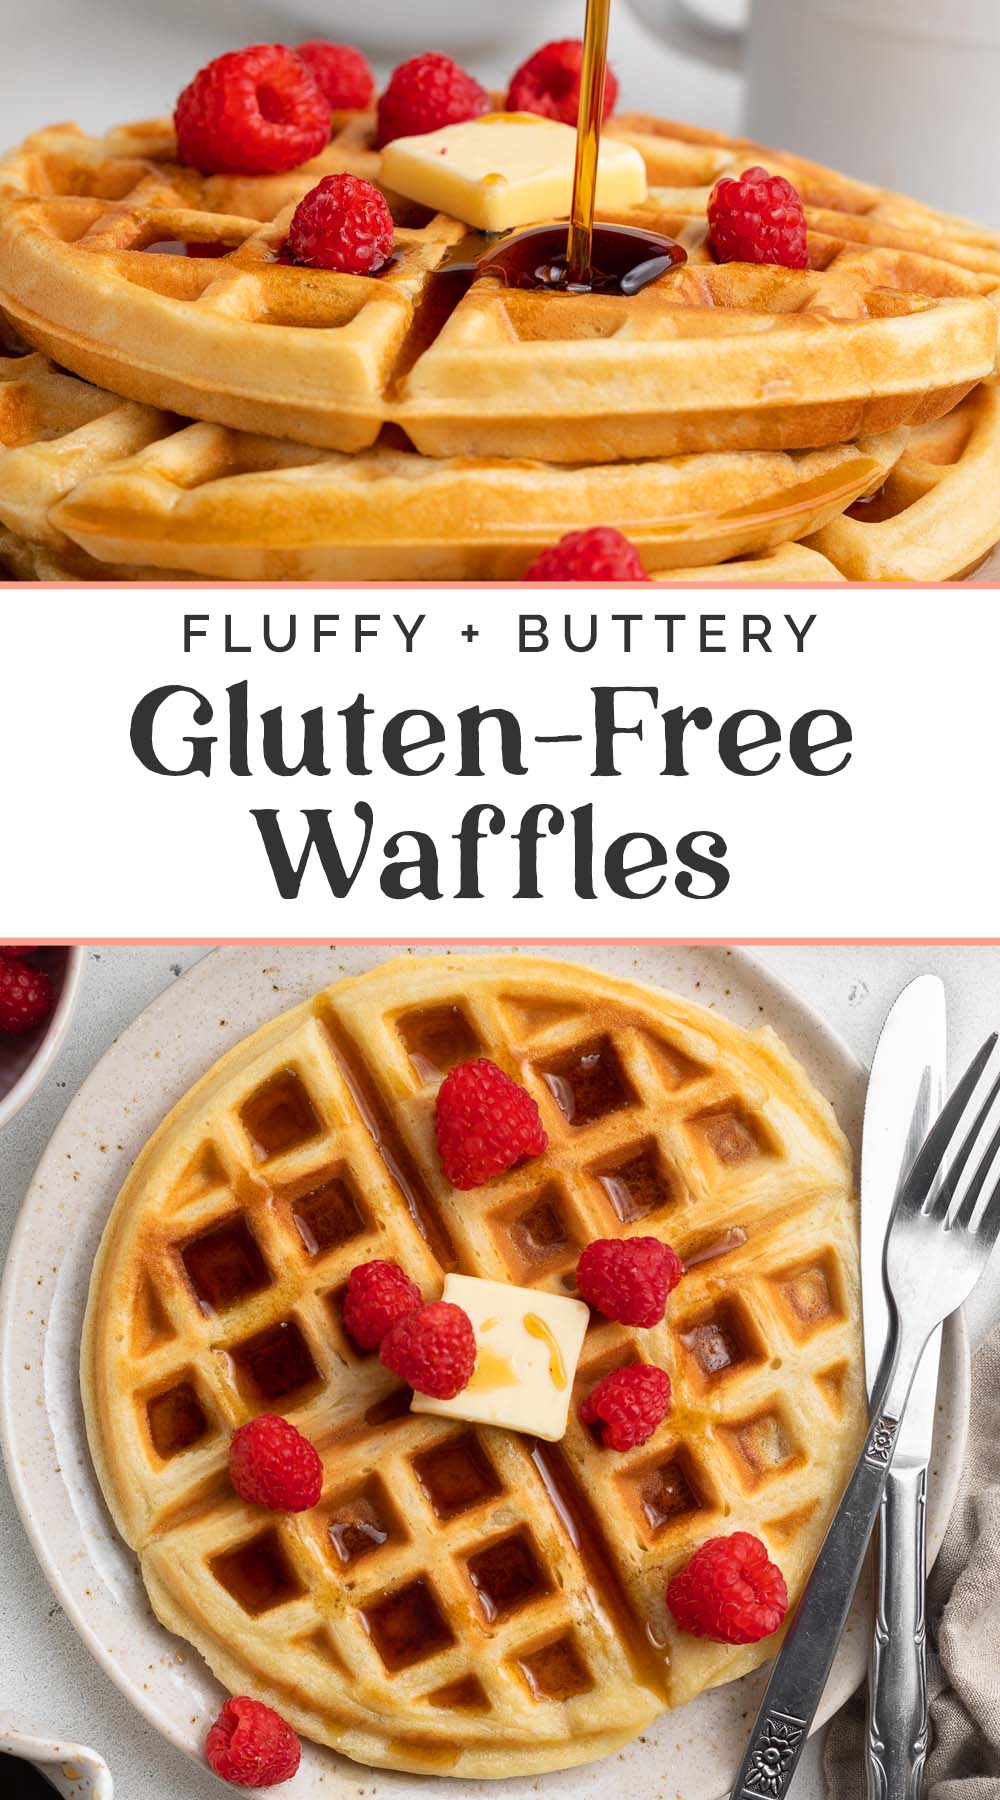
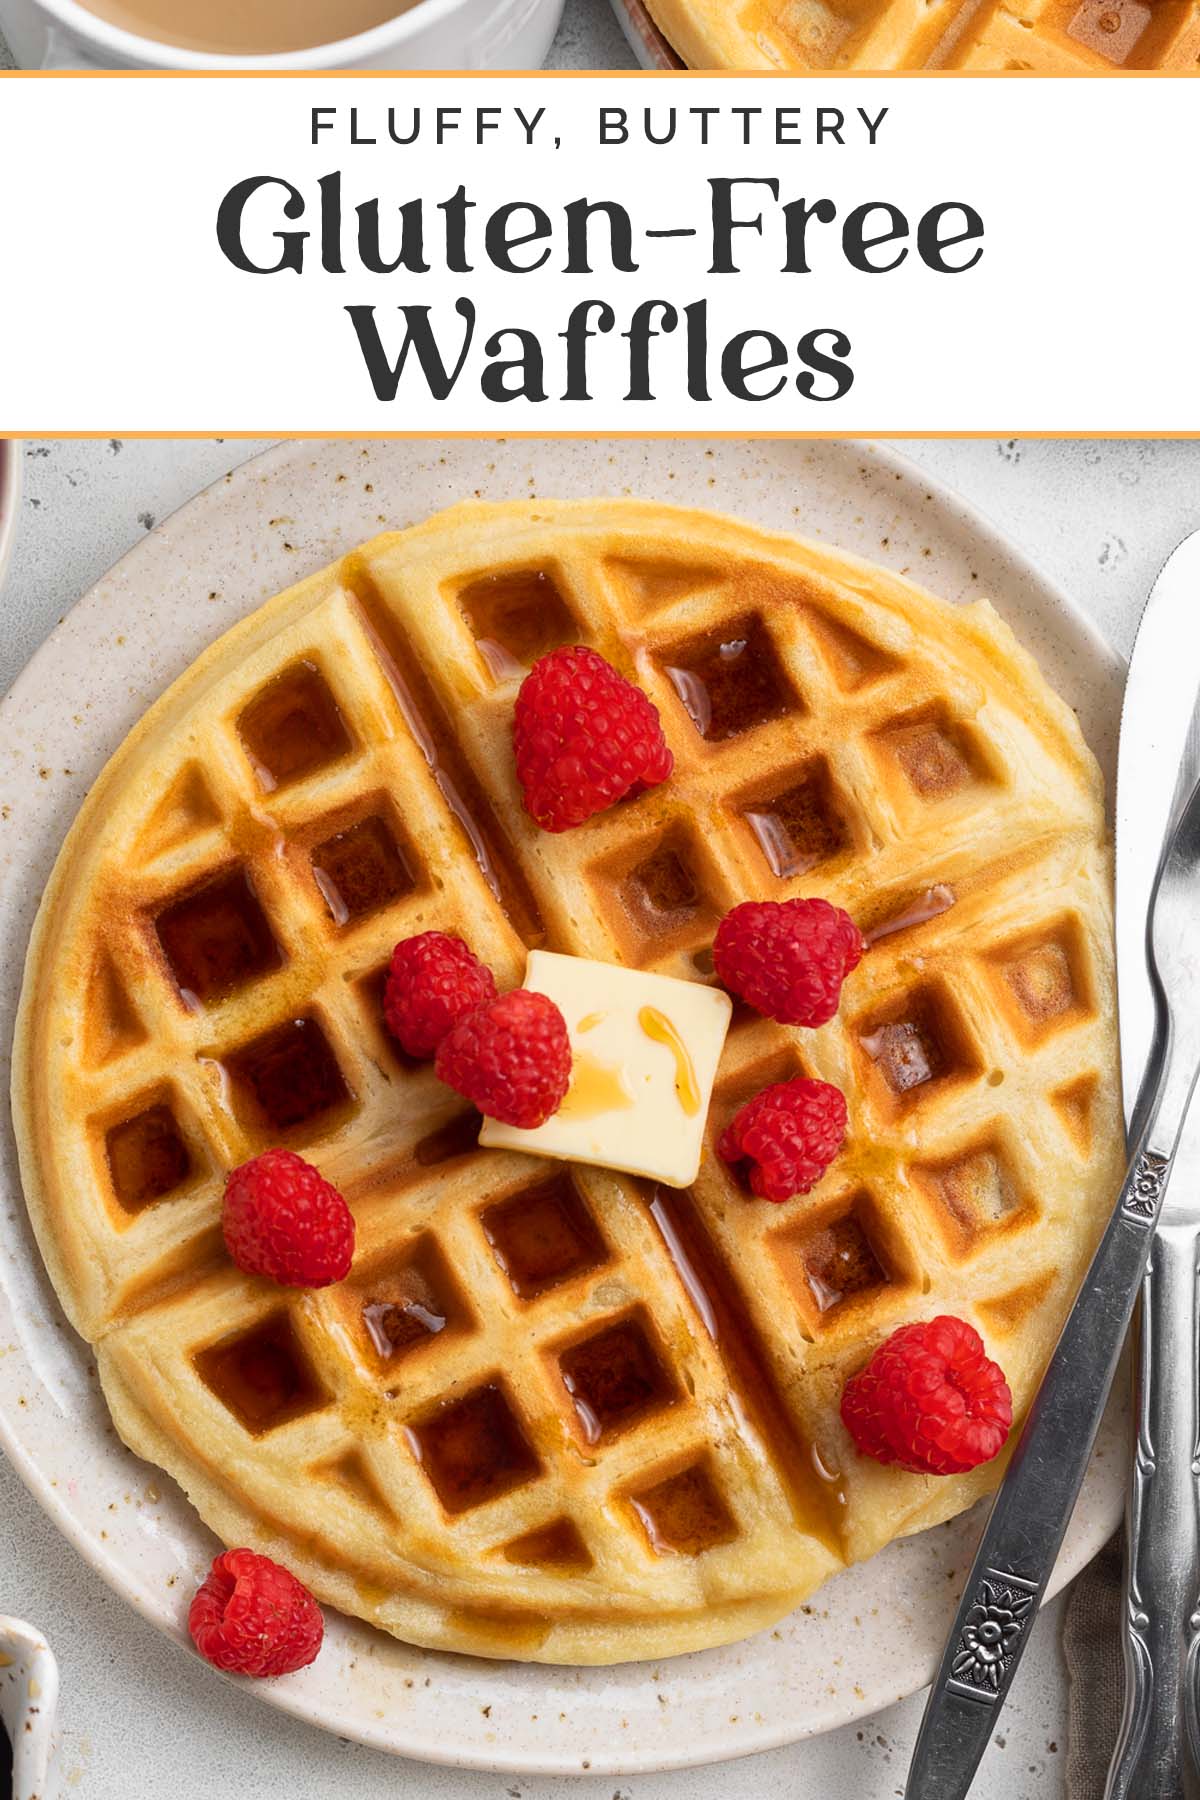
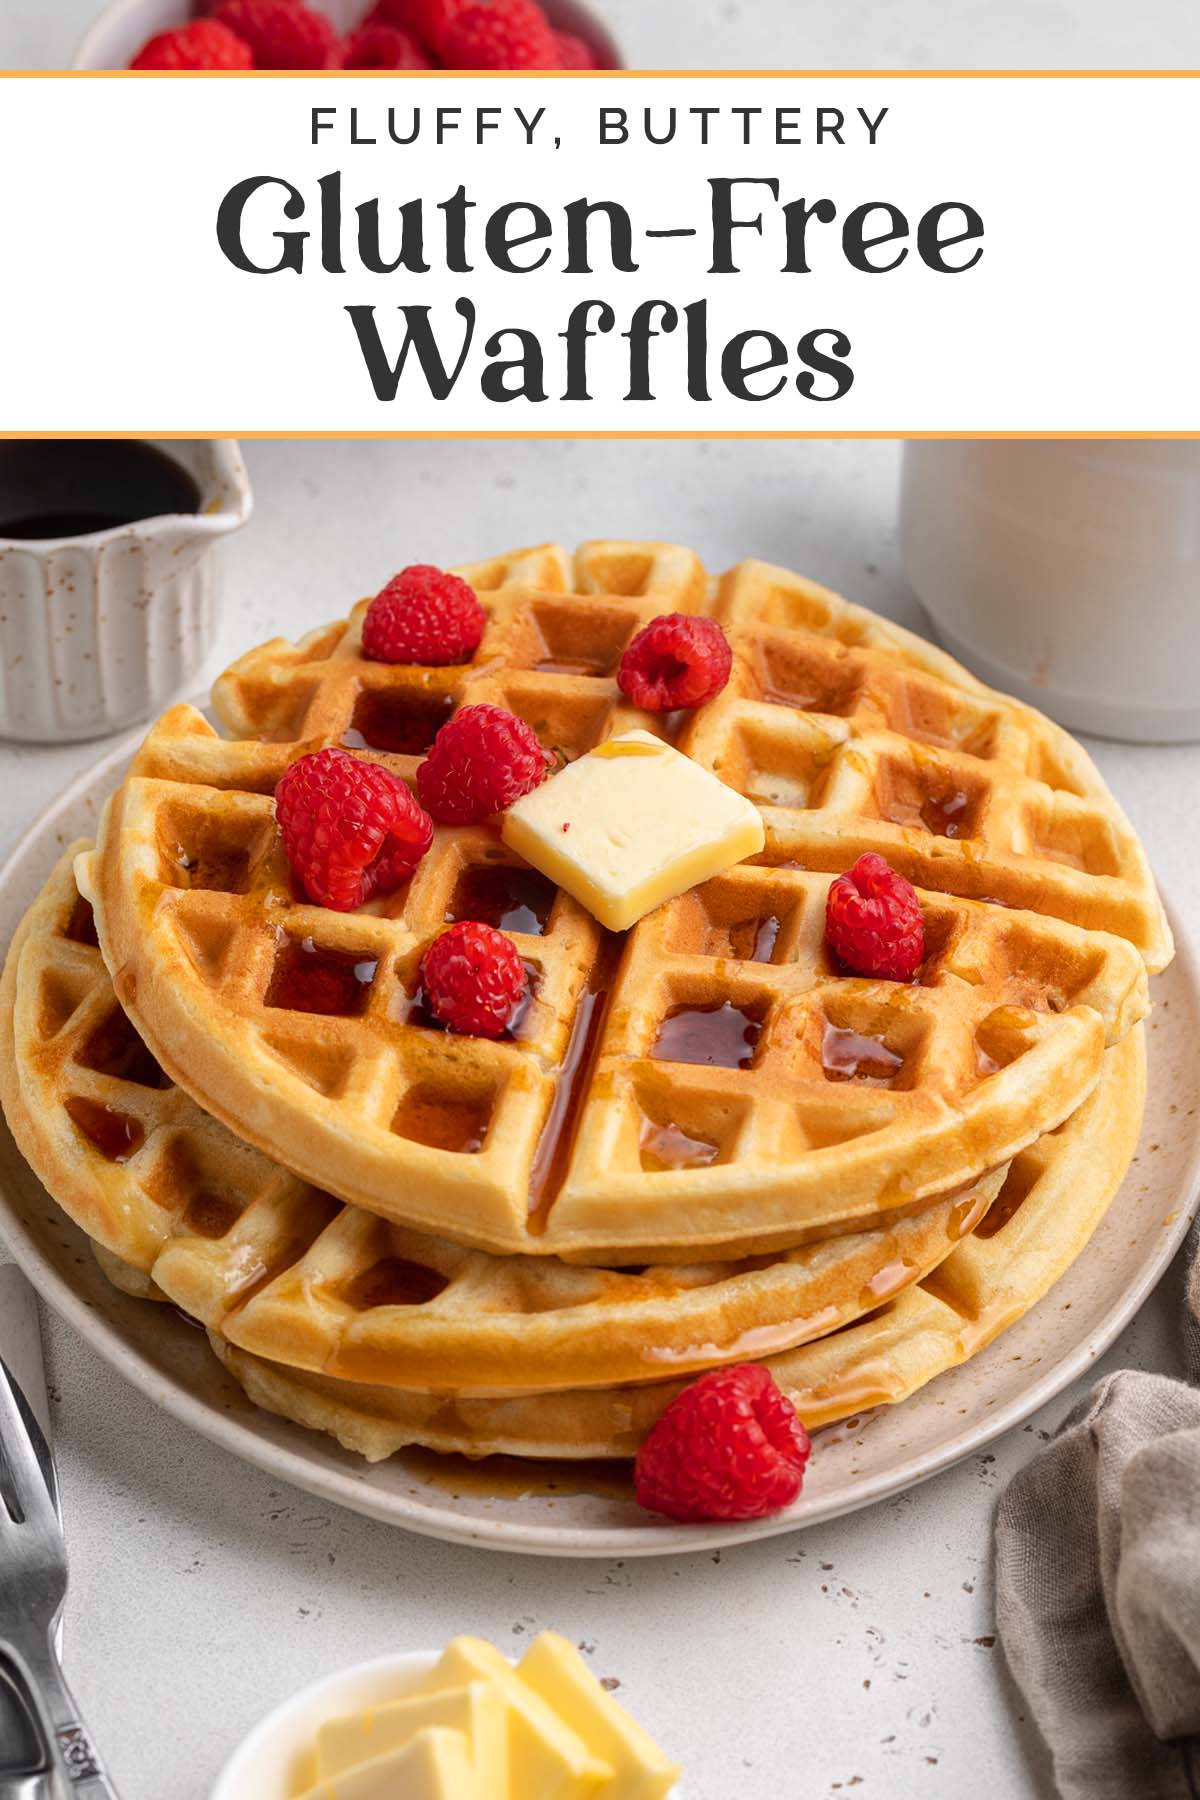
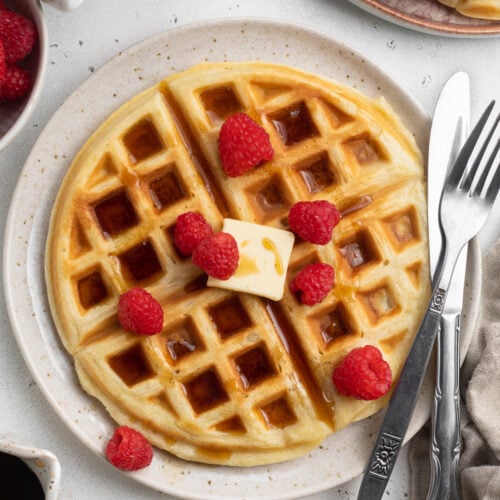
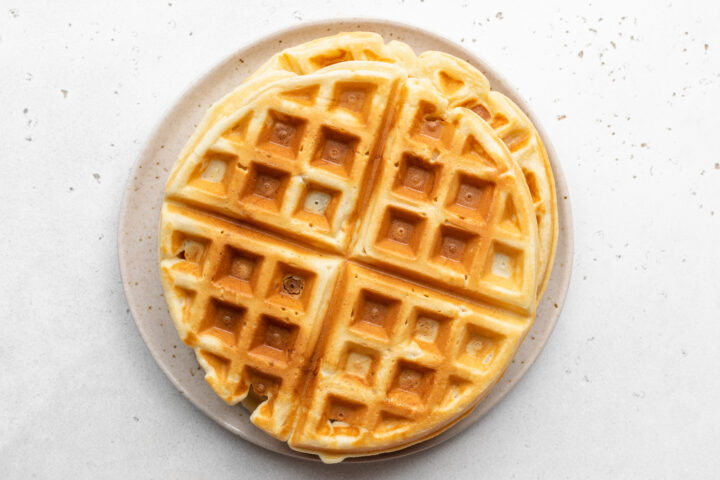
These ridiculously delicious gluten-free waffles are everything you could ever hope for. Fluffy on the inside, perfectly crispy on the outside, and a taste and texture so amazing that no one would ever guess there’s no gluten here. Made with a handful of pantry-staple ingredients and easy to make dairy-free or vegan if needed.
🧇 What Makes This Recipe So Good
- Whether you’re new to a gluten-free lifestyle or not, you’ve probably found yourself missing crispy, fluffy, dense, moist, light breakfast waffles at least once. Fluffy gluten-free pancakes are wonderful, yes, but pancakes just don’t satisfy that waffle craving. Agonize no more – these gluten-free waffles are everything you could ever want a waffle to be. Fluffy on the inside, crisp on the outside, golden and light, with deep pockets perfect for holding syrup.
- Like any “traditional” waffle, gluten-free waffles are easy to customize depending on the occasion, your mood, or just your preferences. Top them with blueberry compote, mix in chocolate chips (like in our chocolate chip pancake recipe), dress them up with the caramelized bananas from our caramelized banana oatmeal recipe or the bourbon-vanilla maple syrup from our croissant French toast casserole.
- Leggo those Eggos. Errr… whatever brand of store-bought frozen gluten-free waffles you’ve been getting, since Eggo doesn’t actually make them anymore. Regardless. You can turn these homemade gluten-free waffles into frozen, toaster-ready waffles super easily. All you have to do is prepare the waffles as instructed below. Let them cool completely, then spread them out on a baking sheet lined with parchment paper. Pop the baking sheet in the freezer and flash freeze the waffles 20-30 minutes. Once they’re frozen, transfer them to a food-safe sealable freezer bag (or another airtight, freezer-safe container) and freeze them up to 3 months. When you’re hungry, heat them up in the toaster or use this simple air fryer method.
💭 Chef’s Tips
- Don’t pay too much attention to the number of servings or the nutritional information on the recipe card below. The number of gluten-free waffles you’ll get from this recipe will vary wildly depending on the type of waffle maker you’re using. For a shallow mini-waffle maker, like these seasonal ones from Dash, you’ll be able to make many more waffles than you’d be able to make with a larger, Belgian-style waffle maker. The number of servings you’ll end up with will depend on the number and size of the waffles you make, and your preferred portion sizes.
- Use a gluten-free cooking spray and spray your waffle maker between each waffle. No one wants to have to scrape waffles out of the grill of a waffle maker!
- Gluten-free flour is fickle, and every brand behaves differently. Opt for any cup-for-cup GF flour (Bob’s Red Mill, King Arthur, and Pamela’s all have good ones!) and make sure your flour contains xanthan gum.
- When you’re measuring out your flour, you’ll probably be tempted to stick the measuring cup straight into the bag, scoop a big scoop of flour, scrape the excess down the inside of the bag, and plop it into the mixing bowl. Yeah, don’t do that. Instead, use the “spoon & level” method. Spoon the flour from the bag into the measuring cup, then use the back of a knife to level off the top of the flour once the measuring cup is full. That method keeps you from packing in the flour, overfilling the cup, and ending up with too much flour in your waffles.
More Gluten-Free Recipes You’ll Love
- Garlic Herb Butter Chicken
- Whole30 Everything Bagel Chicken and Scallion “Cream Cheese” Sauce
- Gluten Free Breakfast Casserole
- Paleo Lime Bars (Gluten Free, Dairy Free)
- Hashbrown Breakfast Casserole with Eggs and Sausage (Whole30, Dairy Free, Gluten Free)
- Mexican Chicken and Rice Bake
- Whole30 Breakfast Tacos
- Fluffy Gluten-Free Pancakes
- Gluten-Free Lemon Drizzle Cake
- Chocolate and Vanilla Gluten-Free Donuts
- Gluten Free Mozzarella Sticks
- Air Fryer Frozen Hash Brown Patties
Gluten-Free Waffles
Made with a handful of pantry-staple ingredients and easy to make dairy-free or vegan if needed, these gluten-free waffles are everything you could ever hope for.
servings
Equipment
- Large bowl
- whisk or hand mixer
- Medium bowl
- ladle or cookie scoop with release handle
- waffle maker see Notes
- gluten-free cooking spray
- Fork
- Plate
Ingredients
- 2 cups gluten-free all-purpose flour see Notes
- 3 tablespoons sugar see Notes
- 2 teaspoons double-acting baking powder see Notes
- ¼ teaspoon salt
- ¼ cup butter melted, see Notes
- 1 ¾ cup milk of choice at room temperature, see Notes
- 2 large eggs at room temperature, see Notes
- 1 teaspoon pure vanilla extract
Instructions
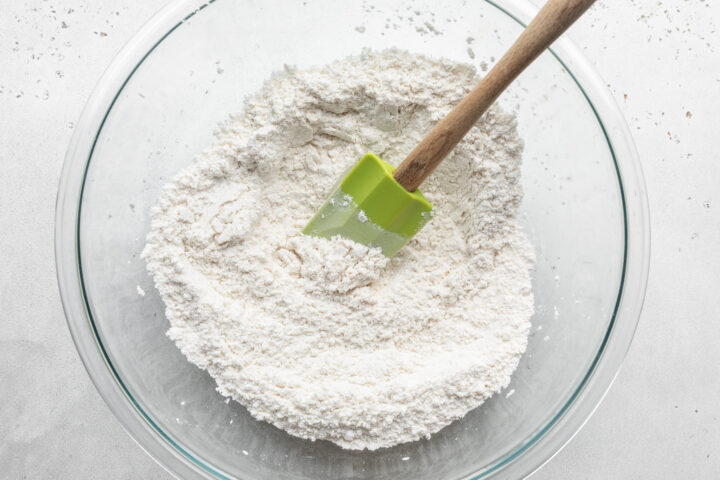
- Add gluten-free flour, sugar, gluten-free baking powder, and salt to large mixing bowl. Whisk ingredients together until well incorporated. Set dry bowl aside.

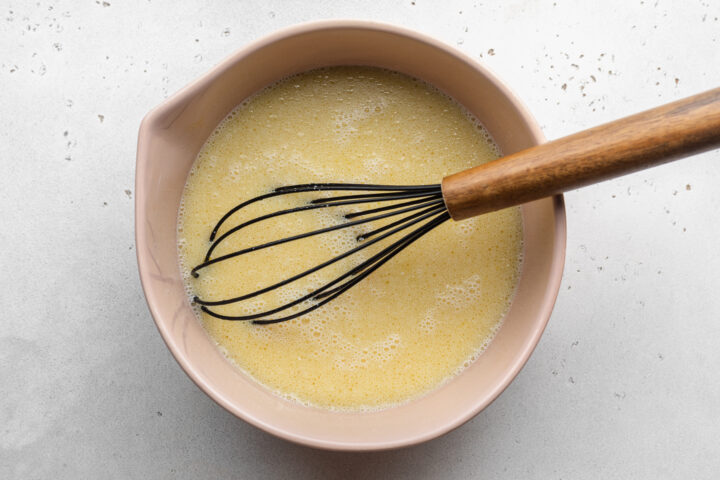
- Add melted butter, milk of choice, eggs, and pure vanilla extract to medium bowl. Whisk ingredients together until thoroughly combined.
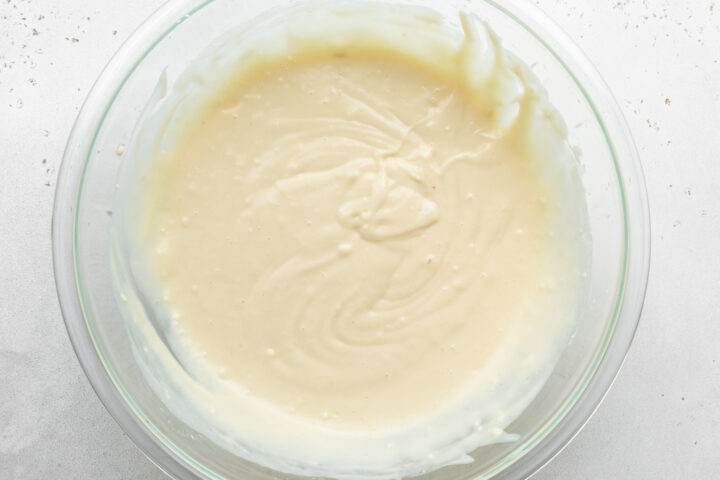
- Slowly add wet ingredients to large bowl with dry ingredients, whisking or mixing well to thoroughly incorporate both mixtures before adding more. Continue process until entire mixture of wet ingredients has been incorporated into dry ingredients to form smooth waffle batter.
- Preheat waffle maker. Let waffle batter sit while waffle maker preheats.
- When waffle maker is preheated, lightly spray waffle maker with gluten-free cooking spray. Use ladle or cookie scoop with release handle to portion batter into greased waffle maker. Amount of batter used will depend on size of waffle maker.
- Close waffle maker and cook according to waffle maker instructions, or until waffles are golden brown and cooked through. Use fork to carefully lift cooked waffles out of waffle maker, and transfer waffles to plate. Set plate aside and repeat process until all batter has been used.
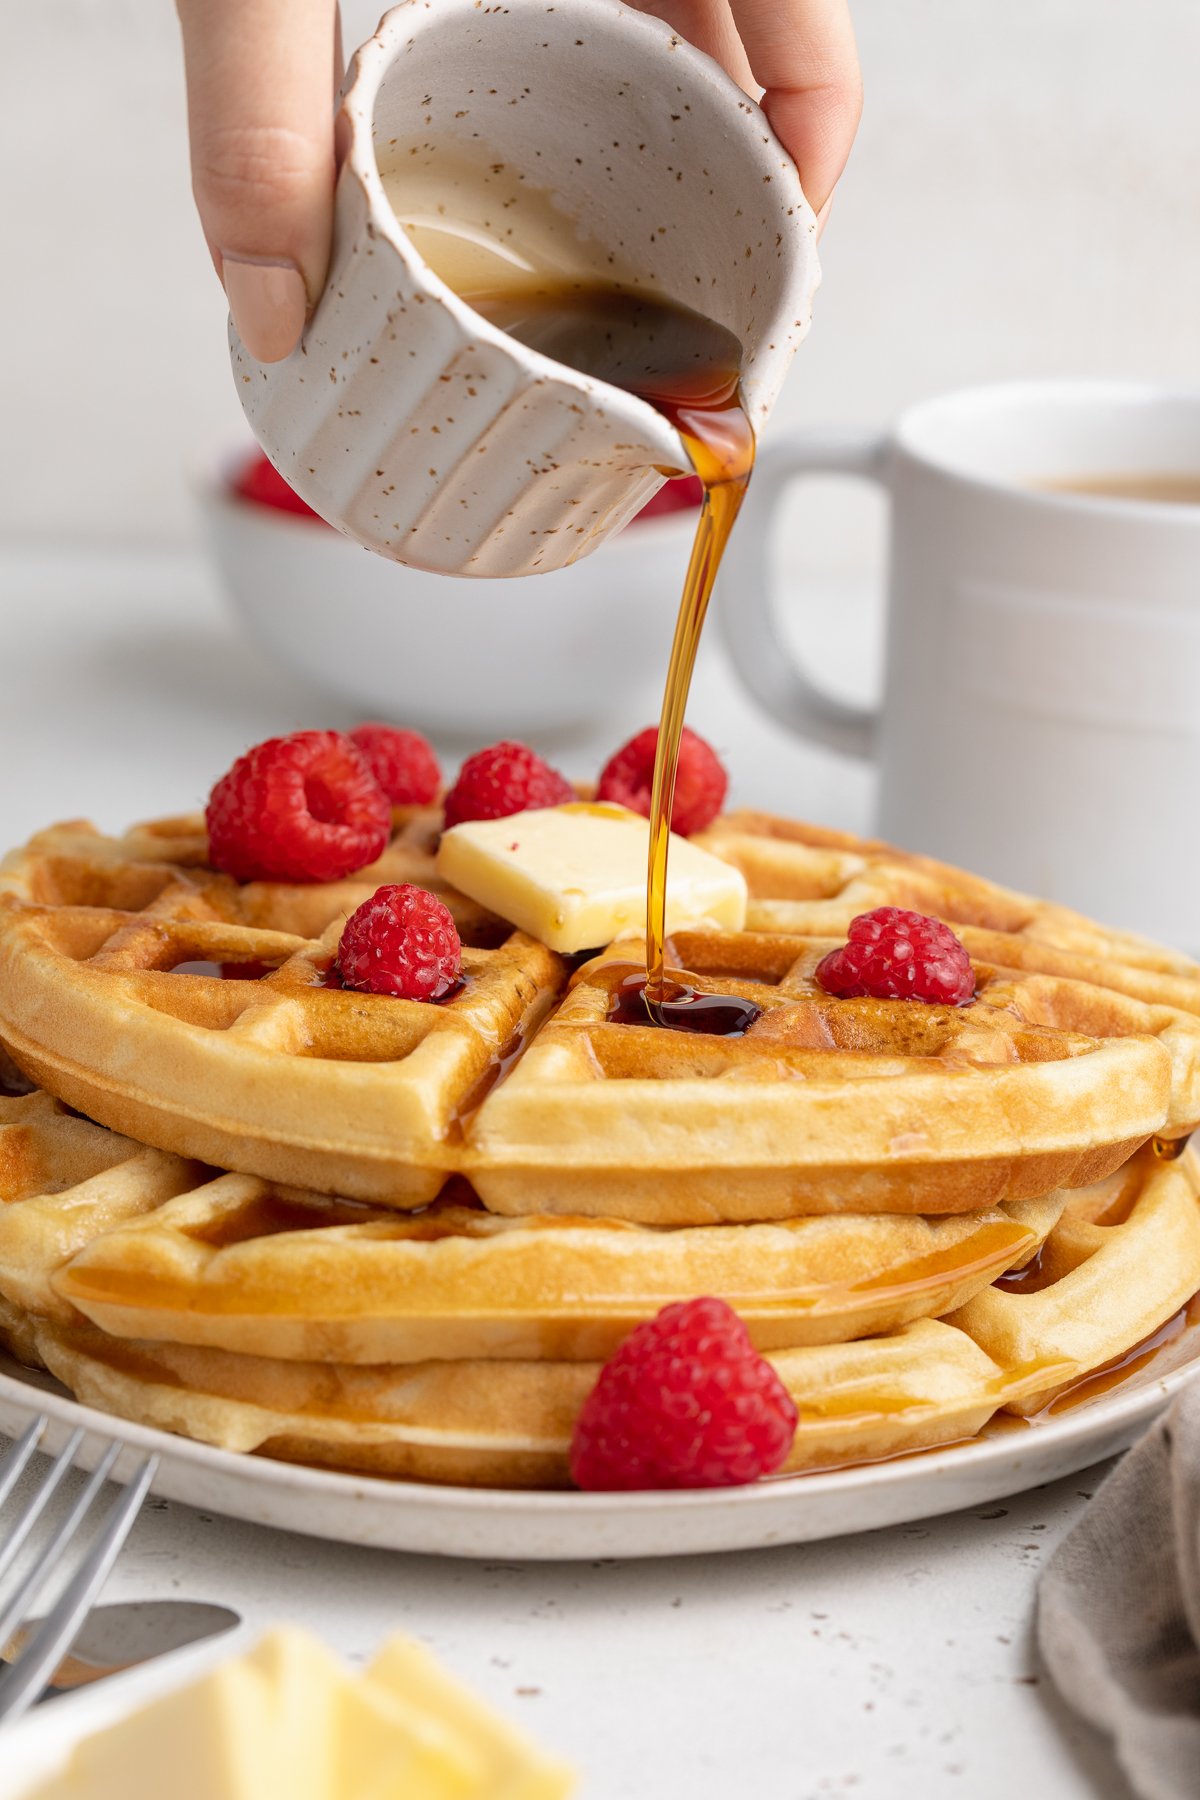
- Serve waffles warm with desired toppings and desired sides. Alternately, let waffles cool completely then refrigerate or freeze waffles for later (see Notes).
Note that the number of waffles made will depend primarily on the type and size of waffle maker you use. The number of servings this recipe yields will depend on the size and number of your waffles and your preferred portion sizes.
- Flour: Every gluten-free flour behaves a little differently, but you should be fine with any cup-for-cup gluten-free flour blend. Make sure you’re using a gluten-free flour that contains xanthan gum.
- Measuring Flour: For the most accurate measurements, spoon the flour into your measuring cup (rather than scooping the flour out of its container with the measuring cup) and then level off the top.
- Sugar: Granulated white sugar, brown sugar, coconut sugar, Swerve, erythritol, and monk fruit sweeteners will all work here. You may need to adjust the amount used depending on the sweetener.
- Baking Powder: Most brands of baking powder are gluten free, but there are a few that aren’t. Check that your baking powder is certified gluten free so you know there’s no risk of cross-contamination. Also, use a brand that’s free from aluminum so there’s no metallic aftertaste.
- Make it Dairy-Free: Use a dairy-free milk and a plant-based butter.
- Make it Vegan: Use a dairy-free milk, a plant-based butter, and your favorite egg substitute.
Make-Ahead Options
- Prepared Batter: The batter can be made up in advance and refrigerated in an airtight container up to 48 hours. Let it come to room temperature before using it to make waffles.
- Refrigerated Waffles: Let waffles cool completely, then place waffles in airtight container. Refrigerate up to 3 days. Reheat waffles in toaster, air fryer, or microwave.
- Frozen Waffles: Let waffles cool completely. Line baking sheet with parchment paper. Place waffles on parchment paper in one even layer, not touching or overlapping, then place baking sheet in freezer. Freeze waffles 30 minutes, then transfer to airtight container or food-safe sealable freezer bag. Freeze up to 3 months. When ready to eat, heat waffles in toaster or air fryer.
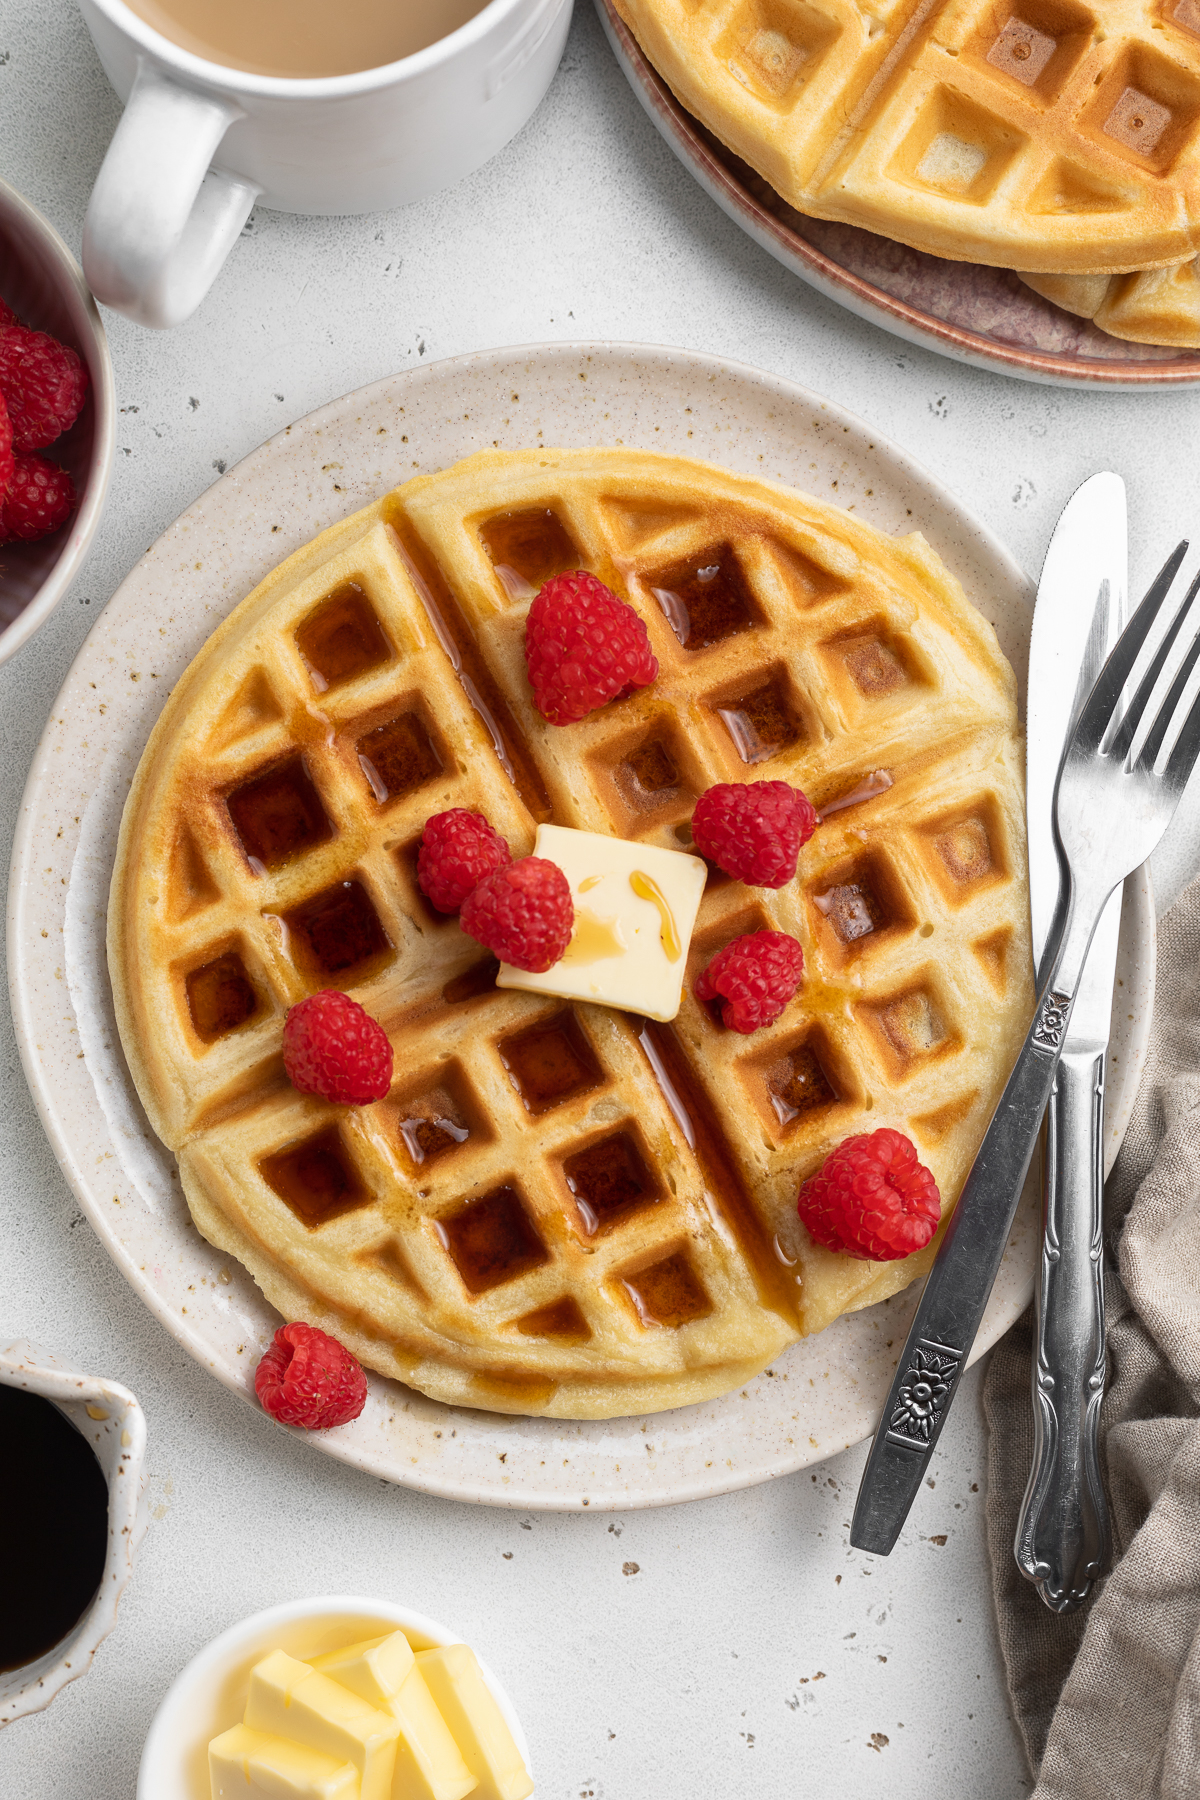
Suggested Toppings & Mix-Ins
- pure maple syrup & diced, cooked bacon
- butter or ghee
- honey & sliced peaches
- strawberries & whipped cream
- blueberries
- chocolate chips
- cinnamon & brown sugar
- melted peanut butter
- sliced bananas
- raspberries & chocolate syrup
- vanilla ice cream & sprinkles (trust me!)
Approximate Information for One Serving
Serving Size: 1servingCalories: 440calProtein: 9gFat: 17gSaturated Fat: 10gTrans Fat: 0.5gCholesterol: 136mgSodium: 555mgPotassium: 200mgTotal Carbs: 63gFiber: 4gSugar: 14gNet Carbs: 59gVitamin A: 662IUCalcium: 407mgIron: 5mg
Nutrition Disclaimers
Number of total servings shown is approximate. Actual number of servings will depend on your preferred portion sizes.
Nutritional values shown are general guidelines and reflect information for 1 serving using the ingredients listed, not including any optional ingredients. Actual macros may vary slightly depending on specific brands and types of ingredients used.
To determine the weight of one serving, prepare the recipe as instructed. Weigh the finished recipe, then divide the weight of the finished recipe (not including the weight of the container the food is in) by the desired number of servings. Result will be the weight of one serving.
Did You Make This Recipe?
Tag @40aprons on Instagram and be sure to leave a review on the blog post!


Never Miss A Meal!
New Recipes Straight To Your Inbox
A curated selection of our most recent recipes, delivered straight to your inbox once a week.
Thank you!
You have successfully joined our subscriber list.