
This Post May Contain Affiliate Links. Please Read Our Disclosure Policy.
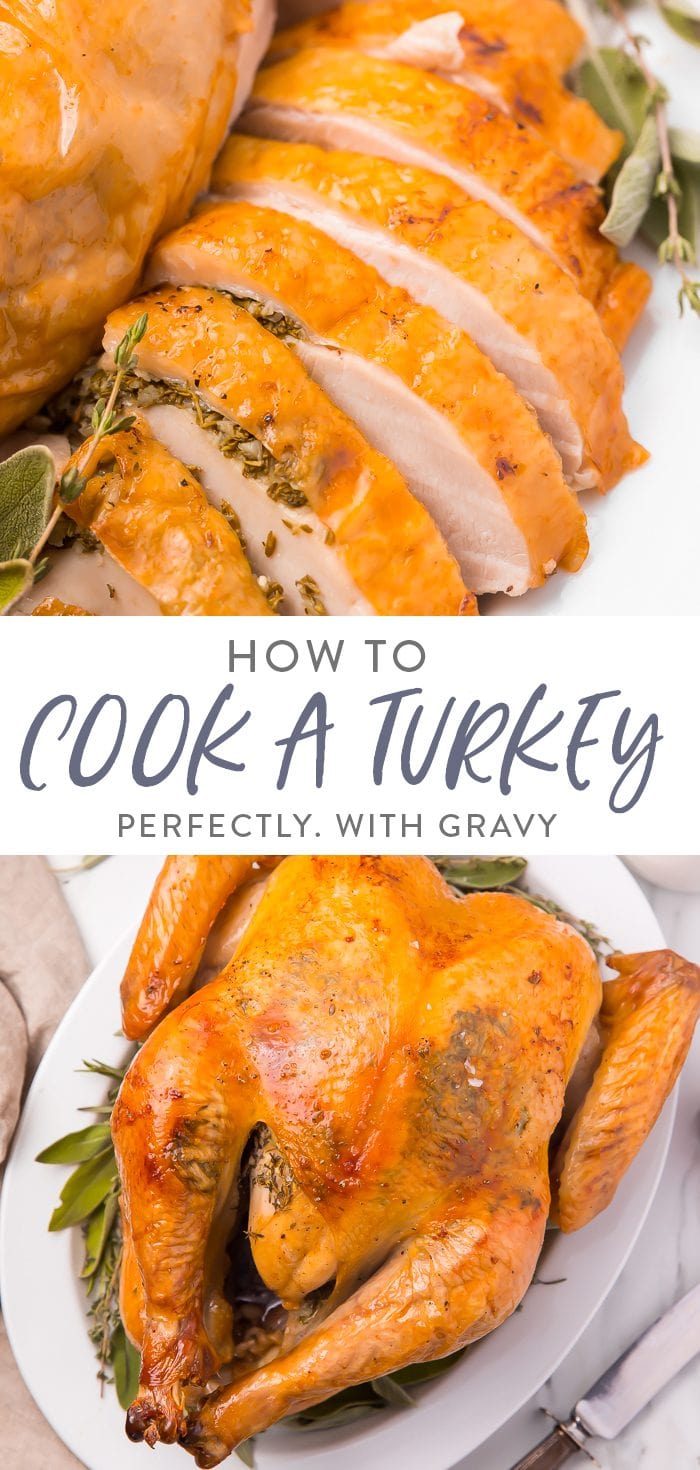
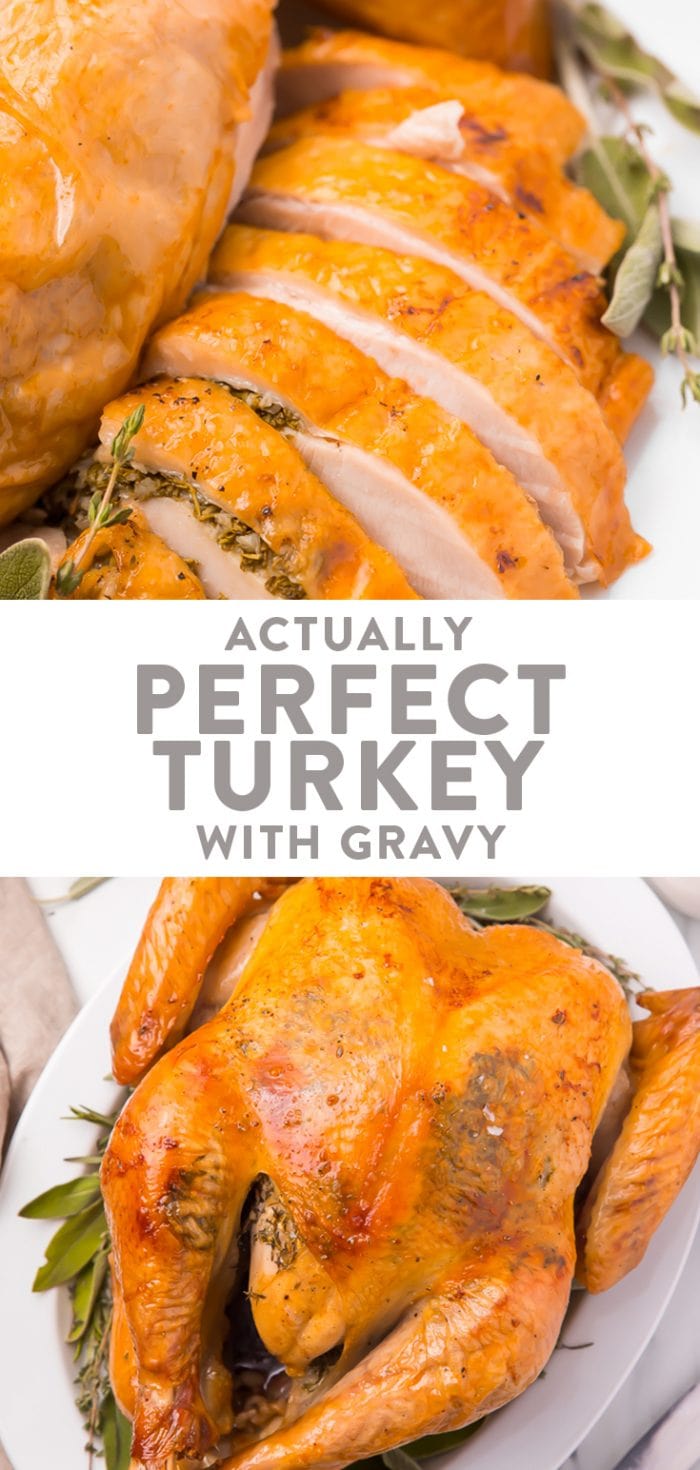
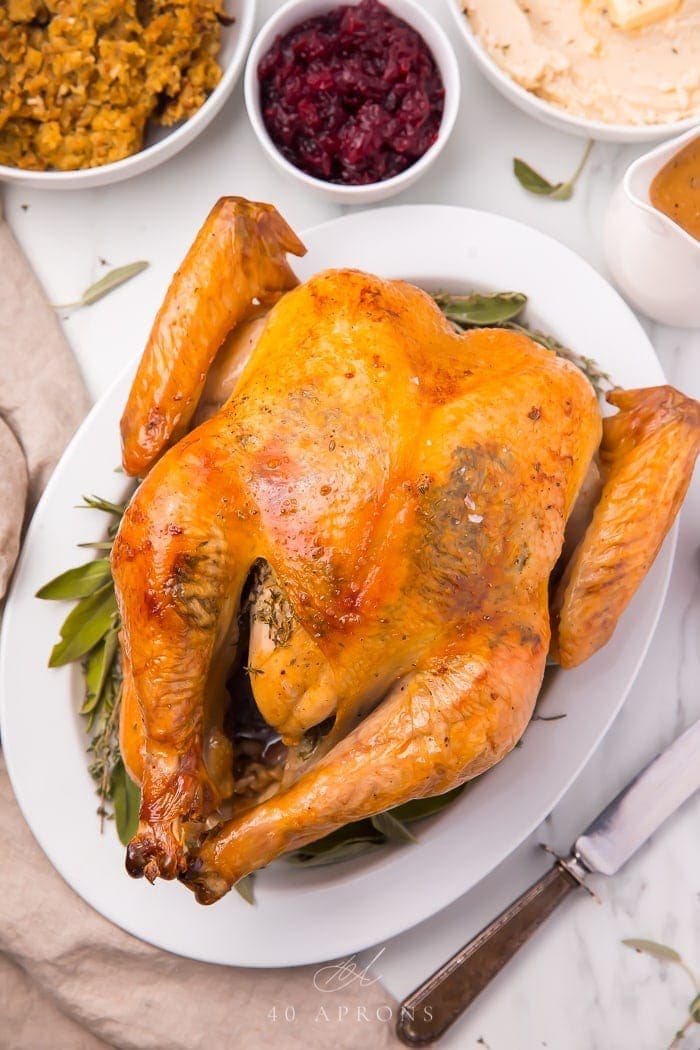
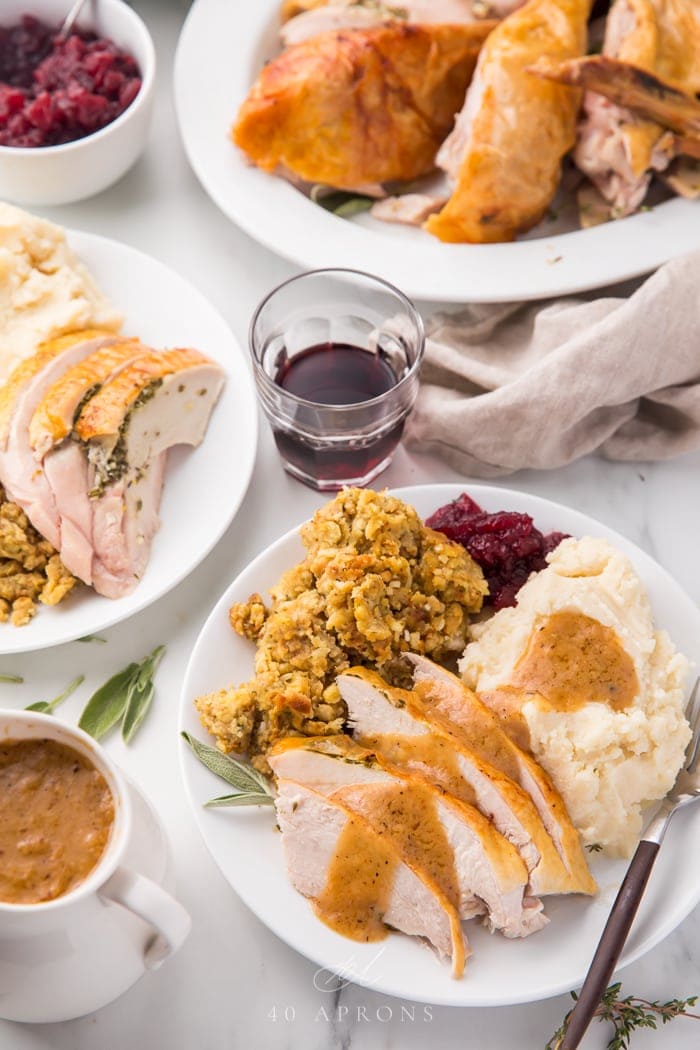
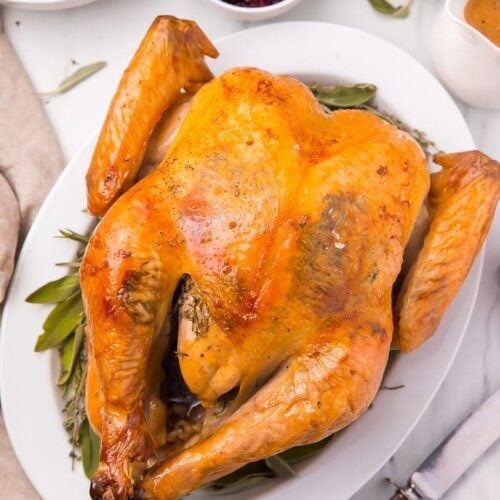
Want to learn how to cook a turkey perfectly and make the perfect gravy to match? This turkey is truly the best and uses specific techniques and ingredients to produce the greatest, juicy turkey your guests have ever had. Guaranteed!
Wondering how much turkey to serve based on the number of people at your holiday dinner? Check out this post for all the details!
Why This Holiday Recipe Is So Good
- This recipe guarantees perfect turkey every time; succulent, flavorful and a real crowd-pleaser.
- It’s brined for 12 hours for a juicy turkey.
- You only need a handful of simple ingredients for a tasty turkey.
- It’s the perfect recipe for Thanksgiving and Christmas.
How to Cook a Turkey Perfectly
Brine:
- The day before roasting, first thing in the morning, make your brine. Mix salt and water together until dissolved.
- Place the brining bag in the bucket and put the bird in breast-side down. Pour the brine into the bag, making sure the entire bird is covered-no naked bits. Zip the bag up, cover, and put it in the fridge. If you don’t have space in your fridge, you can use a cooler.
- Refrigerate for 12 hours.
- Take the turkey out and rinse under cold water. Pat dry with paper towels, making sure to dry the inside of the cavity, too.
Air-Dry:
- Return to the refrigerator in a roasting pan and let air-dry overnight.
Roast:
- The day of roasting, preheat your oven to 350 degrees Fahrenheit.
- Combine butter, garlic, and thyme in a bowl until soft.
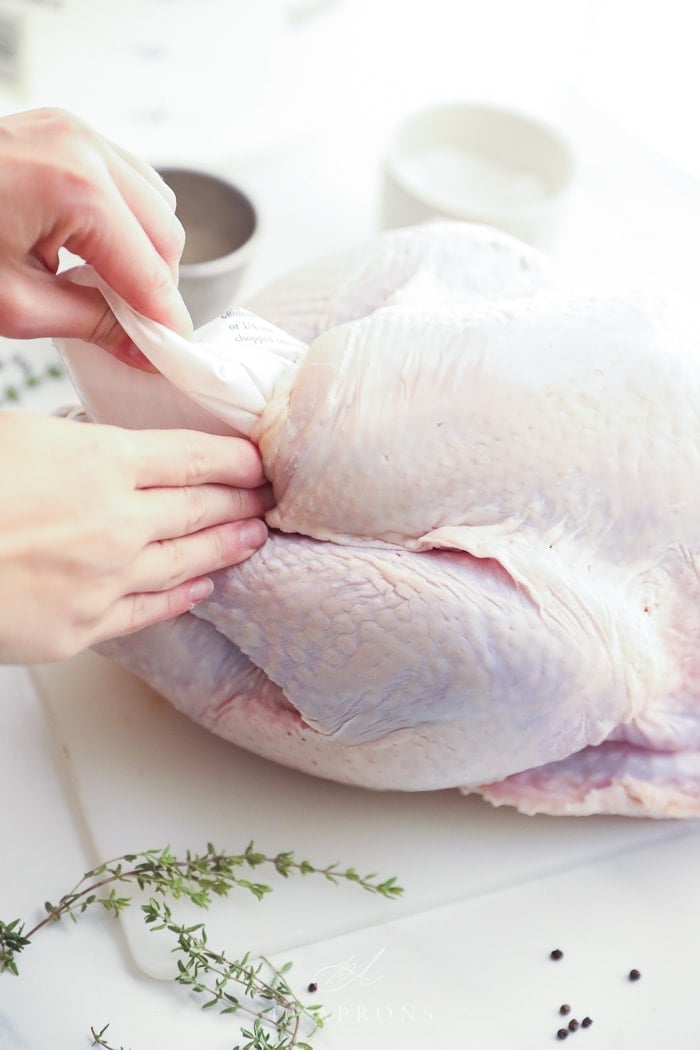
- Carefully, using your fingers, peel the skin away from the turkey breast (you may have to break a membrane; that’s OK) and rub the butter mixture under the skin.
- Truss the turkey.
- Rub the outside of the skin with the oil and season pepper. I know, I know; it’s so hard not to sprinkle salt all over the skin at this point! But please, don’t. Your bird is already plenty salty from the brine!
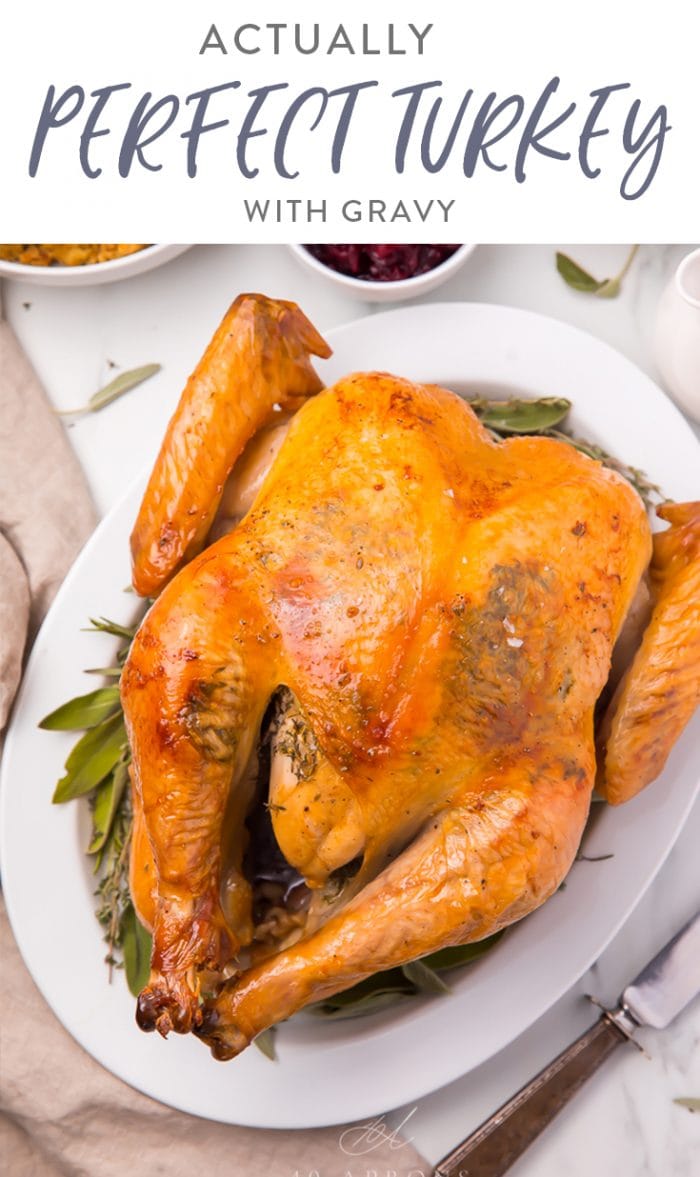
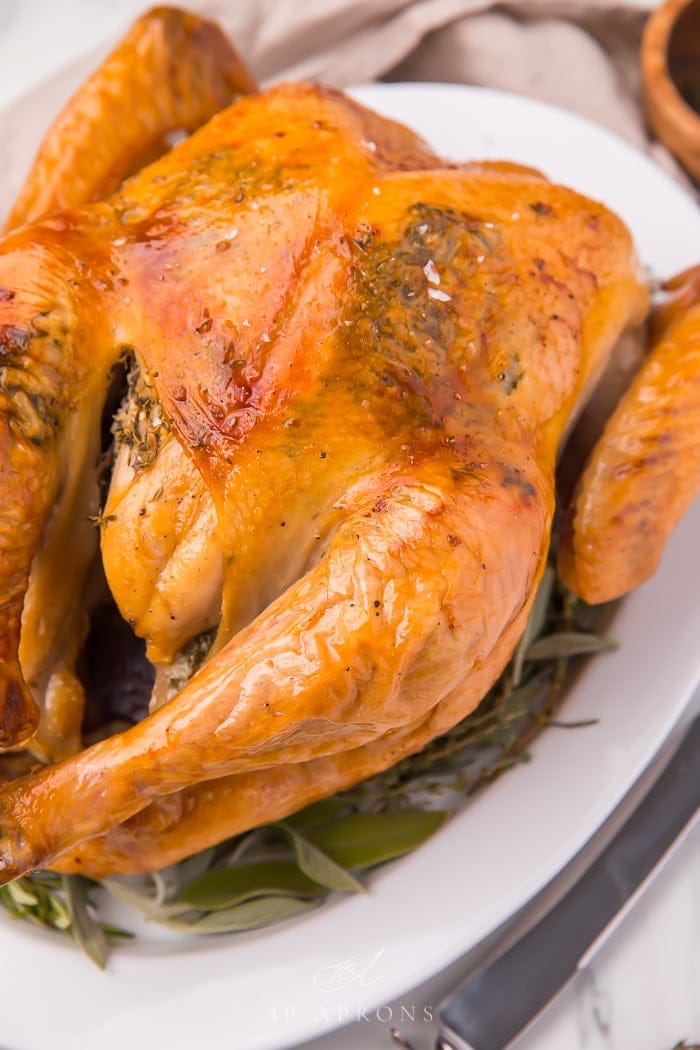
- Roast turkey breast down for 2 hours. After 2 hours, flip the turkey very carefully so that the breast side is up and return to the oven for 30 minutes to finish cooking and browning the skin on the breast.
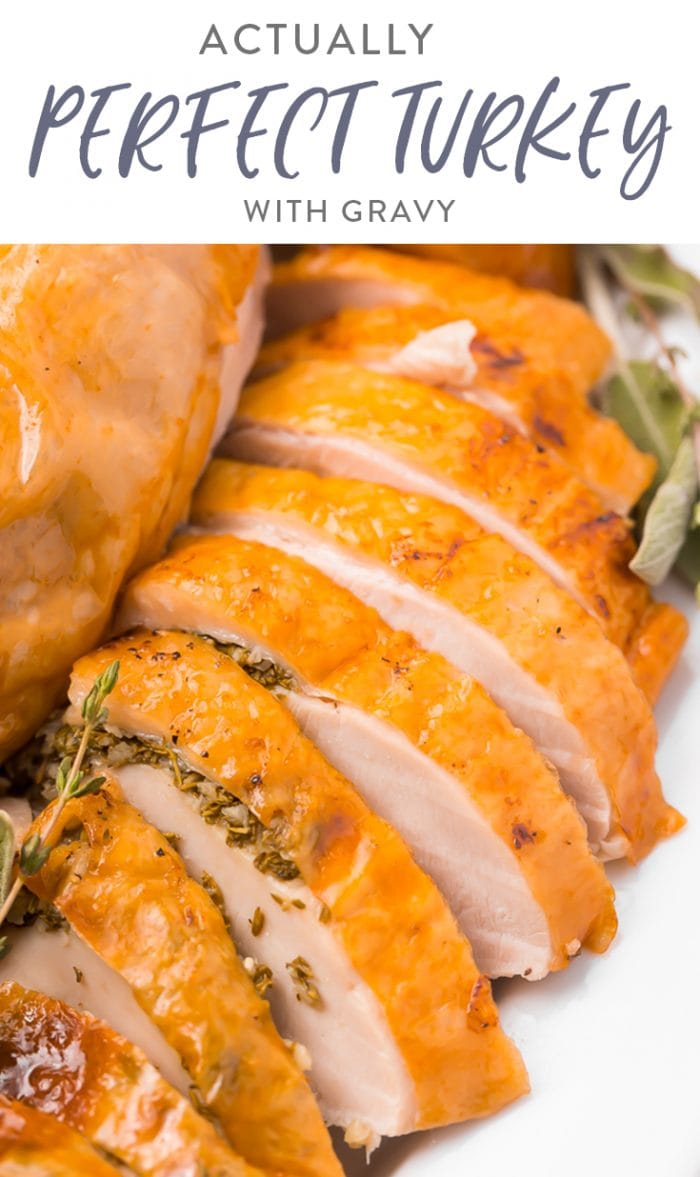
- Remove the turkey to a cutting board and cover with foil; let it rest for 20 minutes. Slice the turkey and serve hot.
Gravy:
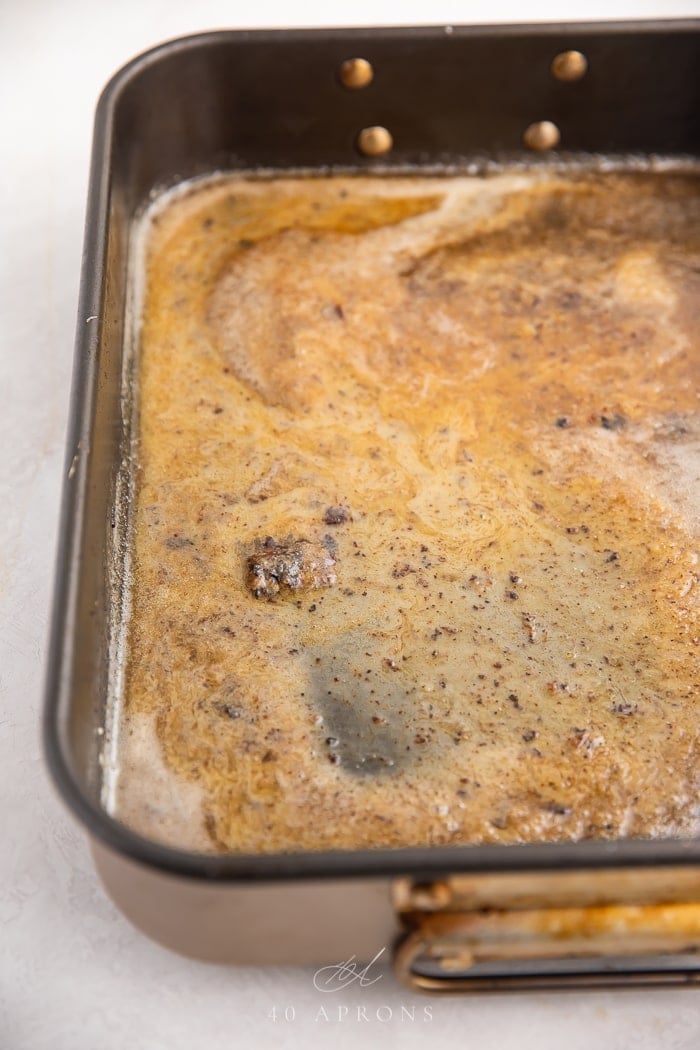
- While the turkey is resting, Put the roasting pan on a burner over low heat, sprinkle in the flour, and stir to incorporate any liquid in the pan.
- Gradually add the turkey stock, stirring constantly.
- Transfer the gravy into a small pot, and simmer over low heat until it has the preferred consistency.
- Add additional pepper to taste and strain the gravy through a fine-mesh sieve before serving.
Do You Need to Brine a Turkey?
Brining means soaking your turkey in a salt solution and it helps to create a moist and flavorful bird. It also means balancing a huge bucket in your fridge in which to dunk your turkey, which is about twice the size of a newborn human!
If you buy a kosher turkey, do not brine it, as it already has a high salt content. This, however, means that a kosher bird is essentially already brined for you and results in a highly flavorful bird without the threat of flooding your kitchen floor with salt water. The point? Get a kosher turkey if you can. If you can’t, or don’t want to, try getting a self-basting bird, which has the same effect.
No go? Brine, baby. Brining really will make quite a difference, and it’s pretty simple. Just allow yourself enough time, or try my Quick Turkey Brine.
Why You Should Truss the Turkey?
Tying your turkey promotes even cooking and better presentation, and you don’t have to do a formal truss. Simply use kitchen twine to loosely tie the legs together, and tuck the wings under the body. Check out this video from Alton Brown to see how to truss a turkey.

Why Do You Need to Air Chill The Turkey Overnight?
Be sure to allow enough time to chill your turkey in the fridge overnight. chilling the turkey results in a more concentrated flavor, juicier meat, and a crispy skin. It’s definitely worth doing!
Why Do You Put Butter Underneath The Turkey Skin?
Rubbing the butter underneath the skin, directly on to the meat, promotes a juicier, more delicious bird than you could previously imagine. It especially helps the white meat. Also, rub the butter over the top of the turkey for a really crispy skin.
Use a Probe Thermometer!
Using a thermometer is key to serving the most succulent and juicy turkey! Even if your turkey comes with a built-in thermometer, you will get better results with this method.
Stick the thermometer into the fleshy part of the thigh, close to but not touching the bone. To be on the safe side, also take the temperature under the wing, especially since we’re roasting breast-side down. The thermometer should read 165f. Let the turkey rest for 20 minutes before carving, during which time the temperature will rise.
A meat thermometer is safer than the juices-run-clear test-you know, you pierce the turkey with a knife, and if the juices are pink, it’s not done yet. If they are clear, it’s ready! However, pinkness can disappear before the turkey reaches a safe temperature, and alternately, some turkeys will still be pink, even after the meat reaches a safe temperature. Get
a meat thermometer and stop the guesswork.
Some people like to take their turkey out once it reaches 150f, so it only rises to 165f while it rests. This results in a juicier turkey but can risk harboring salmonella, if it doesn’t reach the magic temperature–165f. It’s safer to do this with an organic or heritage turkey.
Start from Frozen!
I know, I know. It’s not the foodie thing to say, or is it? Cook’s Illustrated found that frozen turkeys are actually moister and that fresh turkeys can be tougher. Why? A whole lot of science regarding the fluctuation of temperatures when refrigerating a turkey, versus the constant of a frozen bird.
However, if “fresh” means “from the neighbor’s farm”, then go with that. Otherwise, buy frozen.
More Tips
- If you have a frozen turkey, allow time for it to defrost. A 12-pound turkey will need three full days.
- If you are roasting a whole turkey, plan to serve one pound per person.
- Remember to remove the bag of giblets from the turkey!
- Use a high-temperature neutral oil for the turkey like avocado.
- To make the gravy gluten or grain-free, swap the all-purpose flour for gluten-free or cassava.
Serve Your Turkey With These Delicious Dishes
- The Best Paleo Stuffing
- Mom’s Cheesy Potato Casserole
- Ruth’s Chris Sweet Potato Casserole
- Green Beans with Bacon
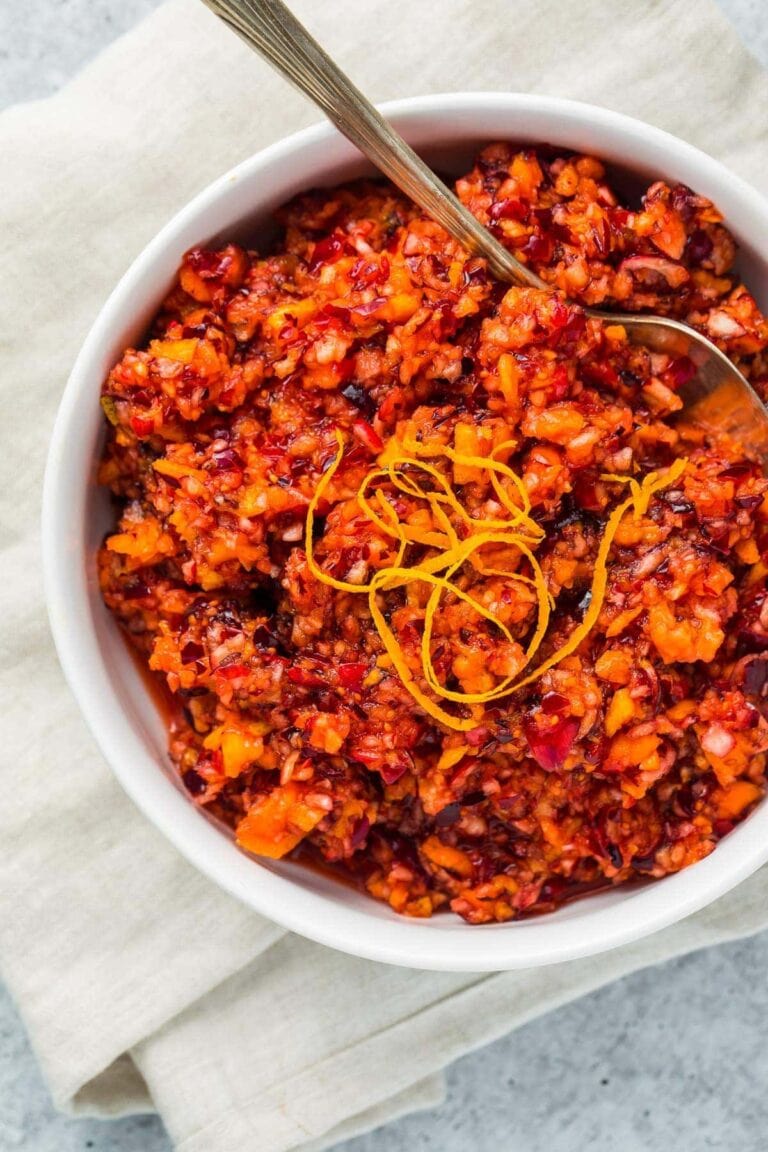
- Cranberry Salsa
- Pineapple Stuffing
- Sweet Potato Cornbread with Cinnamon Honey Butter
- Cranberry Sauce with Rosemary and Orange
- Crockpot Mashed Potato
- Sweet Potato Casserole with Pecans
- Whole30 Green Bean Casserole
Hey – you’ve made it this far, and now we’re best friends! If you make this recipe, I’d love for you to give it a star rating ★ below. Make sure you follow me on Instagram, Pinterest, and Facebook, too!
How to Cook A Turkey Perfectly (with gravy)
Equipment
- 5-gallon bucket
- Large plastic brining bag
Ingredients
- 1 ½ cups table salt
- 3 gallons water
- 1 stick unsalted butter at room temperature
- 6 cloves garlic minced
- 6 tablespoons chopped thyme
- 1 12-pound turkey thawed
- 4 tablespoons avocado oil
- freshly ground pepper to taste
- 8 tablespoons all-purpose flour
- 4 cups turkey stock
Instructions
Brine the Turkey
- The day before roasting, first thing in the morning, make your brine. Mix salt and water together until dissolved.
- Place the brining bag in the bucket and put the bird in breast-side down. Pour the brine into the bag, making sure the entire bird is covered – no naked bits. Zip the bag up, cover, and put it in the fridge. If you don't have space in your fridge, you can use a cooler.
- Refrigerate for 12 hours.
- Take the turkey out and rinse under cold water. Pat dry with paper towels, making sure to dry the inside of the cavity, too.
Air-Dry the Turkey
- Return to the refrigerator in a roasting pan and let air-dry overnight.
Roast the Turkey
- The day of roasting, preheat your oven to 350 degrees Fahrenheit.
- Combine butter, garlic, and thyme in a bowl until soft. Set aside.
- Carefully, using your fingers, peel the skin away from the turkey breast (you may have to break a membrane; that’s OK) and rub the butter mixture under the skin.
- Truss the turkey.
- Rub the outside of the skin with the oil and season pepper. I know, I know; it's so hard not to sprinkle salt all over the skin at this point! But please, don't. Your bird is already plenty salty from the brine!
- Roast turkey breast down for 2 hours. After 2 hours, flip the turkey very carefully so that the breast side is up and return to the oven for 30 minutes to finish cooking and browning the skin on the breast.
- Remove the turkey to a cutting board and cover with foil; let it rest for 20 minutes. Slice the turkey and serve hot.
For the Gravy
- While the turkey is resting, put the roasting pan on a burner over low heat, sprinkle in the flour, and stir to incorporate any liquid in the pan.
- Gradually add the turkey stock, stirring constantly. Transfer the gravy into a small pot, and simmer over low heat until it has the preferred consistency.
- Add additional pepper to taste and strain the gravy through a fine-mesh sieve before serving.
Approximate Information for One Serving
Nutrition Disclaimers
Number of total servings shown is approximate. Actual number of servings will depend on your preferred portion sizes.
Nutritional values shown are general guidelines and reflect information for 1 serving using the ingredients listed, not including any optional ingredients. Actual macros may vary slightly depending on specific brands and types of ingredients used.
To determine the weight of one serving, prepare the recipe as instructed. Weigh the finished recipe, then divide the weight of the finished recipe (not including the weight of the container the food is in) by the desired number of servings. Result will be the weight of one serving.
Did You Make This Recipe?
Tag @40aprons on Instagram and be sure to leave a review on the blog post!
Never Miss A Meal!
New Recipes Straight To Your Inbox
A curated selection of our most recent recipes, delivered straight to your inbox once a week.


Oh my, my, my, that turkey is browned, juicy, roasted perfection! I love eating turkey but don’t enjoy wrestling with it before roasting it. Thanks for your helpful, detailed instructions with photos.
Looks yummy! I love brining my turkey, it always makes it extra delicious.
This is exactly what I needed last year. Now I am not moving without following all of those step by step.
Your post has some great tips and details that even the most experienced often forget!
Thanks for all the great tips! I just wing it every year, (no pun intended) with more or less stress involved, so this is going to be so much easier!
There’s nothing better than perfectly roasted, juicy turkey! So easy to make!
This is so informative and heck YES to the probe thermometer. Saves yourself from opening the oven door 100 times.
This really does look perfect! So golden and and flavorful. Can’t wait to try this method for Thanksgiving!
Great recipe and really handy step-by-step instructions for someone who doesn’t cook turkey very often (me!). And love all the trimmings.