This Post May Contain Affiliate Links. Please Read Our Disclosure Policy.
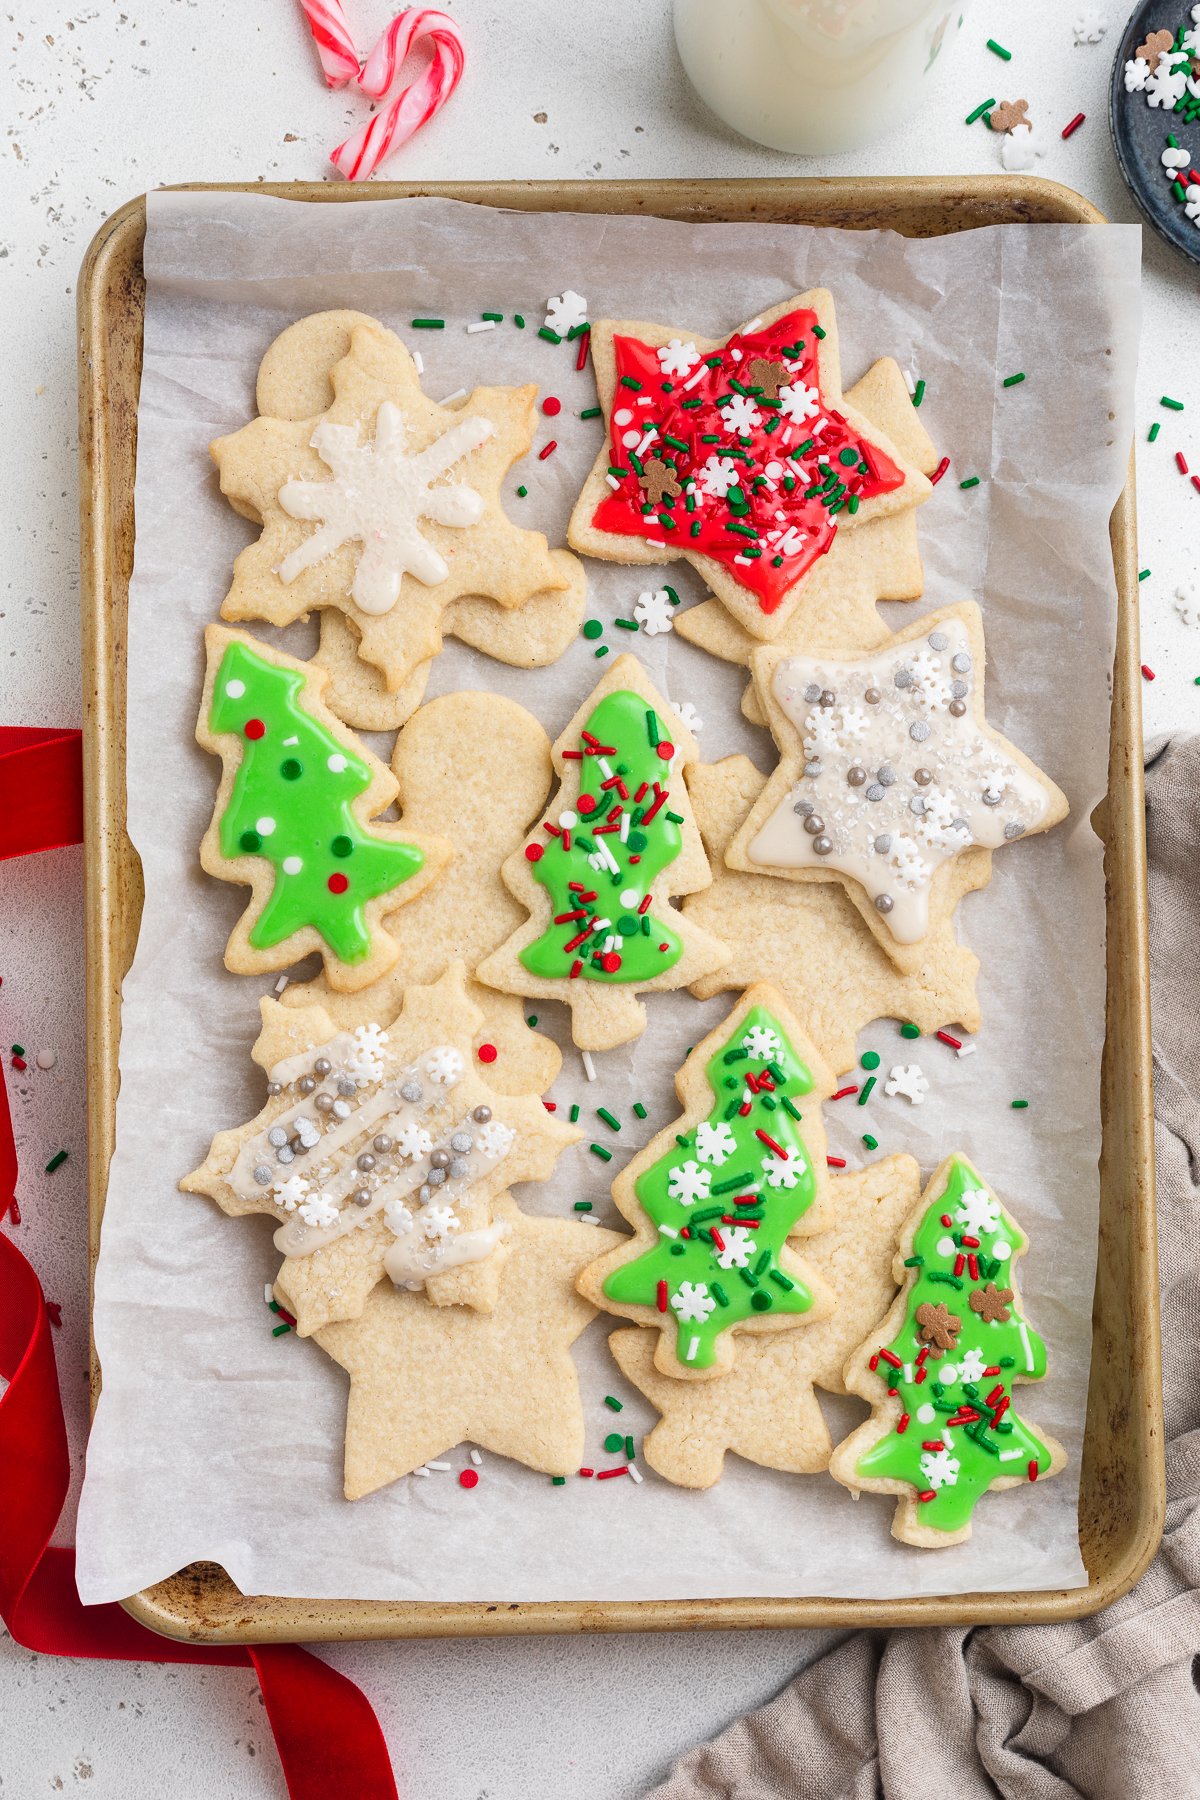
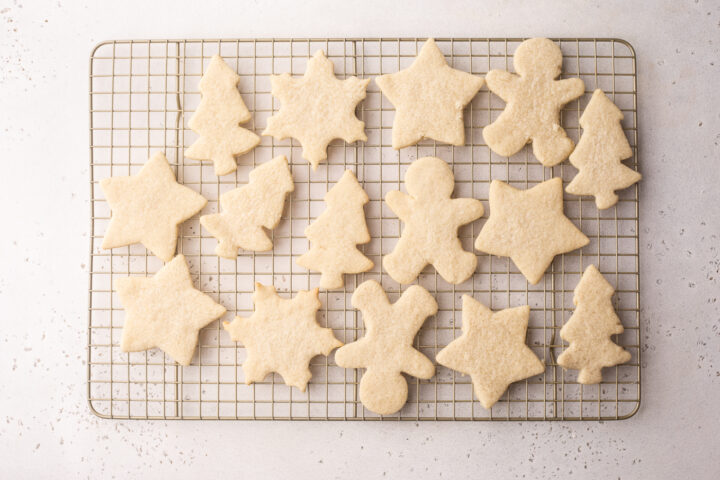
Cut-out cookies are a Christmas season staple, but traditional cookie recipes aren’t exactly gluten-free-friendly. This recipe for buttery, sweet gluten-free Christmas cookies is a total holiday game changer, giving you perfect cut-out cookies that hold their shape and taste delicious. Complete with a simple recipe for homemade cookie icing, these cookies are everything you need this season.
What Makes This Recipe So Good
- Every bit as delicious as traditional cut-out sugar cookies, these gluten-free Christmas cookies are a perfect alternative to those seasonal treats. Buttery and sweet, soft yet crisp, with a dreamy golden color and absolutely NO gluten.
- The dough is designed for cut-out cookies, so you don’t have to worry about your trees or stars or candy canes spreading and morphing into some unrecognizable dough mass in the oven. I’ve included several tips to help make the whole process completely foolproof, too.
- We labelled these as Christmas cookies (and decorated them to match) but you can use this recipe for any sort of gluten-free sugar cookies all through the year. Shamrock cookies for St. Patrick’s Day, number cookies for birthdays, flowers for Mother’s Day, or even just simple circles or squares. These gluten-free cookies are only limited by your imagination (and maybe your selection of cookie cutters).
Chef’s Tips
- Not sure if you’ve got your icing just right? Just lift the whisk out of the bowl and watch the icing that drizzles off the whisk. If the icing falls back into the bowl and sits on top for a few seconds before melting back in to the rest of the mixture, it’s ready to decorate!
- Use the “spoon and level” method to measure your gluten-free flour. Instead of putting the measuring cup right into the bag of flour, scoop flour into the cup with a spoon. Once it’s filled, use the back of the spoon or the side of a knife to level off the top of the flour even with the edge of the measuring cup. This method guarantees you’ve got the right amount of flour. Too much or too little with throw off the texture and consistency of the cookies.
- For perfectly shaped cookies, there are two things to keep in mind. 1) The butter needs to be fully incorporated into the other ingredients, right from the beginning. Make sure it’s softened (not cold, and not warm or hot) to start so it blends with the sugar just like it needs to. 2) Don’t let the butter, or the dough in general, get too warm while you’re working with it. Chilling the dough is a must, and don’t hesitate to put it back in the fridge at any point if it gets warm while you’re rolling or cutting it. Chilled cookie dough holds its shape in the oven much better than room temperature dough.

Gluten-Free Recipes Worth Trying
- Gluten Free Breakfast Casserole
- Perfectly Crispy Gluten Free Fried Chicken
- Gluten Free Pumpkin Bread
- Keto Eggplant Parmesan (Low Carb, Gluten Free, Vegetarian)
- Gluten Free Blueberry Muffins
- The Best EVER Gluten-Free Lemon Cake

Gluten-Free Christmas Cookies with Homemade Icing
Equipment
- stand mixer bowl or large mixing bowl
- stand mixer or hand mixer
- 2 medium mixing bowls
- Flour sifter
- 2 whisks
- Plastic wrap or lid for large mixing bowl
- Oven
- large baking sheet
- parchment paper
- rolling pin
- Cookie cutters
- cookie spatula
- wire cooling rack
- piping bags and tips or plastic food-safe bags, optional
Ingredients
For the Cookies
- 1 cup unsalted butter softened
- 1 ½ cups white sugar
- 1 large egg at room temperature
- 2 ½ cups gluten-free all-purpose flour containing xanthan gum plus more to flour work area, see Notes
- ¾ teaspoon baking powder
- ½ teaspoon table salt
For the Icing
- 4 cups powdered sugar
- 3 tablespoons milk of choice plus more as needed
- 1 tablespoon light corn syrup optional, see Notes
- ½ teaspoon pure vanilla extract
- food coloring optional
To Decorate (All Optional)
- red, white, & green sanding sugar see Notes
- red, white, & green sprinkles see Notes
- holiday shaped sprinkles see Notes
Instructions
To Prepare Cookie Dough
- Add softened butter and white sugar to stand mixer bowl (or large mixing bowl). Using stand mixer (or hand mixer), mix ingredients together on low speed 30 seconds, then increase speed to medium. Continue mixing 1 to 3 minutes, until ingredients are creamed. Mixture should be fully combined, light, and fluffy. Note: Be careful not to overmix. Overmixing will make mixture greasy and soupy. If you overmix, discard mixture and start again.
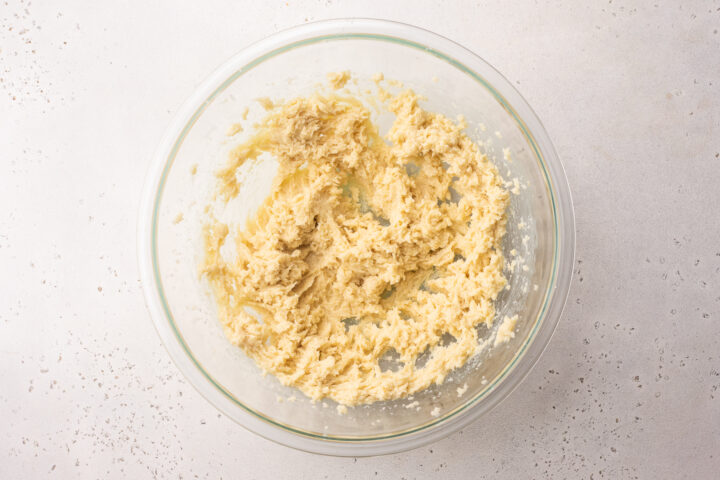
- Once butter and sugar are creamed, pause mixer and crack egg directly into mixing bowl. Add vanilla extract, then resume mixing on low speed. Mix until ingredients are just combined, approximately 1 minute.
- Sift flour through sifter and directly into medium mixing bowl, making sure any clumps are broken up. Once flour is smooth, add baking powder and salt. Whisk dry ingredients together to incorporate.
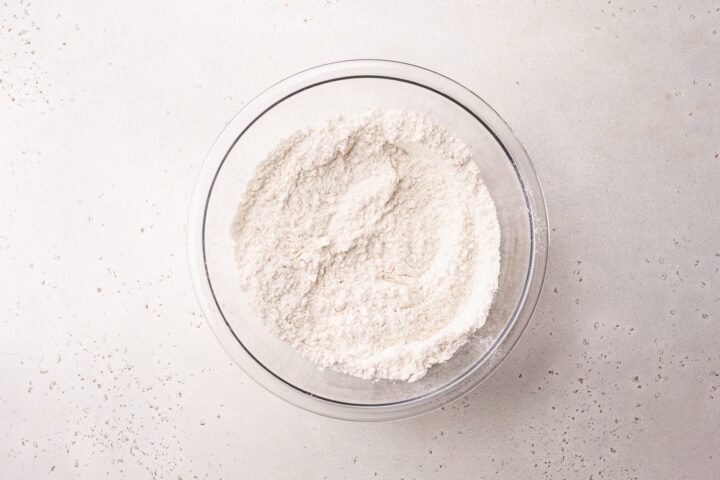
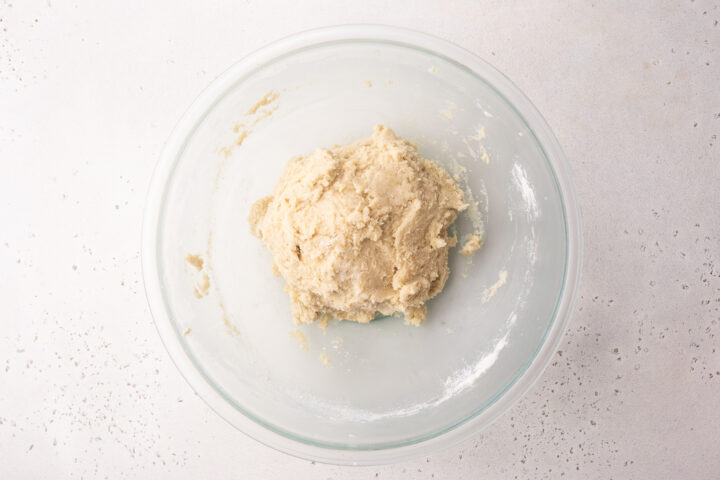
- While mixing on low speed, slowly pour flour mixture into butter mixture, adding dry ingredients in gradual increments and mixing well between each addition. Once entire flour mixture has been added, mix on low until thick cookie dough forms.
- When ingredients are fully combined into thick cookie dough, cover mixing bowl with plastic wrap or lid and place bowl in refrigerator. Chill dough at least 2 hours and no more than 3 days.
To Bake Cookies
- Preheat oven to 350° Fahrenheit. Line large baking sheet with parchment paper and set baking sheet aside. Cover large section of kitchen counter or similar flat area with parchment paper. Lightly flour parchment paper and rolling pin.
- Remove mixing bowl from refrigerator and transfer chilled dough to floured parchment paper. Roll dough into evenly flat sheet approximately ½-inch thick. For easier rolling, cover dough with parchment paper or add flour to rolling pin as needed, being careful not to add too much.
- Use cookie cutters to cut sheet of dough into shapes. Carefully lift cookies off parchment paper and transfer to baking sheet. Place cookies approximately ½ to 1 inch apart on baking sheet. Repeat process of rolling dough and cutting shapes until dough is completely cut.
- Place baking sheet in preheated oven. Bake cookies 10 minutes, then check doneness. Continue baking 1 to 4 minutes as needed until cookie edges are very lightly golden brown.
- Carefully remove baking sheet from oven. Let cookies rest on baking sheet 5 minutes, then carefully transfer cookies to wire cooling rack and allow to cool completely.
To Decorate Cookies
- While cookies cool, make cookie icing by adding powdered sugar, milk, corn syrup, and vanilla extract to second medium mixing bowl. Whisk ingredients together until cookie icing begins to form. If mixture is too thick, slowly whisk in additional milk in ½-tablespoon increments until desired consistency is achieved.
- Whisk food color in to icing until desired shade is achieved (optional). If creating multiple colors of icing, portion icing into smaller bowls before adding food color.
- Transfer prepared cookie icing to piping bag fitted with piping tip. Alternately, transfer icing to plastic food-safe bag and snip off one corner of bag to create piping tip.
- When cookies have cooled completely, decorate cookies with cookie icing and any optional toppings as desired. Allow cookie icing to harden, then serve or transfer cookies to airtight container.
- Butter: Butter must be softened to start but should not be warm or melted.
- Gluten-Free Flour: All gluten-free flours behave differently. You’ll get different results using different brands. We like to use King Arthur Measure-for-Measure and Bob’s Red Mill for our gluten-free recipes. Your flour MUST contain xanthan gum – if yours doesn’t, you’ll need to add xanthan gum to the recipe.
- Measuring Flour: Make sure to measure flour with the “spoon and level” method. Scoop spoonfuls of flour into your measuring cup. When measuring cup is filled, use back of spoon or edge of knife to level off top of flour even with edge of cup. This guarantees you’re using the right amount of flour.
- Cookie Icing: Totally optional! Feel free to use store-bought prepared icing, replace it with buttercream frosting, or skip the icing altogether. Enjoy the cookies plain or top them with sanding sugar or sprinkles right before baking.
- Light Corn Syrup: Gives the icing a little shine and helps it stick to the cookies. You can skip it if you’d like.
- Decorations: Make sure any sprinkles or other cookie decorations you use are actually gluten free. Sprinkles don’t typically contain any gluteny ingredients, but there could be cross contamination depending on the brand, which might be a concern depending on your sensitivity.
- Make it Dairy Free: Use softened dairy-free butter and use almond milk or other dairy-free milk alternative in the icing.
- Baking Dough Shapes: If the dough is too warm when it goes in the oven, the cookies will spread and lose their shapes. If needed, put the cookies back in the fridge for 30 minutes after cutting the shapes. Chilled dough holds its shape during baking much better than room temperature dough.
- Storage: Keep any uneaten cookies in an airtight container at room temperature 1-2 weeks. Cookies and icing will become increasingly dry over time.
Approximate Information for One Serving
Nutrition Disclaimers
Number of total servings shown is approximate. Actual number of servings will depend on your preferred portion sizes.
Nutritional values shown are general guidelines and reflect information for 1 serving using the ingredients listed, not including any optional ingredients. Actual macros may vary slightly depending on specific brands and types of ingredients used.
To determine the weight of one serving, prepare the recipe as instructed. Weigh the finished recipe, then divide the weight of the finished recipe (not including the weight of the container the food is in) by the desired number of servings. Result will be the weight of one serving.
Did You Make This Recipe?
Tag @40aprons on Instagram and be sure to leave a review on the blog post!
Never Miss A Meal!
New Recipes Straight To Your Inbox
A curated selection of our most recent recipes, delivered straight to your inbox once a week.



Is 1/2” thick in cookie rolling instructions a typo? Seems this would be too thick for a cutout cookie. Your recipe looks delish!
Not a typo! You can roll them slightly thinner if you prefer, but thinner cookies won’t need to bake as long. They’ll also be crispier!