This Post May Contain Affiliate Links. Please Read Our Disclosure Policy.
The alternate title of this post is.. Freezer meals to prep before baby (’cause you’re a badass) – 30 dinners for 2, 14 breakfasts for 1, and 3 dozen lactation cookies for $200. But that’s a wee bit long.
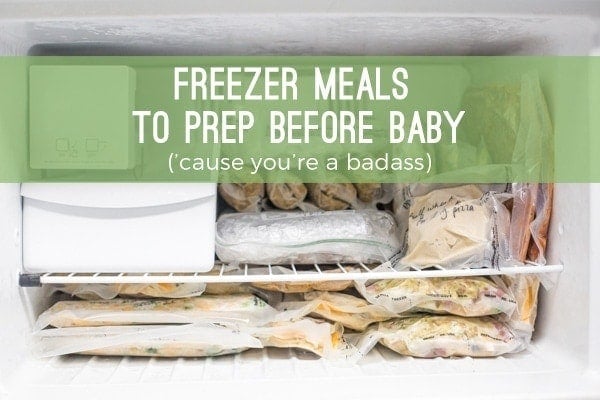 I’m changing it up a little today and explaining in detail how I tackled my freezer meals project to prep for our first little baby’s arrival! I was almost exactly a month out from our due date when I put all of this together, and I wanted to make sure that we had plenty of dinners, breakfasts, and cookies (yes, my friends.. cookies! Lactation cookies, sure, but lots and lots of cookies nonetheless) stocked and ready so we could focus on Leo and our transition into parenthood instead of frantically searching for takeout menus or making grocery runs with a screaming newborn and crying mama.
Planning the freezer meals was a little overwhelming, because I wanted to make sure we’d actually eat what we made–so it had to be great stuff that we know we like–and I don’t know much about freezer meals in general. Seeing how insanely easy they turned out to be, I have a feeling we’ll be diving into more of them as I stretch into motherhood, but on the front end, it was a bit daunting. We’d made Crockpot meals before that we just really didn’t like, so picking out what we thought we’d be into was a bit overwhelming at first. The “400 freezer meals in 10 minutes for $15!” pins didn’t work for us, as none of the meals actually sounded terribly good, and we figured we’d just end up wasting time, money, and freezer space. No tan bueno. Eventually, I ended up with a list of about 30 or so dinners based on dishes we already know we like, that would work well reheated or in the Crockpot, and were topped with lots of cheese. Hashtag realtalk. Let’s just pray that Leo doesn’t have a dairy sensitivity..
I wasn’t planning on making breakfasts, but then I saw these awesome freezer breakfast sandwiches from Damn Delicious and knew I had to make some of O’s favorite sausage egg and cheese biscuits. What a treat for dear ol’ dad, eh? And then when I was frying up the sausage, I neglected to smoosh them down to make the little patties wide enough to fit the biscuits, so I ended up with lots of hardly usable sausage. Which gave me the idea to use up the rest of our whole wheat tortillas we had lying around and make sausage, potato, egg, and cheese breakfast burritos! And so it goes, until we ended up with 14 breakfasts for funzies.
The Meals
Narrative of my indecision and inability to plan sausage aside, here’s what we made. Each “portion” is dinner for two, including the loaves of seitan and pizza dough. The burritos and biscuits sandwiches serve only 1 each:
- 6 portions of Moroccan meatballs–O’s favorite
- 2 portions of broccoli cheese soup, made in advance to be reheated
- 3 portions of chicken cordon bleu bake, made in advance to be baked, inspired by my embarrassing love of stuffing and one of our favorite local dishes
- 4 portions of chicken broccoli brown rice bake (so, so easy), made in advance to be baked
- 2 portions of meat and spinach lasagna, saved from a batch we made last week
- 2 portions of taco chili, for Crockpot
- 2 portions of white chicken chili, for Crockpot (except I cubed and cooked the chicken before sealing and freezing)
- 2 portions of loaded potato soup, for Crockpot (of course, all the “loading” goes after the thawing and Crockpotting”
- 2 portions of Italian wedding soup, for Crockpot
 4 loaves of homemade steamed white seitan (I increased the recipe by 50% to make larger loaves to satisfy both O and my breastfeeding appetite)–you can also blitz these in the food processor when thawed to make amazing vegetarian ground “beef”
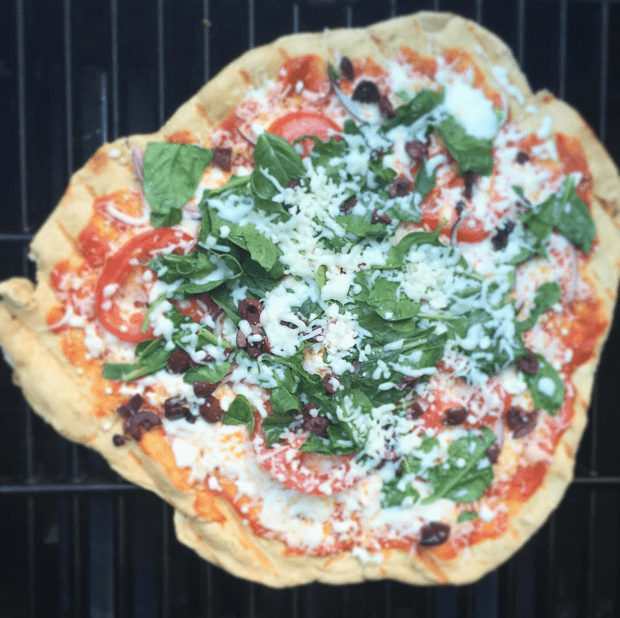
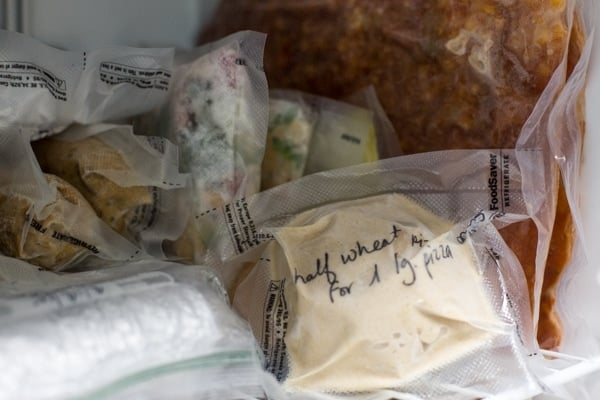
- 1 half whole wheat ball of pizza dough (I just subbed white whole wheat flour for 1 1/3 cup of the flour, halved the large ball of dough this recipe makes, and froze one–we grilled the other and it was amazing!)
- 6 sausage, potato, egg, and cheese breakfast burritos on whole wheat tortillas (I kind of jammed on this one and just chopped up 7 small organic breakfast sausage patties, then sautéed about 2/3 of a 20 oz package of refrigerated hashbrowns, then scrambled about 10-12 eggs and combined it all, portioned it out in a tortilla, added lots of cheese, then rolled it in a burrito)
- 8 sausage, egg, and cheese breakfast biscuits (make sure to flatten out the patties to fit the biscuits!)
- 2 portions of my perfect chimichurri (add this magic to steak, chicken, tofu, or seitan and you’ve got a super fast, painfully good meal like that. What.. did you not see me snap my fingers? I just did it again.. are you even paying attention?!)
- about 2.5-3 dozen pumpkin cranberry oatmeal cookies, dough portioned and rolled into packages of about 6 (I subbed white whole wheat flour for 1 cup of the flour, and used only 2 cups brown sugar total. I also added all the dried cranberries we had, which was about 1 1/2 cups perhaps. I tested one and they are so. so. good.)
So if your baby brain hasn’t completely deprived you of all ability to do, you know, arithmetic, that comes out to 30 dinners for 2, 14 breakfasts, and a million cookies.
The Money
I sat down and made a huge spreadsheet of all the ingredients I would need for every single recipe and combined ingredients where I could. That way I knew what I could get at Costco and what would be better to just get at the grocery store. We bought organic meats only–grass-fed ground beef!–and used Pacific “cream of” soups in the Tetra Pak instead of traditional pink slimey canned versions. We bought BPA-free organic canned tomatoes only (we love Muir Glen). We worked under the Dirty Dozen organics list, buying organic versions of everything on the Dirty Dozen Plus list and buying conventional versions of everything on the Clean Fifteen list. We bought a huge bag of fresh conventional broccoli florets from Costco, which are 27 on the list of 50 (50 being clean, 1 being not clean!) and didn’t feel too bad about it. We didn’t use organic cheese, but used organic eggs. Our total came to..
$200!
It might have been a couple dollars more or less, since we bought things like furniture pads for the nursery organizer and organic dog treats in the same batch, but it’s damn close to $200. We made 30 meals for 2 plus 14 breakfasts, so that’s 74 meals for one.
That breaks down to..
$2.70 per person
And, of course, $200 for 74 meals (for 1). Not including the chimichurri or lactation cookies. Not bad, if you ask me. Especially considering all meals are organic (organic enough, that is)! So not only will this freezer meal prep cut down on the time and energy we have to spend cooking in the first month or two after Leo is born but it cuts down on the cost of groceries, leaving more money for me to buy cloth diapers. Huzzah!
I have a problem. They’re just so. damn. cute. Ugh!
Why the FoodSaver® System
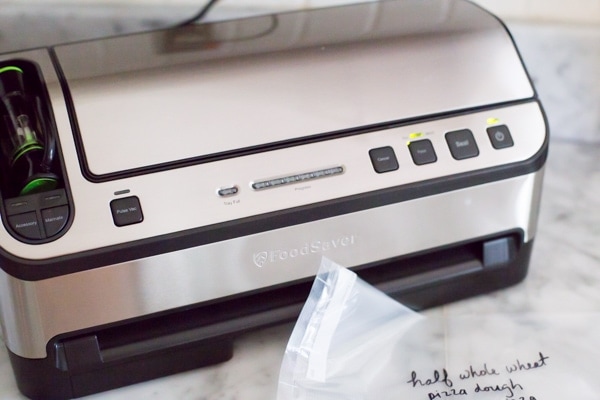
I wanted to tackle the freezer meals well in advance of my due date, because I have a couple large assignments coming in the last couple weeks which will be dominating my time. So, our nursery is basically done, all the baby stuff is bought, and our freezer is stocked at 35 weeks.. but only because I’ll be devoting all my time to work here shortly! That being said, I knew I wanted to go beyond the Ziploc bags you usually see in the “40,000 freezer meals in 6 minutes for only $3.25” posts, because we were destined for freezer burned messes with those. If I’d had to use Ziploc, I’d have had to wait until basically the last minute to make everything, and who wants to be making 40,000 freezer meals in 6 minutes at 39 weeks pregnant? Not I. So we used a FoodSaver® System vacuum sealer to make sure everything would stay good for a much longer period of time, which allowed me to relax a ton by doing things in advance while I could. Did you know that when you vacuum seal food, it stays fresh up to 5 times longer? That means that we don’t have to feel pressure to eat all of these straight away and can give in with a bit of takeout here and there, whenever it suits us. Not only that, vacuum sealing locks in nutrients and flavors that are ruined by air (what up, freezer burn.. I dislike you.), which is especially important when breastfeeding! So the FoodSaver® System just made sense for us in terms of protecting our food and saving our money.
The FoodSaver® System works perfectly for handling dry or moist foods, like freezer-to-Crockpot meals, and it can vacuum seal soups and liquids if you freeze them first!
The Process
I prepped well in advance, making lists of potential meals, then changing them, then changing them again, and adding and subtracting other options over and over, then when I was finally set on the list, I made the shopping list and split up what could be bought at Costco vs. what I should probably just get at the grocery store. I headed out one day after a chiro appointment and got everything and it was a total joy and pleasure.
OK, so, maybe it wasn’t the most fun I’ve ever had, especially because that sample lady at Costco asked if it was a boy because with all her boys her “skin looked terrible” (not even kidding), but once it was done, it was done! That night I sealed up the 2 remaining portions of the lasagna we’d made for our meal plan that week, I put together a super easy freezer-to-Crockpot meal (Italian wedding soup) to test the whole process and FoodSaver® System with my master plan, and made the lactation cookie dough and vacuum sealed that up as well. The next day was when I was truly planning on diving in, though, and I pretty much cleared my schedule to devote the next two days to making meals without standing up for 9 hours straight.
The next morning I started on the most daunting of all: the tripling of the Moroccan meatballs. I hardly ever make this recipe to begin with, because it has quite a lot of ingredients and I hate rolling meatballs (and I don’t have a scooper!), but I thought that just increasing the volume wouldn’t really add to the intensity. Well.. wrong. I spent quite a lot of time on that recipe, but once it was done, we had 6 portions of O’s favorite meal that we absolutely know we’ll be thrilled to eat when the time comes. After that, I made the broccoli cheese soup, another recipe that needed to be cooked completely, cooled, and frozen before being sealed. Lastly, I cooked up some chicken breasts and brown rice and made a few batches of chicken broccoli brown rice bake and sealed them up. That was almost everything I did for the one day, because a) I’m super pregnant and b) did I stutter? So that next morning, I made the remaining recipes, and we made a last-minute trip to the grocery store to replace the sausage patties that I so naïvely misjudged.. though we ended up finding ourselves a super nice grocery checker chick who counted out the crispest ten $1 bills for us when I told her they were for O for the vending machines at the hospital. Much nicer than bad-skin-boys lady at Costco, non?
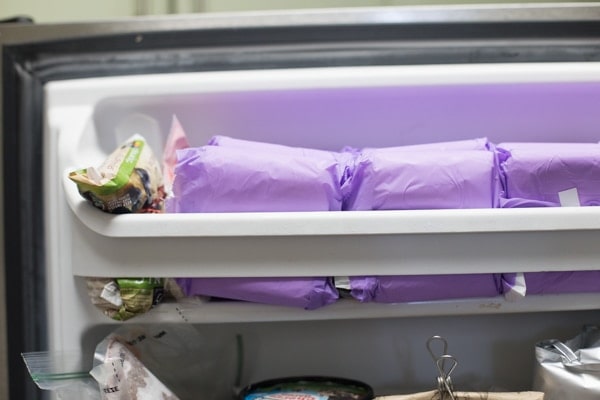
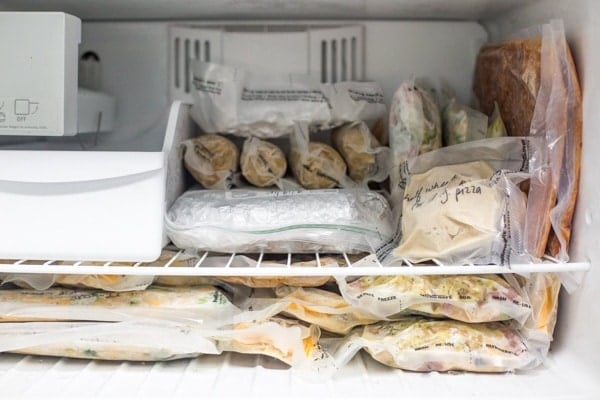
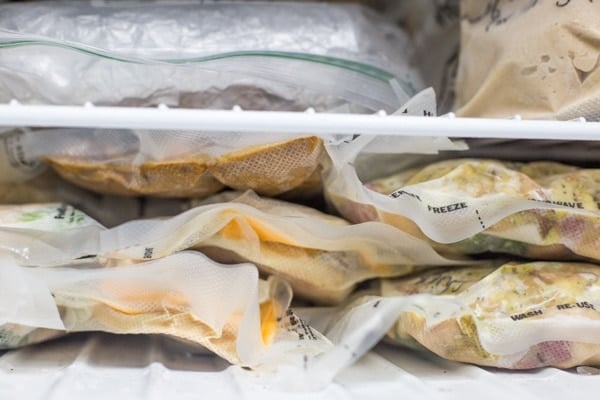
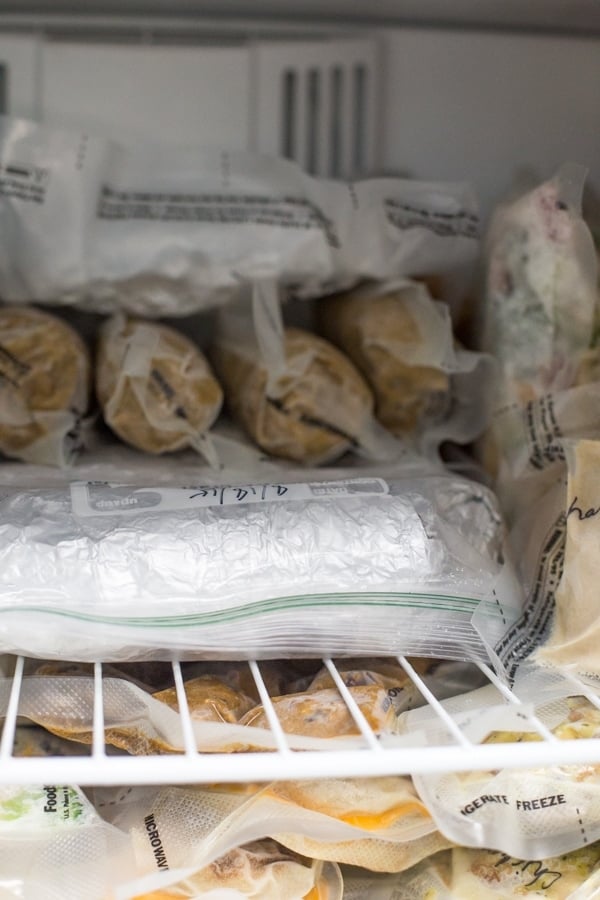
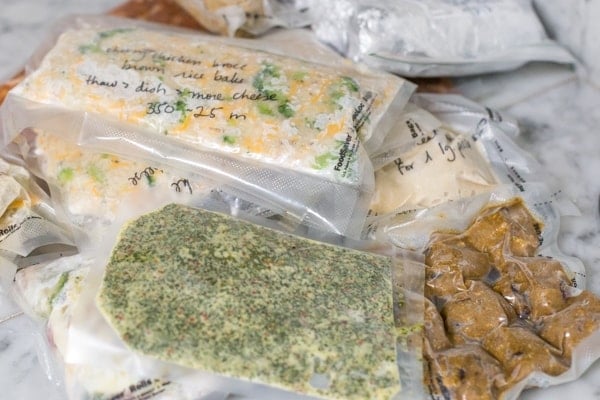
Anyway, the rest of the day went fairly smoothly, and once my dad and O tackled the portioning and vacuum sealing of the meals, I was one happy mama. We still have a few meals that we let freeze at their house, but for the most part, our freezer is completely and totally stocked and loaded, and I feel accomplished and prepared. Or, you know, as prepared as one can be for the little man cub to make his appearance.
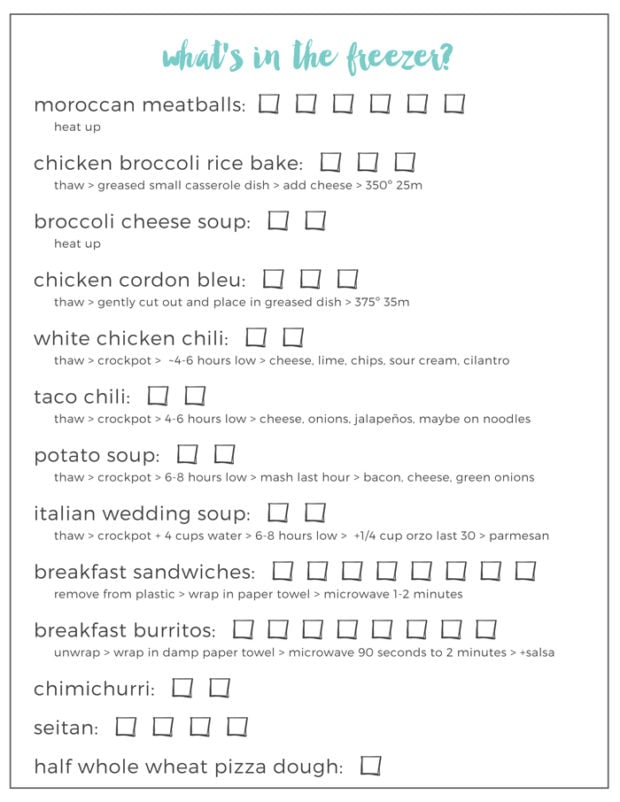
I even made this handy freezer inventory sheet to slap on the front of the fridge so we don’t forget just what we’ve got in the freezer!
Are you prepping freezer meals for baby?
Using the FoodSaver® System
If you can follow any diagram easier than Ikea’s assembly illustrations, the FoodSaver® System will be a breeze to figure out (there’s a handy step-by-step reminder underneath the main lid!), but I thought I’d show you generally how it works..
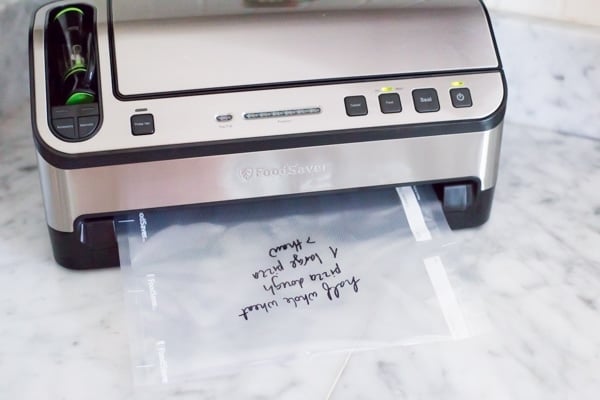
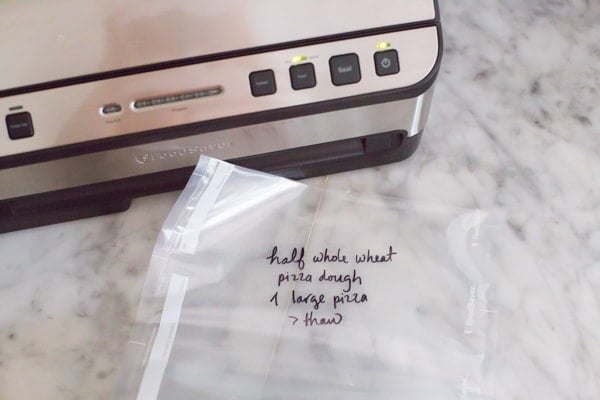
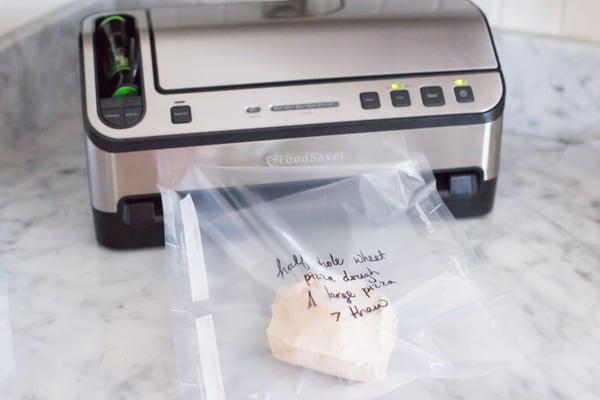
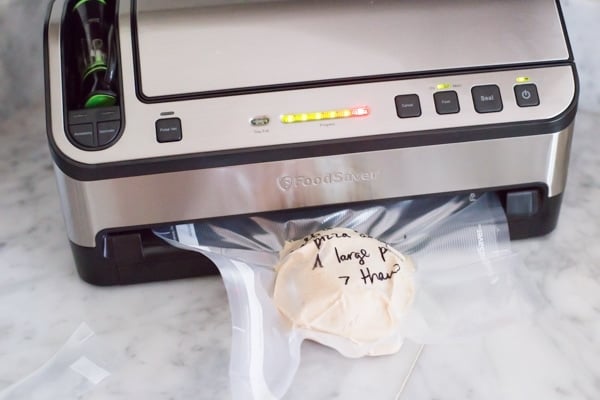
First off, you have to make individual bags from a large roll, which means creating bags that work perfectly for every individual recipe and its size needs (demanding recipes, non?). The roll hangs out in the system and there’s even a cutter for the plastic included! I thought that was pretty rad, myself. Make sure you label your recipes and give details for cooking on the bags.
Then you place your vacuum-sealed-to-be food into the bag and arrange it in a way that makes sense for its size and your space needs – I found that flatter and longer/wider worked better for us than fatter and shorter. And vacuum seal! The FoodSaver® System does this automatically as soon as you feed the loose end of the bag into the vacuum channel. Pretty fancy, in my opinion.
Airtight, you guys. Airtight.




Never Miss A Meal!
New Recipes Straight To Your Inbox
A curated selection of our most recent recipes, delivered straight to your inbox once a week.
Thank you!
You have successfully joined our subscriber list.