This Post May Contain Affiliate Links. Please Read Our Disclosure Policy.
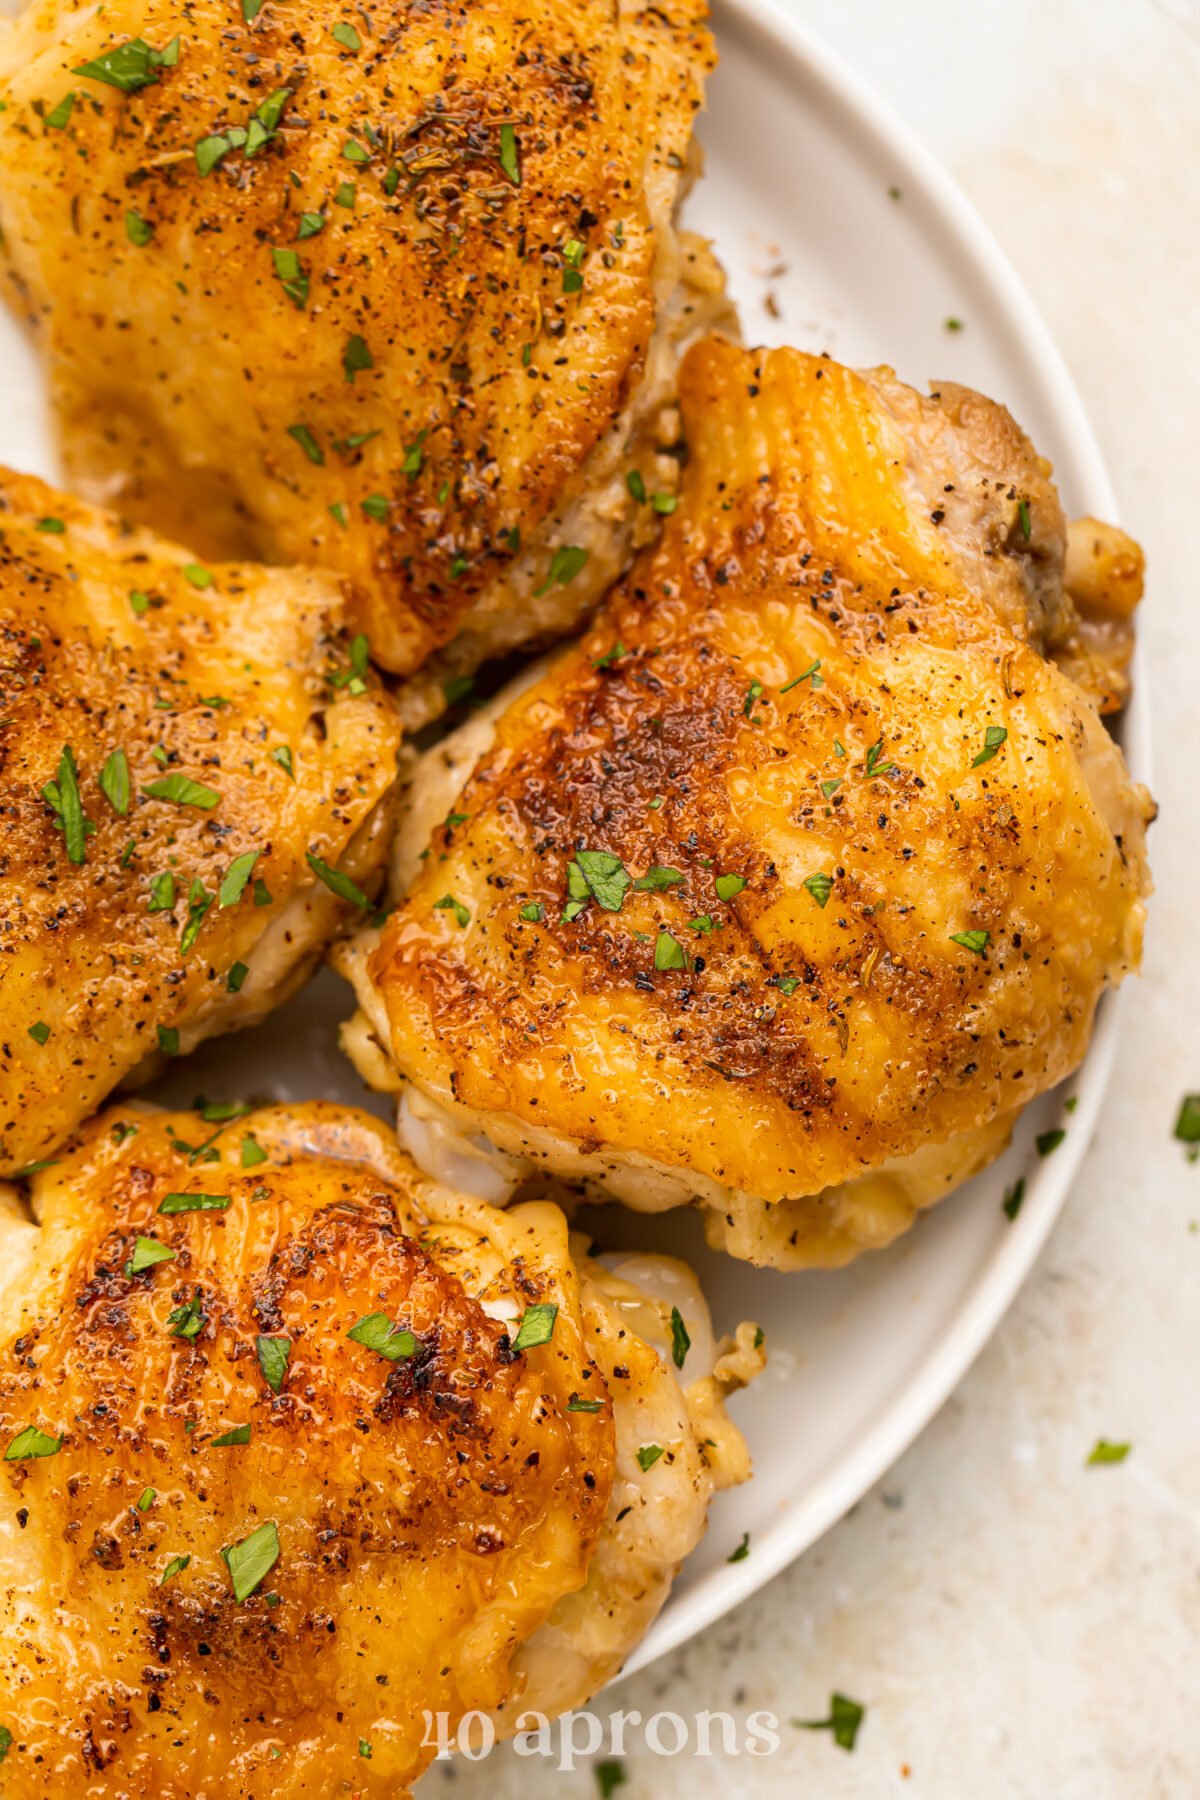
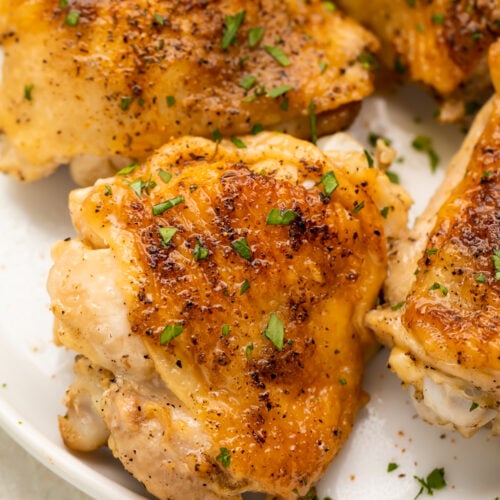
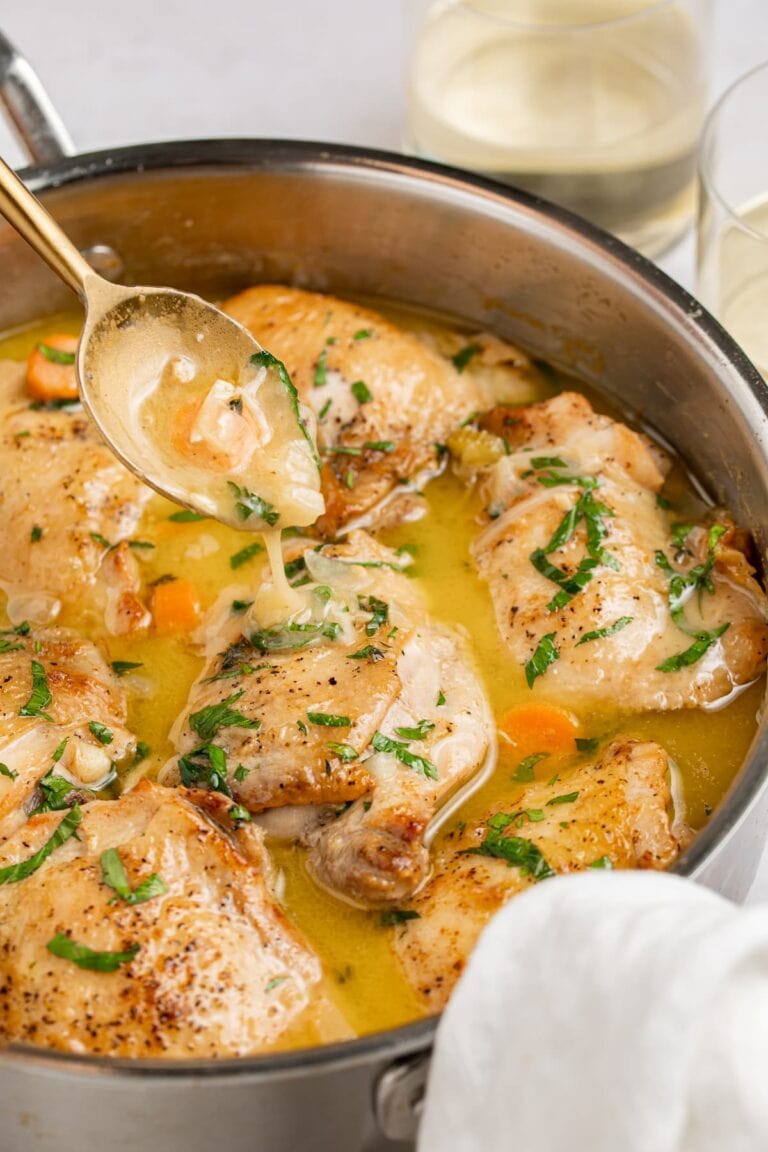
Your guide to Instant Pot chicken thighs…with actually crispy skin, too! Whether from fresh or frozen, bone-in or boneless, we’ve got you covered with flavorful, tender, juicy chicken thighs.
🍗 What Makes This Recipe So Good
- The Instant Pot does all of the work for you, so you don’t have to worry about over- or under-cooking the chicken. The result is a perfectly juicy, tender chicken thigh with a crisp crust, no matter if you’re using fresh or frozen chicken thighs, with or without bones.
- Instant Pot chicken thighs are perfect in the warmer months. Mid-July, the last thing I want to do is heat up my whole kitchen with my oven. Plus, it’s quick and easy clean-up since you aren’t using the cooktop or oven. Win, win!
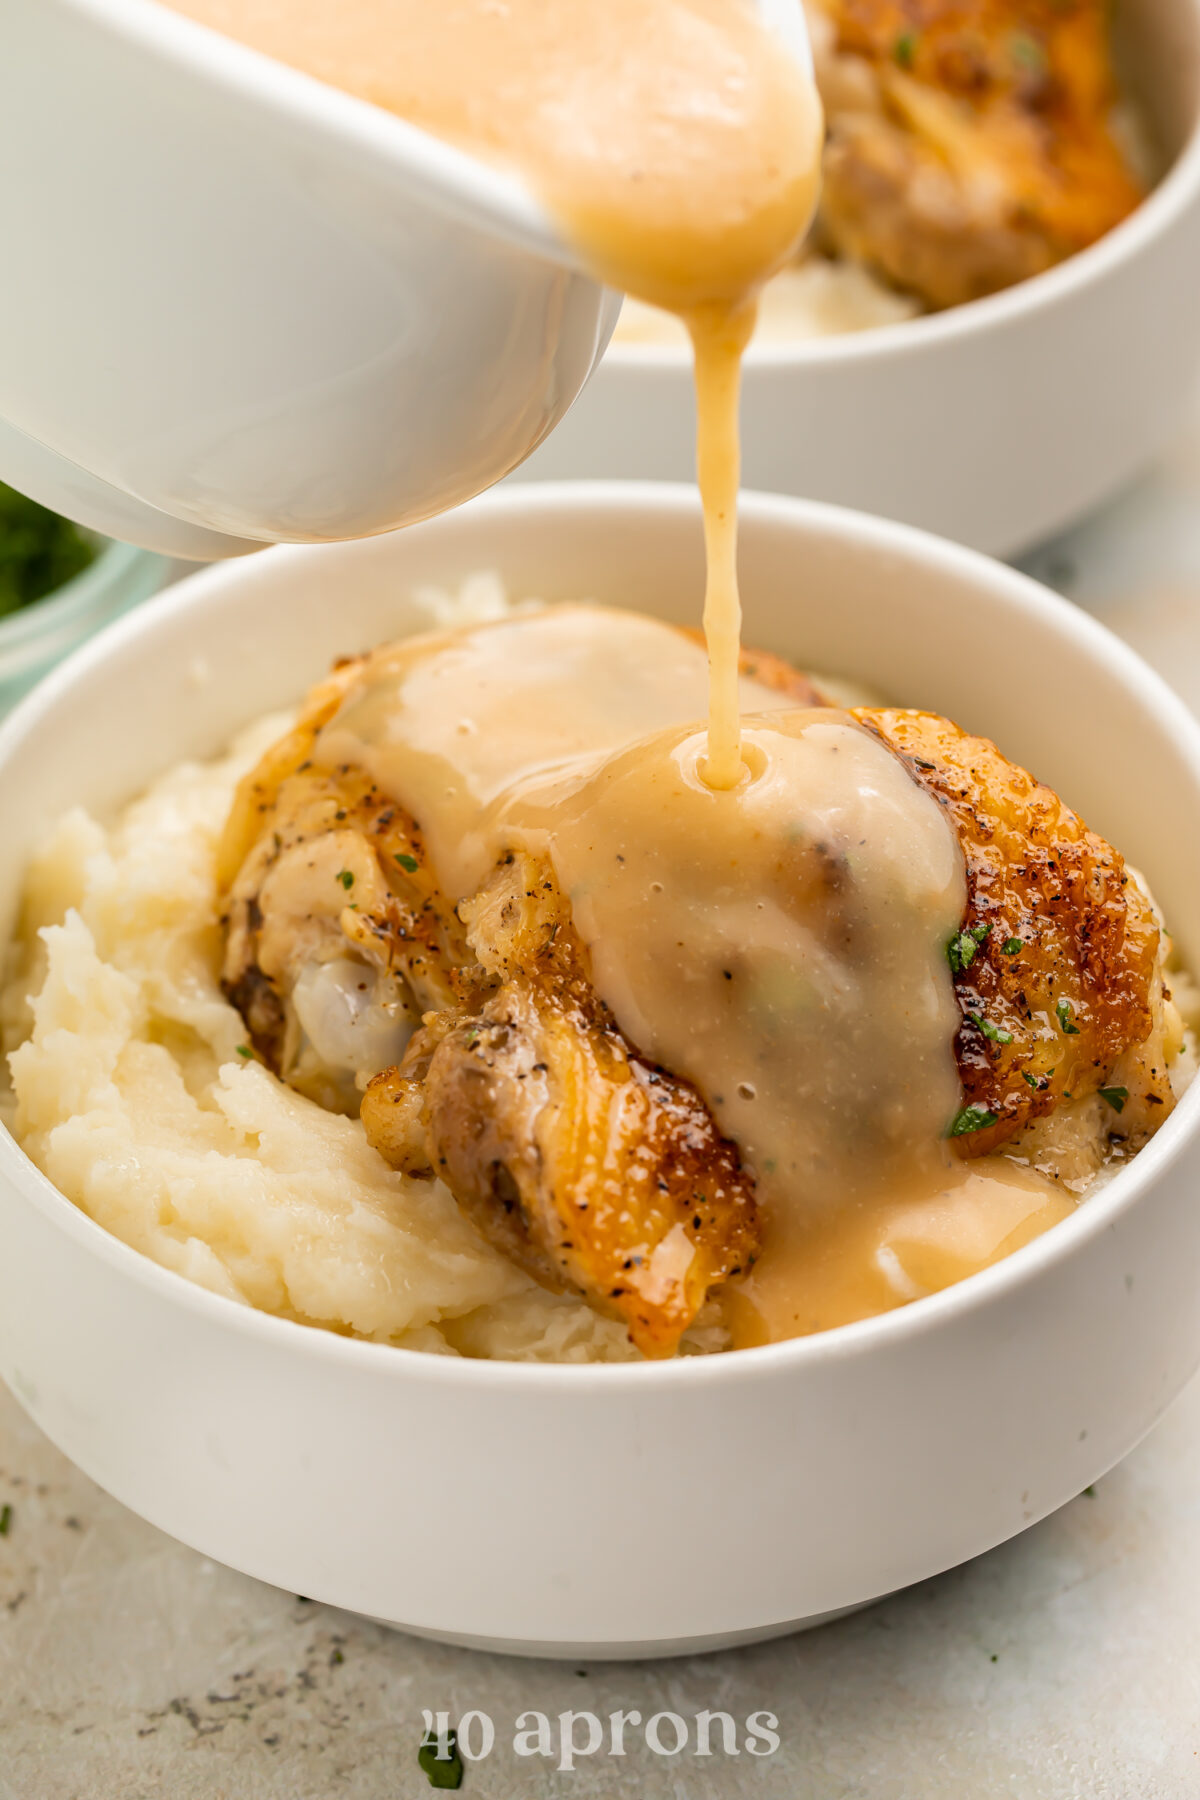
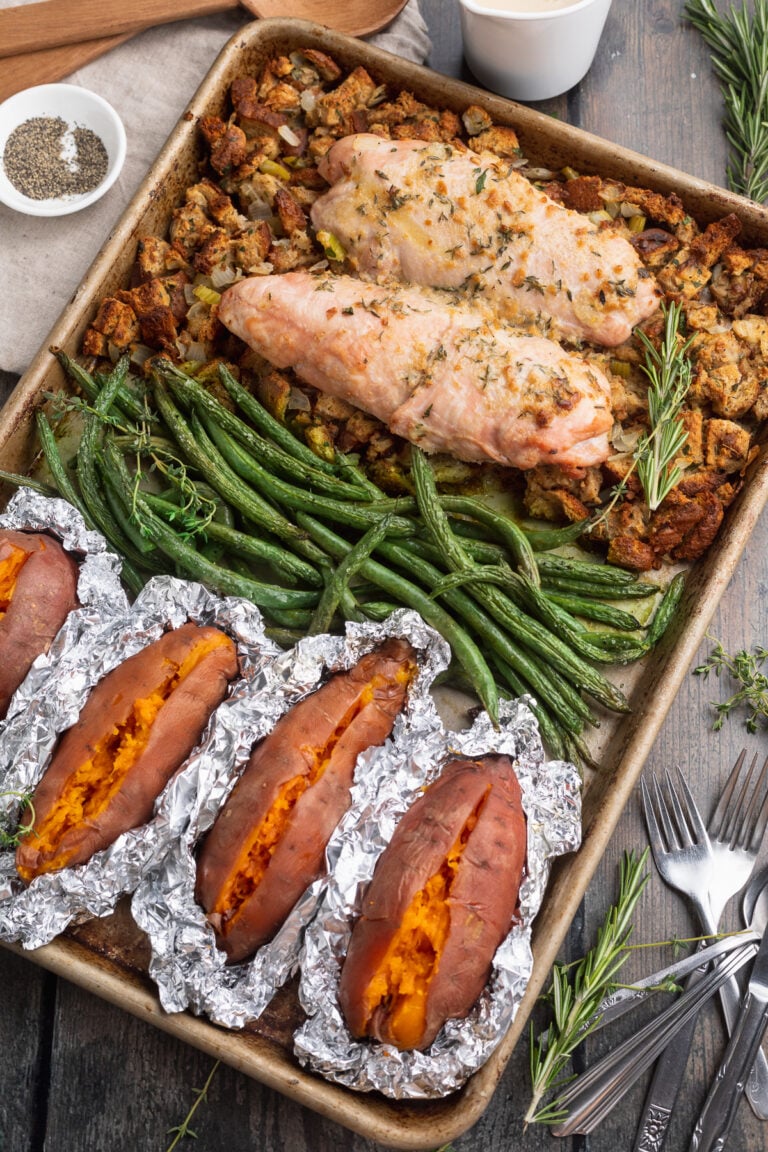
- Chicken thighs are extremely versatile– you can pair them with any of our side dishes for a complete and delicious meal. My personal favorite chicken thigh sides are creamy mashed potatoes, tender green beans, or savory roasted potatoes and carrots.
👩🍳 Chef’s Tips
- I kept things simple and used salt, pepper, and garlic powder to season. That way, these Instant Pot chicken thighs are guaranteed to work with basically any side dish. Don’t hesitate to use your favorite seasonings instead, though. Chili powder or paprika for a bit of spice, Tony Chachere’s for Creole flavor… even a little lemon and lime juice would be nice, and give the chicken a slight zip.
- If you’re using frozen chicken thighs, be sure to keep an eye on them while they’re under the broiler. The skin can crisp up pretty quickly. If they’re cooked too long, you’ll end up with charred chicken skins that throw off the rest of the flavors in the recipe.
- Adding liquid to the Instant Pot is non-negotiable. Yes, it keeps the meat moist, but it also prevents a burn notice. Chicken broth and water will work well, but you’ve got options! I like to use apple juice or pineapple juice sometimes for even more flavor. Keep in mind that cooking with those juices will give the meat a little of that flavor, which you might not want depending on your side dishes.
More of Our Favorite Chicken Thigh Recipes
- Honey Sriracha Chicken
- Instant Pot Chicken Thighs (Fresh or Frozen, Bone-In or Boneless)
- Achiote Chicken
- Creamy Whole30 Bacon Mushroom Chicken Thighs with Thyme (Paleo)
- Instant Pot Chicken Paprikash
- Chicken Savoy
- Honey Garlic Chicken
- Chicken Vesuvio
- One-Pan Cranberry Rosemary Chicken
- Buffalo Chicken Thighs
- Honey Garlic Lemon Pepper Chicken Thighs
Instant Pot Chicken Thighs (Fresh or Frozen, Bone-In or Boneless)
Equipment
- Cutting board or large plate, or parchment paper
- Small bowl
- Instant Pot or similar pressure cooker
- Tongs
- Large plate for fresh chicken thighs
- Large wooden spoon for fresh chicken thighs
- Instant Pot trivet
- internal meat thermometer
- Broiler for frozen chicken thighs
- large baking sheet for frozen chicken thighs
- Paper towels for frozen chicken thighs
- Small saucepan optional, for gravy
- medium mixing bowl optional, for gravy
- whisk optional, for gravy
Ingredients
For the Chicken Thighs
- 6 medium chicken thighs fresh or frozen, bone-in or boneless; approximately 2-3 pounds
- 1 teaspoon salt more or less to taste
- ½ teaspoon pepper more or less to taste
- 1 teaspoon garlic powder more or less to taste
- 1 tablespoon neutral oil avocado oil, olive oil
- 1 cup chicken broth or water, see Notes
For the Gravy (Optional)
- 2 tablespoons cornstarch
- ¼ cup dry white wine or ¼ cup chicken broth, or ¼ cup milk
- 1 cup chicken broth
Instructions
For Fresh Chicken Thighs (Bone-in or Boneless)
- Place chicken thighs on cutting board, large plate, or flat surface covered with parchment paper.
- Add salt, pepper, and garlic powder to small bowl. Mix spices together, then sprinkle mixture on chicken thighs, covering thighs evenly. Flip chicken thighs over and repeat seasoning process. Set chicken thighs aside.
- Set Instant Pot to Sauté mode. Add neutral oil and stir oil slightly to distribute across bottom of Instant Pot insert.
- When oil is hot and shimmery, place chicken thighs in Instant Pot, skin-side down. Sear chicken thighs 4 to 5 minutes or until skin is browned and releases easily from pot.
- Flip thighs over and sear other sides 3 minutes or until meat is just no longer pink. Transfer chicken thighs to plate and set aside.
- Pour chicken broth (or water) into Instant Pot to deglaze insert. Use large wooden spoon to scrape up any browned bits of chicken that may be stuck to bottom of insert.
- Place trivet in Instant Pot. Layer chicken thighs on top of trivet, then secure lid on Instant Pot with vent in Sealing position.
- For Bone-in Thighs: Set Instant Pot to Manual High Pressure for 9 minutes. Instant Pot will pressurize, then 9-minute cook time will begin.
- For Boneless Thighs: Set Instant Pot to Manual High Pressure for 8 minutes. Instant Pot will pressurize, then 8-minute cook time will begin.
- Once cook time is up, Natural Release pressure for 5 minutes. After 5 minutes, immediately Quick Release any remaining pressure.
- Carefully remove lid and transfer chicken thighs to cutting board or platter. Allow chicken thighs to rest 5 minutes before serving.
For Frozen Chicken Thighs (Bone-in or Boneless)
- Place chicken thighs on cutting board, large plate, or flat surface covered with parchment paper.
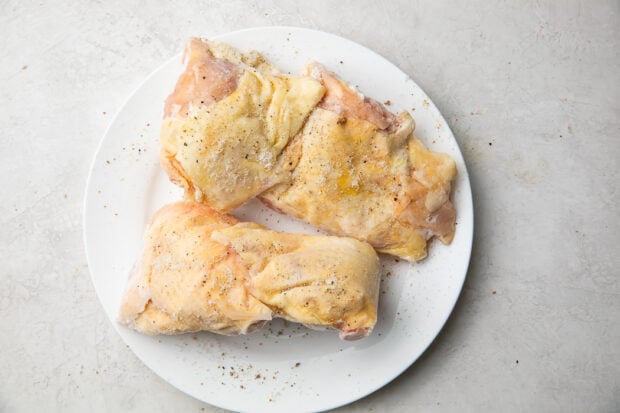
- Add salt, pepper, and garlic powder to small bowl. Mix spices together, then sprinkle mixture on chicken thighs, covering thighs evenly. Rub spice mixture into frozen chicken thighs to ensure spices stick. Flip chicken thighs over and repeat seasoning process. Set chicken thighs aside.
- Pour chicken broth (or water) into Instant Pot. Place trivet in Instant Pot, then layer frozen chicken thighs on top of trivet. Secure lid on Instant Pot with vent in Sealing position.
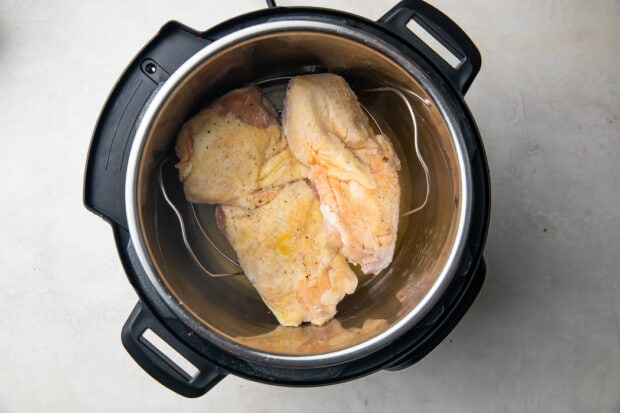
- For Bone-in Thighs: Set Instant Pot to Manual High Pressure for 13 minutes. Instant Pot will pressurize, then 13-minute cook time will begin.
- For Boneless Thighs: Set Instant Pot to Manual High Pressure for 10 minutes. Instant Pot will pressurize, then 10-minute cook time will begin.
- Once cook time is up, Natural Release pressure for 5 to 10 minutes. While pressure releases, preheat broiler on high. Arrange oven racks if needed so chicken thighs will sit approximately 10 to 12 inches below broiler.
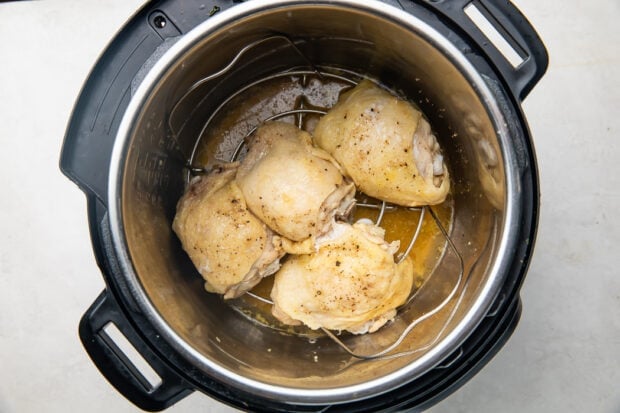
- After Natural Releasing pressure, carefully Quick Release any remaining pressure. Transfer chicken thighs to baking sheet and pat thighs dry on all sides with paper towels. If desired, sprinkle additional spice blend onto chicken thighs.
- Place baking sheet under broiler. Broil chicken thighs 10 to 15 minutes or until chicken skin is golden brown and internal temperature of meat reaches 160° Fahrenheit. Note: skipping this step will likely result in undercooked chicken thighs. Broiling is crucial to this recipe.
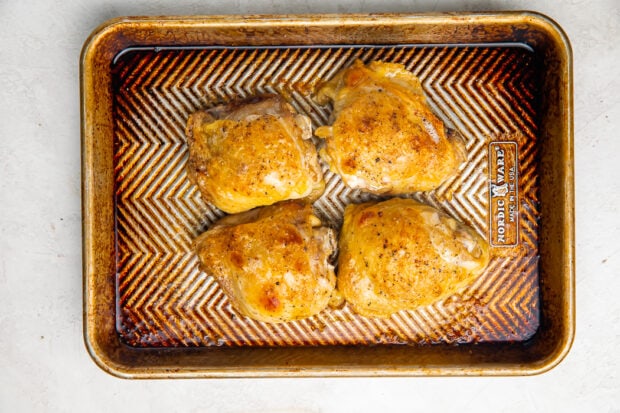
- Remove baking sheet from oven and set aside. Allow chicken thighs to rest 5 minutes before serving.
For the Gravy (Optional)
- Heat small saucepan over medium-high heat. When saucepan is warm, add 1 cup chicken broth. Continue heating saucepan until chicken broth begins to gently boil.
- While chicken broth comes to temperature, add 2 tablespoons cornstarch and ¼ cup white wine to medium bowl. Vigorously whisk ingredients together until combined into smooth cornstarch slurry.
- When chicken broth just begins to boil, remove saucepan from heat. Add slurry to saucepan, stirring constantly until fully incorporated.
- Return saucepan to heat. Simmer mixture approximately 5 minutes or until thickened. Stir frequently to prevent burning. Once thickened, taste gravy and season with salt and pepper if needed.
To Serve
- Once chicken thighs have rested 5 minutes, transfer chicken to serving plates. Serve immediately with desired sides and plenty of gravy (optional).
- Dry White Wine: Sauvignon blanc and pinot grigio would both work well here. Avoid using any sweet or sparkling wines. For an alcohol-free gravy, replace the wine with chicken broth or milk.
Approximate Information for One Serving
Nutrition Disclaimers
Number of total servings shown is approximate. Actual number of servings will depend on your preferred portion sizes.
Nutritional values shown are general guidelines and reflect information for 1 serving using the ingredients listed, not including any optional ingredients. Actual macros may vary slightly depending on specific brands and types of ingredients used.
To determine the weight of one serving, prepare the recipe as instructed. Weigh the finished recipe, then divide the weight of the finished recipe (not including the weight of the container the food is in) by the desired number of servings. Result will be the weight of one serving.
Did You Make This Recipe?
Tag @40aprons on Instagram and be sure to leave a review on the blog post!
Never Miss A Meal!
New Recipes Straight To Your Inbox
A curated selection of our most recent recipes, delivered straight to your inbox once a week.



Excelent
Thank you, Juan!