
This Post May Contain Affiliate Links. Please Read Our Disclosure Policy.




Get started on your homemade kombucha journey by growing your own SCOBY from store-bought plain kombucha! Below I’ve covered everything from how to grow your SCOBY, care for it, and what to look for in case your SCOBY goes bad.
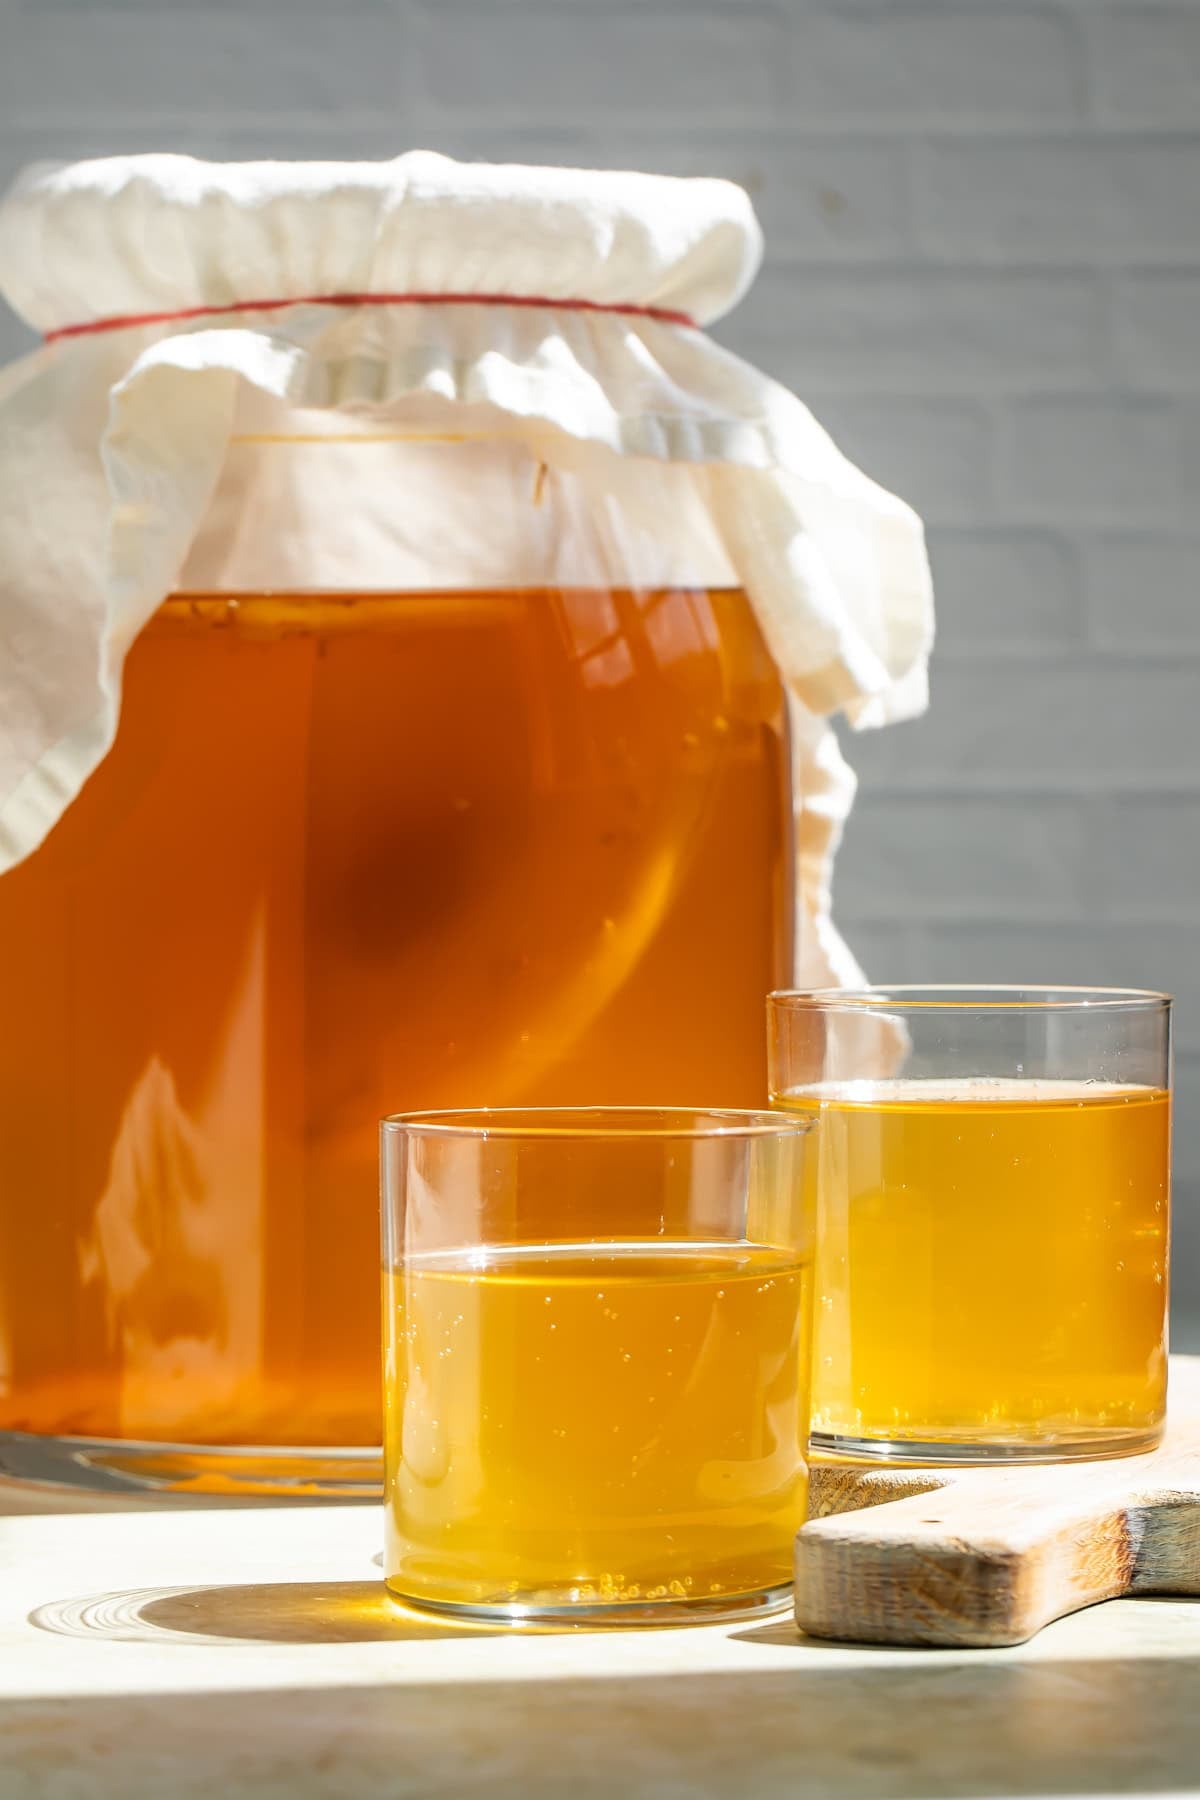
See recipe card below for full list of measurements, ingredients, and instructions.
A Note from Cheryl
Have you ever had kombucha? I’ve fallen in love with the tangy, slightly fizzy drink, with so, so many incredible health benefits. It’s great for a healthy digestive system, and I find it really helps after a big meal.
The only trouble is the stuff is ‘spensive, y’all. Anywhere from $3.99 to $5.99 at a well-stocked grocery store, it’s just not realistic to stock your daily habit with the bottled stuff. Which is how I started making my own… all you need is a batch of sweet tea and a SCOBY! But what is a SCOBY I hear you ask? Well, let’s get into it below!
What Is A SCOBY?
- SCOBY stands of Symbiotic Culture of Bacteria and Yeast. It’s basically a yellow-white lump of yeast and bacteria which is what adds all the “good” bacteria that we need to keep our guts healthy to a batch of kombucha! If that sounds gross to you don’t let that put you off, it’s just like a sourdough starter… but for kombucha! It is also what turns sweet tea into something fizzy, tart and totally delicious!
- No fancy ‘make your own kombucha’ kits are needed here (or the risk of buying live cultures from the internet!), I’ve written this recipe to make SCOBY using store-bought kombucha as a starter so you can get everything you need to start your homemade kombucha journey at the grocery store!
- Once your SCOBY is ready you can reuse it indefinitely as long as you’ve stored it correctly and it has not grown any mold (more on that below) to brew batch after batch of kombutcha.



What I Learned Testing This Recipe
- Visual cues are the easiest way to check your SCOBY is healthy. A thin white or cream-colored film, strands of brown stringy yeast hanging underneath the developing SCOBY, a vinegary smell and small bubbles are all totally normal — they’re not much different than what you’d see working with bread yeast. However, the appearance of fuzzy green, blue, black or pink mold, or a rotten or cheesy smell are really bad signs and you should throw the SCOBY away, clean everything well, and start again.
- Use a sterilized jar. You don’t want to risk mold growing on your SCOBY, so grow it in a sterilized jar prepared as you would for bottling or jam making. Wash your jar thoroughly with hot, soapy water for baking at 320°F for 15-20 minutes before allowing to cool. Make sure you don’t touch the inside of the jar before adding the SCOBY ingredients!
- Black tea gave the most reliable results. While you can’t make a SCOBY using most herbal teas, while green tea will work I found the black tea SCOBY was much easier to grow and maintain.
- You can grow a SCOBY in any room temperature conditions, but I found it grew faster in slightly warmer environments. But, don’t be tempted to leave it in direct sunlight to speed things up as this will most likely kill it!
Ingredients
Filtered water – Make sure you use filtered water to make your SCOBY, or else bottled mineral water as tap water is heavily chlorinated, which isn’t great for your SCOBY!
Black tea bags – You’ll want two, or you can use 2 teaspoons of loose black tea.
Granulated sugar – This will provide the sugars needed to feed your growing SCOBY!
Plain, raw, unflavored, unpasturized kombucha – This will provide your starter culture from what will become your first batch! It needs to be raw and unpasturized so it still contains live cultures. Brands like GT’s Original should work well.
How To Store Your SCOBY
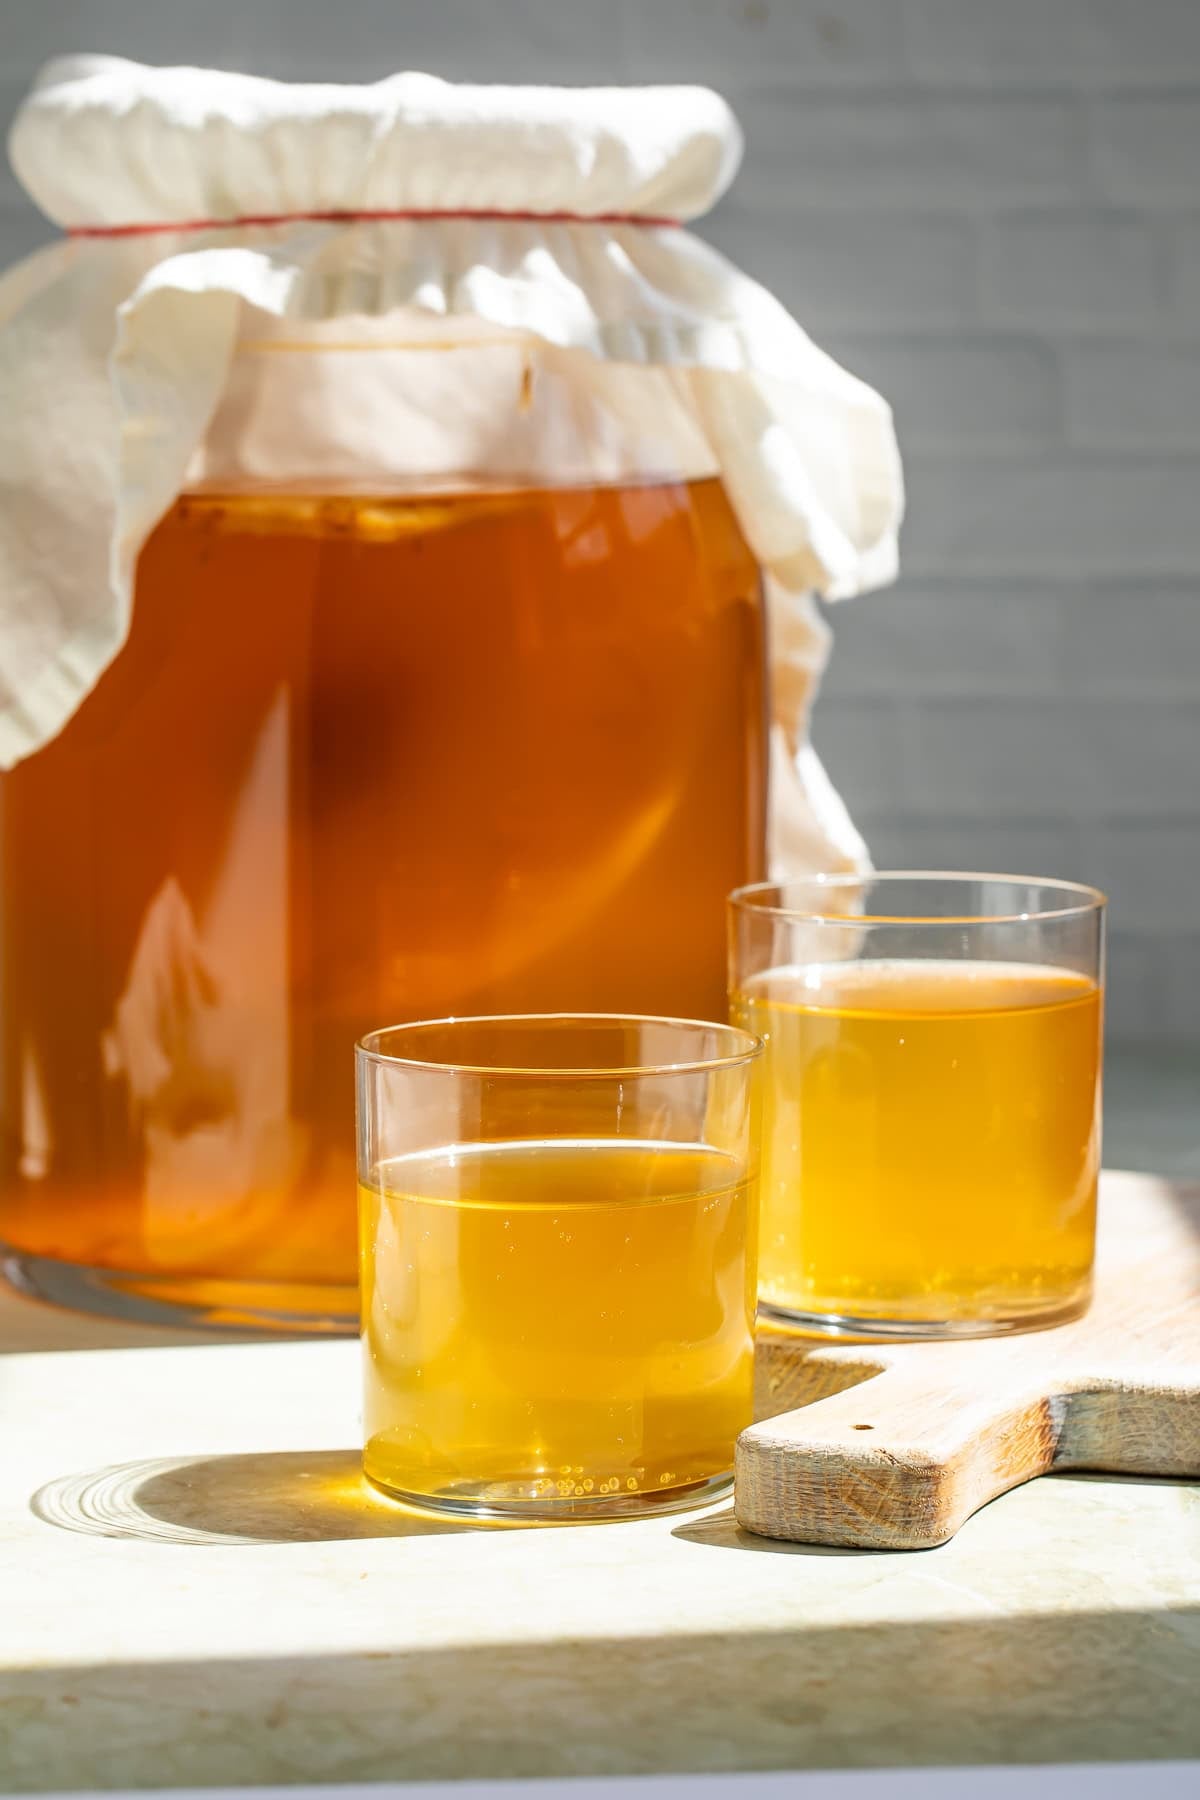
Between batches of kombucha, store your SCOBY back in the jar you made it in, covered with finished, unflavored kombucha so that it is completely submerged. Cover the jar with the same breathable fabric or coffee filter, and store at room temperature out of direct sunlight. Change the kombucha for fresh every time you use the SCOBY, and if it grows any mold throw it away.
Gifting SCOBYS
Each time you brew a new batch of kombucha, the SCOBY you use to turn the sweet tea into kombucha will create a baby SCOBY. You only need one SCOBY per batch, so you can easily pass out extra SCOBYs like a SCOBY god to your friends!
Frequently Asked Questions
You can use your SCOBY to make your first batch of kombucha when it reaches ⅛–¼ inches of thickness. This should take 3-5 weeks, but could take up to 6 weeks in cooler weather.
Yes, you can successfully make a SCOBY without using refined white sugar, even though I prefer it as I find it leads to batches of kombucha that have a cleaner taste. What you can’t do is make a SCOBY without real sugar as it won’t ferment; artificial sweeteners will kill your SCOBY!
You can find my method (as well as lots of different flavor ideas!) here!
Making changes to a recipe can result in recipe failure. Any substitutions or variations listed are simple changes that I believe will work in this recipe, but results are not guaranteed.
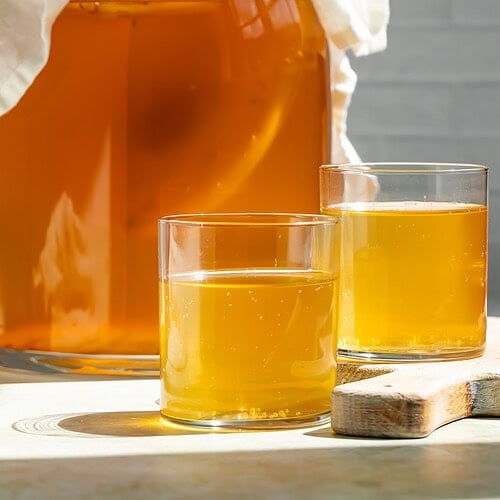
Home Grown SCOBY

Equipment
- 1-quart glass jar
- Tightly woven cloth or coffee filter
- Large rubber band big enough to cover the neck of the jar
Ingredients
- 2 cups filtered water
- 2 black tea bags or 2 teaspoons loose black tea
- ¼ cup granulated sugar 50g
- ½ to 1 cup plain raw, unflavored kombucha at room temperature

Instructions
- To make the sweet tea, bring the water to the boil. Steep the tea for about 10 minutes before removing the teabags. Stir in the sugar until completely dissolved before leaving to cool completely. This is important as hot tea can kill the live cultures!
- Pour the cooled sweet tea into the clean jar you're going to grow your SCOBY in. Add the store-bought kombucha and gently swirl.
- Cover the jar, and secure the cloth of coffee filter over the top with the rubber band. This will allow the air to flow while keeping insects and dust out!
- Place the jar somewhere at room temperature where it won't be disturbed, away from direct sunlight. 75–80°F (24–27°C) is ideal! This is what to expect: Days 3–7: You'll see a cloudy film forming.Weeks 2–3: The film will thicken into a translucent SCOBY.Weeks 3–5: The SCOBY should grow to about ⅛–¼ inch thick, and will then be sturdy enough to brew with!The exact timing depends mostly on temperature. Cooler rooms can take 5–6 weeks.
Approximate Information for One Serving
Nutrition Disclaimers
Number of total servings shown is approximate. Actual number of servings will depend on your preferred portion sizes.
Nutritional values shown are general guidelines and reflect information for 1 serving using the ingredients listed, not including any optional ingredients. Actual macros may vary slightly depending on specific brands and types of ingredients used.
To determine the weight of one serving, prepare the recipe as instructed. Weigh the finished recipe, then divide the weight of the finished recipe (not including the weight of the container the food is in) by the desired number of servings. Result will be the weight of one serving.
Did You Make This Recipe?
Tag @40aprons on Instagram and be sure to leave a review on the blog post!
More Kitchen Basics
Never Miss A Meal!
New Recipes Straight To Your Inbox
A curated selection of our most recent recipes, delivered straight to your inbox once a week.















Hi! Just visiting today & wondering about the recipe mentioned in the post. Am I missing something? I don’t see a recipe. My friend & I were just talking about this on our walk. Would like to try it out…
Hi Jill, thanks for bringing this to our attention! We’re working to restore the recipe card.
How do you know when your Scooby is ready to use? I’m growing one right now.
Stacey, when it is 1/4-inch thick, you can start using your scoby!
I have just made an attempt at this. Although I had mostly drank 2/3 of the bottle so I am just winging it. If it doesn’t work then I will do it just like you say.
Great! Let me know how it works. I’d recommend lowering the amount of sweet tea in that case, but it should work, it just might take more time. Keep it in a warm place, and you should be good!
Hi, can you drink the juice the scoby grew in? Isn’t it just a smaller batch of
kombucha?
Yes BUT you should reserve that liquid for your first real batch of kombucha. You need just another huge batch of sweet tea and a couple cups of kombucha, plus your scoby. But if you just want to brew little double batches of kombucha this way, it would technically work