
This Post May Contain Affiliate Links. Please Read Our Disclosure Policy.
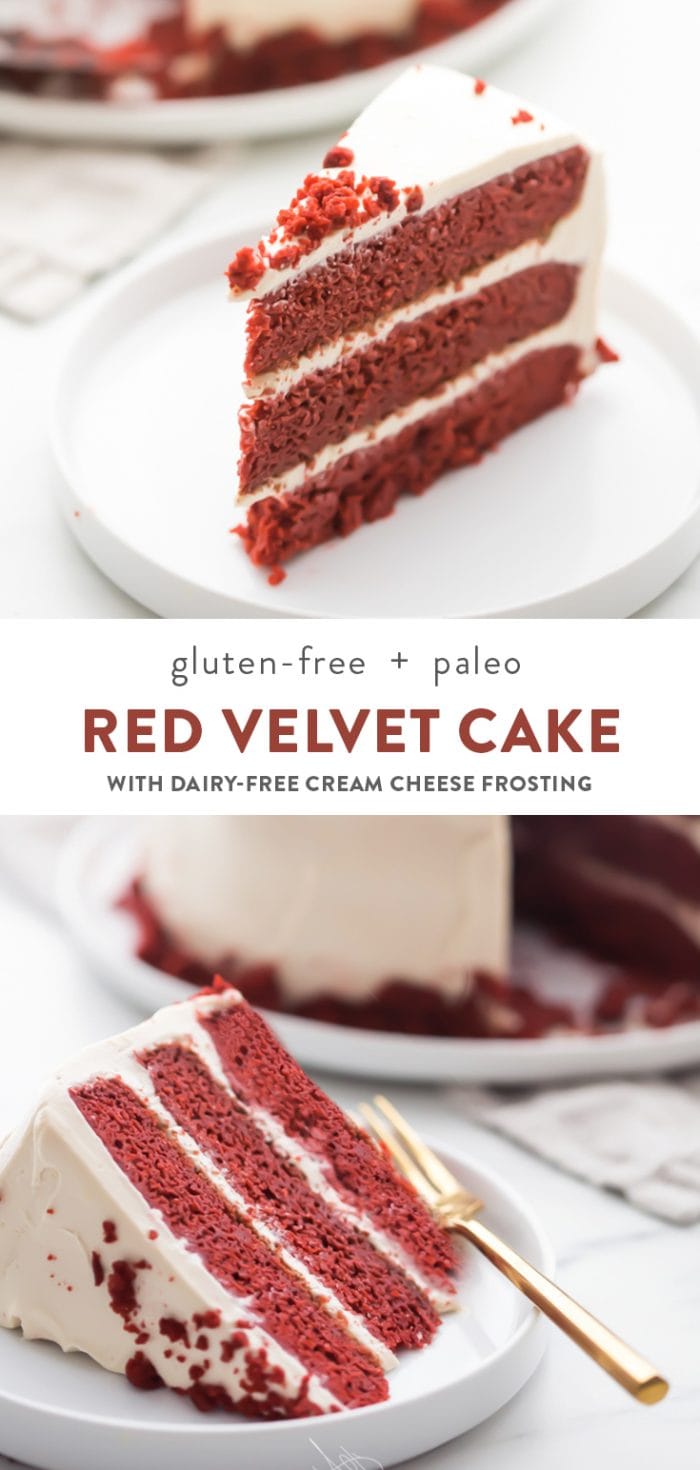
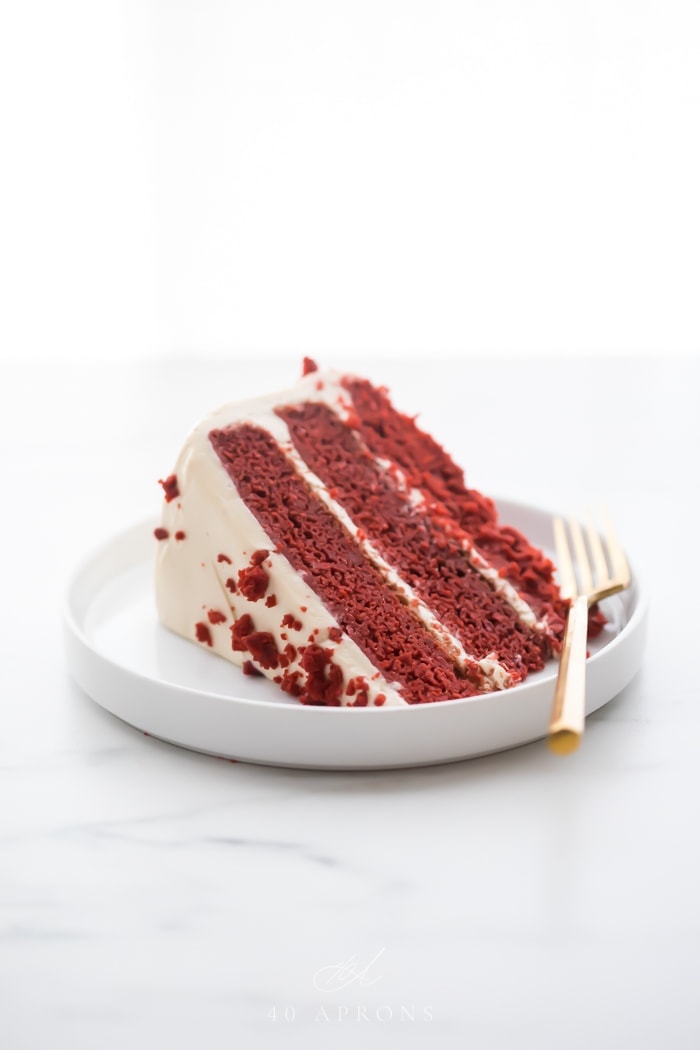
This gluten free red velvet cake is almost impossibly good, with a rich, moist cake and just the right amount of cocoa, and a tangy, dairy-free cream cheese frosting. Grain free, refined sugar free, and maybe, just maybe, actually healthy, this paleo red velvet cake is a total showstopper.
I know, right? This red velvet cake looks:
- Insanely moist
- Crazy rich
- Oh so striking
- With a tangy and creamy frosting
It does not look:
- Gluten free
- Paleo
- Grain free
- Dairy free
- Or healthy
But guess what, friends? This gluten free red velvet cake is all of those things. It’s one of the richest, most moist red velvet cakes I’ve ever had (And I make the best traditional red velvet cake, even if my photos look like they’re from a different lifetime), and it’s somehow made with all real, whole food ingredients, like almond flour, tapioca starch, coconut flour, coconut sugar, cashews, maple syrup, cocoa powder, coconut oil, and coconut milk. Oh, with a helluva lot of red food coloring for that red velvet ker-pow.
Red velvet cake is so near and dear to my heart, because I’m pretty sure my husband married me over my recipe. I finally decided I was really into him, and I invited him over for dinner before he took me to a Pixies concert (We were cool back then). I made my famous shrimp and grits recipe and dotted a cupcake tower with my equally famous red velvet cupcakes and their tangy cream cheese frosting. I could see his face morph into veritable heart-eyes, and I knew it was over. Like, “mortgage, two car notes, two babies, and a joint retirement savings plan 8 years later” over.
And that’s why this gluten free red velvet cake is positively perfect for Valentine’s Day, especially if you’re trying to keep up with your clean eating or paleo diet or simply feel lighter and better after dinner!
What makes this recipe so freaking good
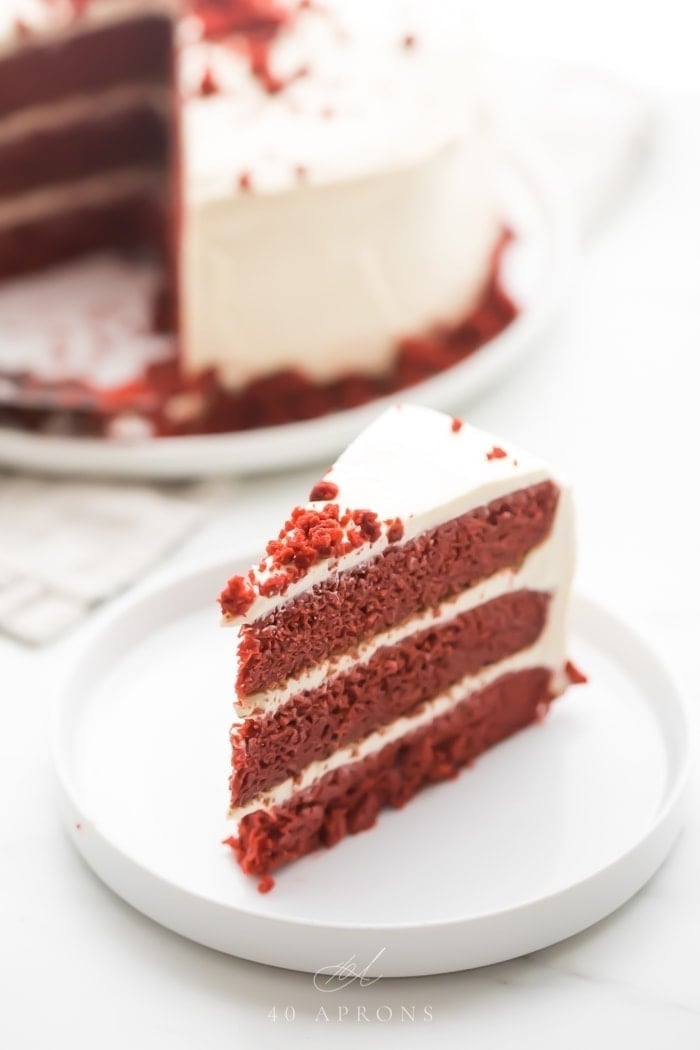
- The cake tastes as close to a traditional red velvet cake as I could possibly imagine!
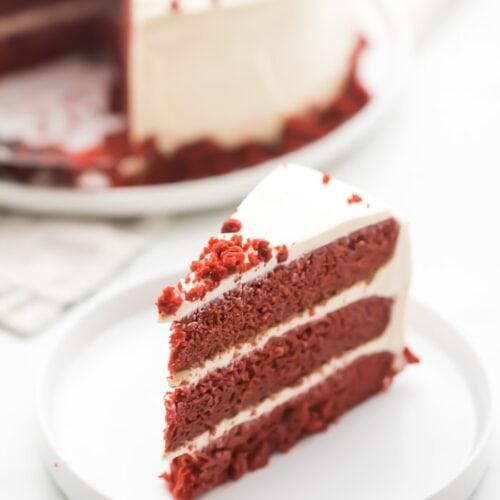
- The gluten free red velvet cake is super rich, with just the right amount of cocoa, and a beautiful, airy texture, despite being super moist.
- The dairy-free cream cheese frosting is made with cashews, coconut cream, yogurt, maple syrup, and other healthy ingredients, making this refined sugar free and actually sort of good for you. I know…
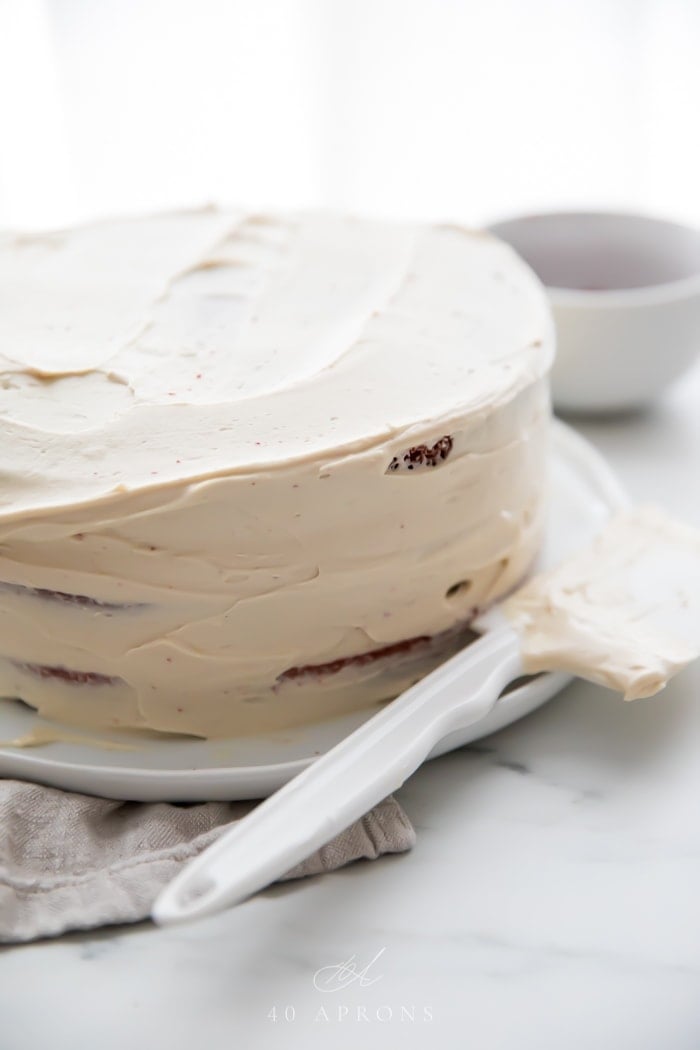
- The whole cake is super striking and impressive, but it’s really quite easy to put together!
The method includes a few steps that make a big difference to the cake but aren’t difficult or involved. Here’s the deal:
- Wrapping the baked cakes in plastic wrap keeps the gluten free red velvet cake oh so moist.
- Freezing the cakes until solid makes them really easy to frost.
- Whipping the dairy-free cream cheese frosting after blending incorporates air that makes the frosting fluffy. It’s the same method used to make ice cream without an ice cream maker!
Tips
- This is not a quick recipe; we take advantage of lots of chilling to make the cakes super moist and the paleo cream cheese frosting fluffy and thick. Make sure you start baking either the morning of serving (for dinner) or the day ahead.
- Make your frosting and make and freeze your cakes ahead; frost them right before serving. It does not take long for cakes to thaw.
- Whip your paleo frosting after every 30 minutes of freezing for the first 60-90 minutes for a lighter and airier texture.
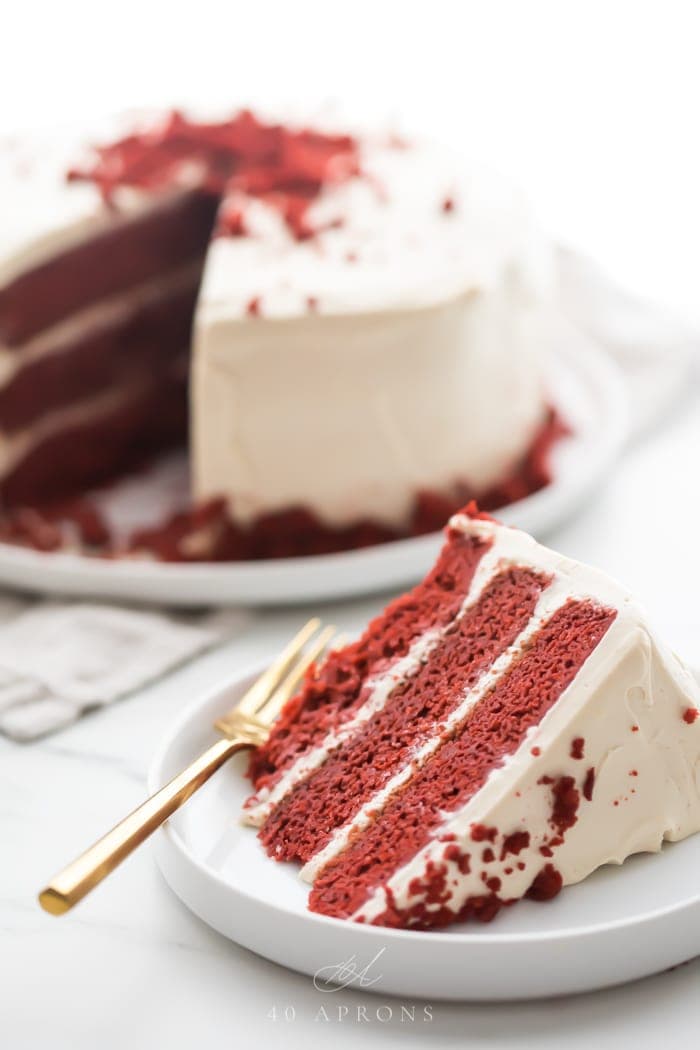
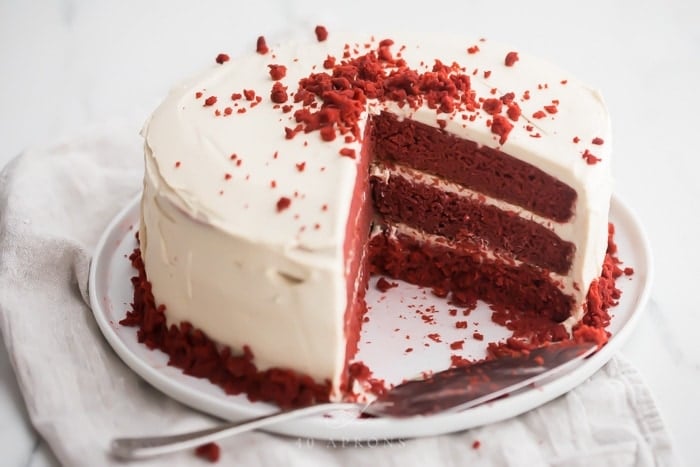
- Use traditional red food coloring for a really vibrant shade of red. Use natural food coloring for a healthier but darker, more mahogany shade.
- Line the bottom of your cake pans parchment paper for seamless removal of the cakes.
How to make this recipe
Preheat the oven to 325º Fahrenheit. Prepare your cake pans: grease them with refined coconut oil and place parchment paper rounds in the bottom. To do this, place your cake pans on top of a sheet of parchment and trace around the bottom. Cut out just inside the trade line. This part makes a big difference, so I highly recommend not skipping this step!
Make your cake batter: in a large bowl whisk together the dry ingredients. In a medium bowl, whisk together the wet ingredients until very smooth. Gently stir the wet ingredients into the dry and whisk until really smooth. You can’t really overmix here, since there’s no gluten!
Divide the batter evenly among the prepared cake pans and gently tap on the counter to release any large air bubbles. Bake for 15 minutes then swap the pans’ positions: move the cakes on the lower rack to the upper rack and vice versa, and for the rack with two cake pans on it, move the pan on the left to the right and vice versa. Continue baking for another 10-12 minutes or until a toothpick inserted into the middle of the cake comes out clean.
Remove from oven and let sit for a few minutes. Then, if wrapping in plastic and freezing, place a sheet of plastic wrap about 3x the width of the cake centered on a large plate. Turn the lined plated upside down on top of the cake pan, then carefully invert. The pan should come right off. Carefully wrap the cake in plastic. Repeat this process with all cakes then freeze until solid, about 3 hours. If not wrapping and freezing, simply invert cakes out of pans and cool completely on wire racks. There should be absolutely not heat left in the cake before you frost it.
While the cakes are baking, make your frosting: blend together all paleo cream cheese frosting ingredients until completely, totally smooth. Scrape into a large bowl and freeze until essentially solid or the texture of traditional frosting. After the first 30 minutes of freezing, beat on high with a handheld or stand mixer for 2 minutes. Repeat after the next 30 minutes of freezing, then freeze until thick. This will help the texture become airy.
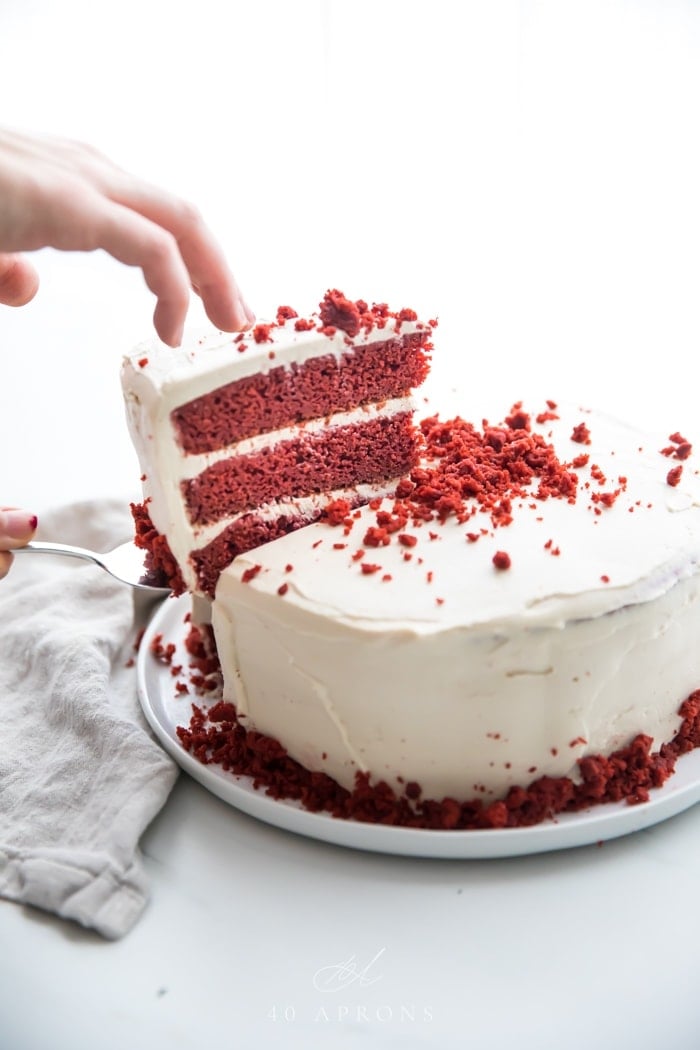
When ready to frost your cakes, remove cakes and frosting from freezer. With a serrated knife slice off any dome from the cakes to make them perfectly flat and even. Use a pastry brush to brush off excess crumbs from tops. Frost layers in between cakes then frost entire cake with a crumb coat, or relatively light coat of frosting. Chill cake for 30 minutes, then frost with another layer of frosting for a very clean coat.
Crumble cut-off domes and decorate with red velvet crumbs. Slice and serve!
Can I use regular cream cheese frosting?
Absolutely! If you eat dairy, cream cheese frosting is the best. The dairy-free frosting here is wonderful, but it definitely isn’t real cream cheese, which I would argue is one of the most delicious foods, like… ever.
If you don’t mind dairy and powdered sugar: My recipe is fantastic, though I’d suggest you increase the ingredients by 50% to have enough frosting for a 3-layer cake.
If you eat dairy but don’t want refined sugar: I highly recommend trying this recipe and doubling it. Omit the ginger.
Other recipes you’ll love:
- Molten Lava Cake Recipe (Paleo, Healthy, Gluten Free)
- Paleo Pumpkin Chocolate Chip Muffins with Cream Cheese Frosting (Dairy-Free, GF)
- Healthy Cookie Dough
- Valentine’s Dessert Board
- Healthy Cake Batter
- Vegan No Bake Cookie Dough Cheesecake (Paleo)
Gluten Free Red Velvet Cake (Paleo, Healthy, Grain Free, Refined Sugar Free)
Ingredients
Gluten Free Red Velvet Cake
- 3 ⅔ cups almond flour
- 1 ⅔ cup tapioca starch
- ⅓ cup coconut flour
- 1 cup golden or blonde coconut sugar
- 2 tablespoons cocoa
- 2 teaspoons baking soda
- 1 teaspoon salt
- 4 eggs
- 1 13.5- oz can full-fat coconut milk whisked well
- ⅔ cup water
- 2 tablespoons red food coloring traditional or all-natural, see note 1
- ½ cup refined coconut oil melted
- 1 ½ tablespoons apple cider vinegar
- 1 tablespoon vanilla extract
- ½ teaspoon almond extract
Dairy Free Cream Cheese Frosting (See note 2)
- 3 cups raw cashews soaked in hot water for 30-60 minutes
- 1 cup yogurt cashew, coconut, or regular
- ½ cup coconut cream just the solid white part of a can of coconut milk or cream
- ½ cup pure maple syrup ideally a light amber variety but not necessary
- ⅓ cup refined coconut oil
- 1 ½ tablespoons apple cider vinegar
- 2 tablespoons fresh lemon juice
- ½ teaspoon fresh grated lemon zest
- 1 ½ tablespoon pure vanilla extract
- ¼ teaspoon sea salt
Instructions
- Preheat oven to 325º F. Soak the raw cashews for the frosting now: add cashews to a large measuring cup and cover with hot water. Set aside.
- Prepare 3 9-inch cake pans: grease the bottom and sides of each with coconut oil. Line the bottom of each pan with a round of parchment paper. See note 3 for more information.
- In a large bowl, whisk together dry ingredients: almond flour through salt. In a medium bowl, whisk together wet ingredients until very smooth: eggs through almond extract. Gently stir wet ingredients into dry and whisk until very smooth.
- Divide cake batter evenly among prepared cake pans. Bake 15 minutes, then swap position of cake pans in oven. Switch oven racks and left to right (Move pans on the lower rack to the higher rack and pans on the left to the right, etc.). Bake another 10-12 minutes or until a toothpick comes out clean. Remove from oven and let rest 5 minutes.
- Place an upside-down plate on top of cakes and carefully invert; cake should come right out. Cool completely or wrap in plastic wrap and freeze until frozen solid, about 3 hours. See note 4 for more information.
- While cakes are baking, make frosting: in a high-speed blender, blend together all ingredients until very, very smooth. Taste and add additional maple syrup for sweetness, lemon zest for tang, or apple cider vinegar for a sour taste. Pour into a large bowl and place in freezer. Optionally, after 30 minutes, remove from freezer and whip on high speed for 2 minutes. Return to freezer, freeze another 30 minutes, remove, and whip on high speed for 2 minutes. Return to freezer and freeze until super thick, about 2-2 1/2 total hours. You can skip whipping the frosting, but doing so creates a lighter, airier frosting, and it’s very worth it!
- Frosting is ready when, if you tilt the bowl, the mixture does not move at all.
- When ready to frost the cakes, pull all items out of freezer, if chilled. With a serrated knife, cut off any domes of the cakes to make them perfectly flat and even; reserve domes for decoration. Frost cake with a spatula, frosting with a thin layer over the top layer and sides to start. After this crumb coat is completed, place cake in refrigerator for 30 minutes. Remove from fridge and finish with a top coat. This will keep the top coat more pure and smooth.
- Crumble cut-off domes into red velvet crumbs. Decorate cake with crumbs, cut into slices, and serve. This cake will keep at room temperature for several hours, but the frosting holds a little better in the refrigerator.
If you use all-natural food coloring, the color will not be quite as vibrant as in the photos and will be a bit darker and richer. Still oh so striking! Note 2:
If you’re not dairy free or you eat cream cheese, try this recipe. Double the ingredients and omit the ginger. Note 3:
I highly recommend lining the bottoms of your cake pans with rounds of parchment. I place the pans on top of a piece of parchment and trace around the bottom, then cut inside the tracing. Note 4:
Wrapping and freezing your cakes will make them moister and easier to frost. I highly recommend this, as you will need time to make and chill the frosting, too.
Approximate Information for One Serving
Nutrition Disclaimers
Number of total servings shown is approximate. Actual number of servings will depend on your preferred portion sizes.
Nutritional values shown are general guidelines and reflect information for 1 serving using the ingredients listed, not including any optional ingredients. Actual macros may vary slightly depending on specific brands and types of ingredients used.
To determine the weight of one serving, prepare the recipe as instructed. Weigh the finished recipe, then divide the weight of the finished recipe (not including the weight of the container the food is in) by the desired number of servings. Result will be the weight of one serving.
Did You Make This Recipe?
Tag @40aprons on Instagram and be sure to leave a review on the blog post!
Never Miss A Meal!
New Recipes Straight To Your Inbox
A curated selection of our most recent recipes, delivered straight to your inbox once a week.


I want to make this cake for my mother’s birthday but I don’t really use sugar in baking. If I wanted to swap the coconut sugar for maple syrup…I’d need to reduce the liquid in this recipe somewhere, right? I’m thinking less coconut milk?
Hi Taylor! Unfortunately, we’ve never tried substituting maple syrup for coconut sugar, so we don’t have any tips. If you can, we highly suggest using the coconut sugar! Be sure to let us know if you try it!
Could this all be made and kept in freezer days ahead?
Yes! Wrapping and freezing your cakes makes them even more moist and super easy to frost. Let us know if you try it! 😊
If I use measure for measure gluten free flour, how much would I need to use?
Every gluten-free flour behaves differently, so without testing this recipe with the specific flour you plan to use, we can’t say for sure how you might need to adjust it. So sorry! You would likely need to adjust the other ingredients as well, not just the flour. For example, we used coconut flour here which is quite thirsty, so we used enough liquid to accommodate that. It may be too much or not enough liquid for the type of gluten-free flour you want to use.
Can you use almond milk instead of full fat coconut milk?
We didn’t test it with almond milk instead so we can’t say for sure how that might turn out, but it likely wouldn’t be as moist or creamy without the full-fat coconut milk. Let us know if you try it!
How well does this recipe translate to cupcakes? Are there any special modifications necessary?
You should only need to adjust the bake time! Cupcakes typically bake much faster than full cakes, so I would start out by halving the times mentioned in this recipe and checking the doneness frequently.
Could I use beet powder instead of food coloring? How much would I use?
We haven’t tested this swap, but if you do, let us know how it works out! I would think at least a tablespoon, but can’t say for certain as it wasn’t tested.
This worked perfectly! I made it for a dairy free friend’s birthday, and everyone enjoyed it. I used monk fruit sweetener instead of the coconut sugar, so that’s an option.
That’s a great option, glad that worked for you!
Could you use regular sugar or Splenda in place of coconut sugar?
Sure thing! If your diet allows you to have those products, then go for it! 🙂
Can we use arrowroot instead of tapioca startch?
Sure! That should work!
If I wanted to make cream cheese frosting instead of dairy free, how much cream cheese should I use to make the frosting? This is on my list for Christmas dessert!
You’ll need at least 16 ounces!