This Post May Contain Affiliate Links. Please Read Our Disclosure Policy.
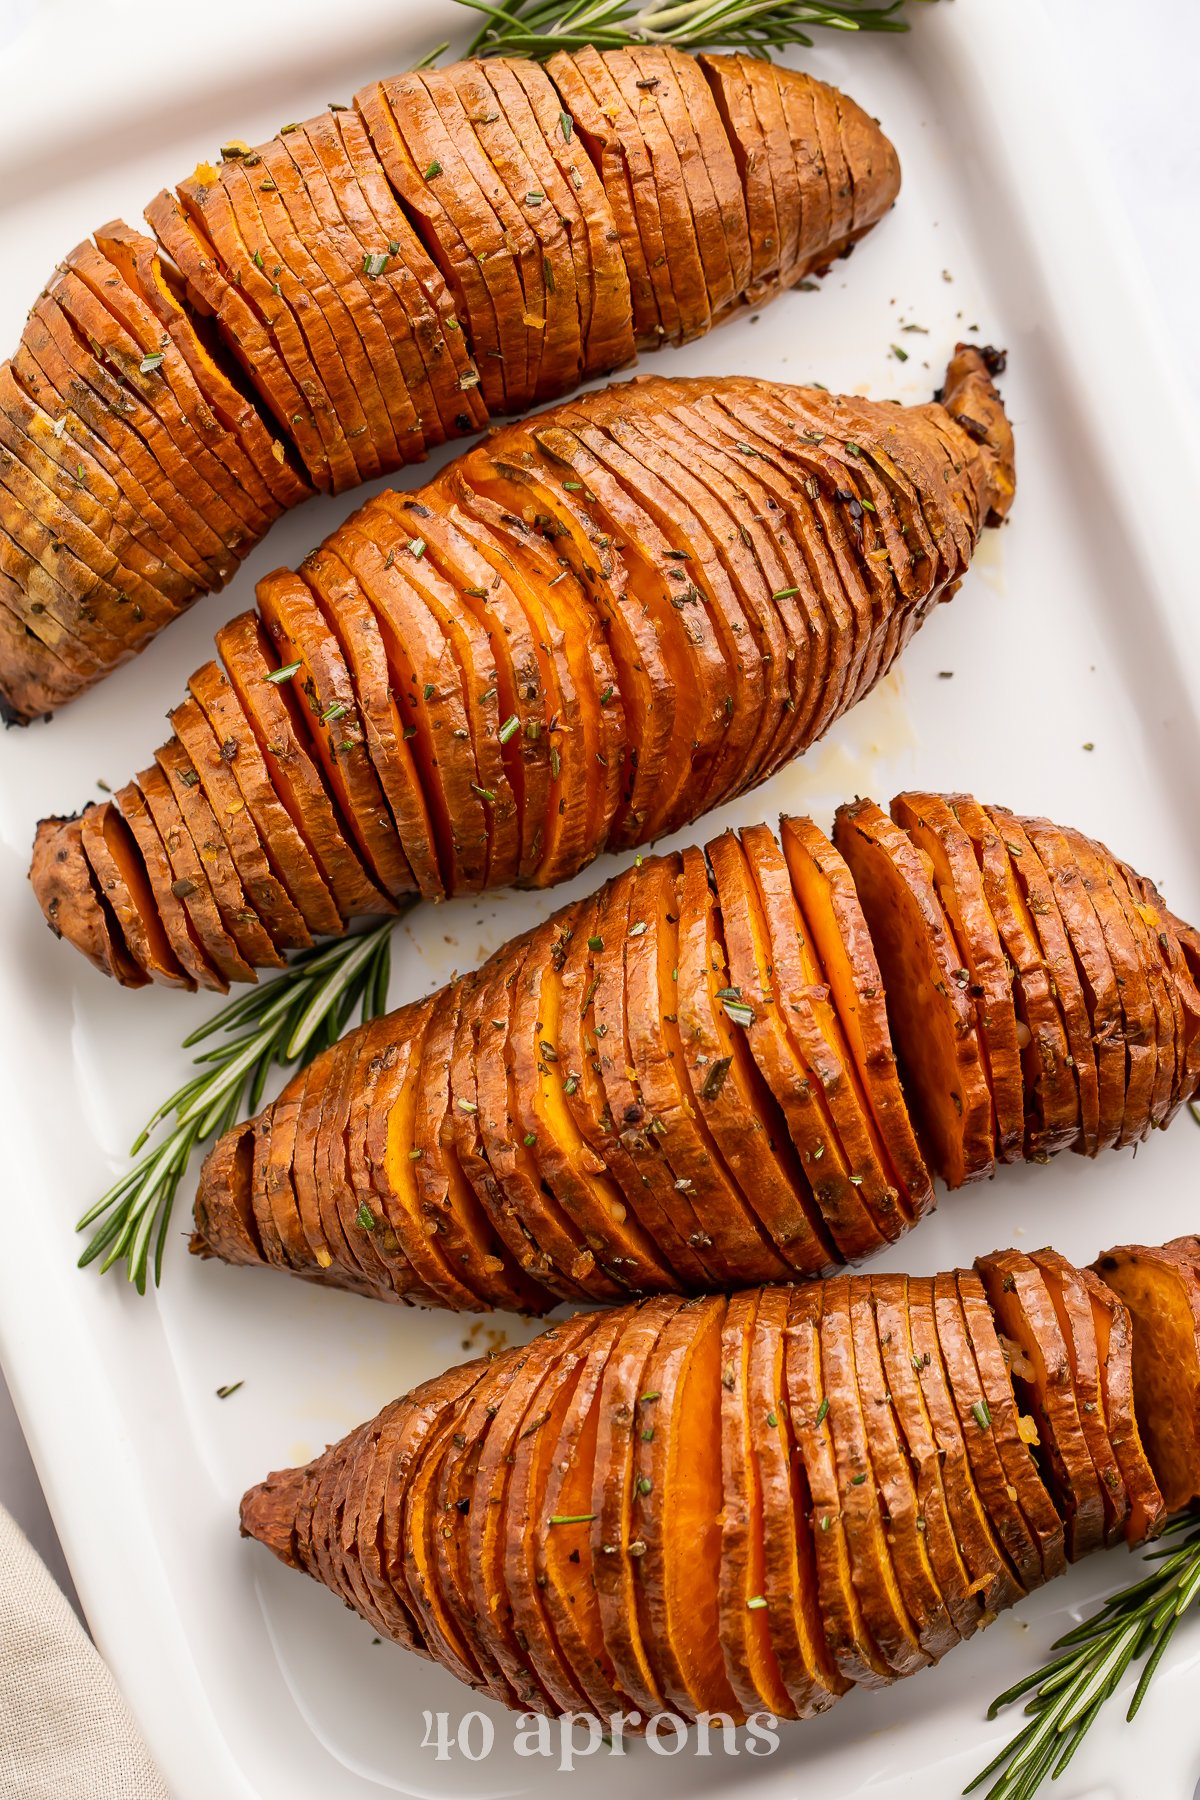
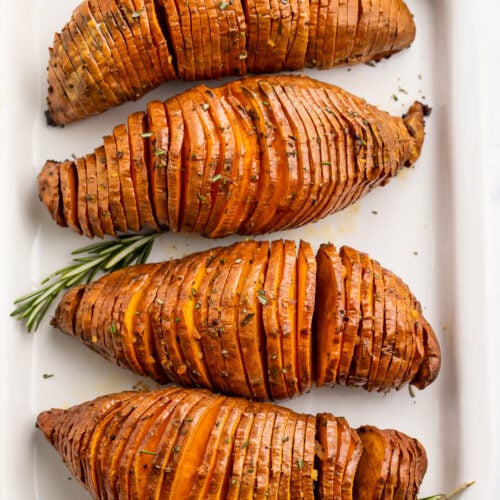
Hasselback sweet potatoes are as easy and delicious as they are stunning and impressive! Thinly sliced sweet potatoes are baked to tender perfection and swaddled with a buttery sauce of garlic, maple syrup, and fresh herbs. Perfect for a weeknight dinner, when entertaining, or for Thanksgiving or Christmas.
What Makes This Recipe So Good
- Delicious and a little elegant, hasselback sweet potatoes are deceptive – they look difficult, but they’re actually incredibly easy! So long as you’ve got a super sharp knife and a little bit of patience, you can pull off a stunning, restaurant-quality side dish with ease.
- Because they look so fancy, they make a great addition to Thanksgiving, Christmas, or any date night meal. You can even prep the potatoes in advance to make your day a little easier. Just slice the sweet potatoes earlier in the day and keep them refrigerated until you’re ready to bake them. I wouldn’t do that more than a few hours ahead, though, because the potatoes will oxidize and turn brown after they’re cut.
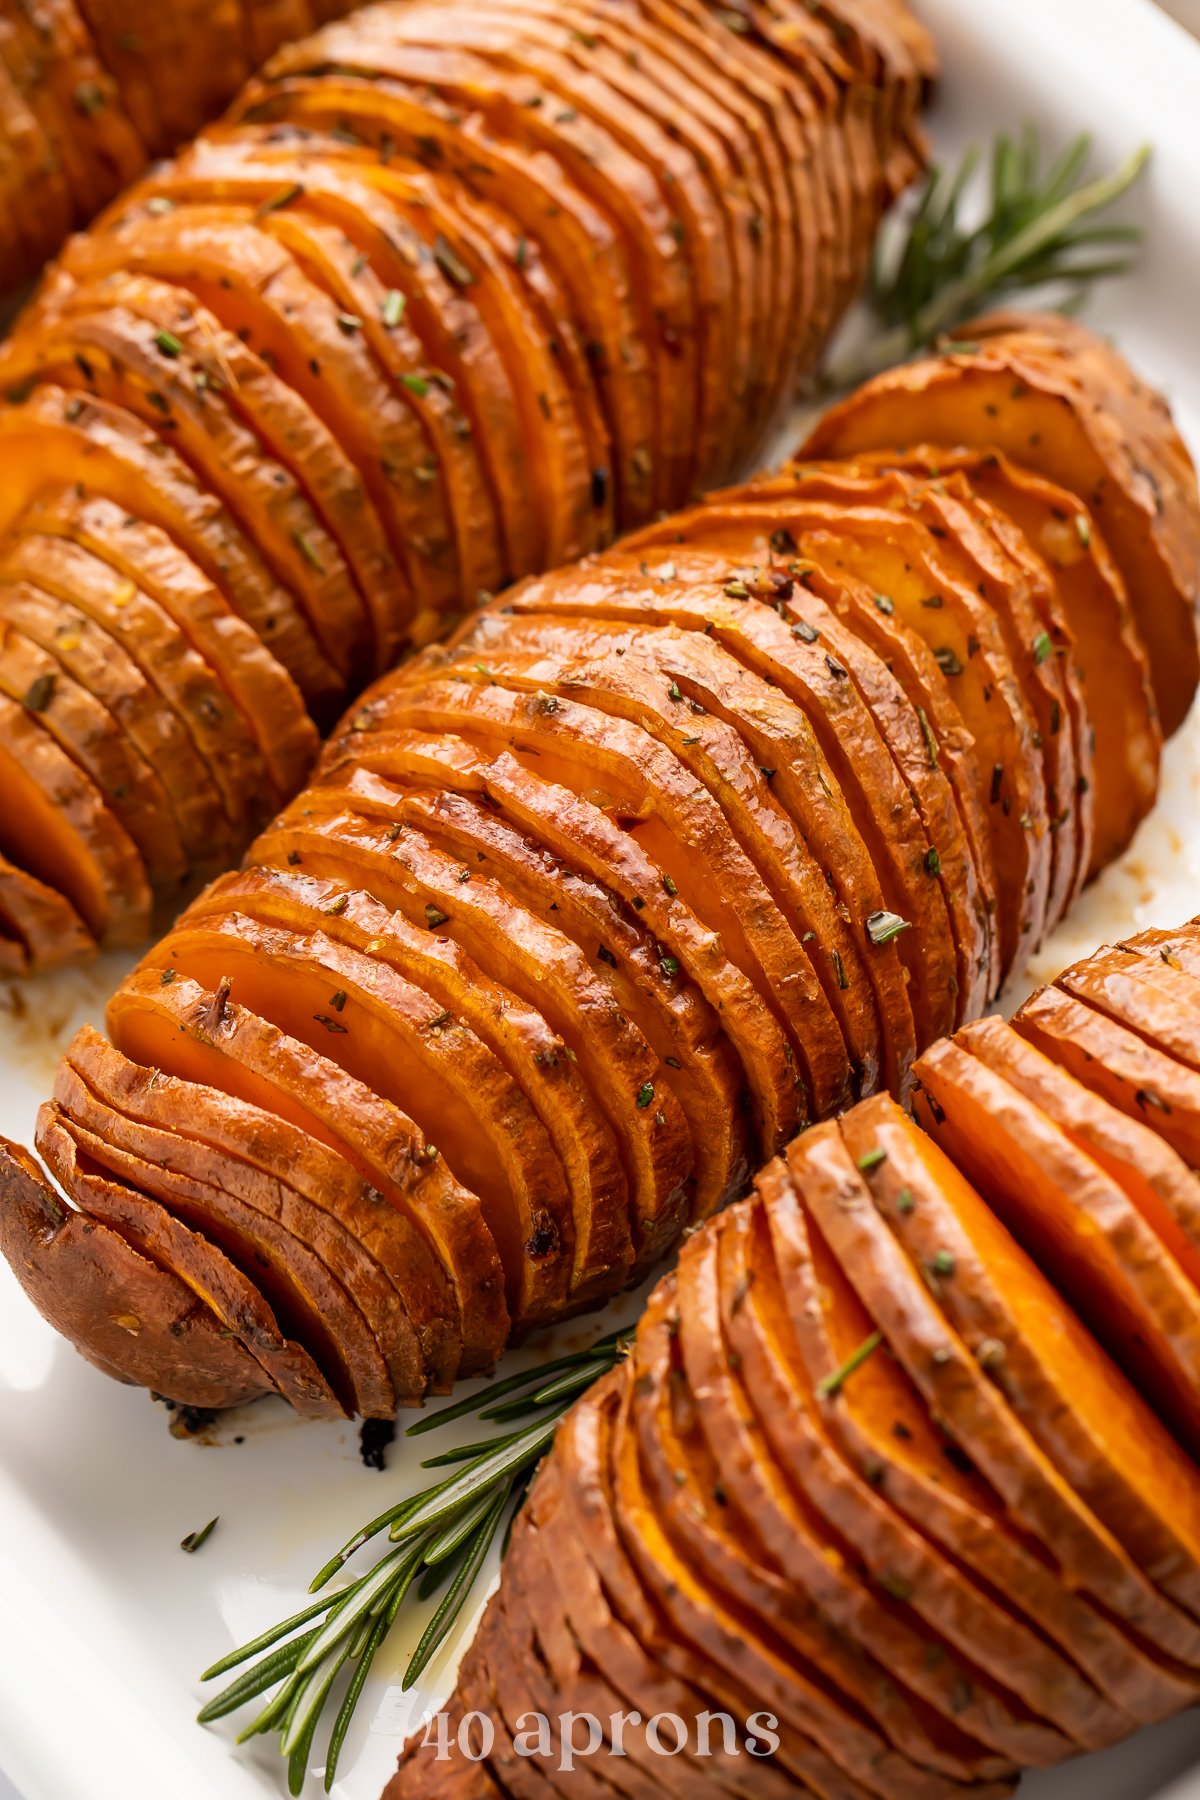
- The thin slices let the butter and maple syrup to melt down into every nook and cranny of the potatoes, ensuring every bite is perfectly flavored. Once you try hasselback sweet potatoes, I promise you’ll never want to go back to basic baked potatoes.
.
Chef’s Tips
- The key to turning sweet potatoes into hasselback sweet potatoes is making sure your slices are super thin and you don’t cut all the way through the potato. The slices should all be connected underneath. To help you, use wooden spoons or skewers placed on either side of the potatoes to stop the knife from going through completely to the cutting board.
- To make sure the potatoes cook throughly completely and evenly, you want to fan apart the slices a little with a fork halfway through the cook time. Place the fork under the potatoes and very gently lift up ever-so-slightly, but don’t actually lift the potatoes up off the pan. You just want to bow them a little so they spread out a little more. You can also run the tines of the fork between the slices to fan them out by hand.
Don’t Miss These Holiday Dishes
- Roasted Kale
- The Best Ever Cranberry Brie Bites
- Ruth’s Chris Sweet Potato Casserole
- Crockpot Baked Brie Dip
- Apple Cider Mimosas
- Gluten-Free Gingerbread Cookies
- Butternut Squash Casserole
- Cranberry Margarita
- Crockpot Green Bean Casserole
- Garlic and Herb Sous Vide Turkey
- Cranberry Salsa
- Cookie Butter Creme Brulee
- Sous Vide Prime Rib with Au Jus
- Texas Roadhouse Green Beans
Hasselback Sweet Potatoes
Equipment
- Oven
- baking sheet
- Aluminum Foil or parchment paper
- Cutting board
- 2 wooden spoons or skewers
- Sharp knife
- Small bowl
- whisk
- Basting Brush
- Fork
Ingredients
- 4 large sweet potatoes approximately 8 ounces each
- 4 tablespoons butter softened
- 2 cloves garlic minced
- 2 tablespoons maple syrup
- 1 teaspoon finely chopped fresh rosemary or ½ teaspoon dried rosemary, minced
- 1 pinch cinnamon
- ½ teaspoon salt plus more to taste
- freshly cracked black pepper to taste
Instructions
- Preheat oven to 450° Fahrenheit. Line baking sheet with aluminum foil and set aside.
- Place 1 sweet potato horizontally on cutting board. Position 1 wooden spoon handle or 1 skewer against top side of sweet potato, and position other spoon or skewer against bottom side of sweet potato.
- Position knife perpendicular to sweet potato. Place knife against end of sweet potato, then work toward other end of potato, making slices every ⅛ inch. Use spoon handles or skewers as bumpers to catch knife and prevent slicing completely through potato.
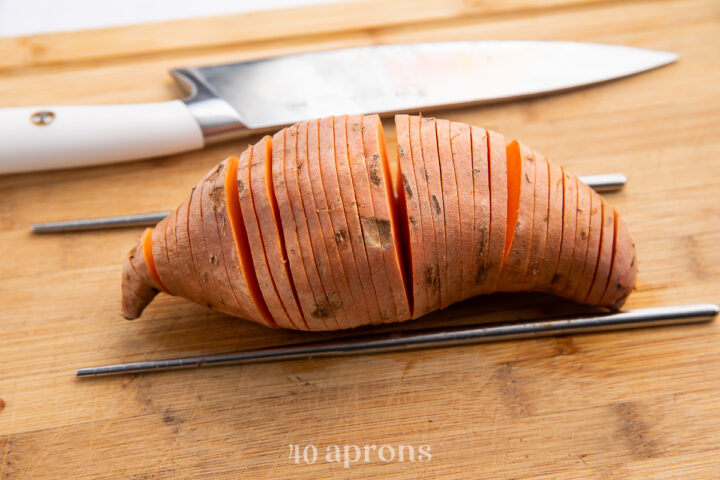
- Once potato has been thinly sliced from one end to other, set sliced potato on foil-lined baking sheet. Repeat process with remaining sweet potatoes.
- Add butter, garlic, maple syrup, rosemary, cinnamon, and salt to small bowl. Whisk or stir until ingredients are fully incorporated.
- Use basting brush to evenly apply butter mixture to sweet potatoes, brushing butter down between slices whenever possible.
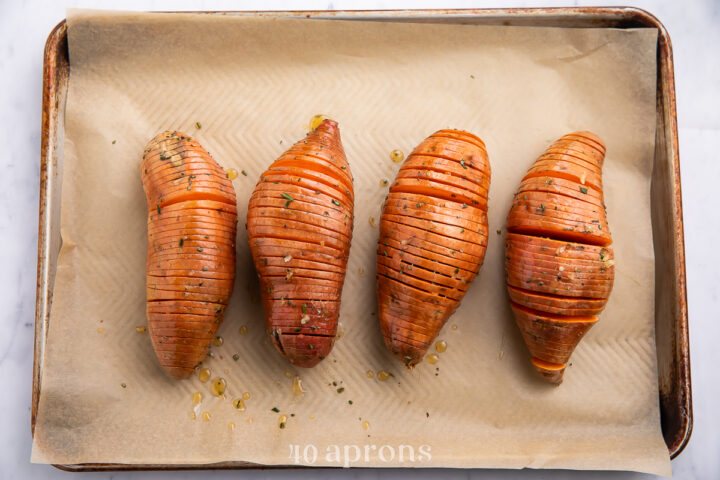
- Place baking sheet in preheated oven. Bake sweet potatoes 25 minutes, then carefully remove baking sheet from oven. Place fork under center of potato. Gently lift potato up slightly, not actually removing potato from pan but simply allowing slices to fan apart slightly. Repeat with remaining sweet potatoes, then return baking sheet to oven.
- Bake sweet potatoes 20 additional minutes or until potatoes are cooked through and tender. Carefully remove baking sheet from oven. Sprinkle salt and pepper over potatoes as desired and serve warm.
- Make it Dairy Free/Vegan: Use dairy-free butter.
- Storage: Refrigerate leftovers in an airtight container up to 4 days. Reheat potatoes in the oven at 350° Fahrenheit for 15 minutes or until warmed through.
Approximate Information for One Serving
Nutrition Disclaimers
Number of total servings shown is approximate. Actual number of servings will depend on your preferred portion sizes.
Nutritional values shown are general guidelines and reflect information for 1 serving using the ingredients listed, not including any optional ingredients. Actual macros may vary slightly depending on specific brands and types of ingredients used.
To determine the weight of one serving, prepare the recipe as instructed. Weigh the finished recipe, then divide the weight of the finished recipe (not including the weight of the container the food is in) by the desired number of servings. Result will be the weight of one serving.
Did You Make This Recipe?
Tag @40aprons on Instagram and be sure to leave a review on the blog post!
Never Miss A Meal!
New Recipes Straight To Your Inbox
A curated selection of our most recent recipes, delivered straight to your inbox once a week.




We tried these at Thanksgiving and they were a huge hit! The maple syrup gives them that hint of sweetness that Thanksgiving sweet potato side dishes are known for, but no marshmallows here! The garlic and rosemary really even it out. We used smaller, sweet potatoes (if you have a Trader Joe’s near you, they come in a 3 lb bag) which allowed for slightly shorter cook time. Everyone wanted seconds and we’re definitely putting these on our holiday menu.
We’re so glad they were a hit! Thanks so much for sharing, Renee!