
This Post May Contain Affiliate Links. Please Read Our Disclosure Policy.
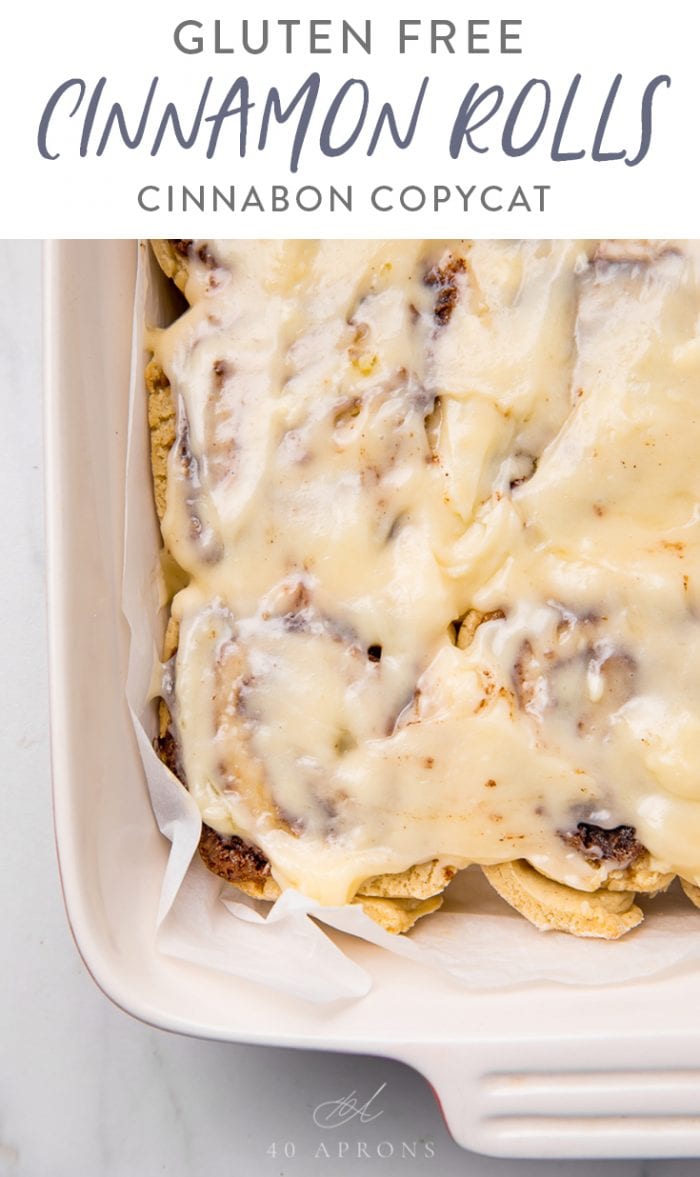
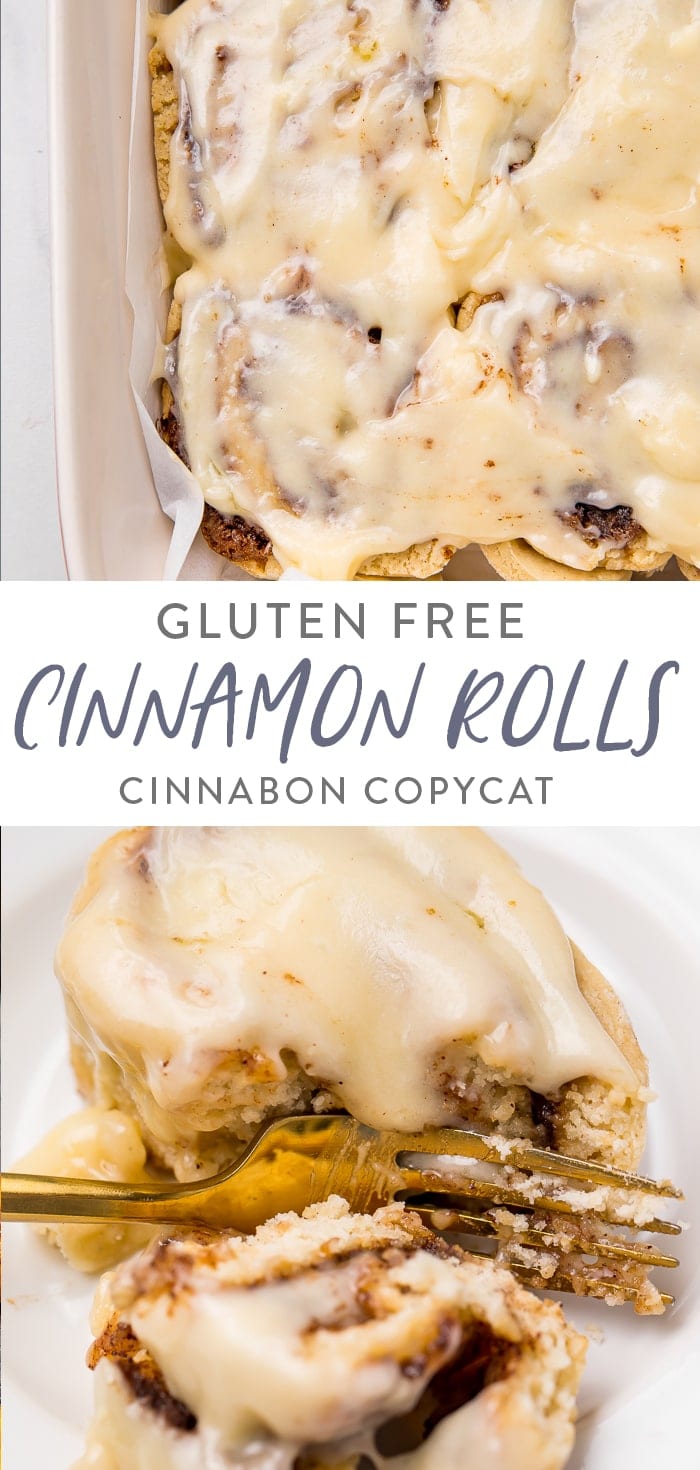
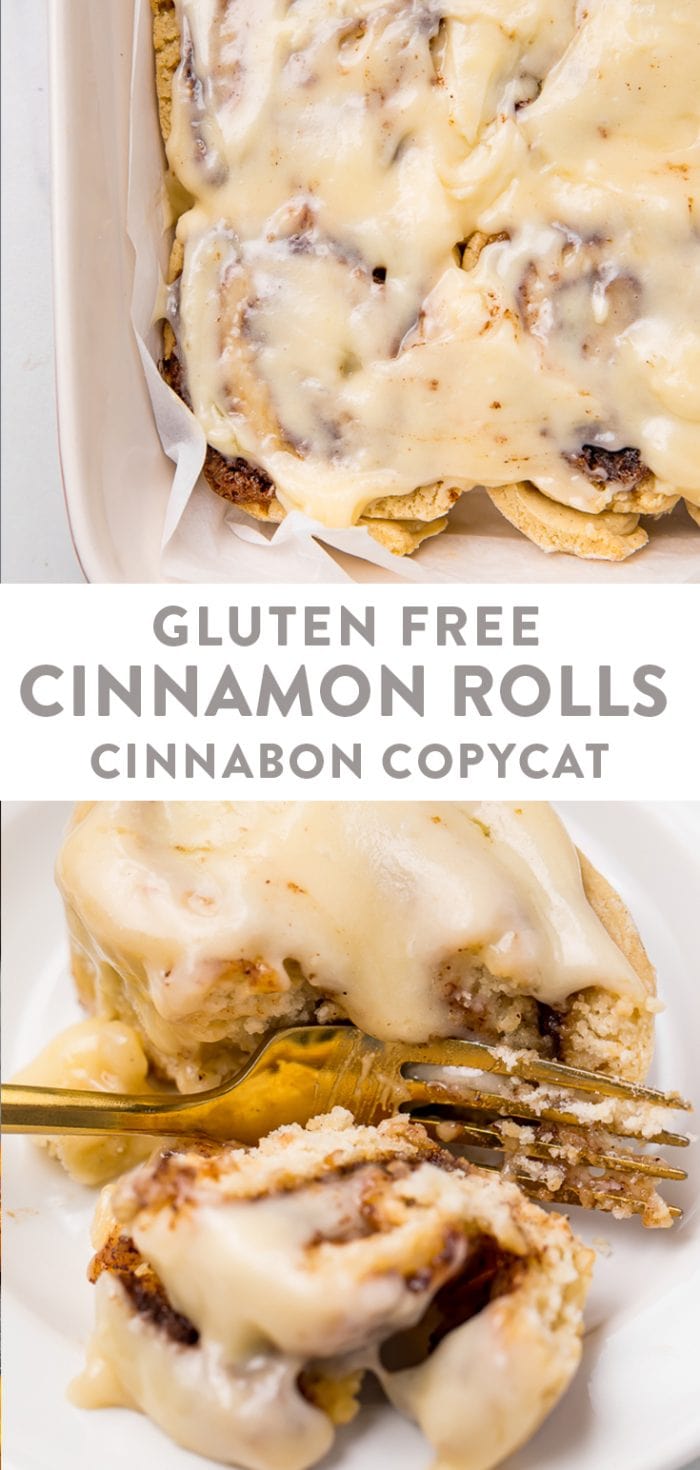
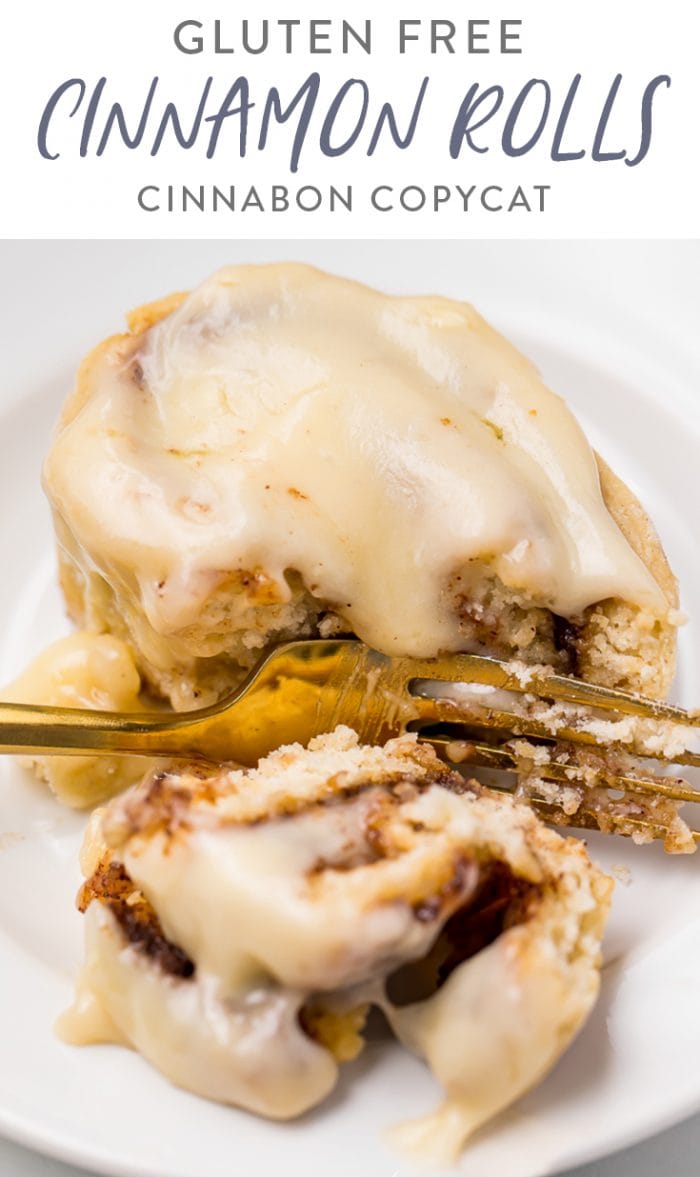
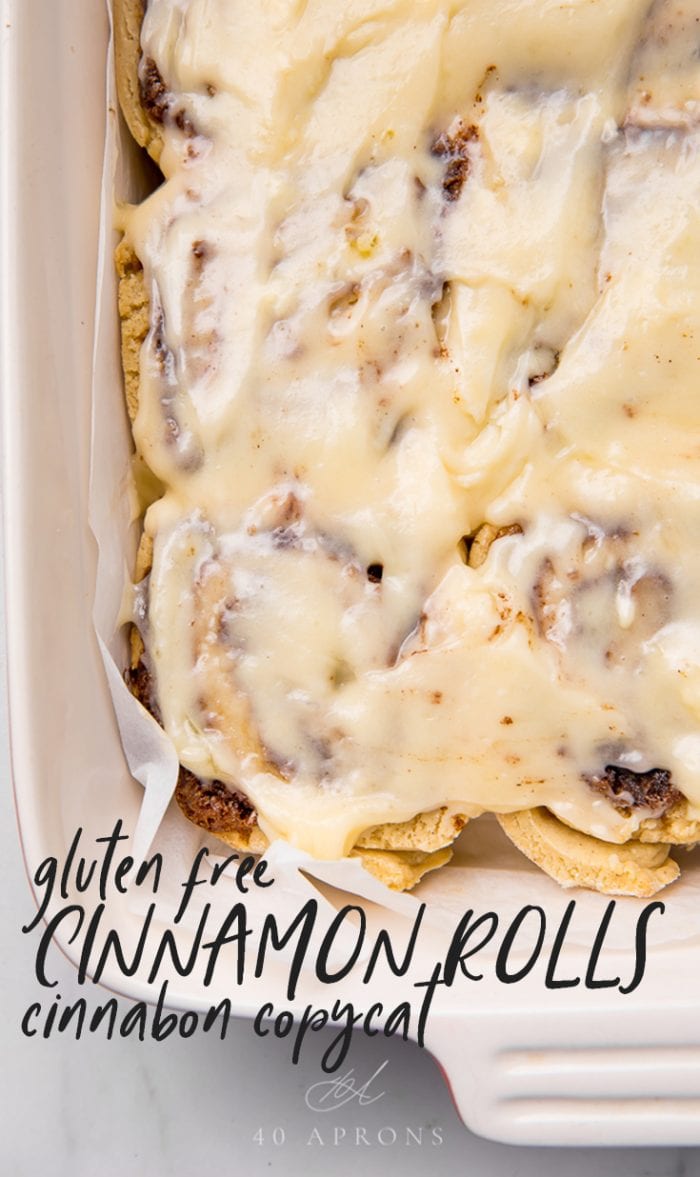
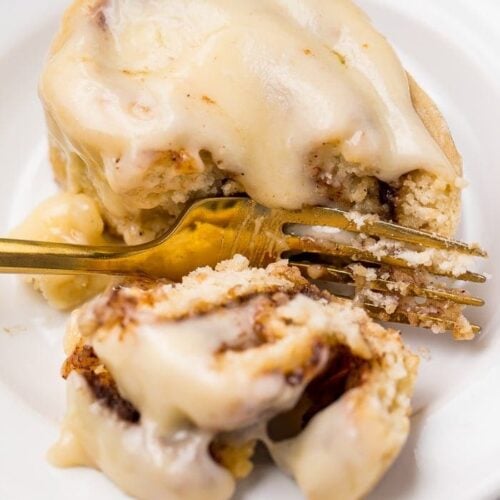
These gluten-free cinnamon rolls are out-of-control delicious! They taste like Cinnabon copycats, but with zero gluten. They’re soft and tender with a perfect swirly filling and cream cheese frosting. Perfect for Christmas morning breakfast or anytime!
What Makes This Recipe So Good?
- We love having cinnamon rolls on Christmas morning, and these are perfect when you are catering for overnight guests. For a stress-free morning, you can also make these ahead of time.
- These cinnamon rolls taste just like the ones from Cinnabon, but they are 100% gluten-free. Because they are GF, they won’t rise as much as dough with gluten would, but I promise you they taste exactly the same! The cream cheese frosting is to die for! Seriously, it’s so good, this is the only cinnamon roll recipe you will need!
- They can be made ahead of time and reheated for an easy breakfast or brunch option. Keep them in an airtight container at room temperature up to 3 days; 5 days in the fridge. To reheat, warm in the microwave for about 30 seconds. Microwaving produces more moist and more tender reheated cinnamon rolls than the oven.
Can You Freeze This Recipe for Later?
Absolutely! I’m all for getting ahead of the game. I recommend doing this one of two ways:
- You can freeze the rolls, baked but unfrosted. Later, you can thaw them out, warm them for just a few minutes in the oven, and ice them while warm.
- If you’d rather freeze the cinnamon rolls completely iced and finished, you can do that, too. Just allow them to cool, cover them with plastic wrap and foil, and pop them in the freezer.
Chef’s Tips
- Make sure your warmed milk and melted butter are not too hot; they should feel warm to the touch but not hot.
- Gluten-free flour behaves differently from brand to brand! You may experience different results based on your gluten-free flour. Use the recommended flour from Bob’s Red Mill for the best results.
- If your dough seems overly sticky or unmanageable, gradually add in more flour. Start with just one tablespoon, and add more by the tablespoon as needed.
- Take care not to over-bake the gluten free cinnamon rolls! It’s easy to do and will throw off the taste and texture.
For More Gluten Free Recipes
- Gluten Free Stuffing
- Gluten Free Cornbread with Honey
- Perfectly Crispy Gluten Free Fried Chicken
- Gluten Free Paleo Blueberry Muffins
- Perfect Paleo Brownies (Gluten Free)
- Crispy Gluten Free Onion Rings
- Gluten Free Peanut Butter Cookies
Gluten-Free Cinnamon Rolls (Cinnabon Copycat)
These gluten free cinnamon rolls are out-of-control delicious! They taste like Cinnabon copycats, but with zero gluten. They're soft and tender with a perfect swirly filling and cream cheese frosting
cinnamon rolls
Equipment
- Large bowls (2)
- Stand mixer with bread hook (or knead by hand)
- Medium bowl
- Fork
- 9×13 baking dish
- parchment paper
Ingredients
For the Dough
- 1 cup warm milk or alt-milk (like almond, oat, macadamia milk), warmed to 110°-115°F, see Notes
- 1 packet active dry yeast 2 ¼ teaspoons
- ½ cup white sugar
- ½ cup unsalted butter melted and cooled until just warm to the touch, about 110°-115°F, see Notes
- 2 eggs whisked
- 1 teaspoon apple cider vinegar
- 3 ½ cups Bob’s Red Mill 1-to-1 Gluten-Free Baking Flour see Notes
- 1 ½ teaspoons xanthan gum only if flour doesn't contain it already, see Notes
- 2 teaspoons gluten-free baking powder
- ¼ teaspoon salt
For the Cinnamon Filling
- 1 packed cup brown sugar
- 3 tablespoons cinnamon
- 6 tablespoons unsalted butter softened, or margarine
For the Cream Cheese Frosting
- 6 tablespoons unsalted butter softened
- 6 ounces cream cheese at room temperature
- 2 cups powdered sugar
- 1 teaspoon vanilla extract
- ⅛ teaspoon salt
Instructions
- Add the white sugar to the bowl of a stand mixer (or large mixing bowl if you prefer to knead by hand) and pour warm milk over. Stir to combine. Sprinkle the yeast over and set aside until bubbly or frothy; you should see a sort of film on the top of the mixture at least. This will take about 5 minutes.
- Add the melted butter (About 110º F; warm to the touch but not hot) to the yeast mixture. Stir in whisked eggs and apple cider vinegar. Add in gluten-free flour, baking powder, salt, and xantham gum if your gluten-free flour does not contain it (See Note). Attach the bread hook to the mixer and mix on medium speed for about 5 minutes or until dough pulls away from sides of the bowl and is soft. It should not feel dry but a bit sticky. See Note to mix by hand.
- Lightly oil a large mixing bowl and transfer dough to bowl. Cover and place in a warm spot. Let rise 1 hour. If your spot is cooler, it may take a little longer to rise, but the dough should be a bit puffier and should leave an indentation when poked. It will not double in size.
- Meanwhile, make the cinnamon filling. In a medium bowl, add all ingredients and use a fork to mix very well. Alternately, beat all ingredients together with a stand mixer and paddle attachment.
- Preheat oven to 350º F. Lightly coat a 9×13” baking dish with softened butter or cooking spray.
- Cut a piece of parchment paper to about 12×18” and lay on the counter. Scrape the dough on top. Press the dough to fit the parchment sheet; the dough should be about 12×16” as well. It’s OK if it doesn’t quite fit the entire sheet.
- Evenly spread the cinnamon filling on the rectangle of dough, leaving ½” bare at one end (short side, not long side).
- Carefully, use the parchment sheet to begin tightly rolling the dough. Use the parchment to fold over the first 1” or so of the short side with filling all the way to the edge. Continue rolling the dough by folding the parchment over to the other side. It will roll naturally.
- Cut the roll into 12 equal pieces. Place evenly into baking dish and bake 25-30 minutes. They will not puff up like cinnamon rolls with gluten in them but will become a bit fuller and should be a little golden brown. Do not overbake!
- Meanwhile, make your cream cheese frosting. Add cream cheese and butter to the bowl of a stand mixer or a large mixing bowl and beat until completely combined. Cream cheese should be totally smooth with no solid lumps. Add in powdered sugar, vanilla extract, and salt; beat on medium speed until combined.
- When cinnamon rolls are finished baking, remove from the oven and let stand 10 minutes before slathering tops with cream cheese frosting (A butter knife or offset spatula work well). Serve with additional cream cheese frosting.
Video
- IMPORTANT: Make sure your warmed milk and melted butter are not too hot; they should feel warm to the touch but not hot. If they’re too hot, they can kill the yeast. Check them with a thermometer before each step in which they come in contact with the yeast for foolproof gluten-free cinnamon rolls!
- Flour: I recommend using Bob’s Red Mill 1-to-1 Gluten Free Baking Flour. Gluten-free flour behaves differently from brand-to-brand, so you may experience different results based on the type of flour you use. Use the recommended flour from Bob’s Red Mill for best results.
- Xanthan Gum: If your gluten-free all-purpose flour blend does not have xanthan gum, add 1 ½ teaspoons xanthan gum to the mixer when adding flour blend and baking powder. The recommended gluten-free flour (Bob’s Red Mill 1-to-1 Gluten Free Baking Flour) already has xanthan gum and does not need this ingredient added.
- Sticky Dough: If your dough seems overly sticky or unmanageable, gradually increase the amount of flour. Start with one additional tablespoon of flour, adding more as needed to make the dough workable.
- Mixer: If mixing by hand instead of using a stand mixer, add all ingredients as directed in steps #3 and #4 to a large mixing bowl. Stir with a spatula until mixed well. Turn out onto a lightly floured surface and knead by hand for 1-2 minutes. You are not creating gluten by kneading this dough, but kneading will help incorporate all ingredients as smoothly as if you used a stand mixer.
- Frosting: This recipe makes plenty of cream cheese frosting because I’m pretty sure that’s the best part! You will not need all of the frosting when glazing the cinnamon rolls in the baking dish; keep for serving and reheating!
- Storage & Reheating: Keep in an air-tight container at room temperature up to 3 days; 5 days in the fridge. To reheat, warm in the microwave about 30 seconds. Microwaving produces moister and more tender reheated cinnamon rolls than the oven.
Approximate Information for One Serving
Serving Size: 1cinnamon rollCalories: 536calProtein: 6gFat: 26gSaturated Fat: 15gTrans Fat: 1gCholesterol: 93mgSodium: 245mgPotassium: 56mgTotal Carbs: 74gFiber: 5gSugar: 47gNet Carbs: 69gVitamin A: 632IUVitamin C: 1mgCalcium: 143mgIron: 2mg
Nutrition Disclaimers
Number of total servings shown is approximate. Actual number of servings will depend on your preferred portion sizes.
Nutritional values shown are general guidelines and reflect information for 1 serving using the ingredients listed, not including any optional ingredients. Actual macros may vary slightly depending on specific brands and types of ingredients used.
To determine the weight of one serving, prepare the recipe as instructed. Weigh the finished recipe, then divide the weight of the finished recipe (not including the weight of the container the food is in) by the desired number of servings. Result will be the weight of one serving.
Did You Make This Recipe?
Tag @40aprons on Instagram and be sure to leave a review on the blog post!
Never Miss A Meal!
New Recipes Straight To Your Inbox
A curated selection of our most recent recipes, delivered straight to your inbox once a week.


Did I miss the apple cider measurements? How much do I add.
Hi, Raelyn! There’s 1 teaspoon of apple cider vinegar listed in the ingredients for the dough.
This recipe found its way all the to Finland and all I can say is they are amazing!! Best gluten free recipe I’ve found!!
Wow, we’re so glad it made its way over to you! And so happy you loved them! Thanks for sharing, Katja. 🙂
This website is so easy to use and the recipe tips, video, and plentiful descriptions made these cinnamon rolls a breeze to make. Not only was the recipe easy to follow, it was absolutely delicious!
So glad you enjoyed them, Lucy! Thanks for sharing! 🙂
The best!! How could you change this into a pumpkin cinnamon roll flavor?
Hi, Heidi! We have not tried adding pumpkin to this recipe, but that is a great idea! Please let us know if you try it- we’d love to hear how it turns out!
I’m not sure what went wrong. I followed the recipe exactly. But the dough would just NOT become dough. It stayed super sticky. I kept adding more and more tablespoons and I just couldn’t get it to become a dough. I’m letting it rest now for an hour. I’ll see if I can get something out of it. But I’m not sure what I could have done wrong.
Oh no! So sorry to hear this! I’d love to troubleshoot it with you- were the butter and warmed milk warm to the touch and not hot? If they’re too hot, they can kill the yeast!
I have no idea what went wrong!
It stuck to the parchment paper. Needed flour on it. It tastes great. But, I can’t give it a good rating. I think that while it was mixing should have added more flour. I even weighed out my ingredients. Ugh…this is hard to kearn
Hi, Hope! So sorry your dough stuck to the parchment paper. If you try this recipe again, be sure to check out our “Chef’s Tips” section in the post, as well as the notes at the bottom of the recipe card for tips and suggestions regarding sticky dough! 😊
These were the best gluten free cinnamon rolls I’ve had in 6 years!! This recipe was perfect!
Yay! So glad you loved them, Sarah! 🙂
Delicious! I only used 1/2 cup powdered sugar for the frosting and they were still yum. Would you recommend rolling up the dough the night before and refrigerating them, then baking them in the morning?
Yes, that would definitely work! 🙂
I almost didn’t have enough filling, but these were phenomenal!! Will double the filling next time. I also used the great value whipped cream cheese because it was all I had on hand and it came out really, really good!
So glad you loved these cinnamon rolls, Anna! Thanks for sharing! 🙂
After baking they’re a little dry (baked for 27 mins). They taste better the second day.
I’m sorry they were dry! It sounds like you may have overbaked them a little. We recommend baking them 25 to 30 minutes, so 27 may have been a little too long depending on your specific oven, the pan you used, the altitude of your kitchen, etc. I hope you’ll give them another try!