
This Post May Contain Affiliate Links. Please Read Our Disclosure Policy.
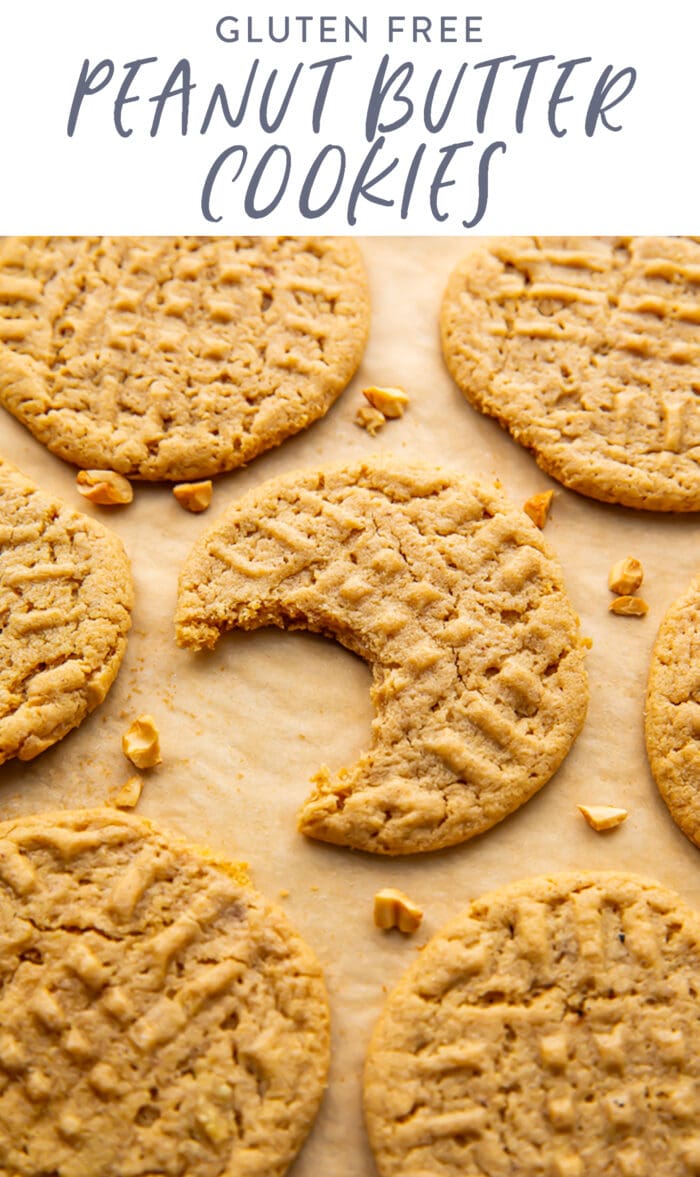
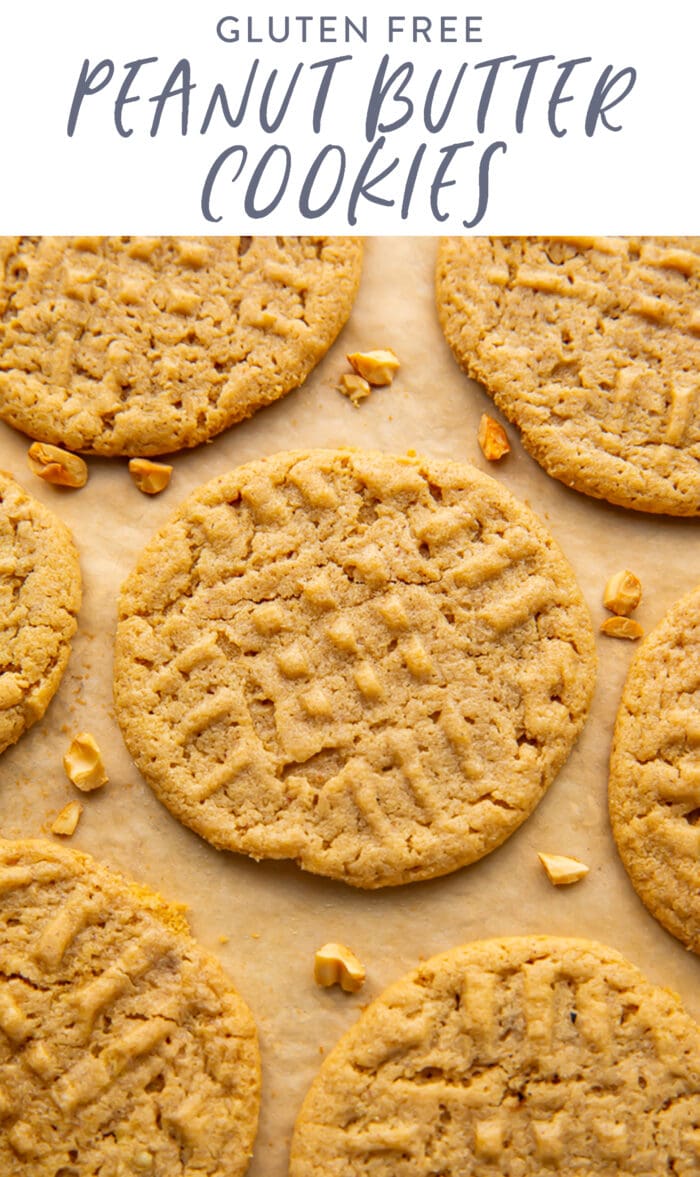
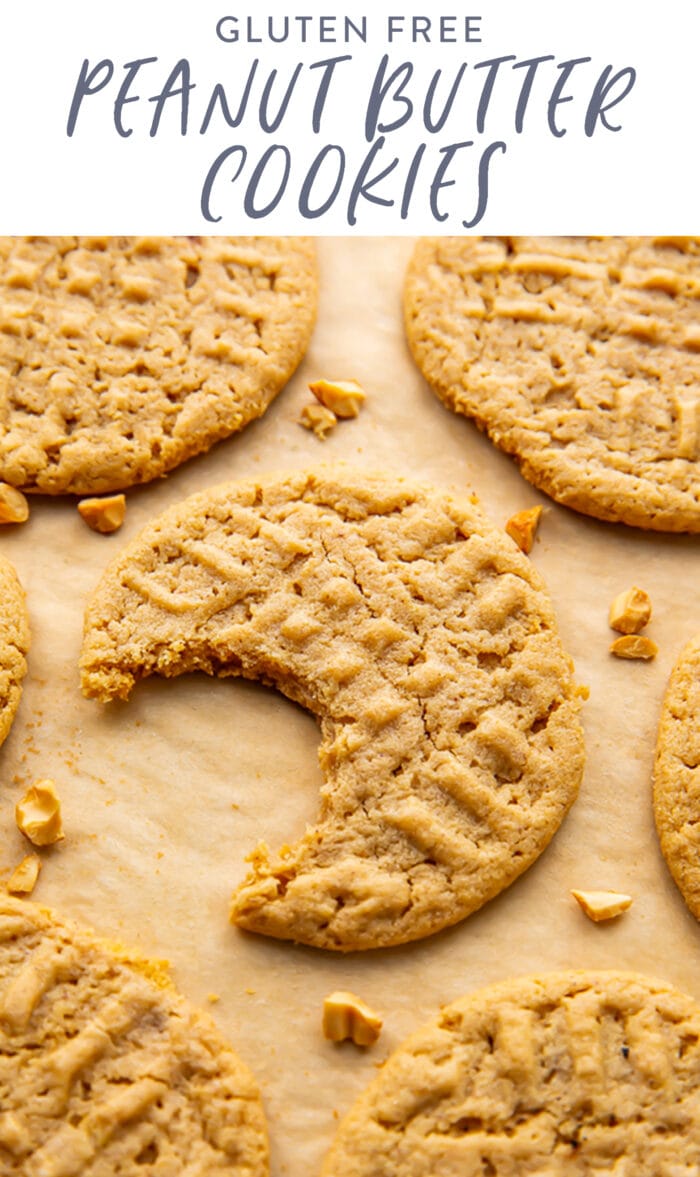
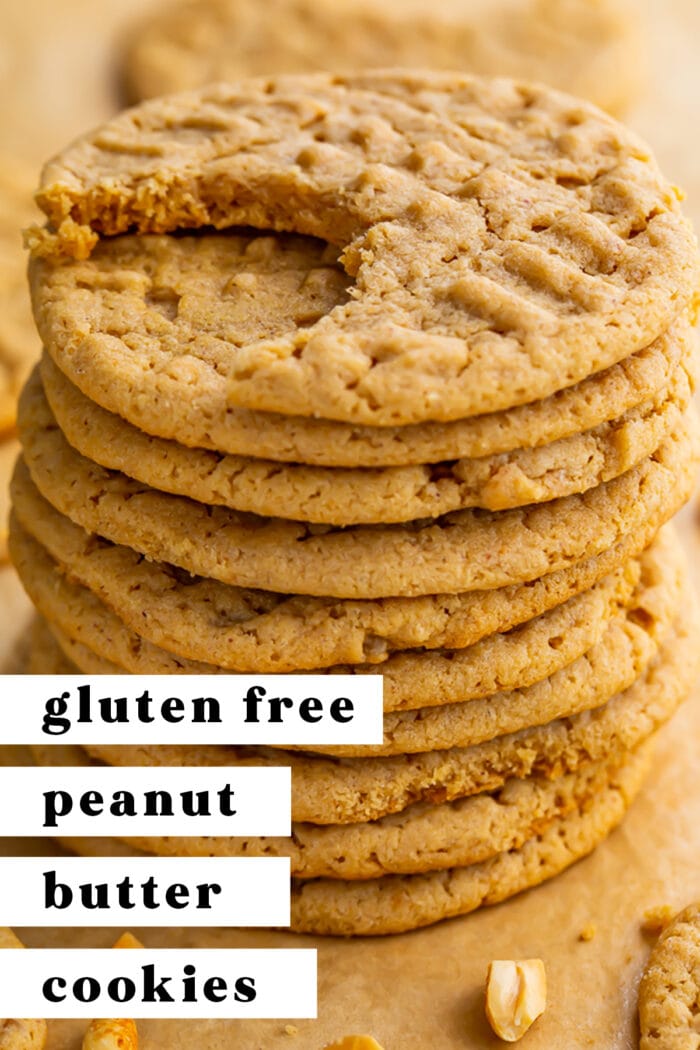
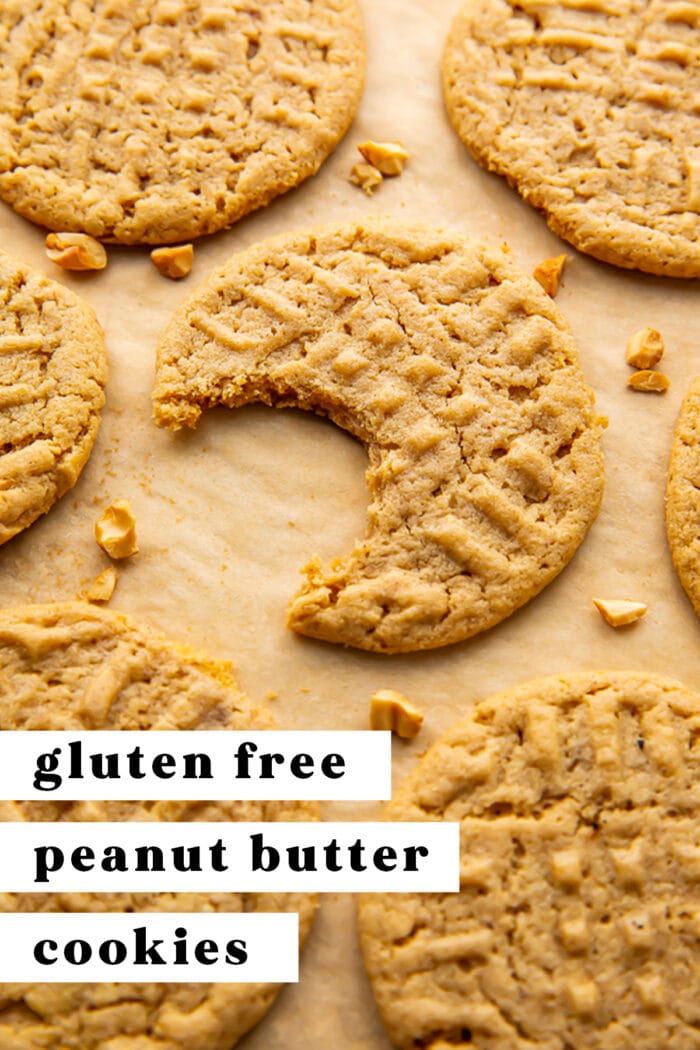
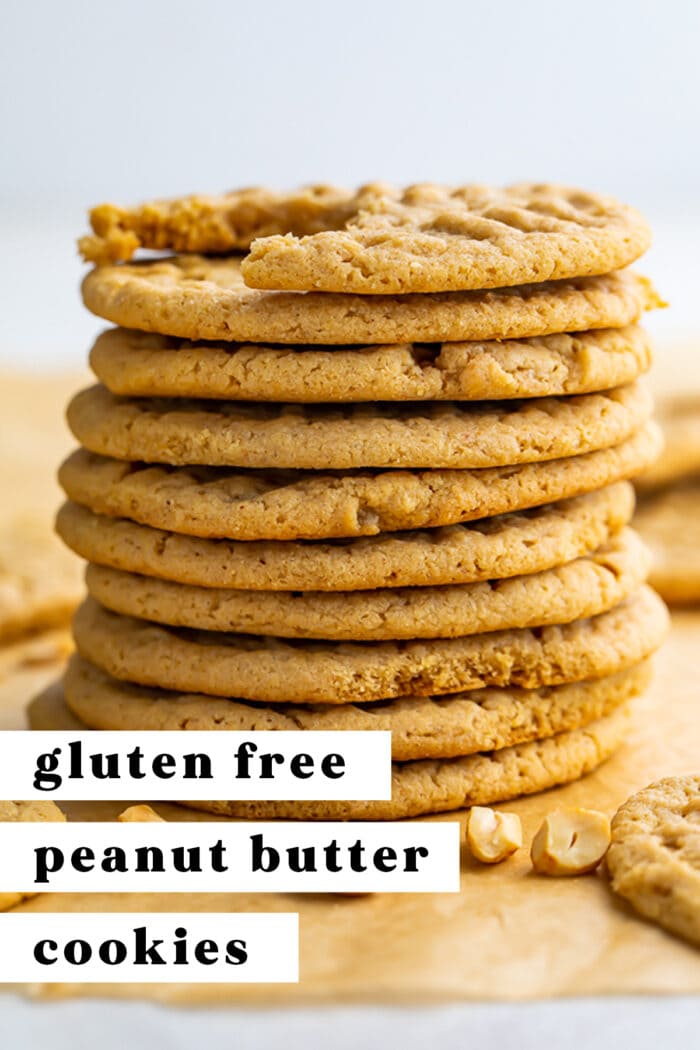
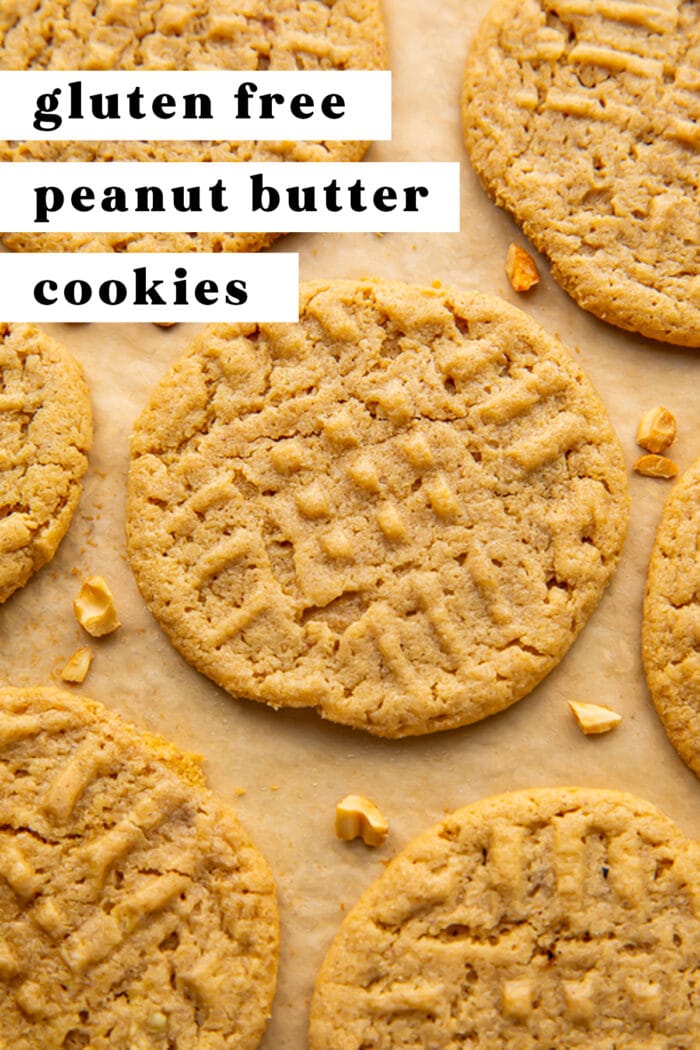
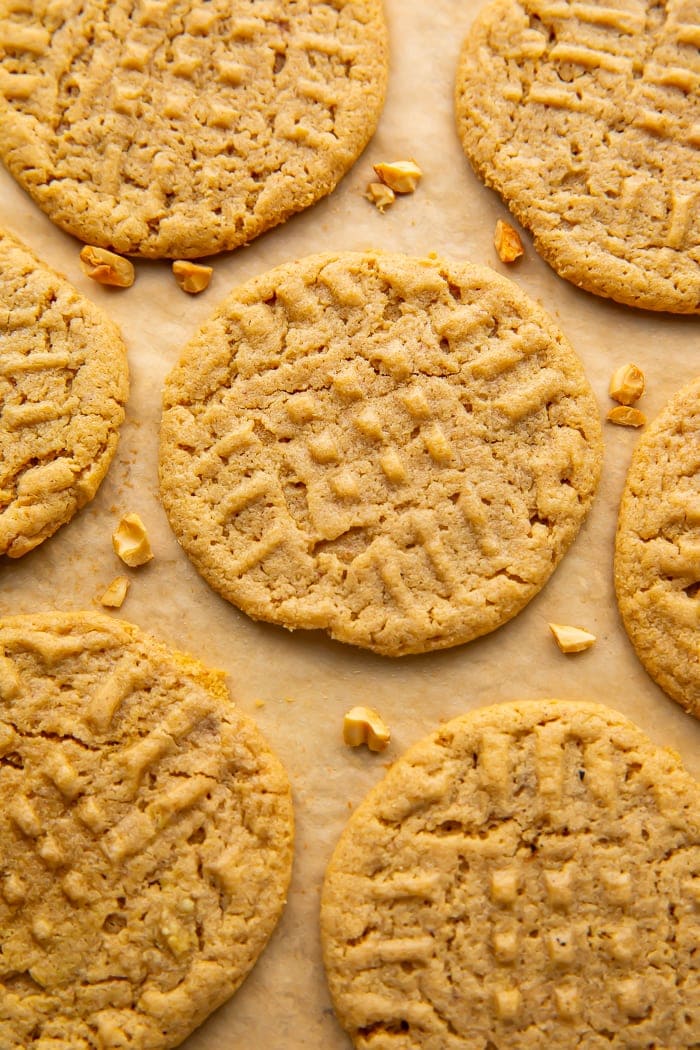
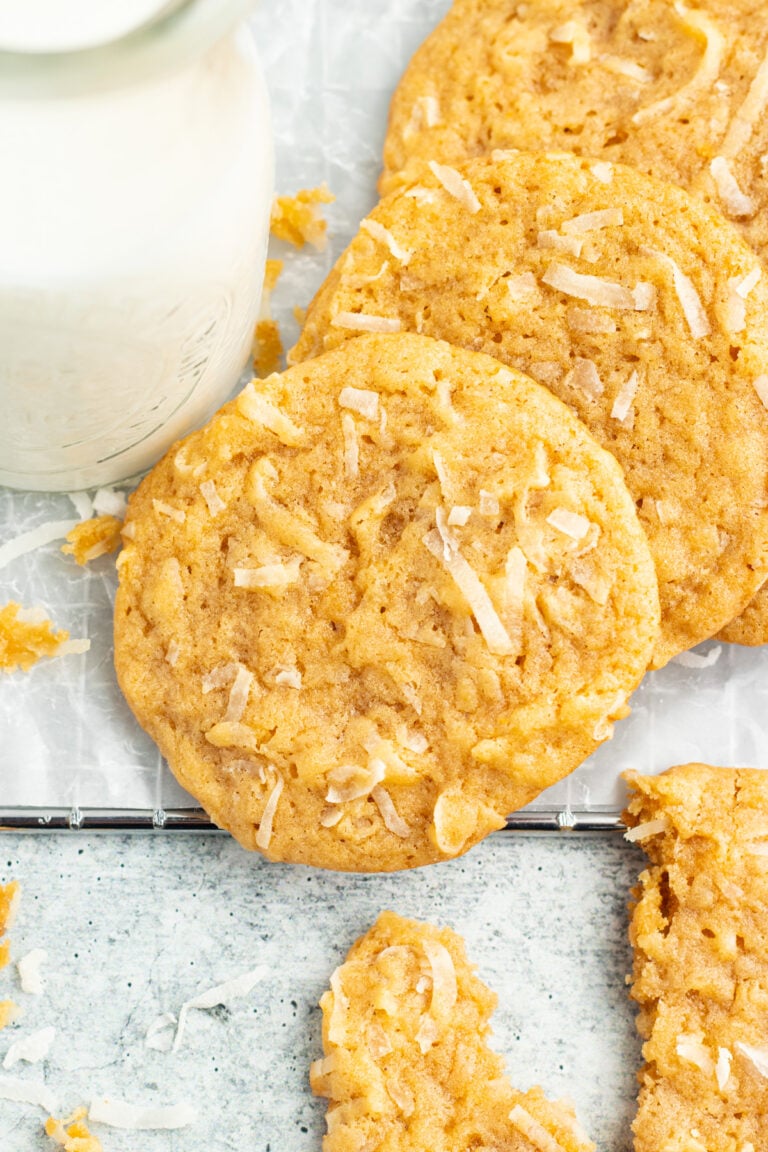
These gluten free peanut butter cookies are just delicious! With lightly crispy edges and soft centers, these bakery-style cookies are a major crowd pleaser, made simply with gluten-free all-purpose flour!
What Makes These Cookies So Good
- They’re every bit as wonderful as traditional peanut butter cookies, but they’re totally gluten free. Perfect for anyone with gluten sensitivities, and so good that even gluten-eaters wouldn’t know there’s a difference!
- It’s a simple recipe but it’s got so. much. flavor using just a handful of ingredients! The rich, caramel-iness (it’s a word, go with it) of the brown sugar adds an amazing depth and richness to the nuttiness of the peanut butter.
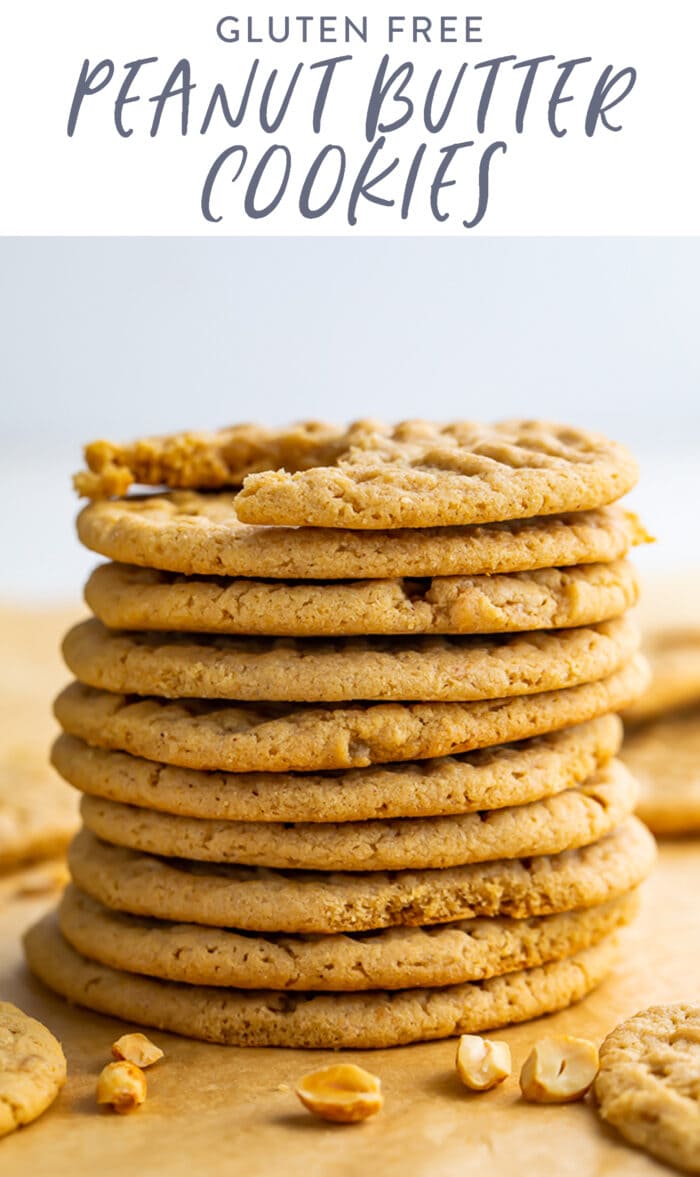
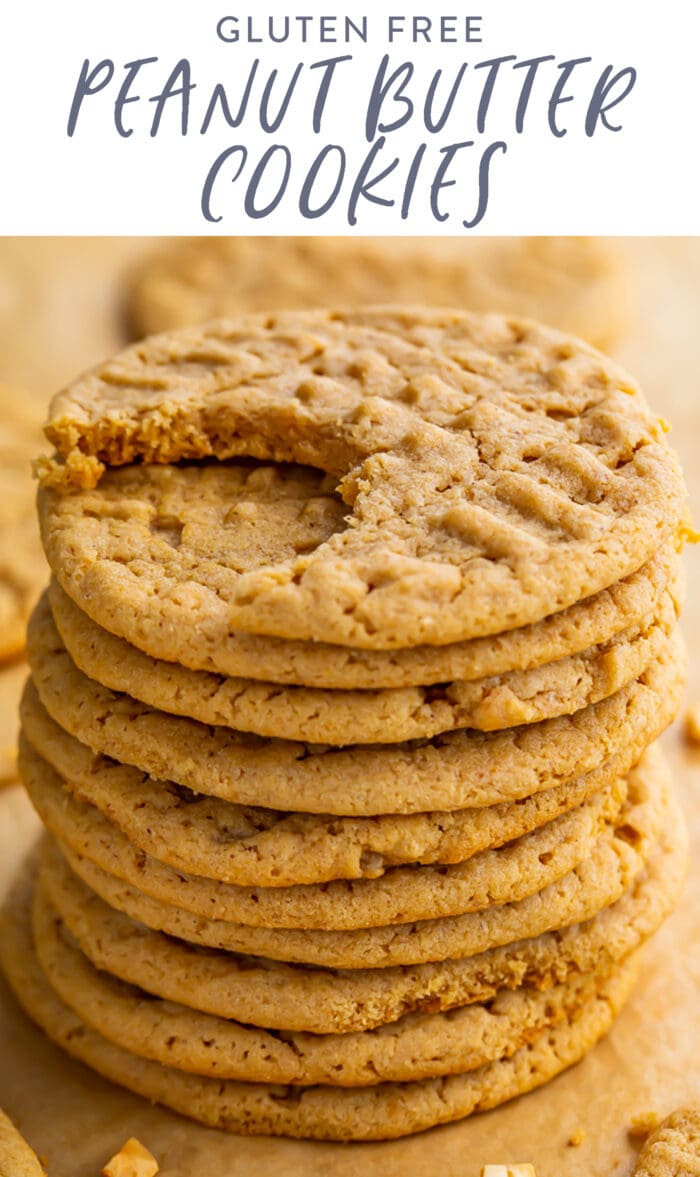
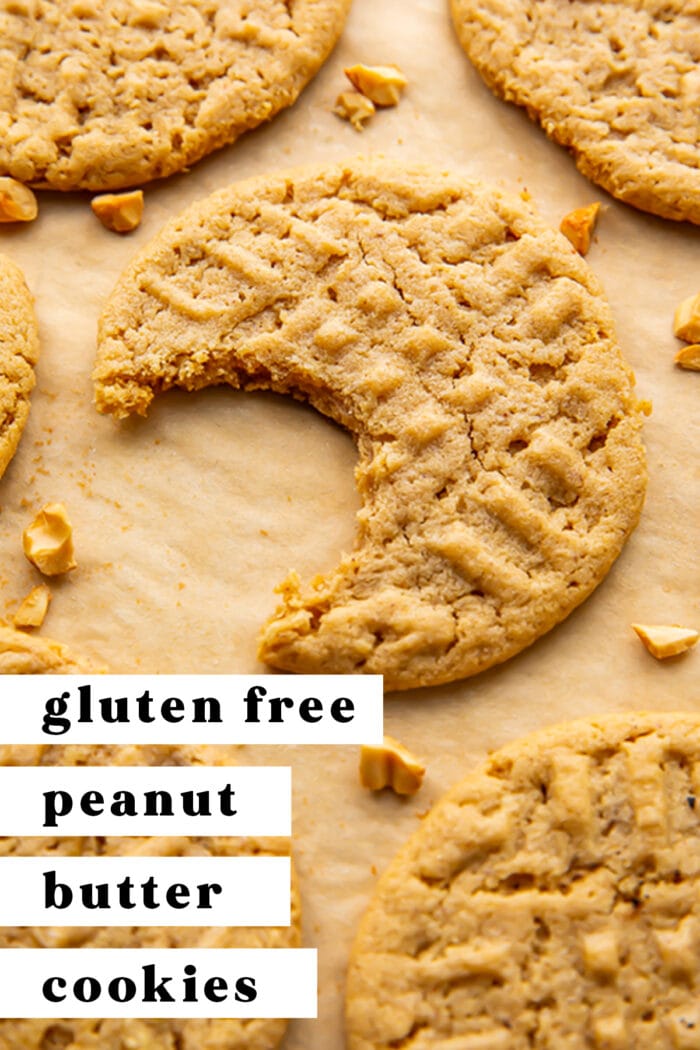
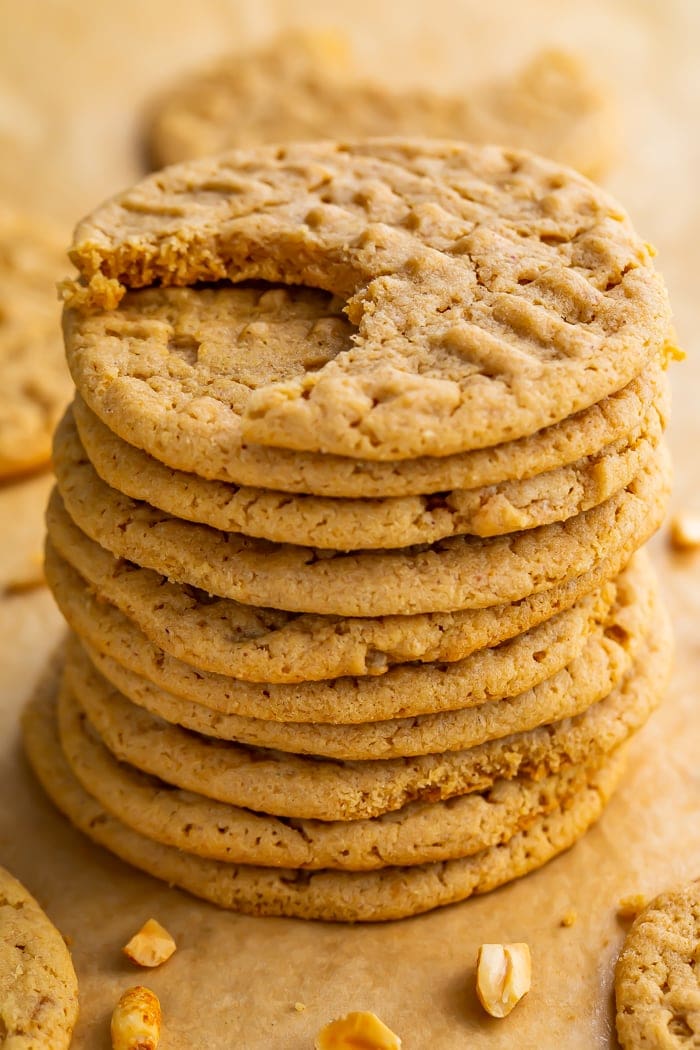
- They’re the perfect peanut butter cookie texture! Unbelievably soft and chewy in the middle and beautifully, lightly crisp around the edges.
- Baked cookies will keep up to 10 days, as long as you store them in an airtight container. You can also freeze the dough so you’ve got ready-to-bake cookies for months! I love doing that so I can bake just a few at a time. See below for tips on how to freeze them!
Key Ingredients
Gluten-Free All-Purpose Flour – Gluten-free flours are tricky things. The results you get from one brand of GF flour to another can vary wildly for the same type of flour. So frustrating! King Arthur brand has always worked well for me, and that’s what I use for most of my gluten free recipes. If your cookies don’t turn out quite the way you like, you may want to use a different brand of flour the next time you make them!
Peanut Butter – Any kind of creamy peanut butter will work for these gluten free peanut butter cookies. A natural, organic peanut butter might make your dough stickier and harder to work with because of the oil, but it should work out fine in the end! I haven’t tested these with crunchy peanut butter, so I’m not sure how that might turn out. If you try it, let me know how it goes in the post comments below!
Can I Freeze These Cookies?
Sure can!
Follow steps 2-7 on the recipe card below. In step 5, let the dough chill overnight instead of just 1 hour, if you can. That’ll let the flavors develop a little more. Then, instead of putting the baking sheet of flattened cookies in the oven, put it in the freezer until the cookies are firm – usually 1 to 2 hours. Transfer the frozen cookies to a zippered freezer bag or another airtight container. If stored properly, they’ll keep in the freezer up to 3 months. You can bake them from frozen (you’ll need to increase the cook time) or let them thaw in the fridge overnight first.
You can also bake the cookies, let them cool, and then freeze them. Let them cool completely, then transfer them to a zippered freezer bag or airtight container. Put parchment paper between each layer of cookies to keep them from sticking. Alternately, you can wrap each individual cookie in parchment paper, then it’s into the freezer bag they go. Thaw and serve them at room temperature, or pop them into the oven for 5 or so minutes for a fresh-baked feel.
Chef’s Tips
- Since bake times vary from one oven to another (and one altitude to another!) it’s best to keep an eye on your gluten free peanut butter cookies in addition to setting the timer. Take them out of the oven when the edges start to brown – for me, this happened around 10 minutes in. For you, it might be 8 minutes, or 12 minutes, etc.
- Don’t over-bake the cookies. They’ll keep baking a little while they cool on the pan, so it’s okay if they look a little underdone in the center when you take them out of the oven. Remember: they should be lightly browned around the edges.
- The cookies do spread a little, so you’ll want to leave enough space between them that they don’t bake into each other. Depending on the number of cookies you make and the size of your sheet pan, you may need multiple pans. Baking the dough when it’s chilled instead of room temperature will help reduce spreading.
- Try adding chocolate chips or peanut butter chips to the dough for a variation! You could also garnish the unbaked cookies with a little sprinkle of sugar (white or brown) or melt a little peanut butter for the top of your baked cookies. A little vanilla extract and/or cinnamon in the dough would be divine, too!
More Gluten Free Desserts & Treats
- Gluten Free Sugar Cookies
- Gluten Free Cinnamon Rolls (Cinnabon Copycat)
- Paleo Carrot Cake (Gluten Free)
- Perfect Paleo Brownies (Fudgy, Crackly Top, Gluten Free)
- Gluten Free Ginger Snaps
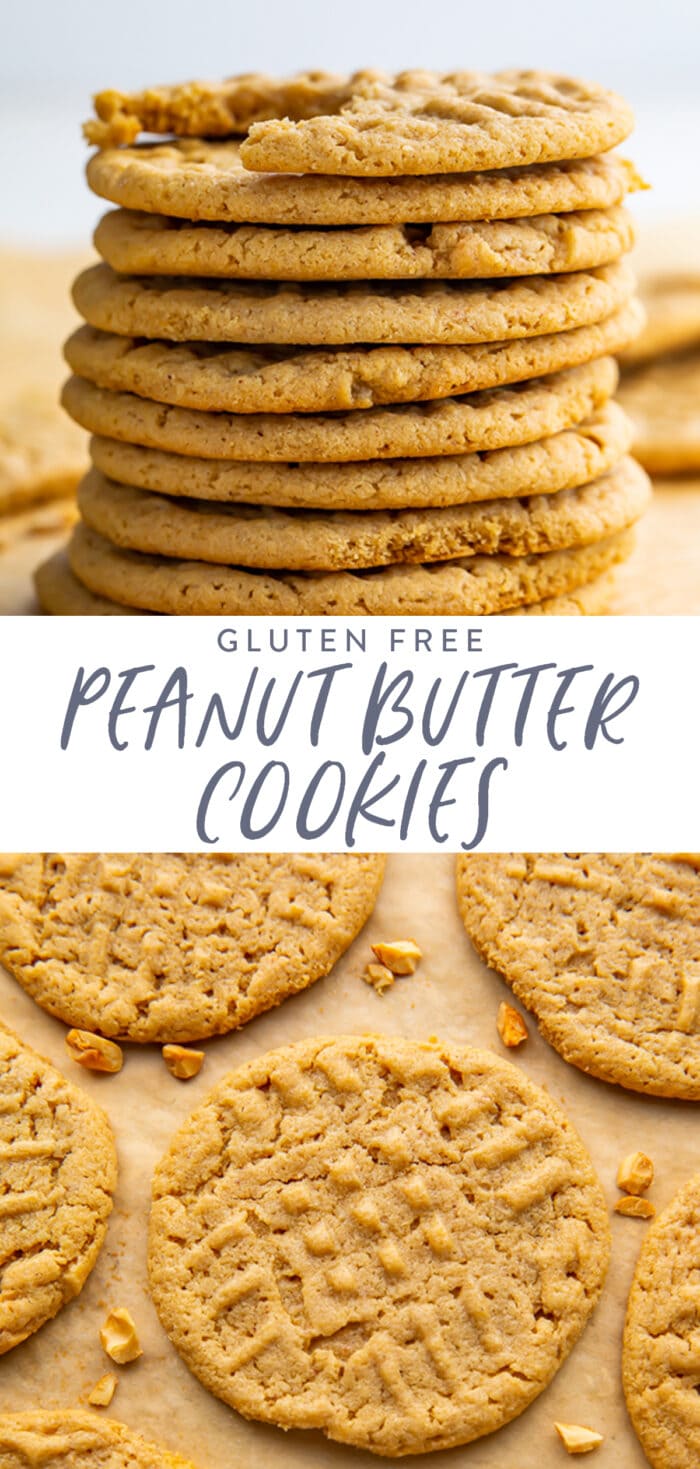
Gluten Free Peanut Butter Cookies
Equipment
- Oven
- 2 large mixing bowls
- Hand mixer or stand mixer
- Flour sifter
- Cookie scoop with release handle
- baking sheets
- parchment paper
- Fork
Ingredients
- 1 cup unsalted butter softened, see Notes for dairy-free
- 1 cup creamy peanut butter
- 1 cup white sugar see Notes for sugar-free
- 1 packed cup brown sugar see Notes for sugar-free
- 2 large eggs
- 2 level cups gluten-free all-purpose flour with xanthan gum, see Notes
- 1 teaspoon baking powder
- 1 ½ teaspoons baking soda
- ½ teaspoon salt
Instructions
- Preheat oven to 375° Fahrenheit.
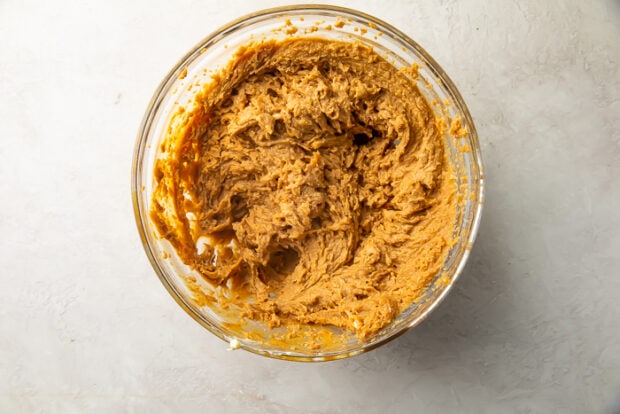
- In large bowl, use hand mixer or stand mixer to cream butter, peanut butter, white sugar, and brown sugar together.
- Slowly beat in eggs until mixture is fully combined.

- Sift flour into separate mixing bowl, then whisk in baking powder, baking soda, and salt. Mix until combined.
- Slowly mix flour mixture into peanut butter mixture until thoroughly combined. Place bowl of dough in refrigerator for 1 hour.
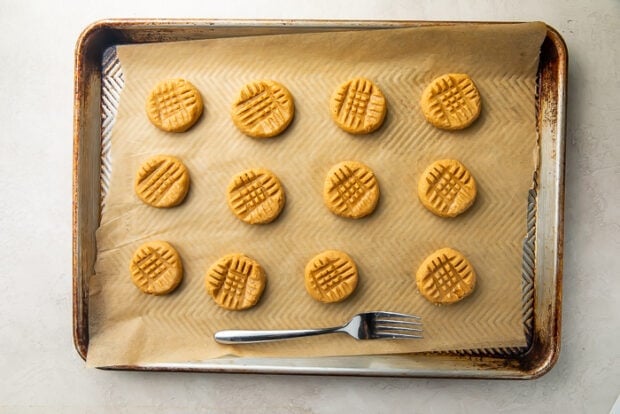
- After 1 hour, use cookie scoop to portion chilled dough into 1-inch balls. Roll each ball between palms of hands quickly to smooth and place on baking sheet lined with parchment paper.
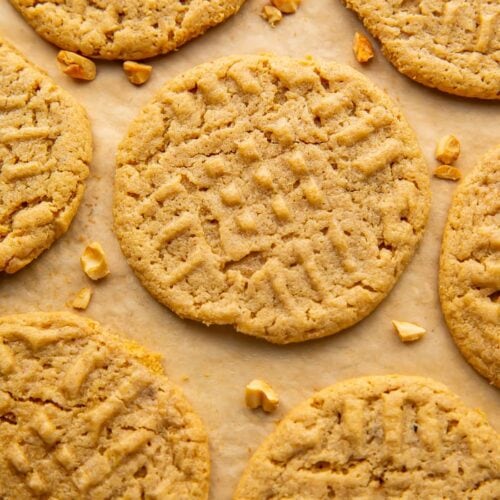
- Flatten each dough ball with fork, using tines to form cross-cross pattern on top of cookie.
- Place baking sheet in preheated oven and bake approximately 10 minutes, or until cookies begin to brown. Note: cookies will continue to bake slightly on pan as they cool.
- Remove cookies from oven and let cool on pan before serving or transferring to storage container.

- Bake time will vary from one oven to another. Altitude will also have an effect. Keep an eye on your cookies and remove them from the oven when the edges start to brown lightly.
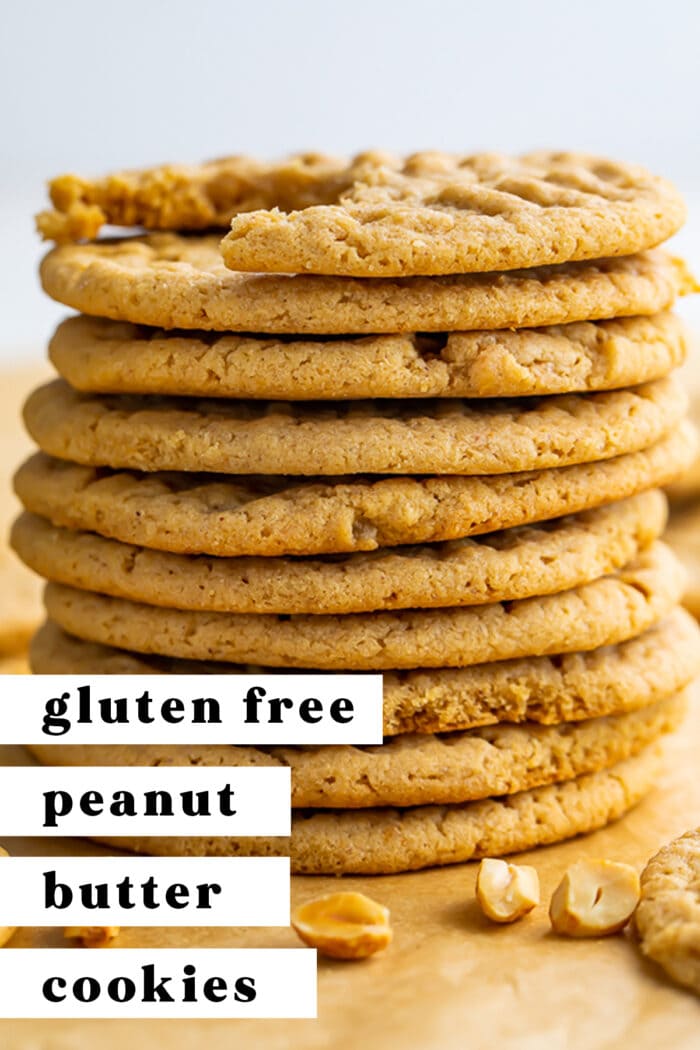
- The cookie dough will spread as it bakes, so leave ample space between each one. You’ll notice them puff up as they bake, but they will flatten back out into classic thin peanut butter cookies.
- Gluten-Free All-Purpose Flour: Use one that contains xanthan gum. If yours doesn’t, you’ll want to add some to your flour mixture – approximately 1/2 teaspoon xanthan gum for 2 cups of flour.
- Make it Dairy Free: Use vegan butter.
- Make it Sugar Free: Use Swerve Sweetener Granular in place of the white sugar, and Brown Swerve or coconut sugar in place of the brown sugar.
Approximate Information for One Serving
Nutrition Disclaimers
Number of total servings shown is approximate. Actual number of servings will depend on your preferred portion sizes.
Nutritional values shown are general guidelines and reflect information for 1 serving using the ingredients listed, not including any optional ingredients. Actual macros may vary slightly depending on specific brands and types of ingredients used.
To determine the weight of one serving, prepare the recipe as instructed. Weigh the finished recipe, then divide the weight of the finished recipe (not including the weight of the container the food is in) by the desired number of servings. Result will be the weight of one serving.
Did You Make This Recipe?
Tag @40aprons on Instagram and be sure to leave a review on the blog post!
Never Miss A Meal!
New Recipes Straight To Your Inbox
A curated selection of our most recent recipes, delivered straight to your inbox once a week.


These are very good! I’ve made them a few times. This most recent time I only made half the recipe, but I added 1/4c extra peanut butter because I felt like the PB flavor isn’t strong enough for my liking. Even with half a recipe I was able to get 37 cookies! I also cut the baking time to 8 minutes because I prefer my cookies a bit softer.
Thanks so much for sharing, Emily!