This Post May Contain Affiliate Links. Please Read Our Disclosure Policy.
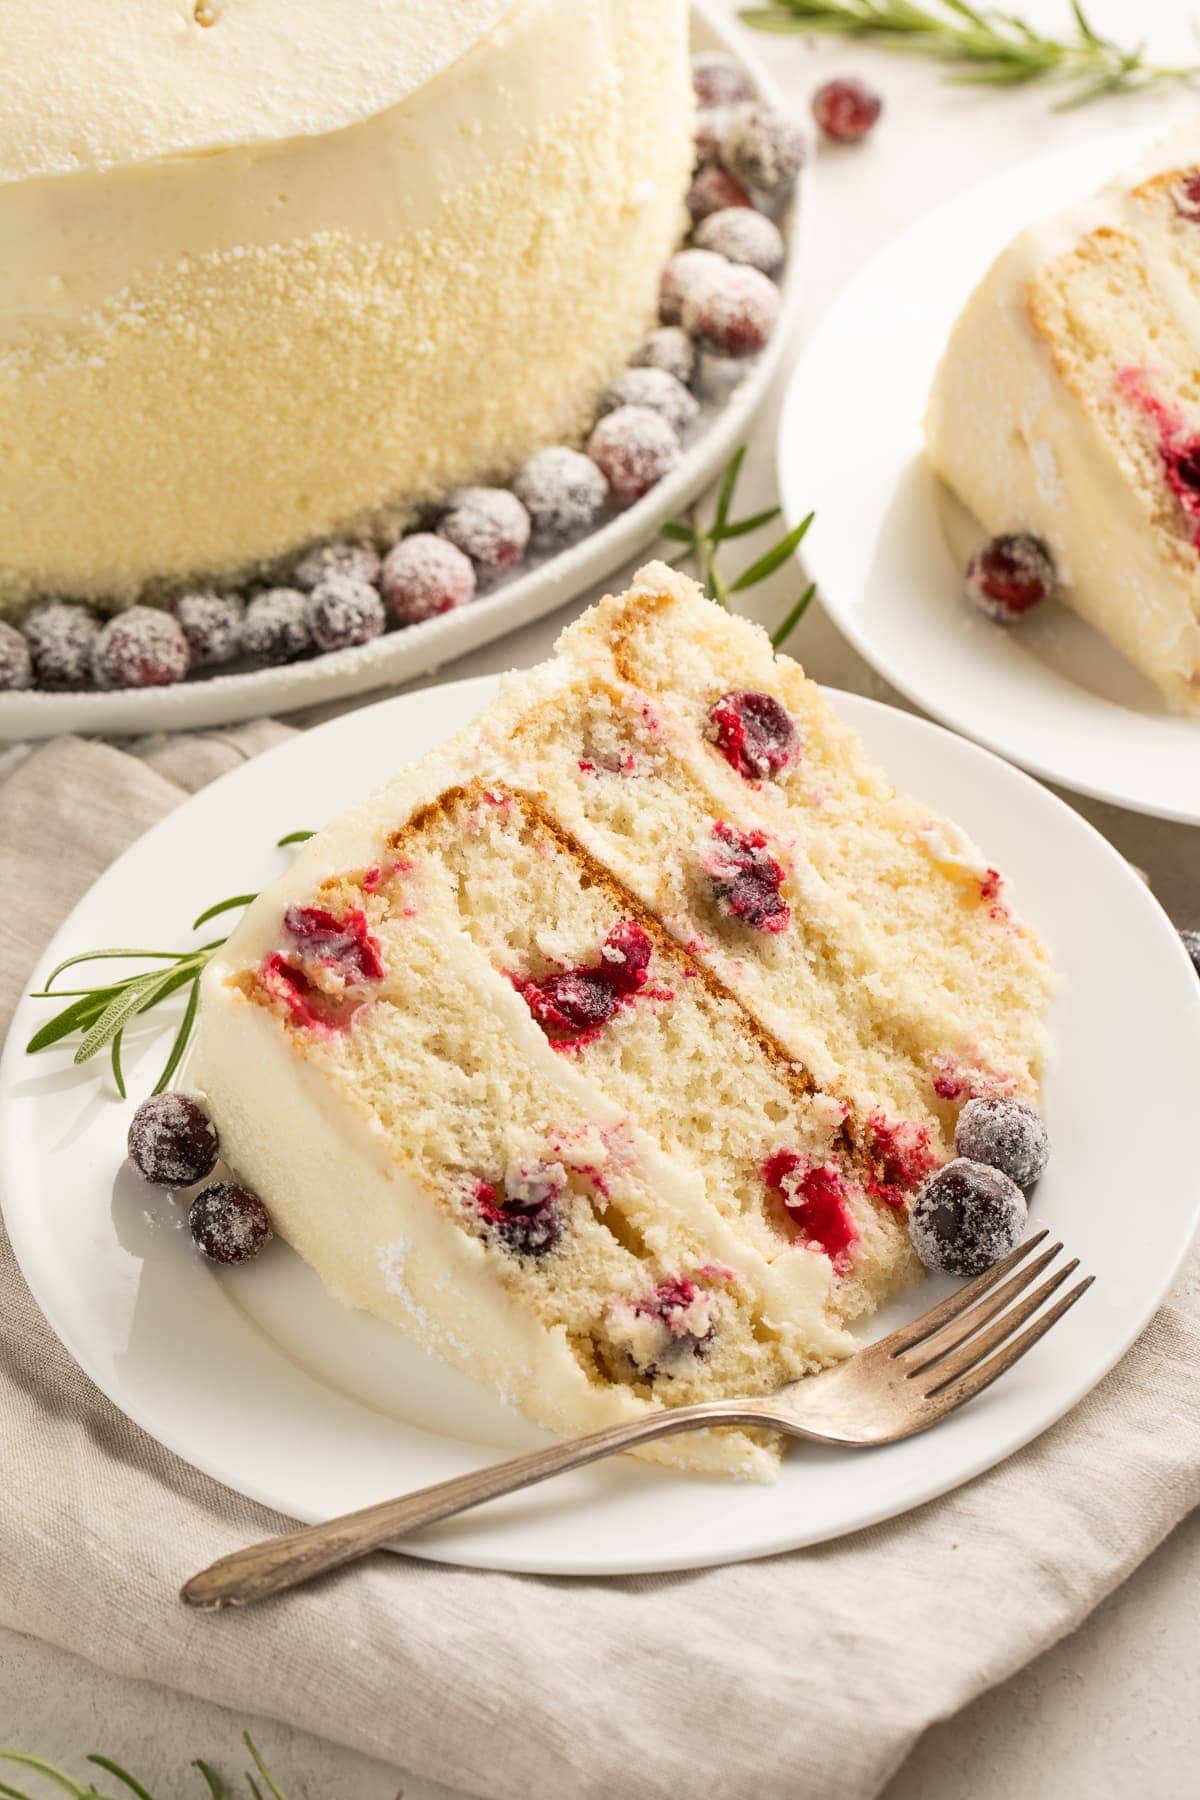
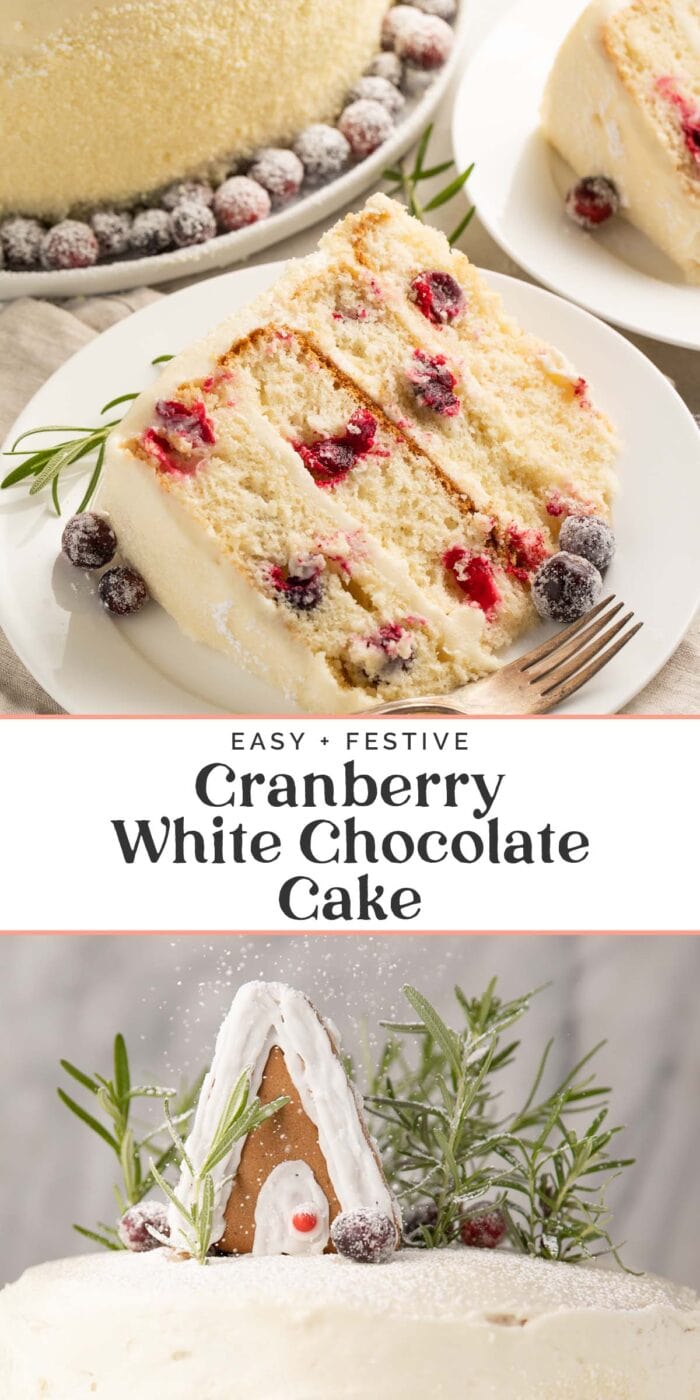
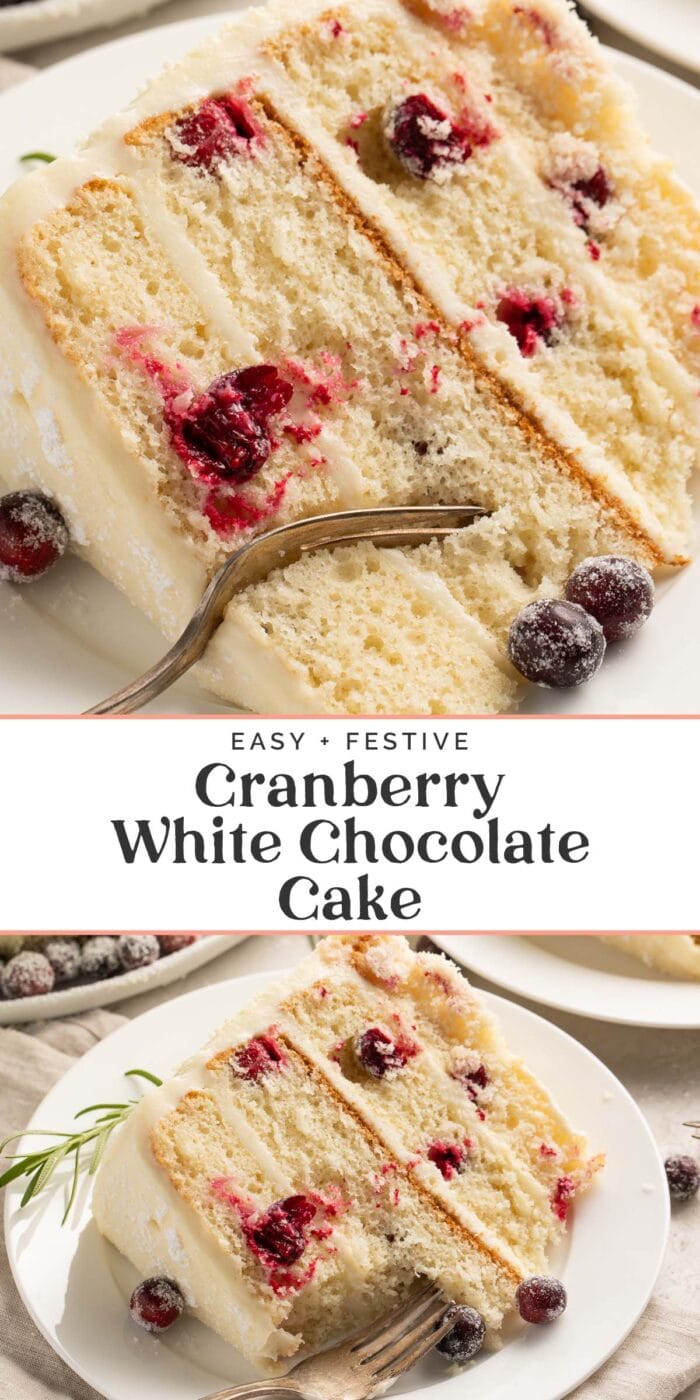
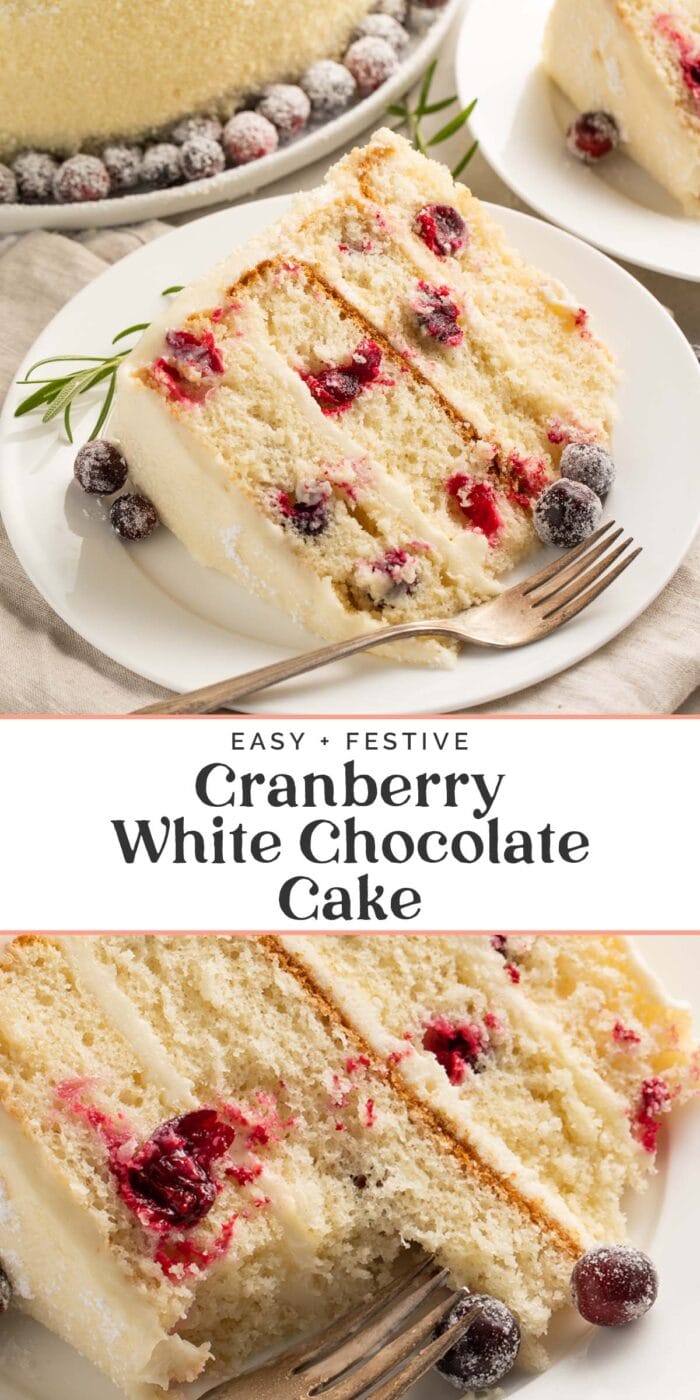
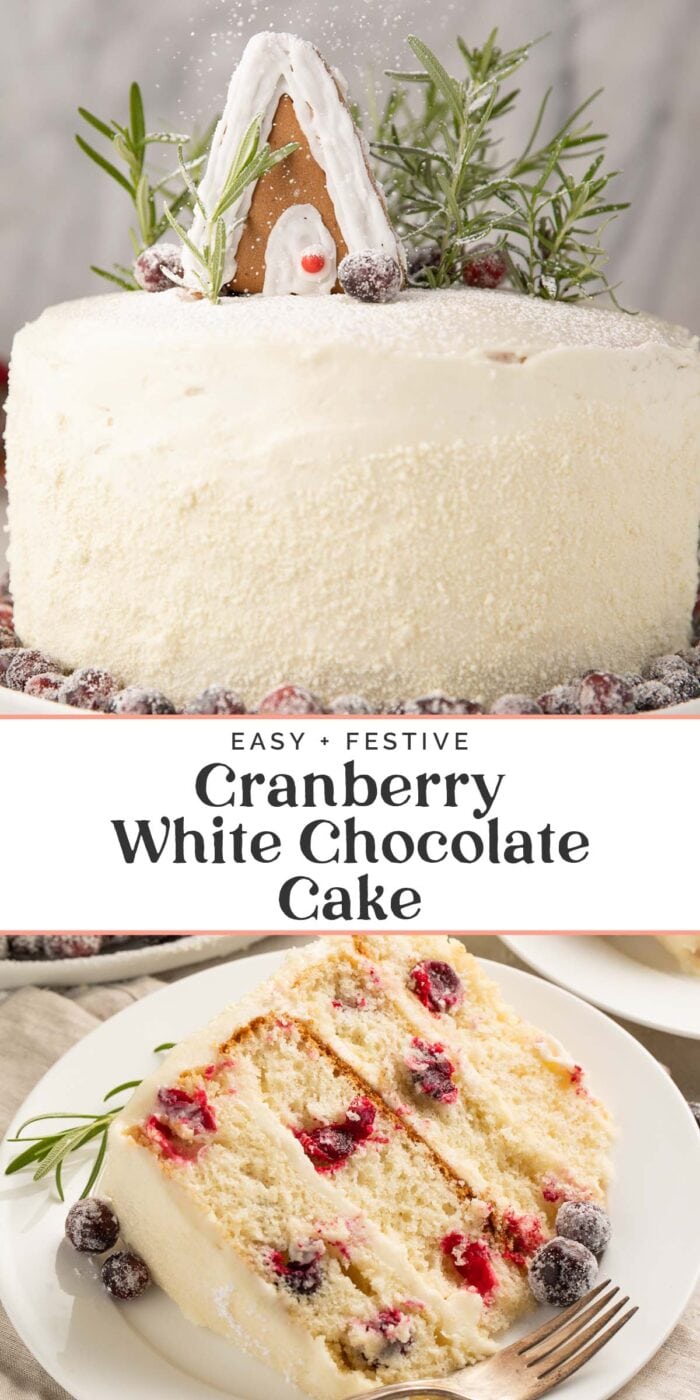
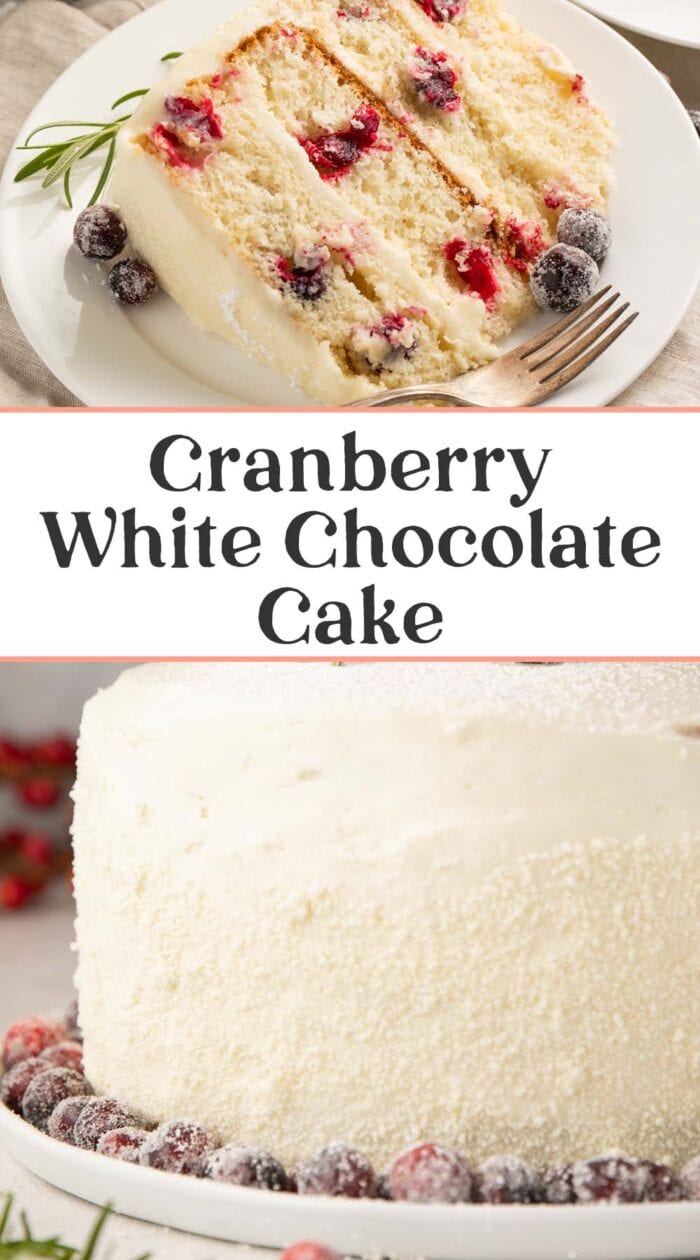
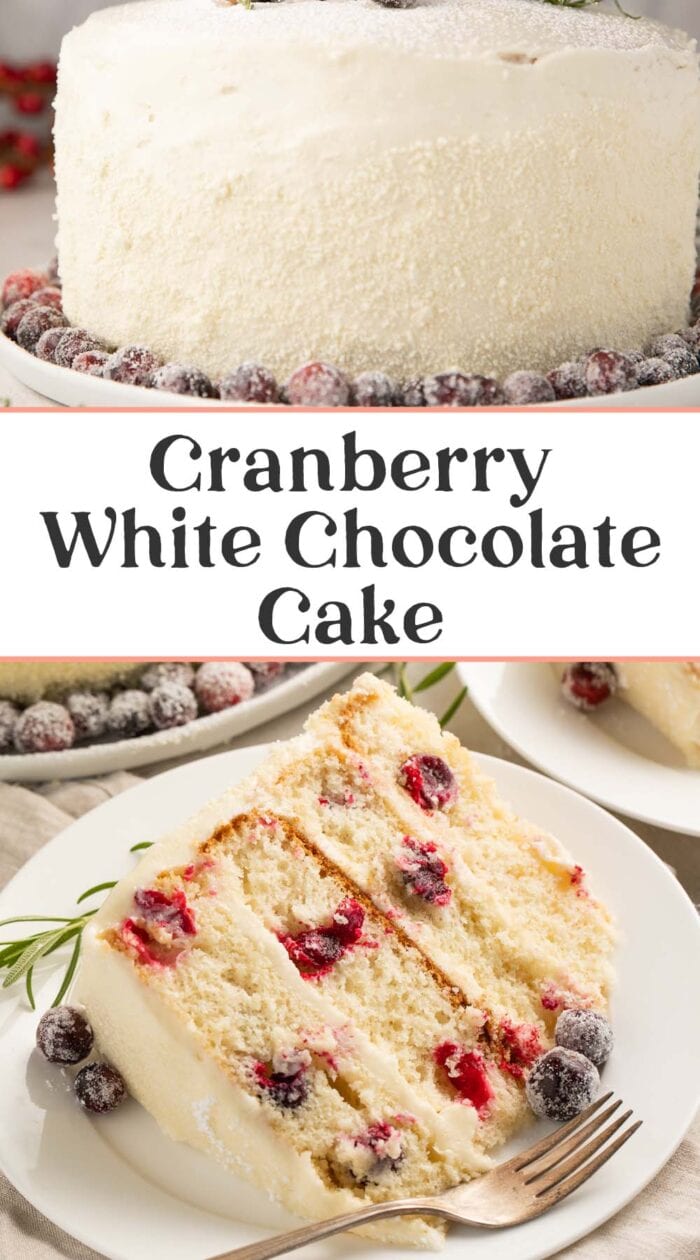
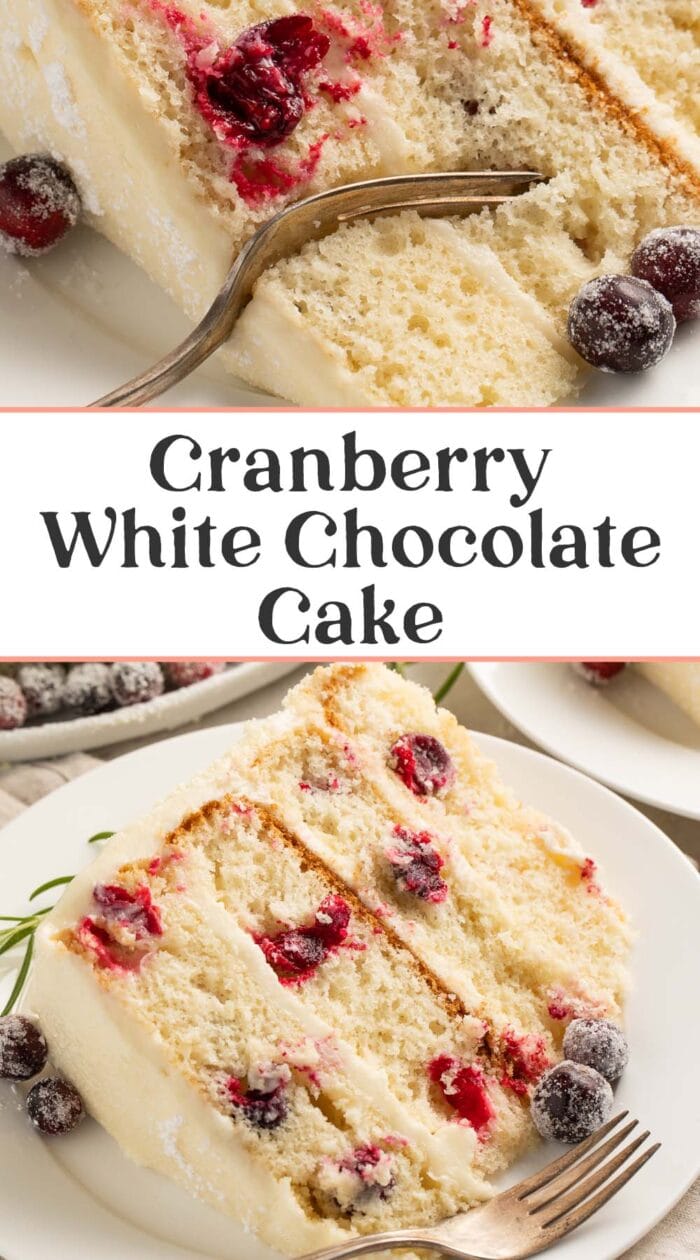
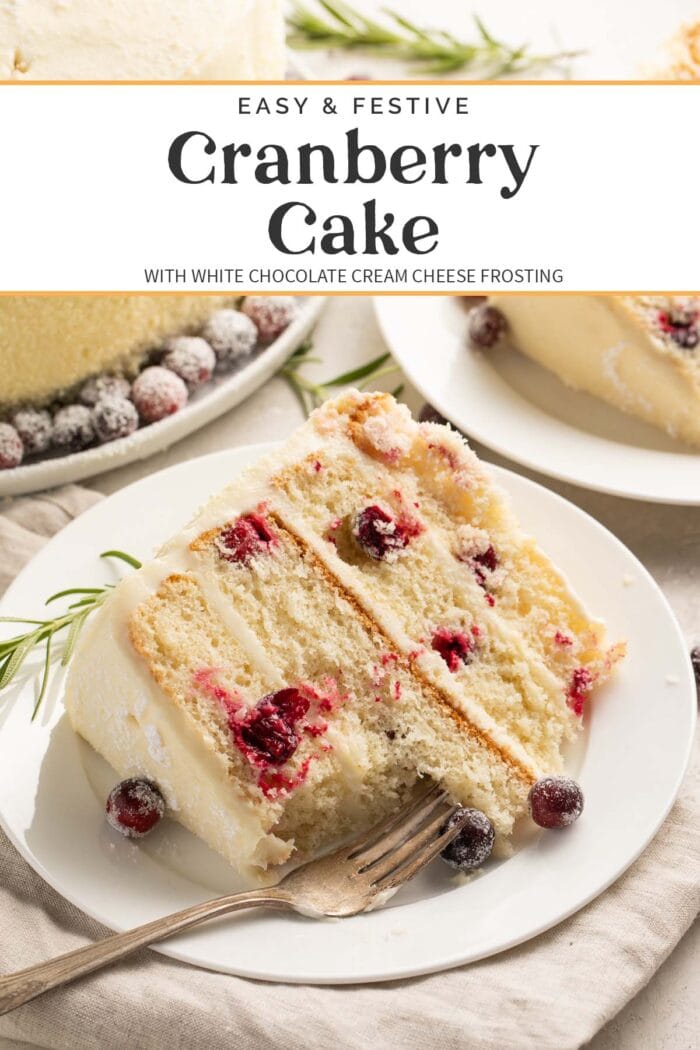
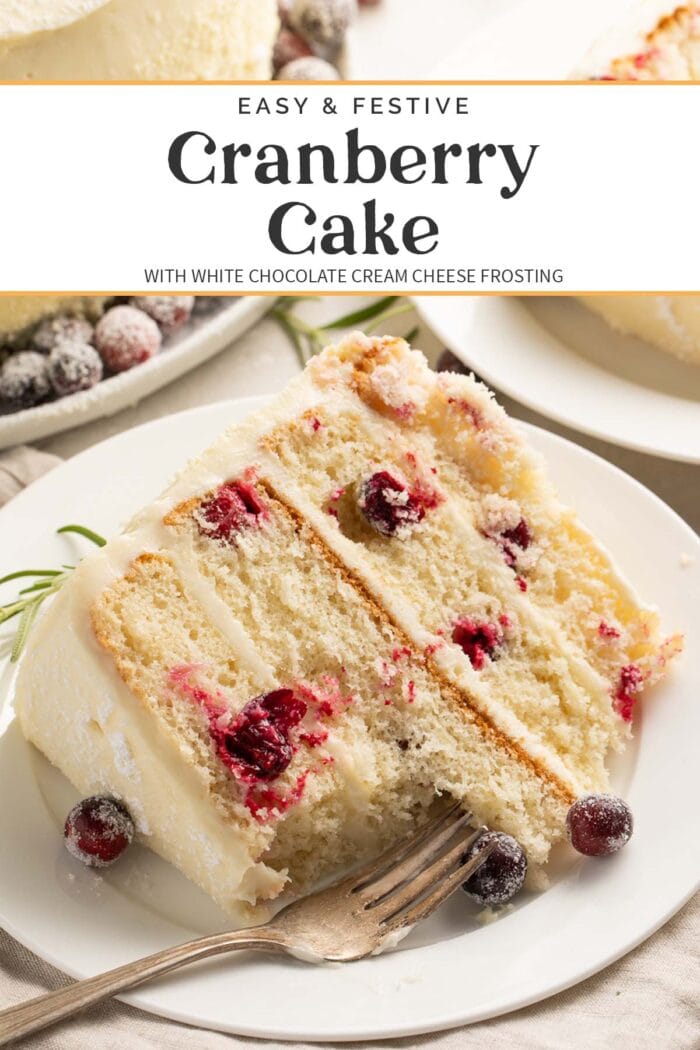
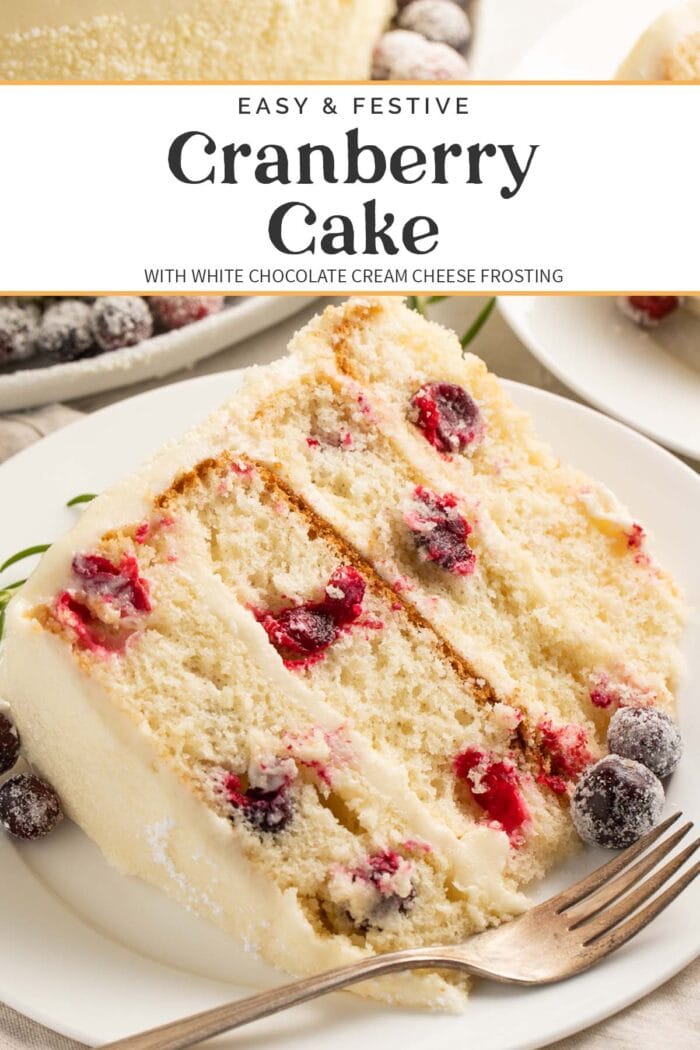
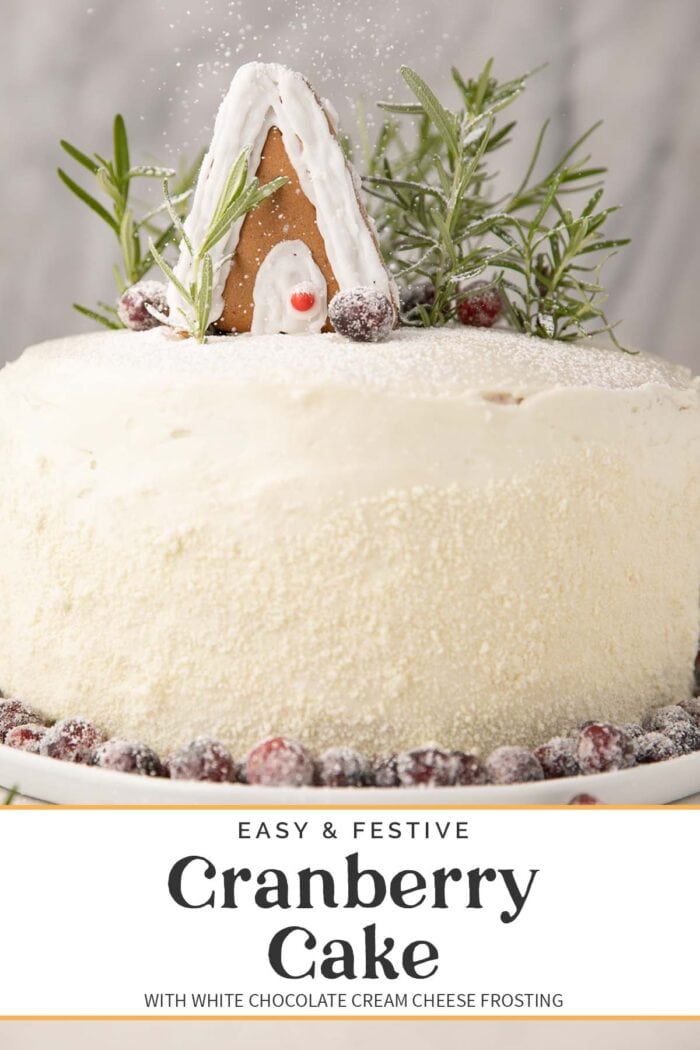
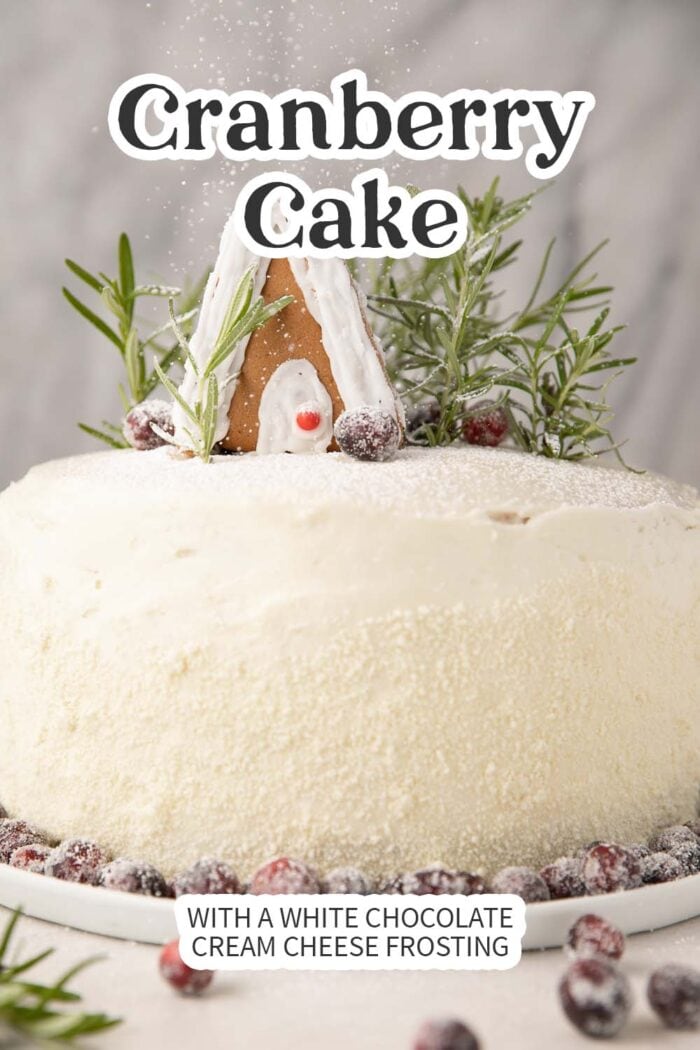
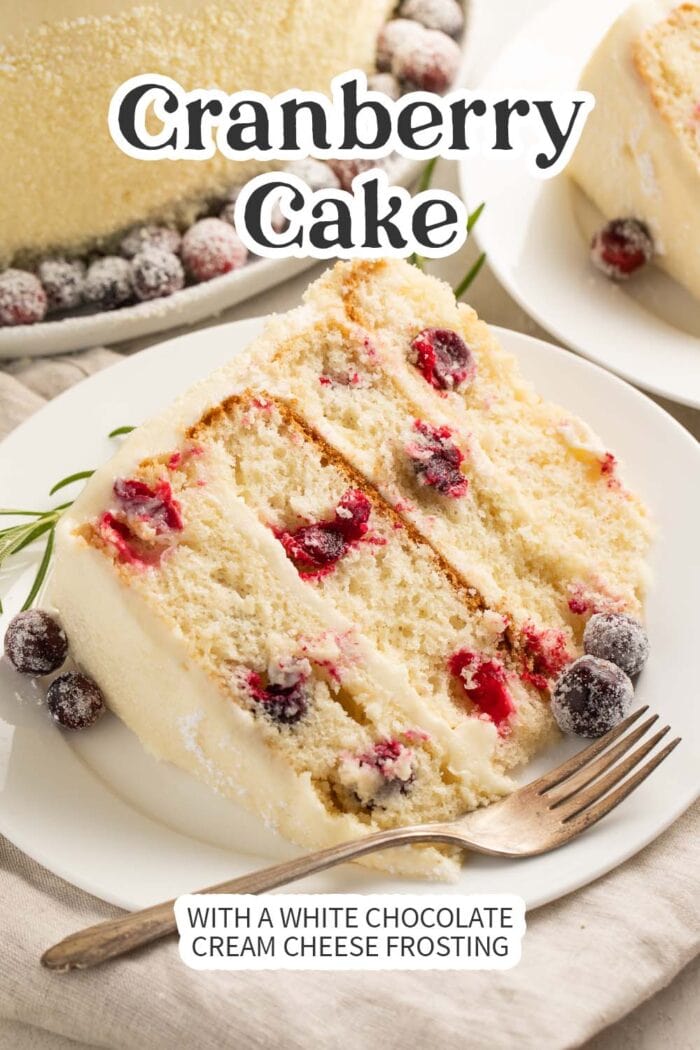
This cranberry white chocolate cake is incredibly stunning, moist, and best of all, super easy! Absolutely perfect for the holidays, I started making this cake years ago as a quick but impressive Christmas dessert, and the tartness of the cranberries is just delicious with the easy white chocolate cream cheese frosting. Made using a box mix to keep it simple, or use your favorite white cake recipe.
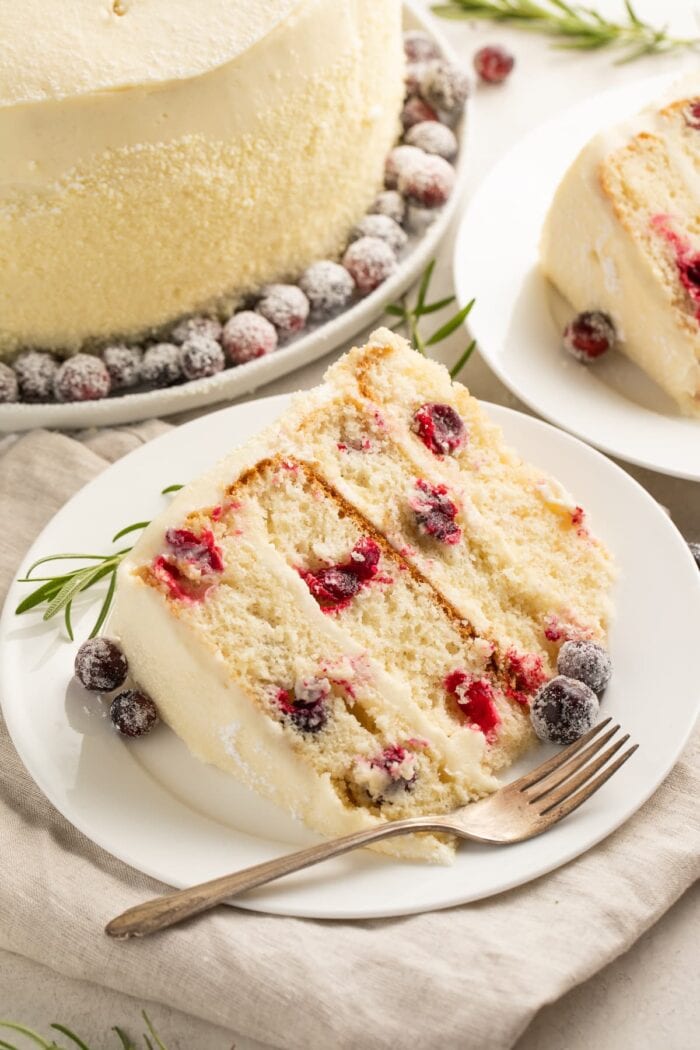
Don’t let the recipe card fool you (or scare you) – this cranberry cake is SUPER easy to make! We were just really thorough with the instructions. Below you’ll find methods for both frosting the cake without freezing AND for freezing the cake then frosting it, which is what I recommend you do.
What Makes This Recipe So Good
- White chocolate. Cranberry. Cake. Do I even have to say anything else?? This incredible dessert is Christmas in every bite. The decadent white chocolate cream cheese frosting is the perfect complement to the tart, juicy cranberries and the fluffy, moist white cake. It doesn’t just taste good, though – it’s gorgeous, too!
- Not only is this a great make-ahead recipe, I actually prefer to make it ahead of time! If you bake the cranberry cake in advance, you can freeze the layers until you need them, which makes them more moist and MUCH easier to frost. Plus you’re not stressing over the cake at the last minute during the holidays!
Key Ingredients
Cake Mix – I make this using a basic old box cake mix, but you could totally use your favorite from-scratch recipe instead. I’m a big fan of the ease and convenience of the boxed mixes, and no one can tell the difference in this cranberry cake!
Cranberries – You can fresh or frozen cranberries. If you’re using frozen, be sure to let them thaw first so they don’t throw off the texture and consistency of the cake batter.
White Chocolate – Use your favorite brand of white chocolate chips. I like to grab 2 bags, or a bag of chips and a bar that I can shave with a grater, to decorate the top of the cranberry cake with extra white chocolate. You can’t have too much!
Chef’s Tips
- Do not, do not, do not skip the crumb coating process! Crumb coating keeps the crumbs from getting in the outer layer of frosting, guaranteeing you a beautiful finish that’ll have people wondering what bakery you got this cake from.
- I can’t recommend enough that you freeze the cake. It’s just so much easier to work with when it’s frozen. Freezing it also locks in the moisture, making the cranberry cake unbelievably rich and tender. And did I mention that you can bake the cakes weeks in advance and freeze them until you need them? Goodbye, last-minute dessert stress.
- Melting white chocolate is really tricky. It’s just so temperamental! I find it easiest to just pop the chocolate in the microwave and heat it in 30 second bursts on 50% power, stirring between each one. The key is to stop microwaving it once it starts to melt, NOT when it’s completely melted. Once the chocolate starts to melt, the residual heat will take care of the rest of the chocolate, without making it seize. OH, and it’s SUPER important that your bowl and whatever you use to stir the chocolate are COMPLETELY dry. Any moisture whatsoever will also cause the chocolate to seize.
- If your white chocolate seizes, stir in a little oil to help it liquify again. Just don’t overdo it! Add the oil in small increments and stir well until you’ve got a workable consistency.
Looking for More Holiday Desserts? Try These!
- Paleo Cranberry Bliss Bars (Vegan Cranberry Bliss Bars) [Grain & Gluten-Free]
- No Bake Pumpkin Cheesecake
- Keto White Chocolate Raspberry Cheesecake (Sugar-Free)
- Perfect Paleo Brownies (Fudgy, Crackly Top, Gluten Free)
- Gluten Free Ginger Snaps
- Keto Pecan Pie
Easy Cranberry Cake with White Chocolate Cream Cheese Frosting
Equipment
- Oven
- 4 8-inch round cake pans
- neutral-flavored cooking spray
- parchment paper
- Kitchen scissors
- 2 large mixing bowls
- stand mixer or hand mixer
- 4 wire cooling racks
- Plastic wrap
- freezer optional, recommended
- Medium microwave-safe bowl or heatproof bowl and double boiler
- offset spatula to frost cake
- refrigerator
- Fine mesh sieve optional
Ingredients
For the Cranberry Cake
- 2 boxes white cake mix see Notes
- 2 cups water see Notes
- 1 cup oil see Notes
- 6 large eggs see Notes
- 2 ½ cups fresh cranberries
For the White Chocolate Cream Cheese Frosting
- 2 8-ounce packages cream cheese softened, 16 ounces total
- ½ cup butter softened, ½ stick
- 1 12-ounce package white chocolate chips
- 2 teaspoons vanilla extract
- 4 cups powdered sugar
To Garnish (All Optional)
- sugared cranberries see Notes
- rosemary sprigs
- mini gingerbread house
- white chocolate chips or shavings
- powdered sugar
Instructions
For the Cranberry Cake
- Preheat oven to 325° Fahrenheit. Lightly grease 4 8-inch round cake pans with cooking spray or butter. Cut parchment paper circles to fit in bottom of each cake pan – I typically place pan on parchment paper, trace around bottom of pan, then cut along outline.
- Prepare white cake mix as directed on box (or according to your cake recipe instructions). Gently stir fresh cranberries into prepared cake batter, then divide batter evenly between cake pans.
- Place cake pans in oven and bake at 325°F for 27-30 minutes, or until toothpick inserted in center of cake comes out clean. Be careful not to over-bake cake.
If Freezing Cakes Before Frosting (Recommended)
- Cover wire cooling rack with sheet of plastic wrap. Flip cooling rack over and place face down on top of cake pan, with plastic wrap covering cake surface. With one hand under cake pan and one hand on top of cooling rack, press the two together and carefully flip them over so cake pan is upside-down on cooling rack. Gently twist and wiggle cake pan while lifting upward to release cake. Repeat for all 4 cakes.
- Let cakes cool 5 minutes, then wrap each layer in plastic wrap. Place flat in freezer and freeze at least 8 hours. Note: cakes can be made weeks in advance and frozen until ready to decorate.
If Frosting Cakes Without Freezing
- Place wire cooling rack face down on top of cake pan. With one hand under cake pan and one hand on top of cooling rack, press the two together and carefully flip them over so cake pan is upside-down on cooling rack. Gently twist and wiggle cake pan while lifting upward to release cake. Repeat for all 4 cakes.
- Let cakes rest on cooling racks 2 to 3 hours, until completely cooled. Transfer one cooled cake to plate or cake stand and begin decorating.
For the White Chocolate Cream Cheese Frosting
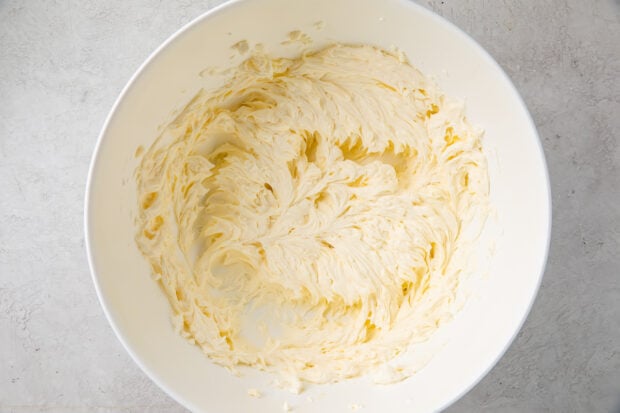
- In large bowl, use stand mixer or hand mixer to beat softened cream cheese and butter together.
- Place white chocolate chips in heatproof bowl and place in microwave (or over double boiler). Microwave in 30 seconds bursts, stirring well between each session. Microwave until just barely melted – if you microwave the chips too much, the chocolate will seize.
- Carefully add melted chocolate and vanilla extract to cream cheese mixture and mix well. Gradually add in powdered sugar in several increments, beating frosting mixture until light and fluffy after each addition.
To Decorate the Cranberry Cake
- Note: Cake MUST be completely cooled (or completely frozen) before starting this process.Carefully level each layer of cooled cake so they sit flat on top of each other. Keep the layers as evenly thick as possible.
- Dollop white chocolate cream cheese frosting in center of one layer of cake – this will be your bottom layer. Use offset spatula to spread frosting out to edges of cake, creating smooth, even layer of frosting.
- Take another layer of cake and gently place it on top of frosting layer, centering it so edges line up with bottom layer. Repeat frosting layer and cake layer, alternating each, until all 4 layers have been stacked.
- Crumb coat entire outside of cake. To crumb coat, dollop small amount of frosting on center of top layer and spread to edges in very thin layer. You should still see cake through frosting layer. Visible crumbs in frosting layer are normal and fine.
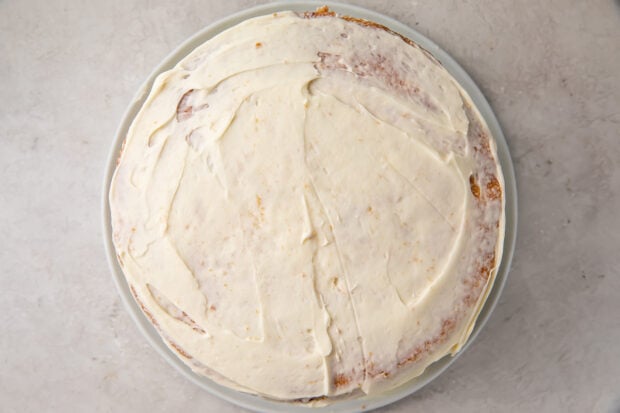
- Continue this process down all sides of cake, crumb coating entire exterior in very thin layer of frosting. Be gentle and avoid pushing or pulling on cake surface.
- Place crumb coated cake in refrigerator and chill 30 minutes.
- Once crumb coat feels set and dry, remove cake from fridge and finish frosting. Dollop frosting on center of top of cake and use offset spatula to gently spread frosting out to edges and down sides of cake, coating cake fully.
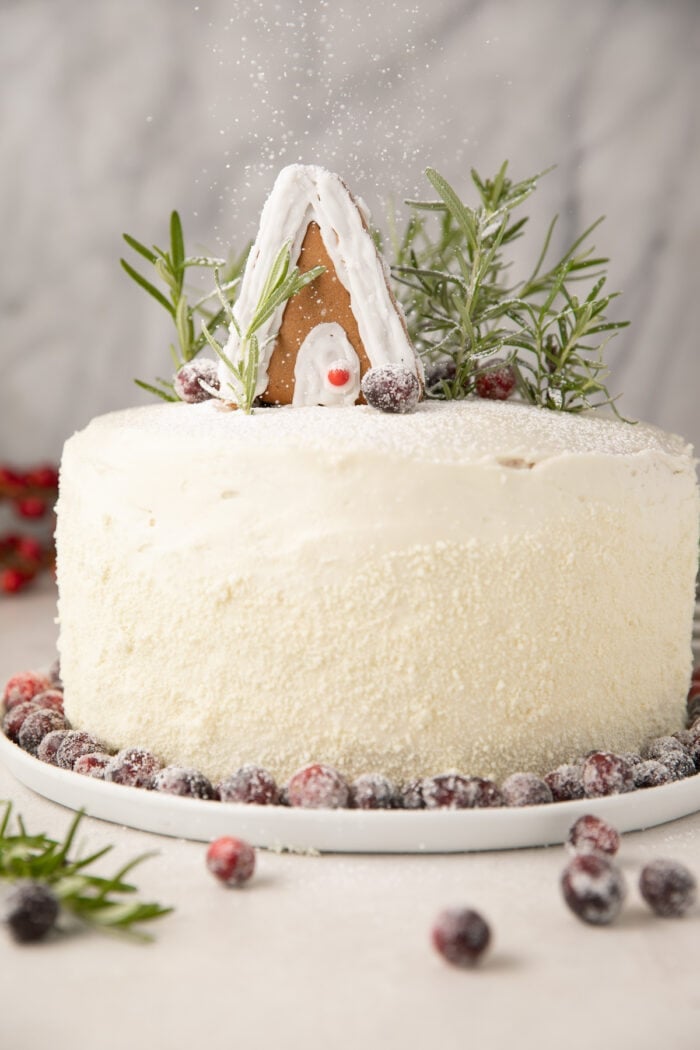
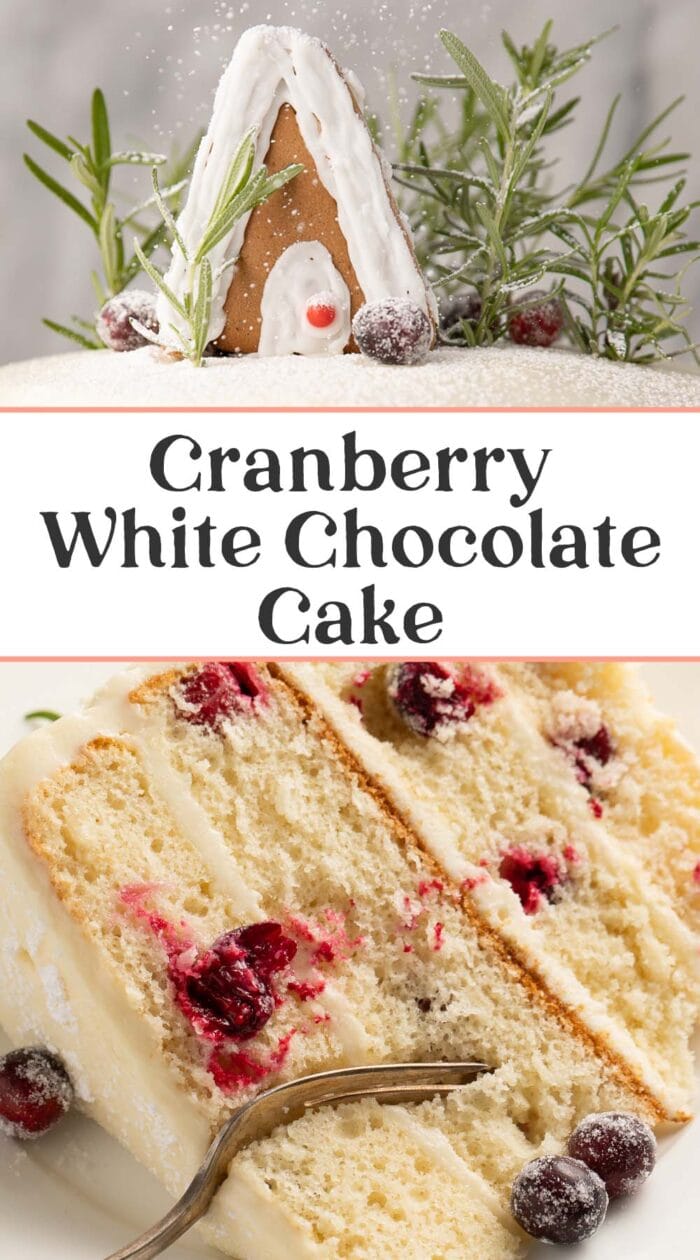
- Decorate top and sides of cake as desired, with sugared cranberries, rosemary sprigs, gingerbread, or white chocolate. If desired, finish cake with sprinkle of powdered sugar through fine mesh sieve to create "snow".
- Serve finished cake as desired.
- Cake Mix: The water, oil, and eggs listed above are the correct quantities for 2 boxes of cake with most store-bought brands. If you’re using your own from-scratch recipe for the cake, skip the quantities I’ve listed above and use what your recipe calls for. Just make sure to double it if needed so you end up with 4 8-inch round cakes!
For Sugared Cranberries
Ingredients- fresh cranberries
- ½ cup granulated sugar
- Spritz cranberries lightly with water (not too much or your sugar will clump. Place granulated sugar in a shallow dish then add cranberries in batches. Roll and toss cranberries in the sugar with a fork until they’re completed coated, then transfer them to a bowl and repeat until all cranberries have been sugared.
Approximate Information for One Serving
Nutrition Disclaimers
Number of total servings shown is approximate. Actual number of servings will depend on your preferred portion sizes.
Nutritional values shown are general guidelines and reflect information for 1 serving using the ingredients listed, not including any optional ingredients. Actual macros may vary slightly depending on specific brands and types of ingredients used.
To determine the weight of one serving, prepare the recipe as instructed. Weigh the finished recipe, then divide the weight of the finished recipe (not including the weight of the container the food is in) by the desired number of servings. Result will be the weight of one serving.
Did You Make This Recipe?
Tag @40aprons on Instagram and be sure to leave a review on the blog post!



Never Miss A Meal!
New Recipes Straight To Your Inbox
A curated selection of our most recent recipes, delivered straight to your inbox once a week.
Thank you!
You have successfully joined our subscriber list.