
This Post May Contain Affiliate Links. Please Read Our Disclosure Policy.
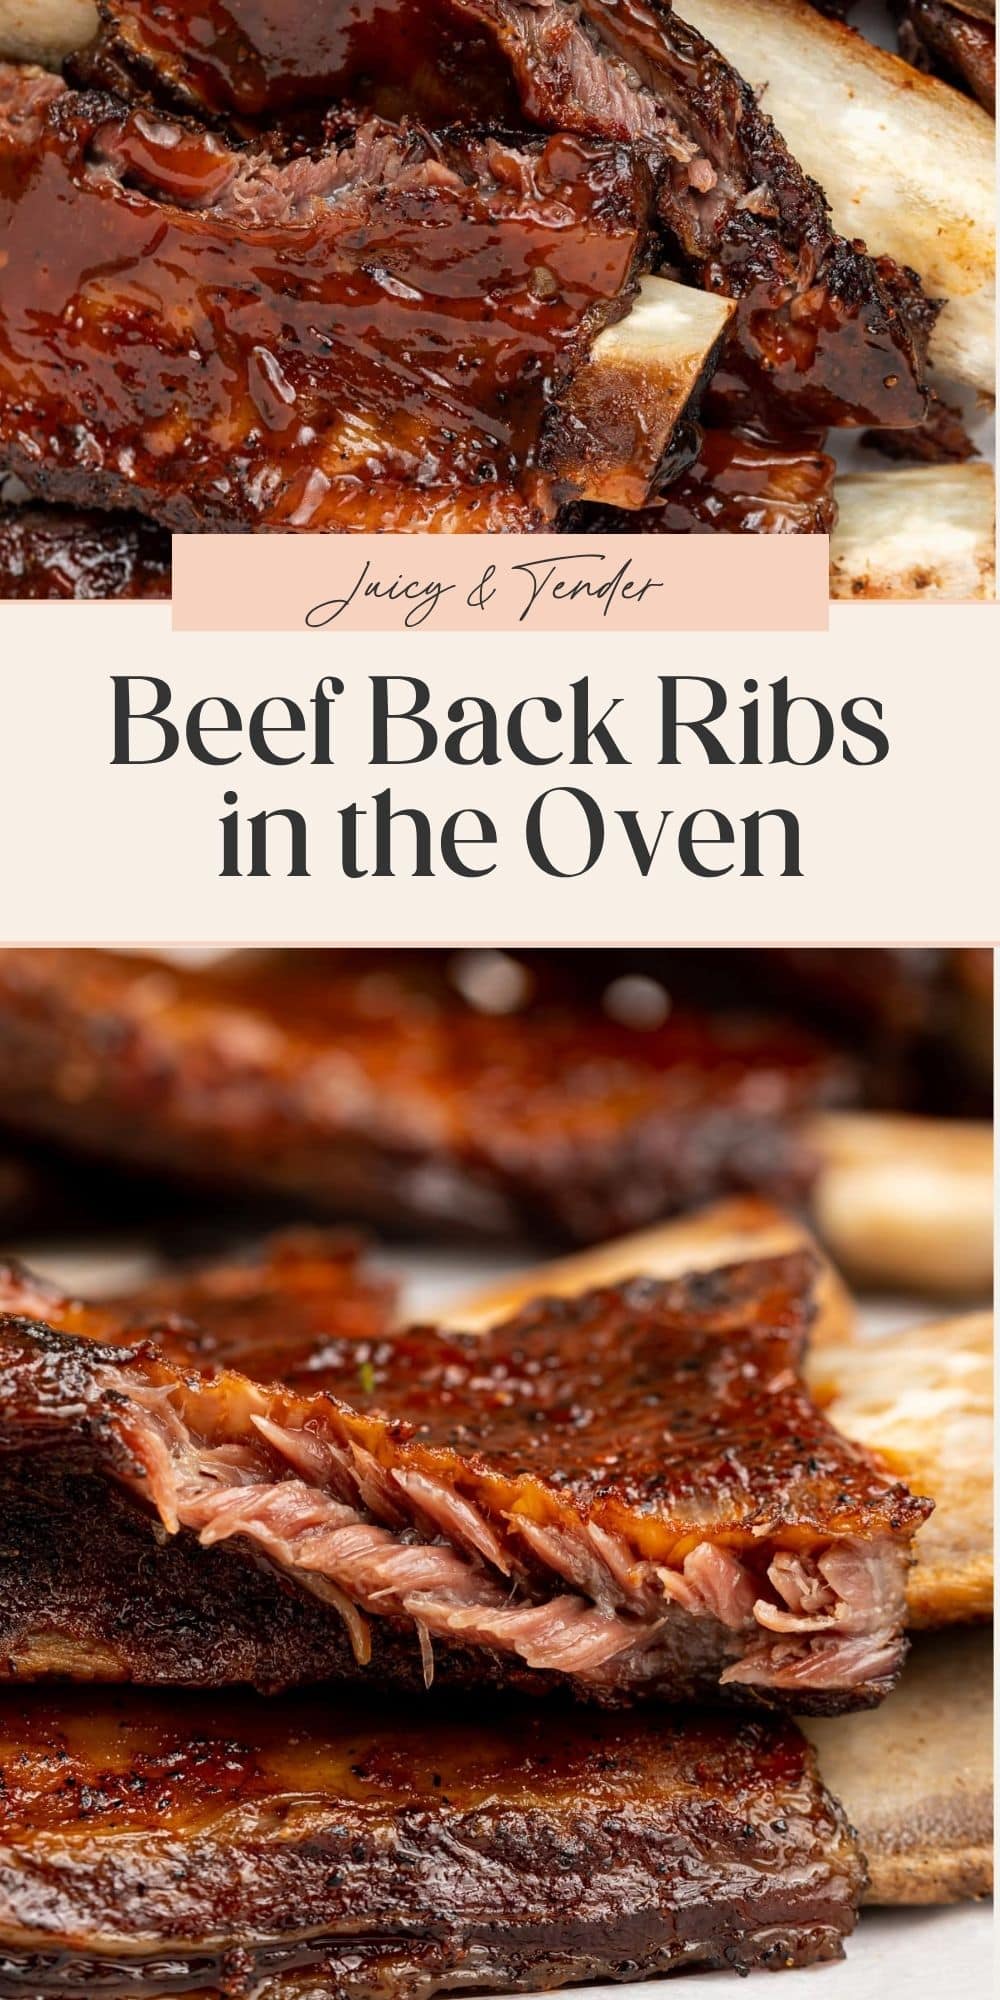
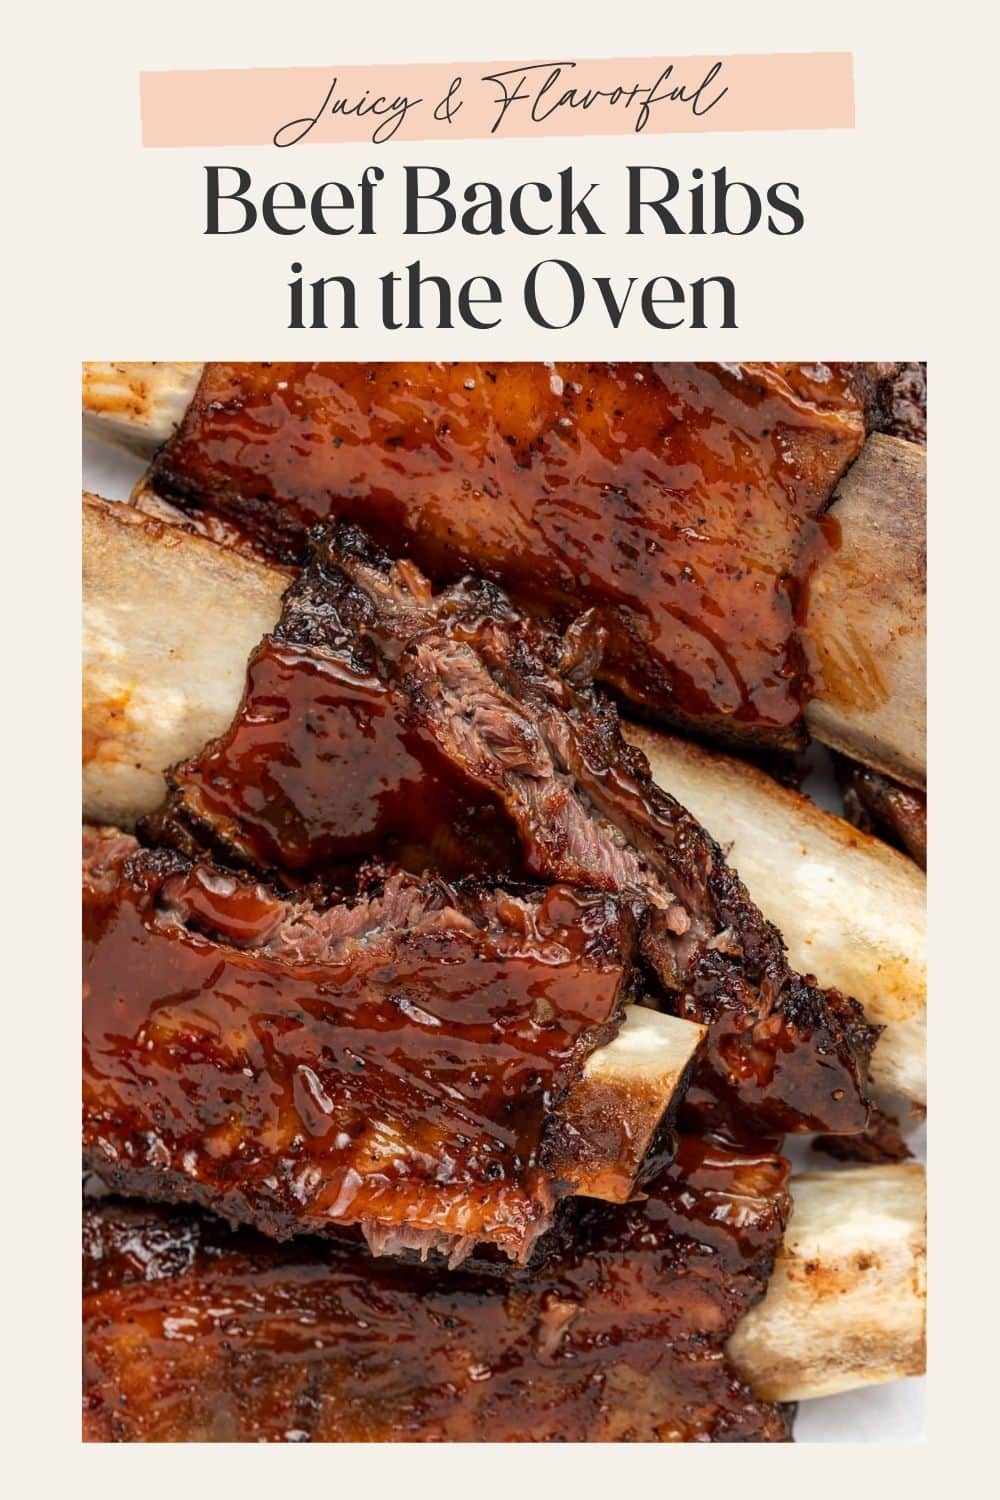
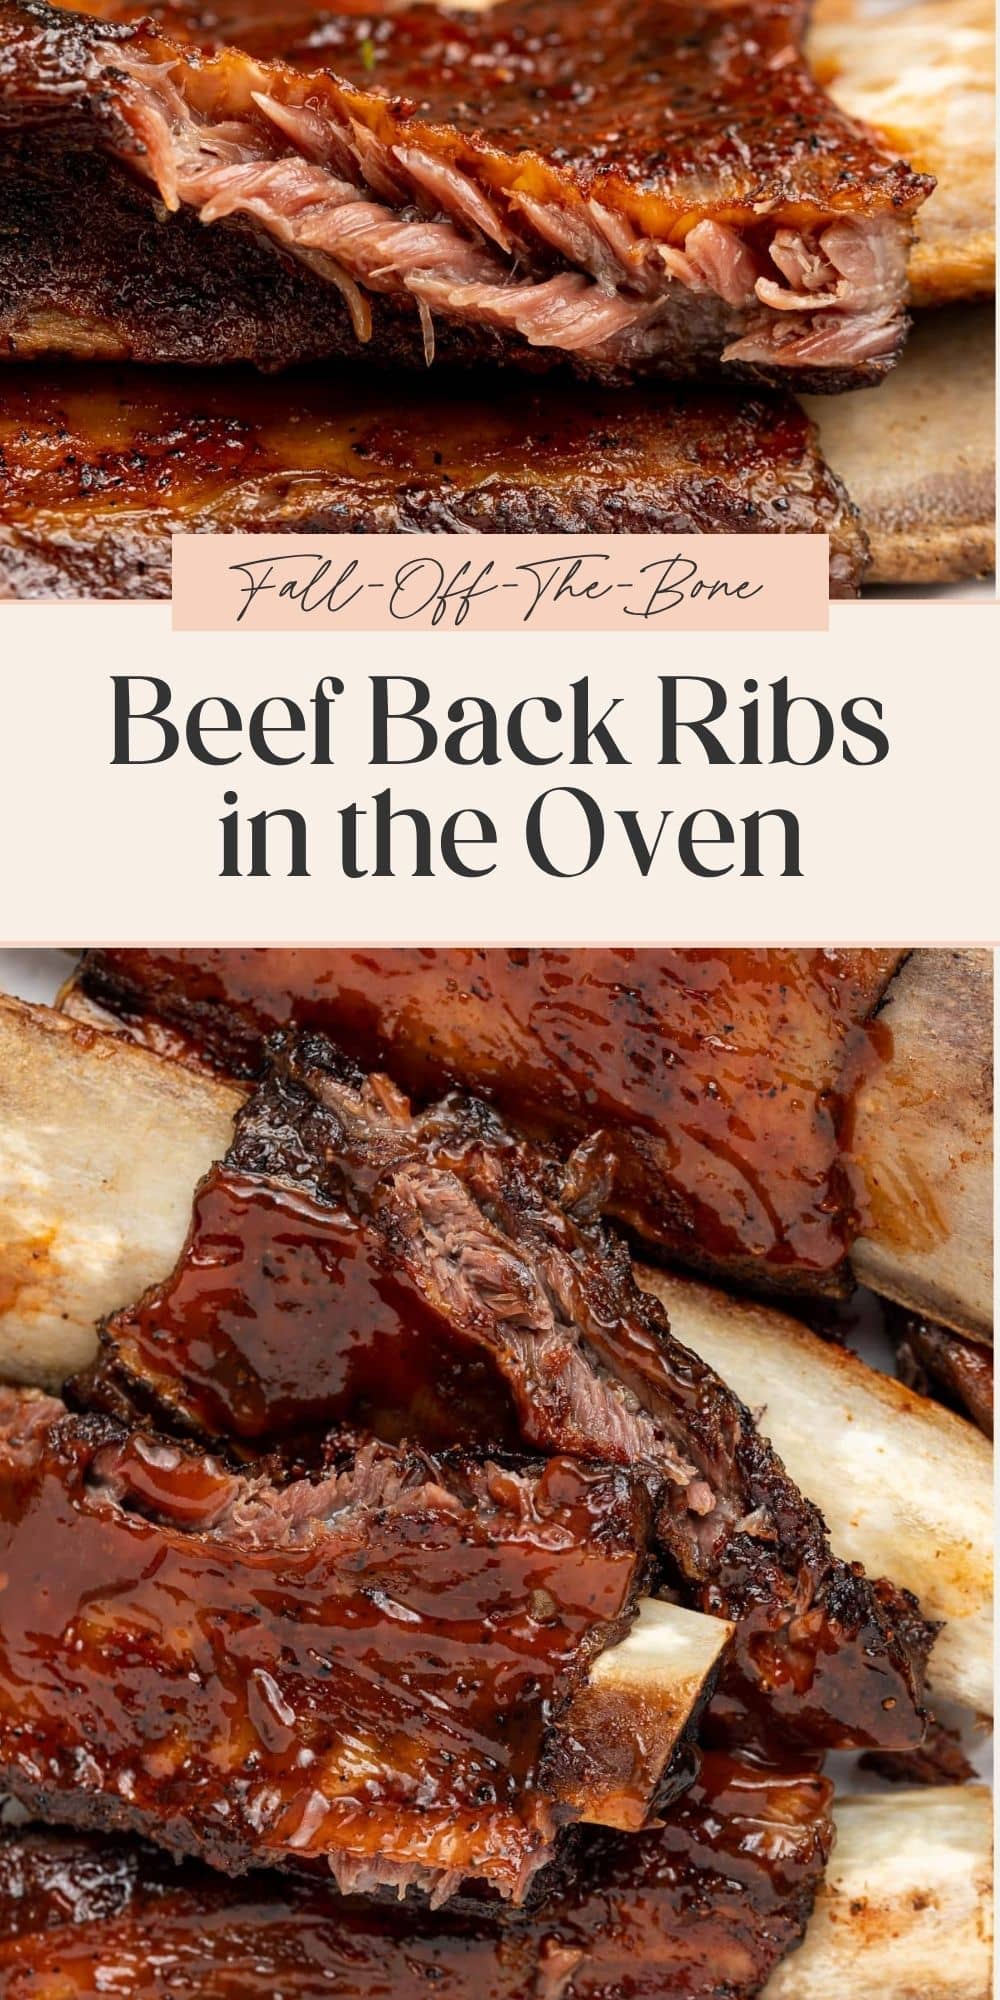
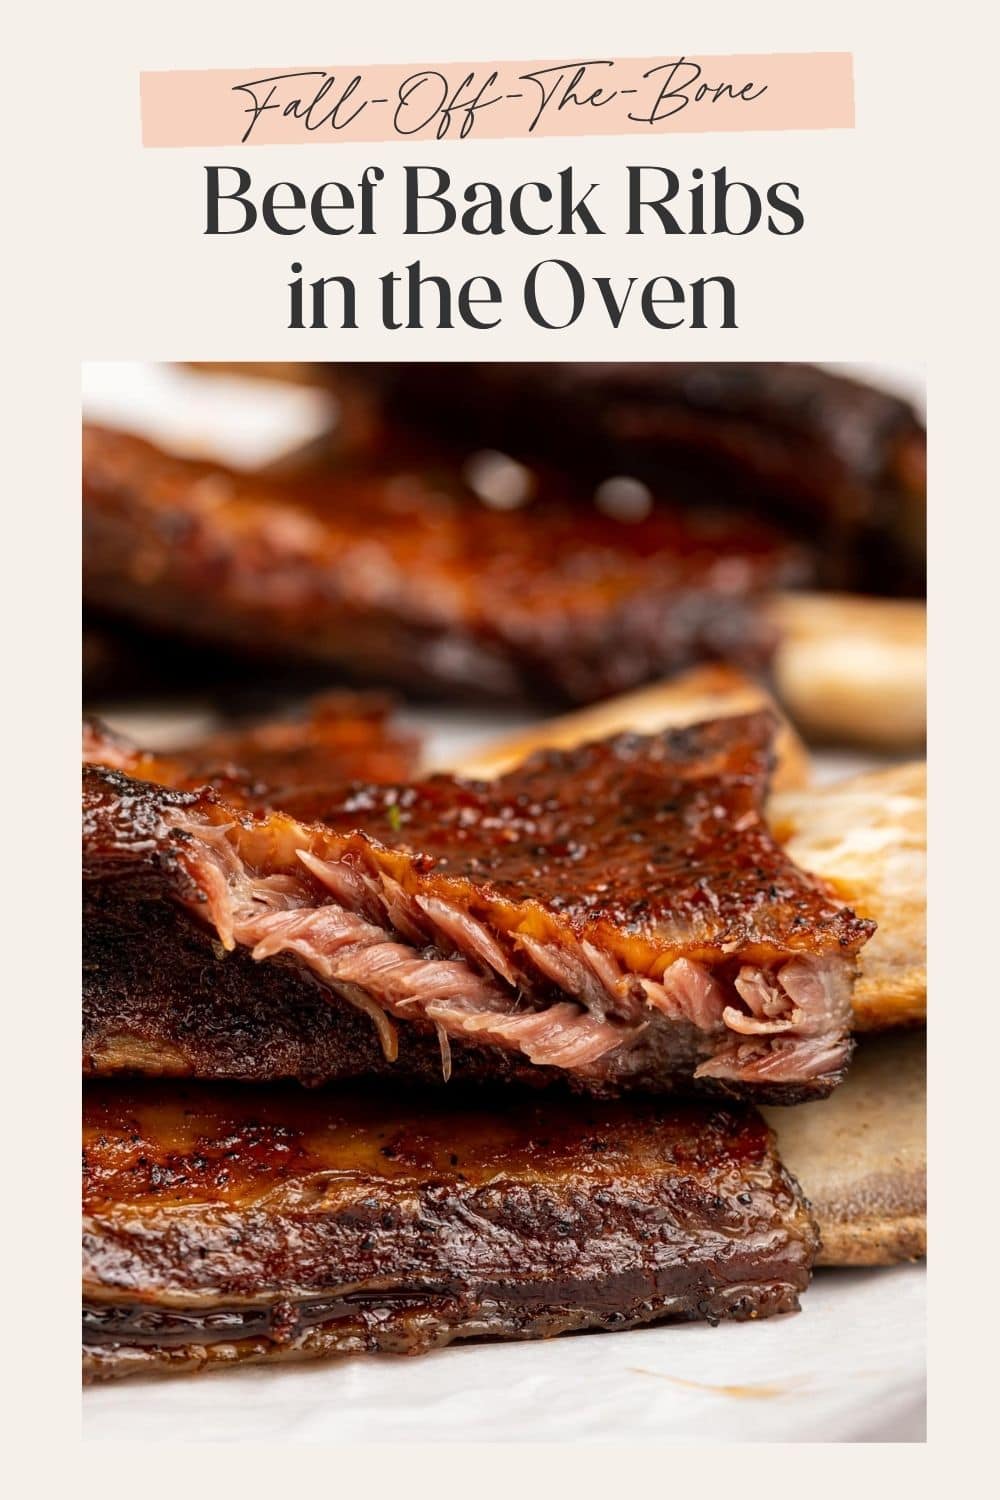
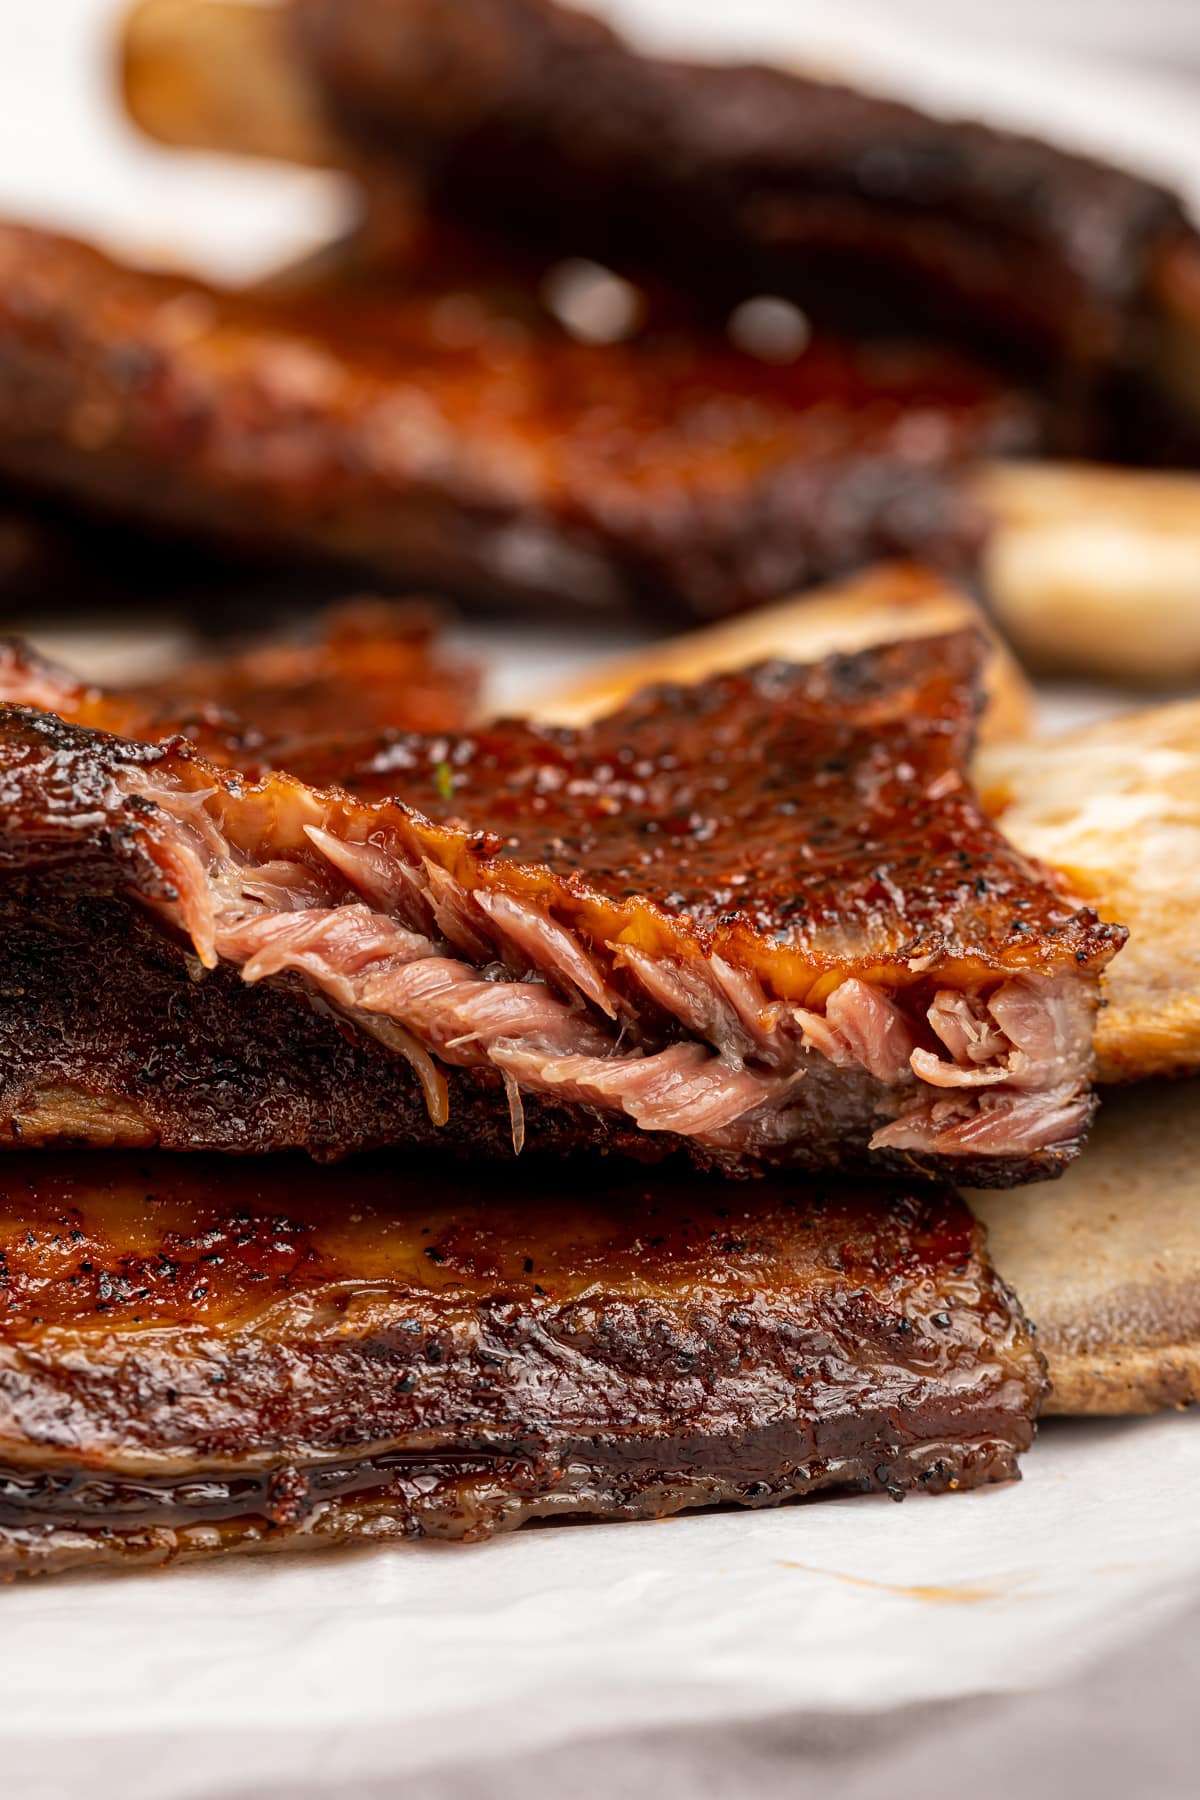
Learn how to make ribs without a grill using my foolproof beef back ribs recipe, which bakes them in the oven and produces insanely juicy, flavorful, fall-off-the-bone tender ribs every single time! Finish these oven baked beef back ribs with a slathering of your favorite barbecue sauce and enjoy!
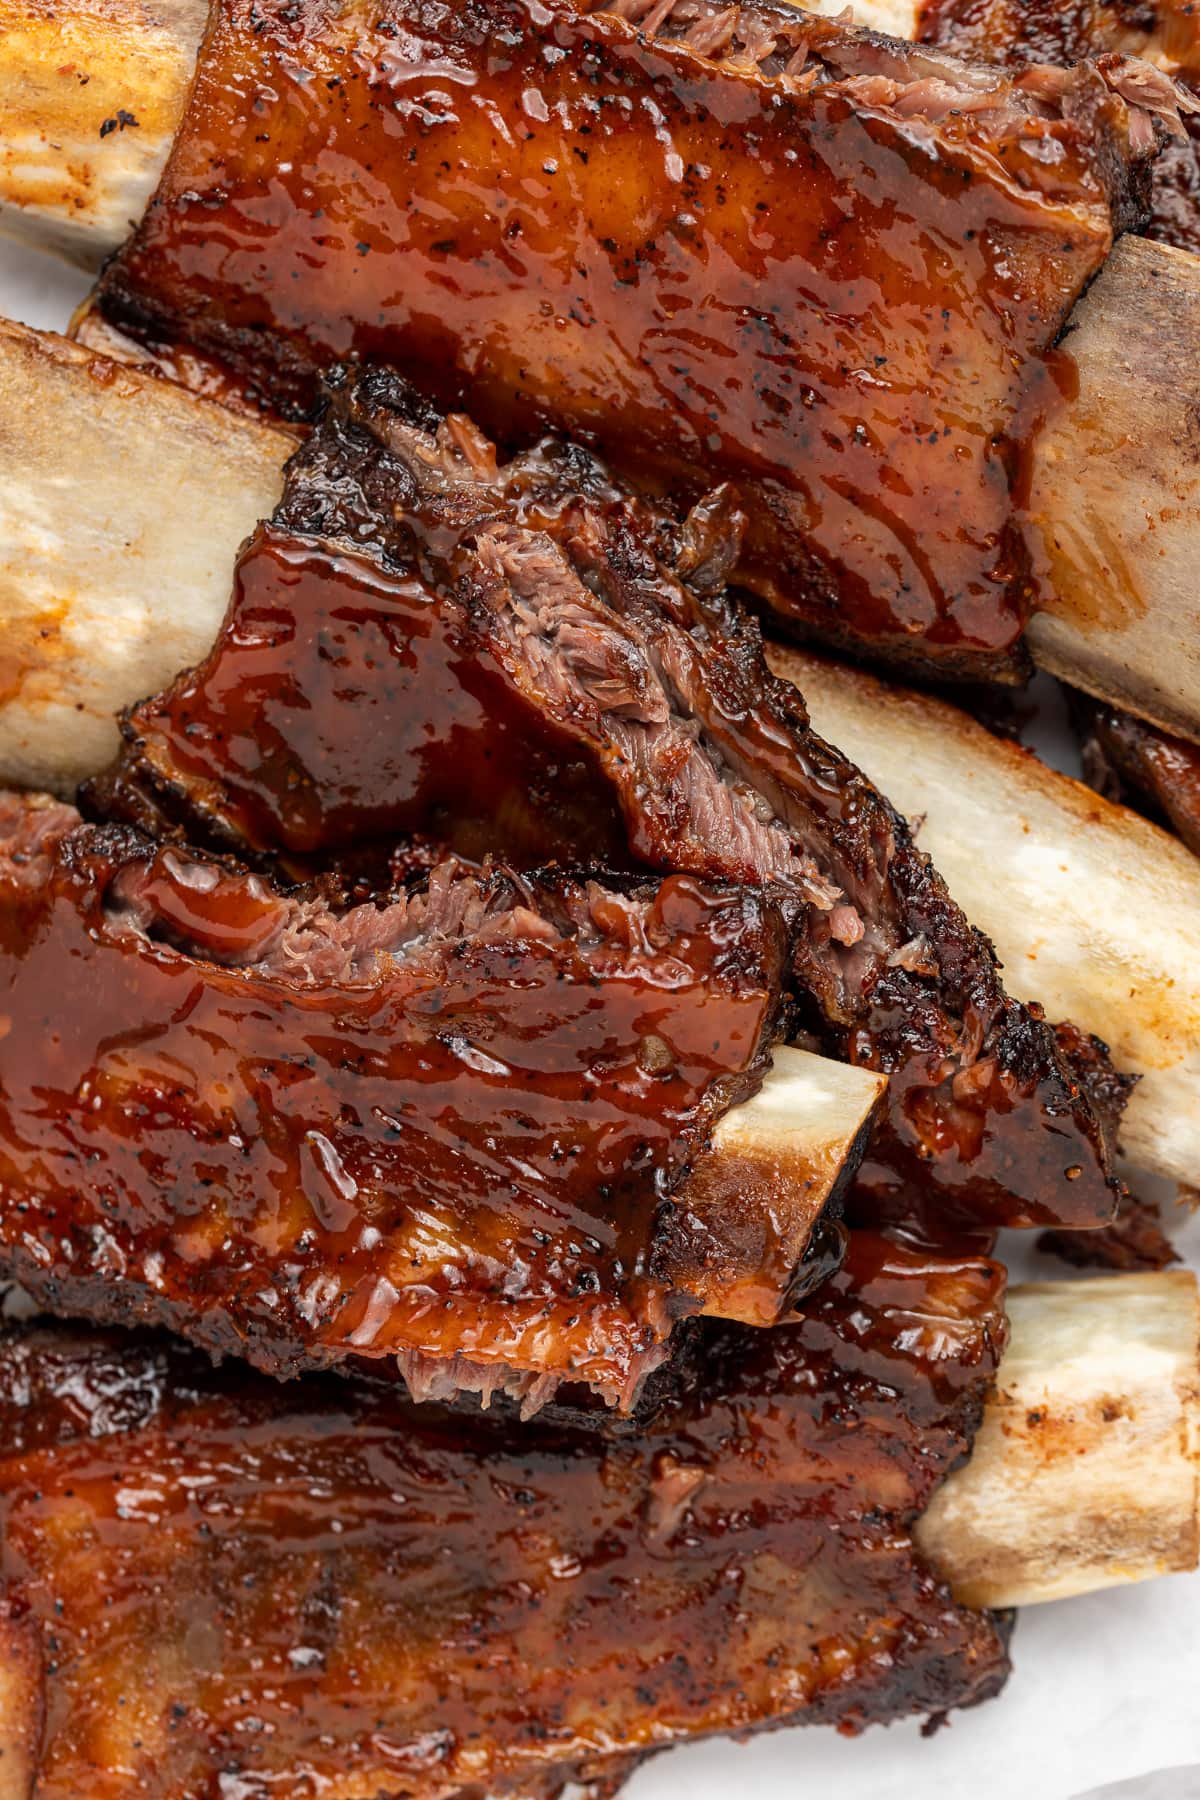
See recipe card below for full list of measurements, ingredients, and instructions.
Why This Is Your New Favorite Way To Make Ribs
- The oven takes all of the guesswork out of cooking this particularly tricky cut of meat! Simply season your beef back ribs, wrap them in foil, and transfer them to the oven. Leave them to cook low and slow, before returning to perfectly tender and juicy ribs with fall-apart meat.
- The quick and easy homemade dry rub included in the recipe is insanely delicious on its own. However, if you’re like me and crave even more flavor, finish your ribs off with your favorite barbecue sauce.

What I Learned Testing This Recipe
- Remove the membrane from the back of the ribs before seasoning. There’s a thin, papery membrane (called the silverskin) on the bone side of the ribs. Slide a butter knife under it at one end to loosen it, then grab it with a paper towel and peel it off in one piece. Removing it helps the seasoning penetrate better and gives you more tender ribs.
- Resist the urge to pull the ribs before at least the 3 hour mark. I’ve found that by baking them wrapped in foil, the meat soaks in as much flavor as possible. If you check on them too early, you risk releasing too much steam, and therefore flavor, from the beef back ribs. Been there, done that!
- Do not attempt to increase the temperature of your oven to speed up cooking time. Cooking these beef back ribs low and slow encourages the collagen in the meat to slowly break down, creating super tender beef. Again, been there, done that!
Ingredients
Beef Back Ribs – Beef back ribs are the meat remaining after the butcher removes the ribeye roast off the bones. These ribs are known for being particularly lean since they don’t contain much meat. Though you’ll still find a decent amount of beef that when properly cooked is juicy and delicious! You can make this recipe using either a full rack of beef back ribs, or sliced ribs. I used sliced ribs since an entire rack is sometimes hard to come by.
Smoked Paprika – Since we’re cooking these ribs in the oven, the smoked paprika emulates that delightful smokey flavor as if you’d cooked them on the grill. However, you can definitely use regular paprika instead and the ribs will still taste great.
Garlic & onion powder – These add so much depth to the homemade dry rub, adding layers of onion and garlic flavor in a way that really absorbs into the meat.
Salt & black pepper – I usually skip these off ingredient lists as they seem rather obvious, but don’t skimp here as you won’t be able to season the meat the whole way through by adding salt and pepper at the end of cooking if you forget to add them to the rub!
BBQ sauce – Use your favorite, this recipe can be keto, paleo and Whole30 compliant if your sauce is also compliant.
How To Make It
Prepare the ribs – If your ribs have a membrane (silverskin) on the bone side, remove it: slide a butter knife under it at one end, grip with a paper towel, and peel it off. Then preheat oven to 275° Fahrenheit. Line baking sheet with sheet of aluminum foil and set aside.
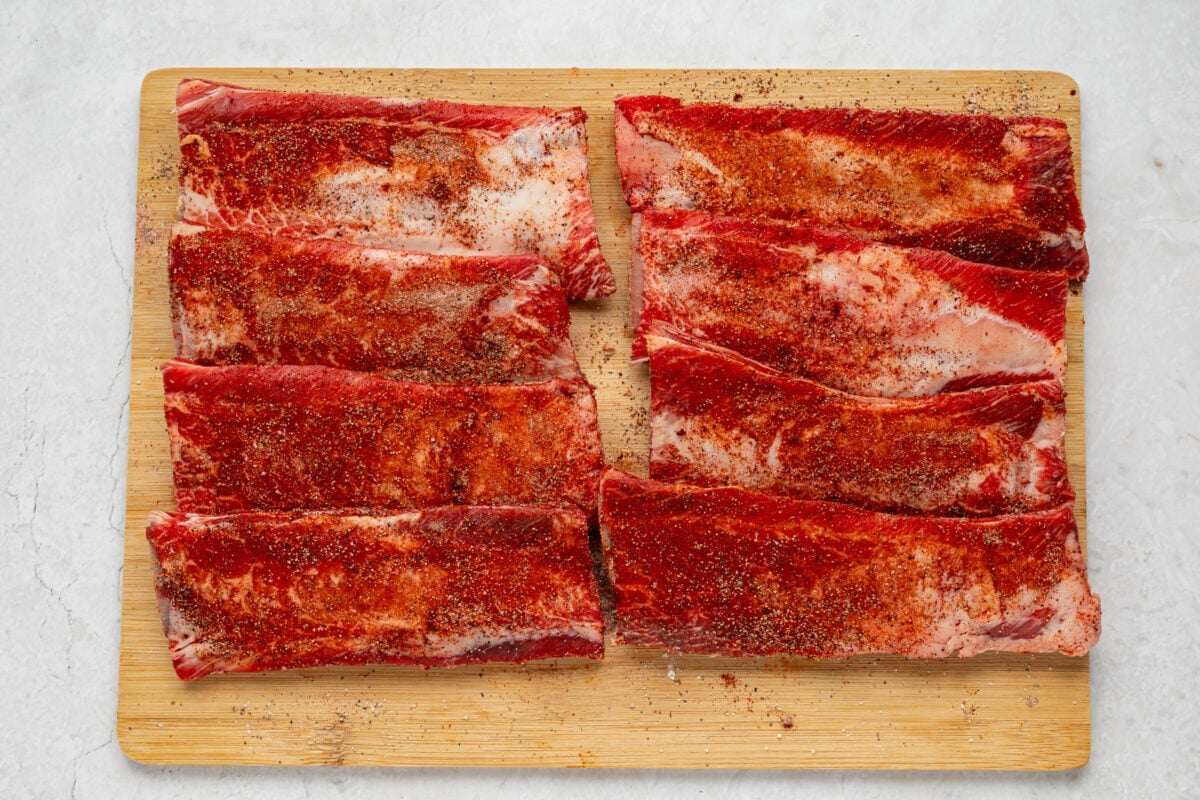
Make the dry rub – Combine all the dry rub ingredients in a mixing bowl small mixing bowl. Mix until ingredients are well blended, then cover ribs with dry rub on all sides.
Wrap the ribs – Place seasoned ribs on foil-lined baking sheet, bone-side up. Cover ribs with second sheet of foil and wrap edges of foil sheets tightly to seal foil around ribs.
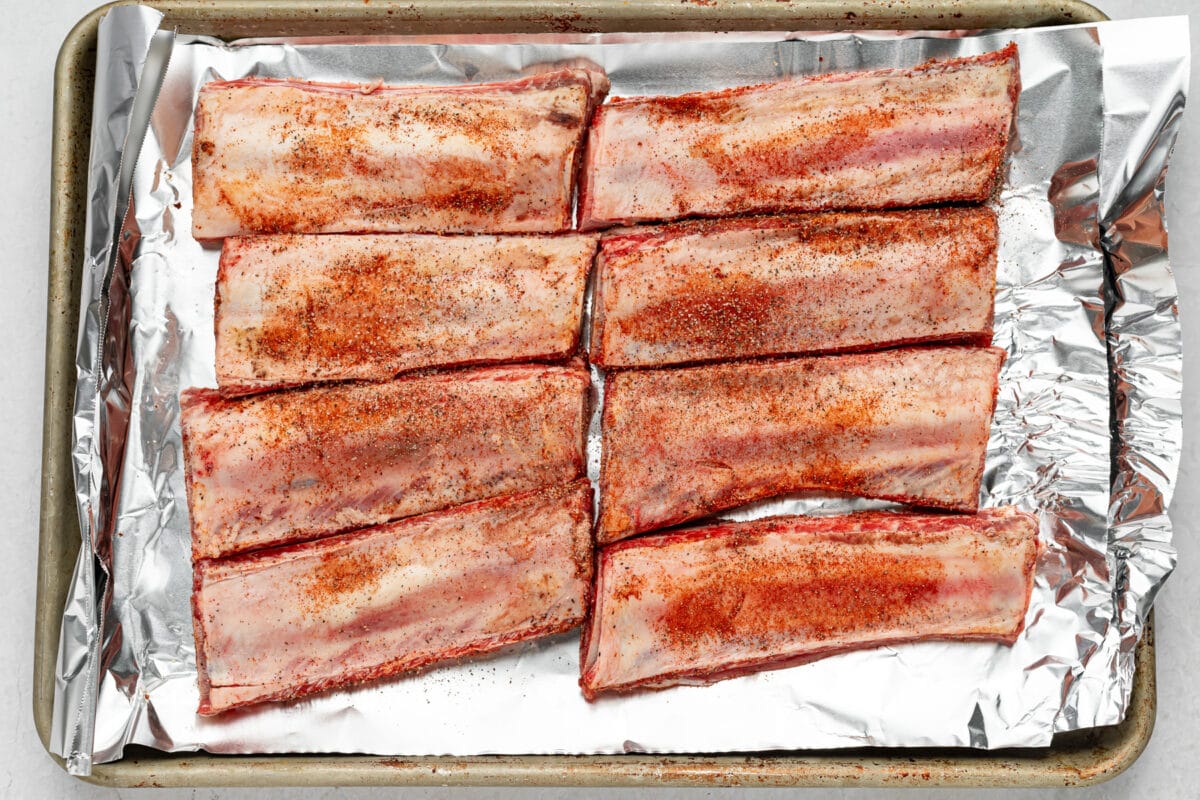
Bake – Place baking sheet in oven and bake ribs bone-side up for 4 hours.
Remove the foil – Unwrap the ribs and discard aluminum foil. Drain any remaining fat from baking sheet, then return ribs to baking sheet with bone side facing down.
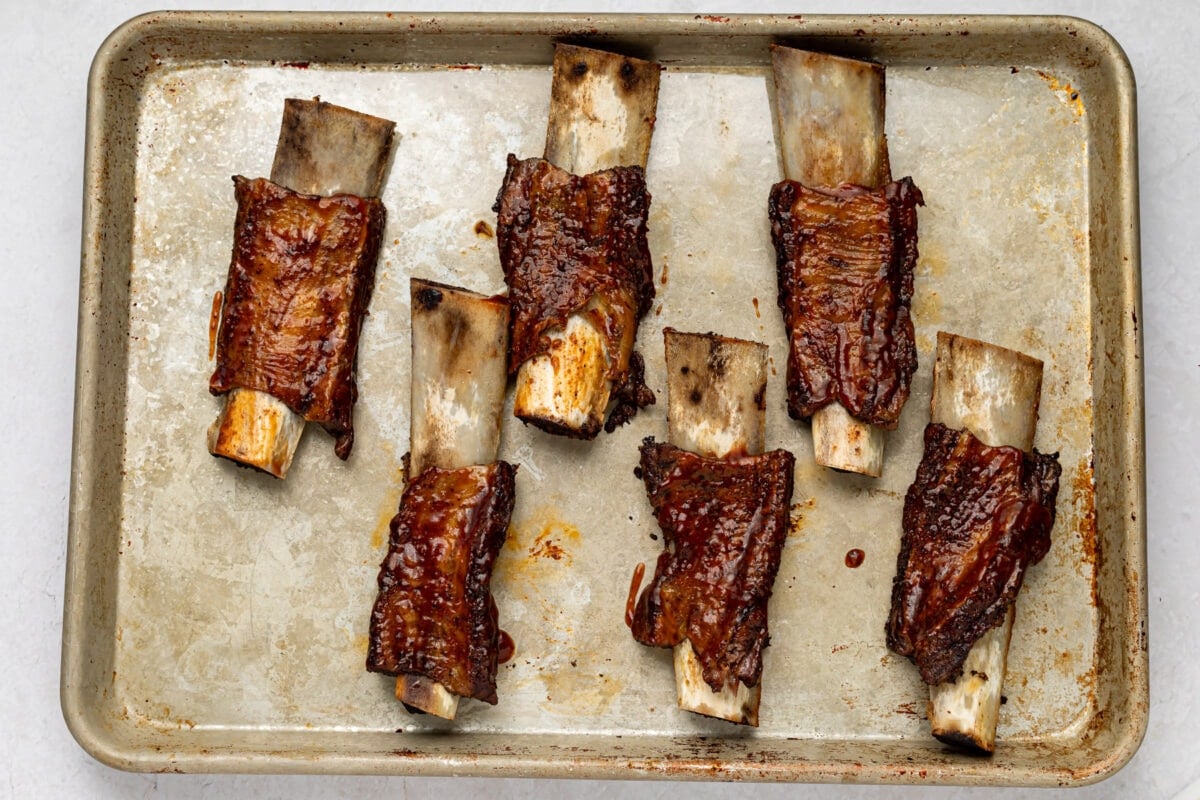
Coat with BBQ sauce – Brush ½ cup BBQ sauce on ribs, coating ribs thoroughly on all sides.
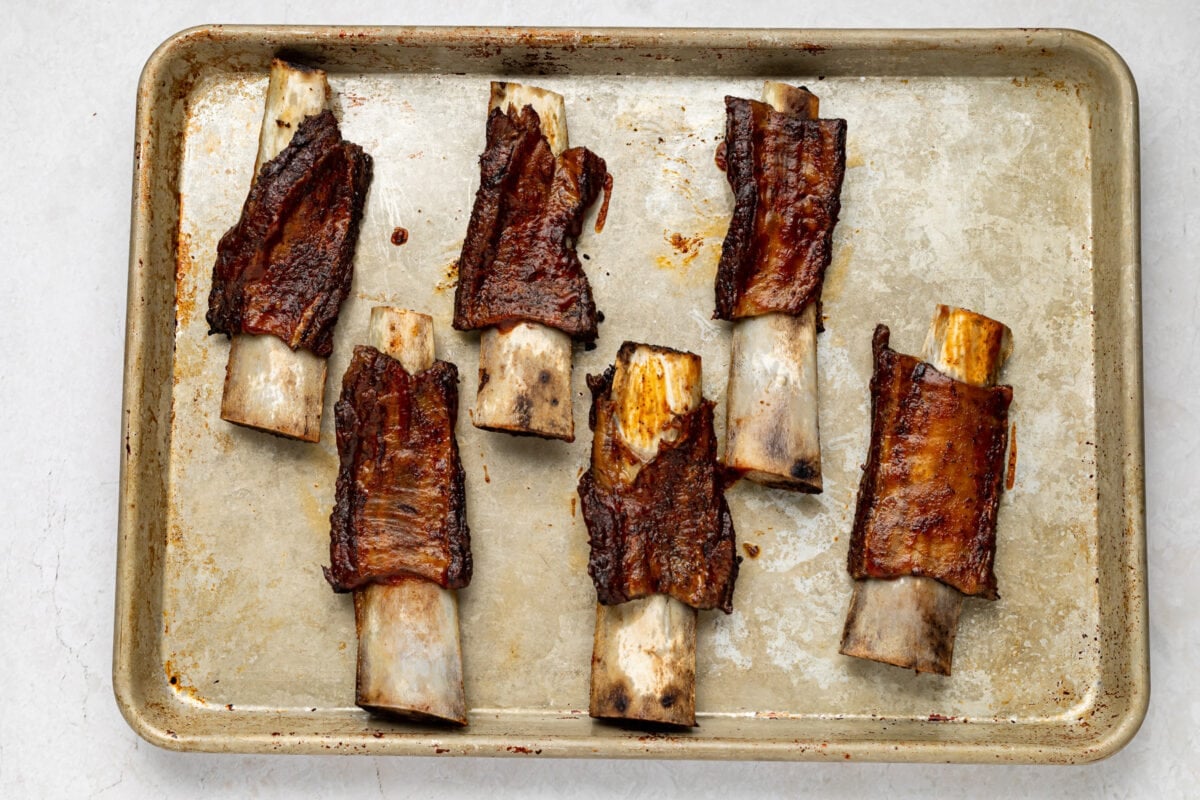
Broil – Set the broiler to High. Place baking sheet approximately 6 inches below broiler and broil 3 to 5 minutes, or until skin of ribs is crispy and caramelized.
Storage and Serving Suggestions
There are so many classic recipes that go with these ribs! Sliced bread and bread and homemade pickles, boiled corn, baked potatoes, mac and cheese, potato salad and creamy slaw are the obvious choices, but really any side dish that works with barbecue would be great here.
These ribs are best enjoyed immediately after cooking! However, you can store leftovers in an airtight container in the fridge for up to 4 days. To reheat, transfer the ribs to a baking sheet, cover them with aluminum foil, and bake at 350° Fahrenheit for 15 to 20 minutes or until warm throughout.
Frequently Asked Questions
I’ve written this recipe to be 100% oven based, but if you’ve got the grill going for some quick sides (rather than set up for a long slow cook) you can totally finish the ribs on the grill. Be sure to turn them quickly however as the sugar in the barbecue sauce will probably go from nicely caramelized to burnt very quickly depending on which brand you use.
Yes! Take them to the foil step then chill them in the foil up to a day ahead. Brush with BBQ sauce and broil slowly on the lowest setting allowing them to warm through while they slowely caramalize.
This recipe is built around beef’s cooking time and fat content, so pork ribs (which are usually smaller and cook faster) would need a shorter cook time — closer to 2 1/2–3 hours. If you want to swap in pork, check for doneness at the 2 hour mark. I do have recipes written specifically for pork ribs in the Instant Pot, using a sous vide method, and which are Whole30-friendly.
Making changes to a recipe can result in recipe failure. Any substitutions or variations listed are simple changes that I believe will work in this recipe, but results are not guaranteed.
Beef Back Ribs in the Oven

Equipment
- baking sheet
- 2 large sheets Aluminum Foil
- Cutting board
- small mixing bowl
- small whisk or mixing spoon
Ingredients
For the Dry Rub
- 2 teaspoons smoked paprika
- 1 teaspoon garlic powder
- 1 teaspoon onion powder
- 1 teaspoon salt
- 1 teaspoon black pepper
For the Ribs
- 4 pounds beef back ribs
- ½ cup BBQ sauce see Notes

Instructions
- If your ribs have a membrane (silverskin) on the bone side, remove it: slide a butter knife under it at one end, grip with a paper towel, and peel it off. Then preheat oven to 275° Fahrenheit. Line baking sheet with sheet of aluminum foil and set aside. Place 4 pounds beef back ribs on cutting board.
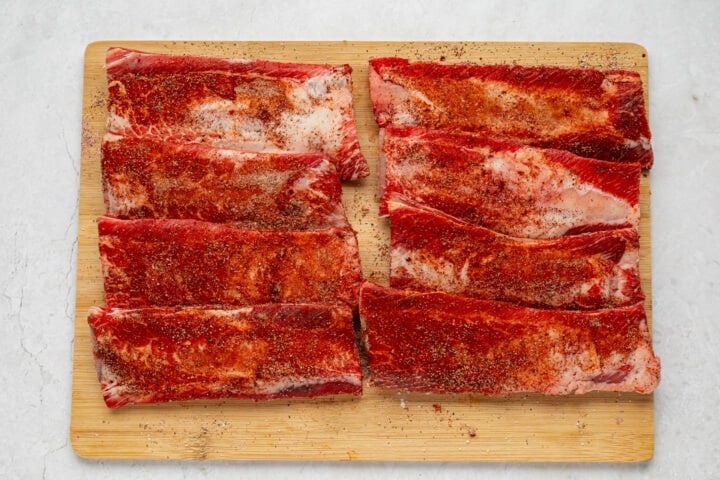
- Add 2 teaspoons smoked paprika, 1 teaspoon garlic powder, 1 teaspoon onion powder, 1 teaspoon salt, and 1 teaspoon black pepper to small mixing bowl. Mix until ingredients are well blended, then cover ribs with dry rub on all sides.
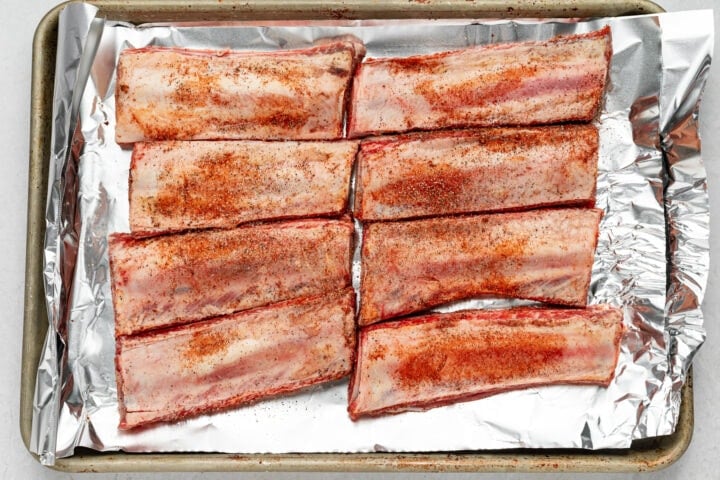
- Place seasoned ribs on foil-lined baking sheet, bone-side up. Cover ribs with second sheet of foil and wrap edges of foil sheets tightly to seal foil around ribs.
- Place baking sheet in oven and bake ribs bone-side up for 4 hours.
- After 4 hours, remove ribs from oven. Unwrap ribs and discard aluminum foil. Drain any remaining fat from baking sheet, then return ribs to baking sheet with bone side facing down.
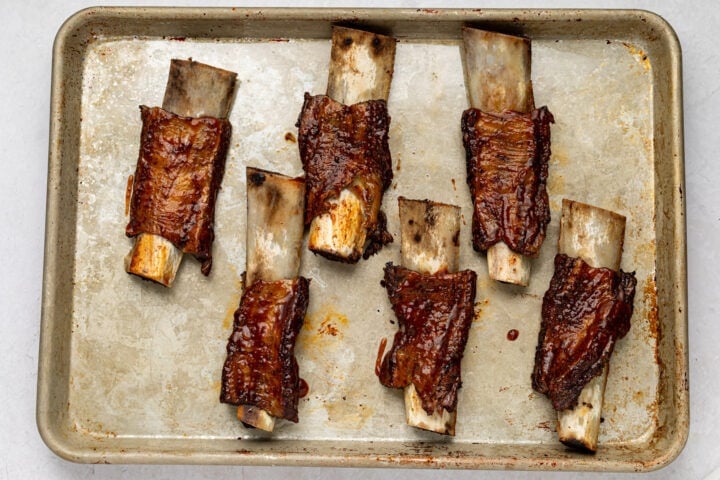
- Brush ½ cup BBQ sauce on ribs, coating ribs thoroughly on all sides.
- Set broiler to High. Place baking sheet approximately 6 inches below broiler and broil 3 to 5 minutes, or until skin of ribs is crispy and caramelized.
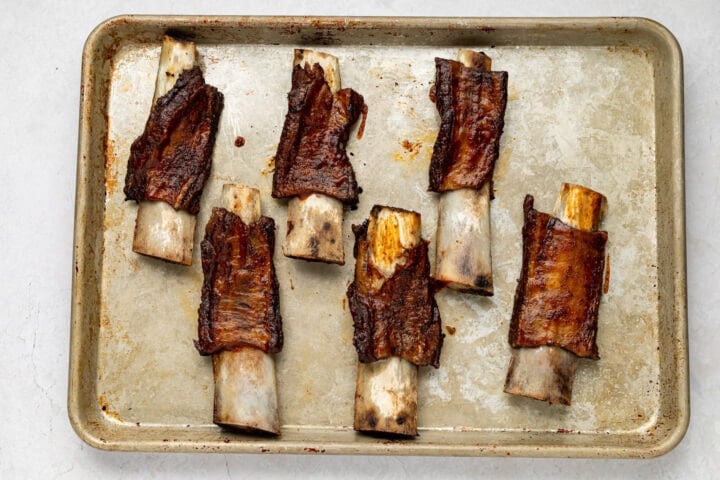
- Carefully remove baking sheet from oven. Divide ribs into preferred portions and serve warm with desired sides.
Video
- Remove the membrane: Be sure to remove the thin membrane (silverskin) from the bone side of the ribs before seasoning. This helps the dry rub penetrate better and makes for more tender ribs.
- Make it Keto: Use your favorite keto-friendly BBQ sauce, store-bought or homemade.
- Make it Whole30: Use your favorite Whole30-compliant BBQ sauce, store-bought or homemade.
Approximate Information for One Serving
Nutrition Disclaimers
Number of total servings shown is approximate. Actual number of servings will depend on your preferred portion sizes.
Nutritional values shown are general guidelines and reflect information for 1 serving using the ingredients listed, not including any optional ingredients. Actual macros may vary slightly depending on specific brands and types of ingredients used.
To determine the weight of one serving, prepare the recipe as instructed. Weigh the finished recipe, then divide the weight of the finished recipe (not including the weight of the container the food is in) by the desired number of servings. Result will be the weight of one serving.
Did You Make This Recipe?
Tag @40aprons on Instagram and be sure to leave a review on the blog post!
Other Tasty Barbecue Recipes
Never Miss A Meal!
New Recipes Straight To Your Inbox
A curated selection of our most recent recipes, delivered straight to your inbox once a week.













This came out very tender and tasty. Used Sweet Baby Ray’s barbecue sauce. Didn’t enjoy the big bones so much, but it was meaty enough. Will definitely try this again with beef short ribs.
We’re so glad you enjoyed it! Thanks for sharing! 😊
These were nice and tender with Sweet Baby Ray’s barbecue sauce. Just sorry there was more bone than meat.
Oh, that’s always frustrating! We’re so glad you enjoyed them, though!
I have never attempted slow roasted ribs before and these were absolutely amazing. They were so tender and did literally fall off the bone. I will make these again and again. I only broiled them for 3 minutes.
We’re so happy you loved them! Thanks so much for sharing, Mary!
Beef ribs turned out great but someone did comment that some were burnt. That happened when I put them on broil. Not sure that step is necessary. I only did for 3 minutes. Next time I will skip that step or just do for 1 minute. Otherwise the ribs were a hit with my family.
Oh no! The broiler is definitely a tricky step. We’re so glad the whole family loved them!
Great point about the broil step! It’s really just for a little char, and 3 minutes can go sideways fast depending on your broiler. Totally fine to skip it — the ribs are already perfect at that point! I’ll add a note to the recipe. Thank you!
These were just the right amount of seasoning and cooked perfectly low and slow. Will definitely make again.
We’re so glad you enjoyed them! Thanks for sharing!
Low and slow is the only way! So glad they turned out perfectly. 😊
I am about to make these for the first time and I am wondering, how long do you recommend for a rest time after the ribs are cooked? There is no mention of this in your recipe…
Great question, Melissa! I’d recommend letting the ribs rest for about 10–15 minutes, loosely tented with foil. This lets the juices redistribute so they stay moist and tender when you cut into them. Enjoy — they’re going to be amazing! 🤤
I followed the recipe and it came out quite tasty but my ribs did not “shrink” and show the end of the bones and
I feel like it could have been more tender, what am I doing wrong?
So glad it tasted good! For the ribs not shrinking to expose the bone — that usually just means they needed a bit longer. Ovens vary a lot, so if yours runs cool or the ribs were extra thick, I’d go another 20-30 minutes and check again. Low and slow is key! For more tender results, make sure the membrane is removed (it can create a chewy barrier) and don’t rush the rest time after cooking. Fingers crossed the next batch is perfect! 🍖
I am about to make these for the first time and I am wondering, how long do you recommend for a rest time after the ribs are cooked? There is no mention of this in your recipe…