This Post May Contain Affiliate Links. Please Read Our Disclosure Policy.
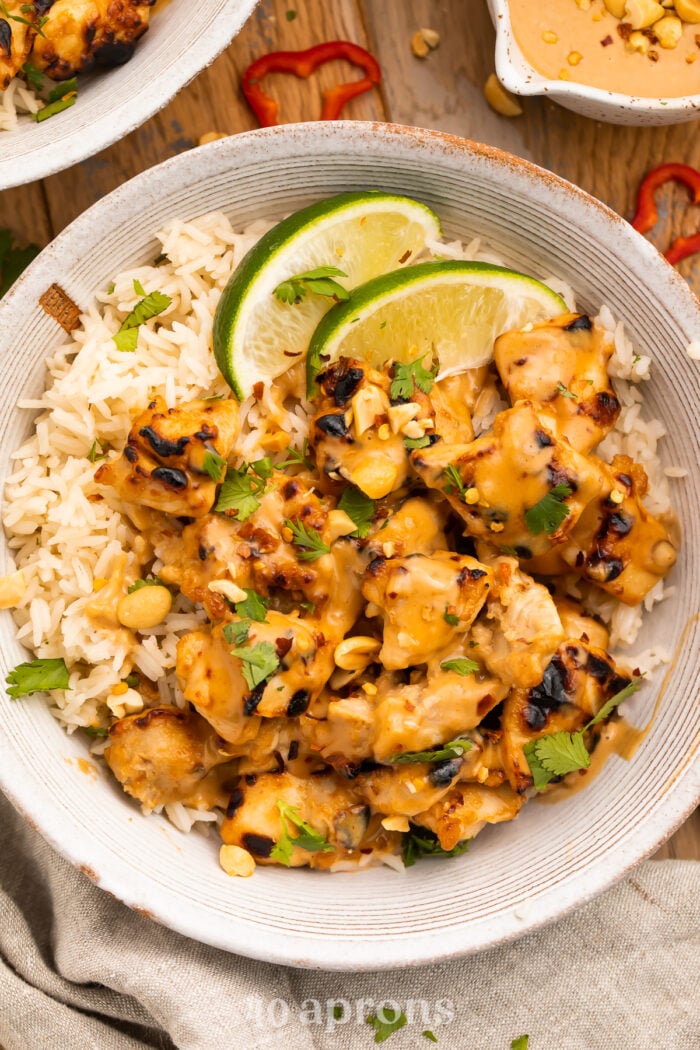
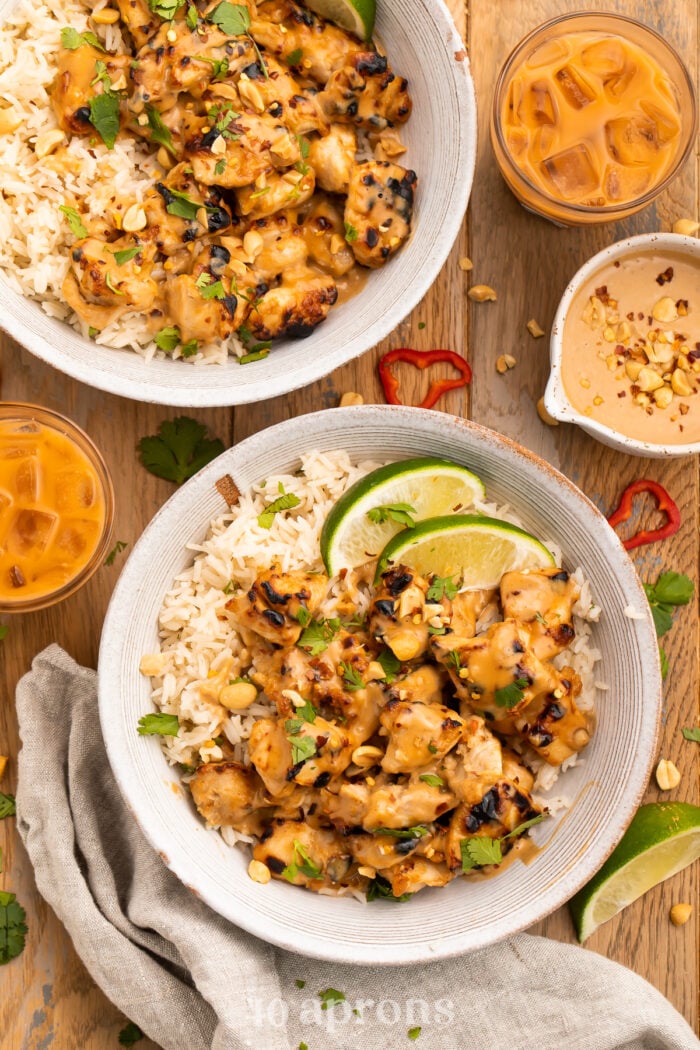
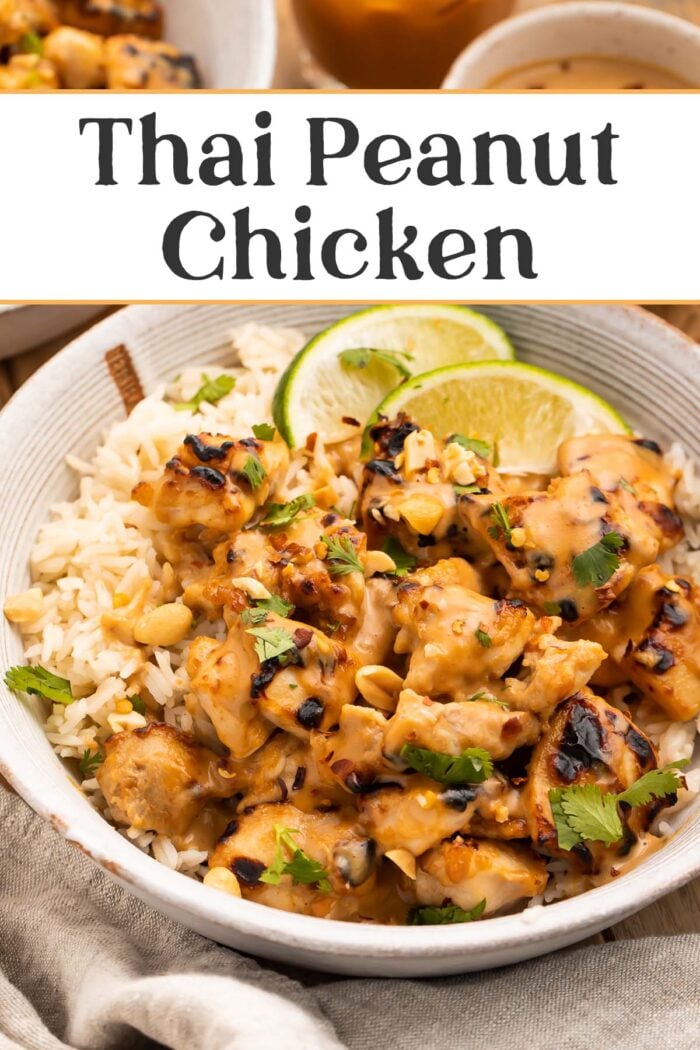
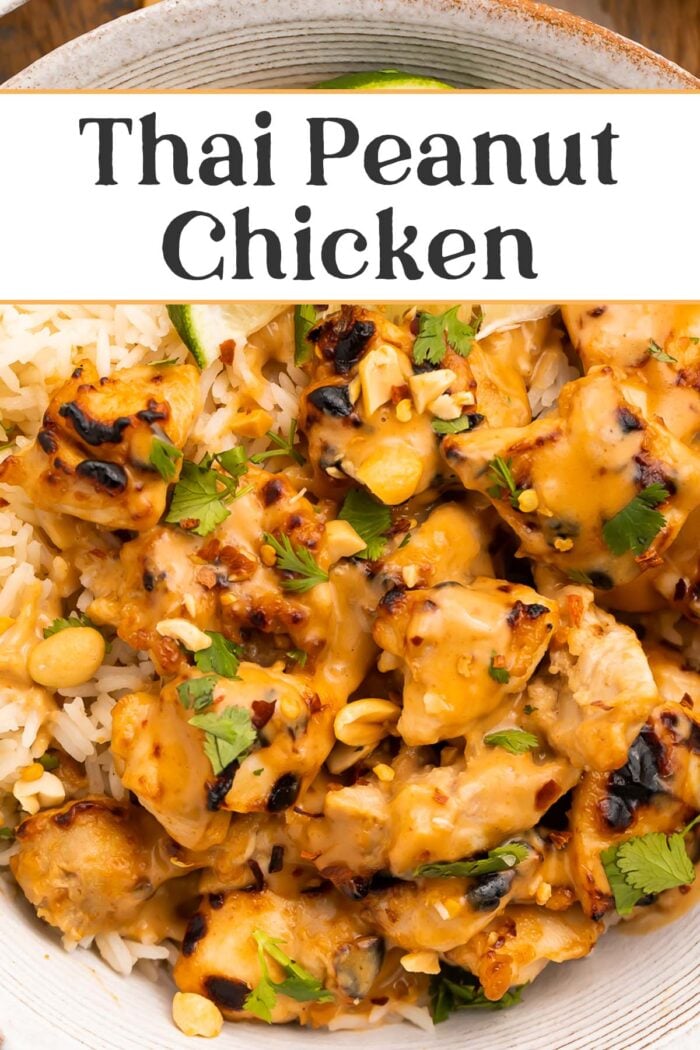
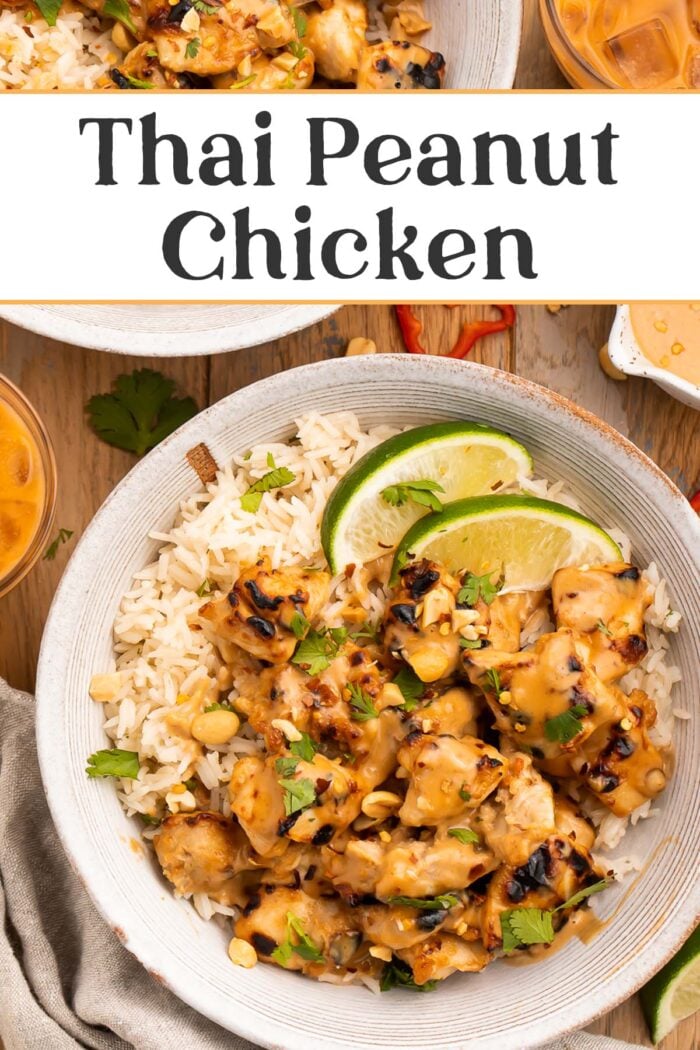
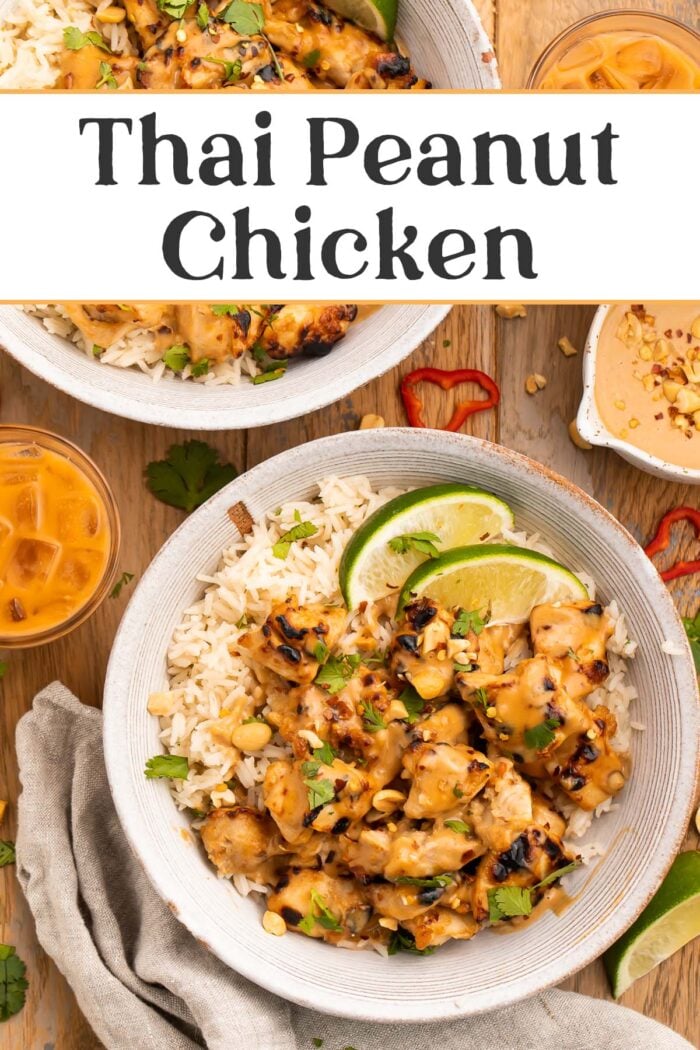
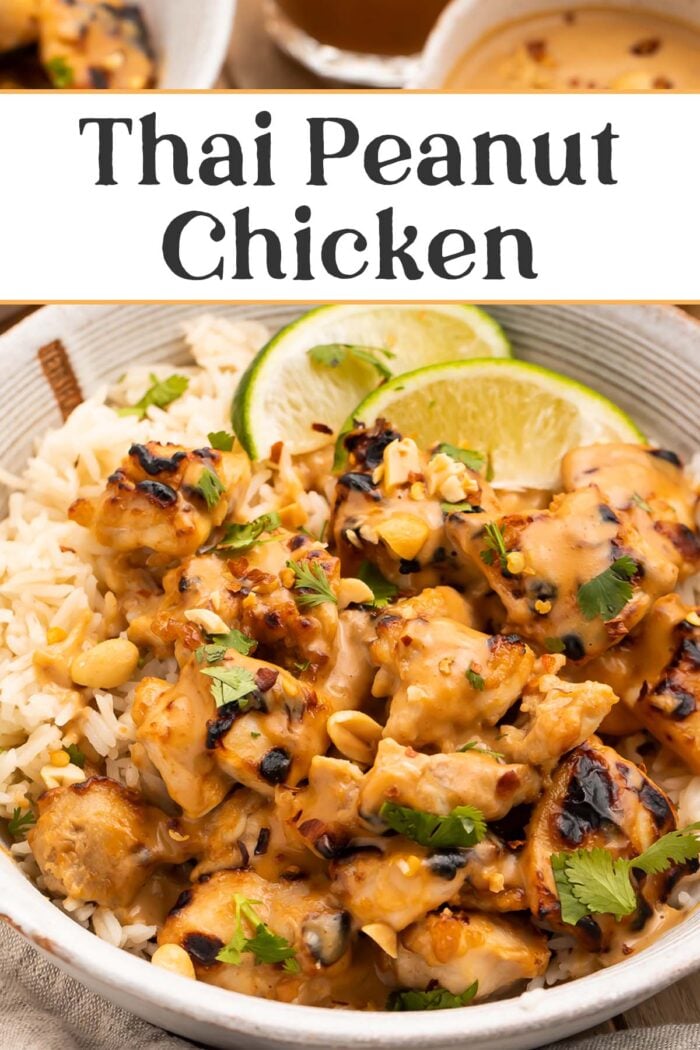
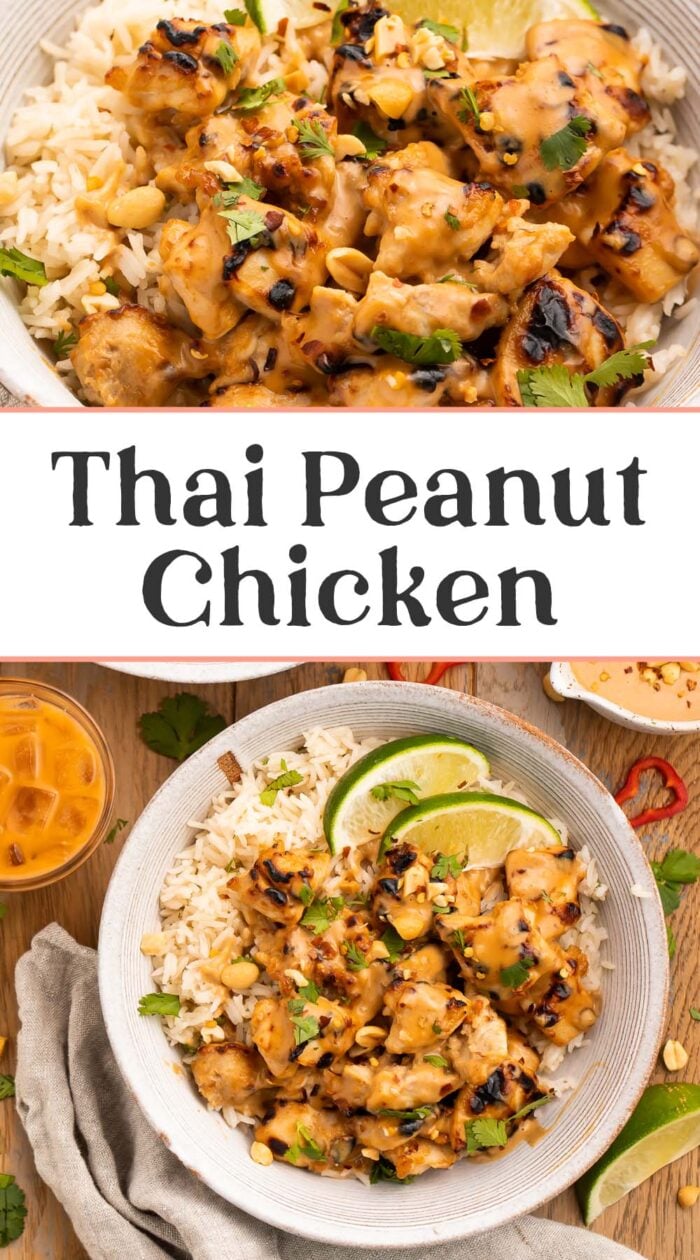
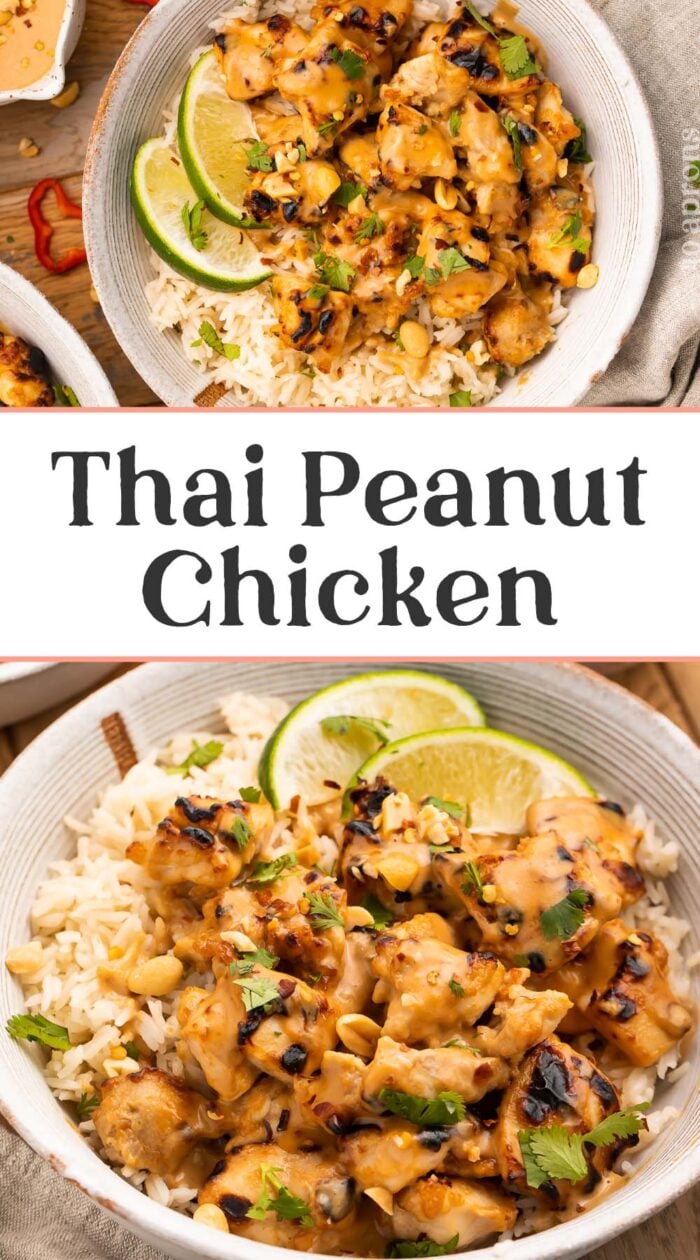
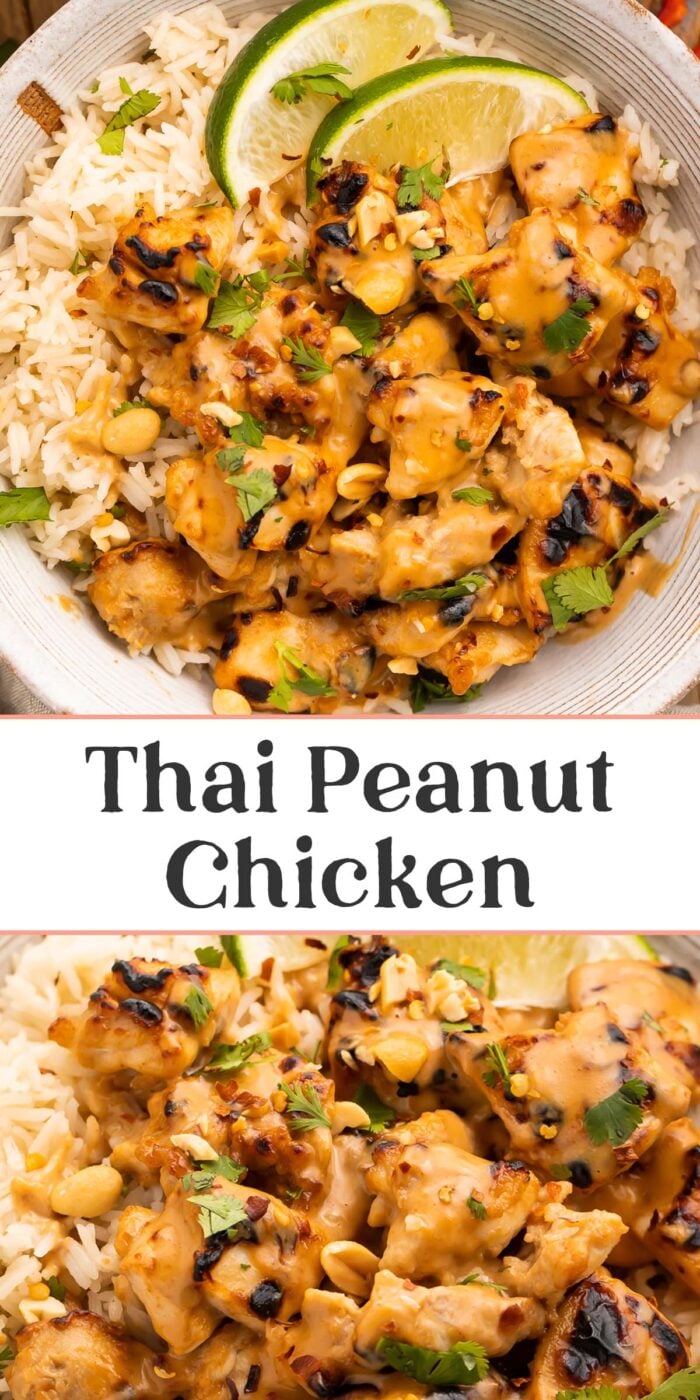
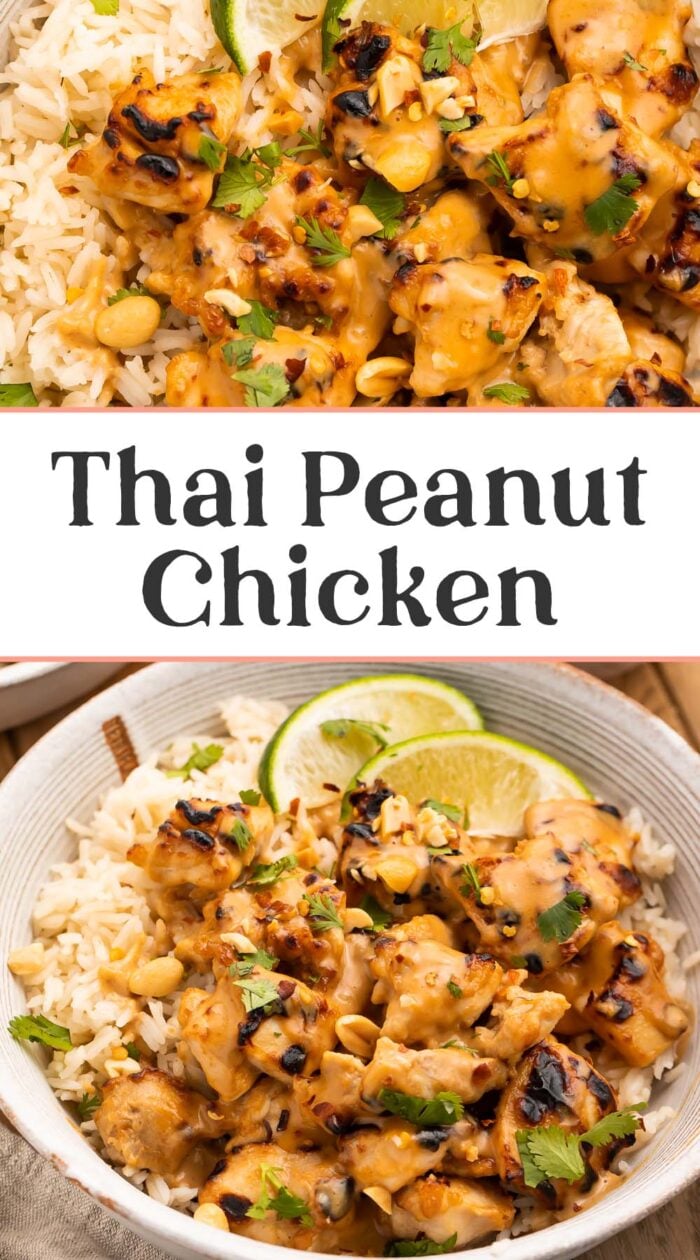
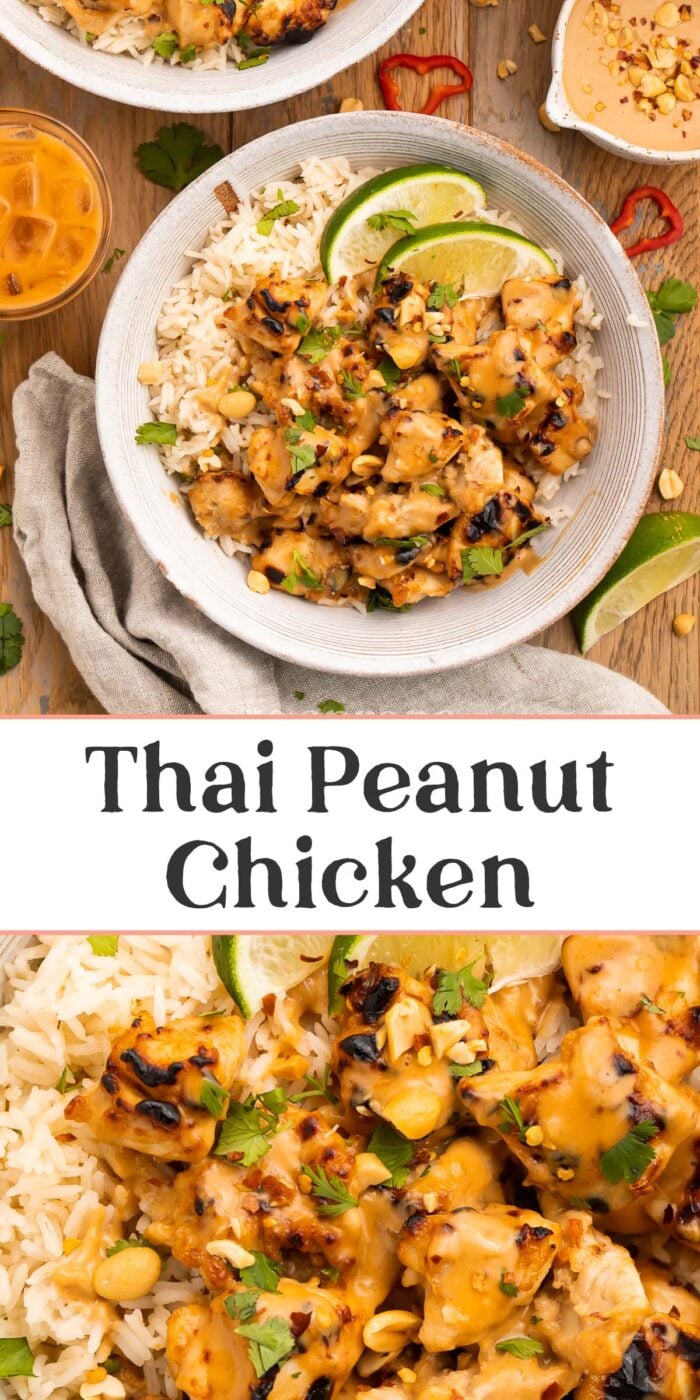
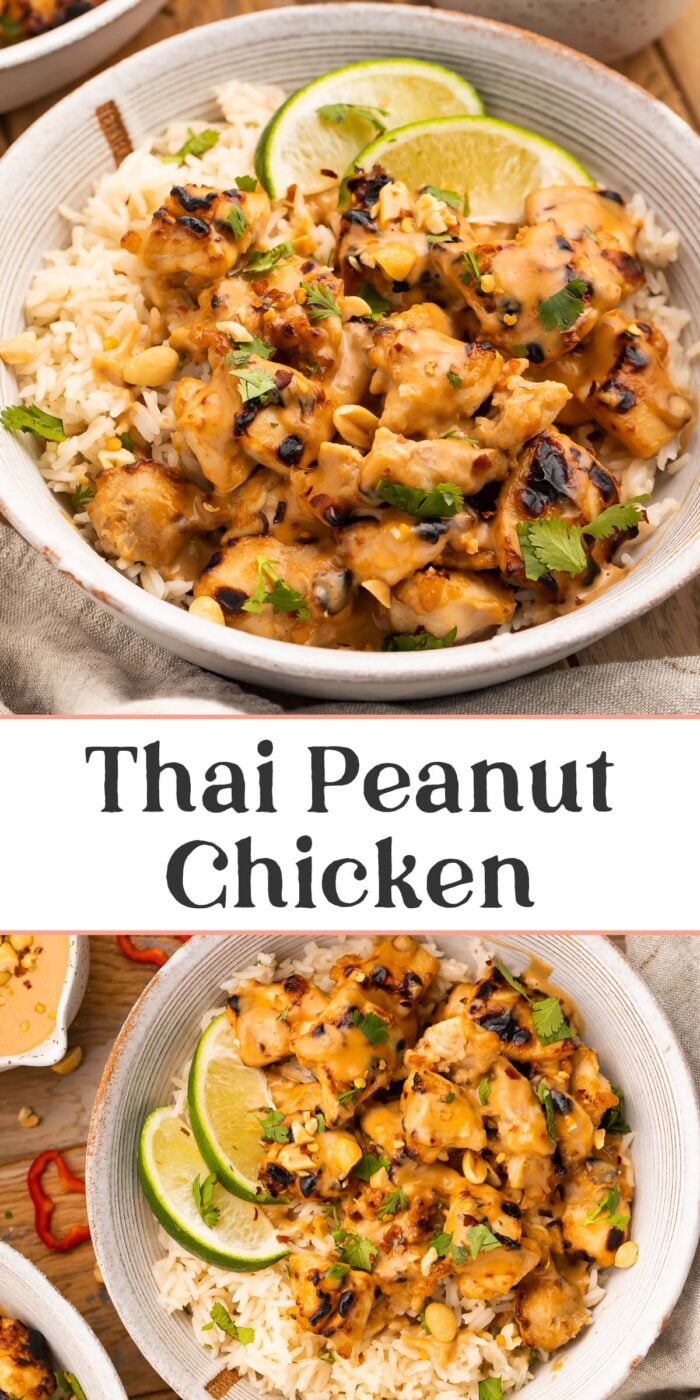
Tender chicken marinated in a rich and creamy peanut sauce, broiled or grilled to perfection. I’ve been making this Thai chicken satay-inspired recipe for 15 years, and I think you’ll love it as much as we do! Serve as skewers like chicken satay, or over rice, drizzled with extra sauce for a most delicious meal.
What Makes This Recipe So Good
- Inspired by chicken satay, this recipe is rich, creamy, and super satisfying, with layers of complex flavors that compliment each other beautifully. Peanut butter. Lime juice. Coconut milk. Soy sauce. Brown sugar. Red pepper flakes. If you’ve never had Thai peanut chicken before then you’re probably thinking “Mmmmmm, I don’t know about those flavors together”, but BELIEVE ME they’re delectable.
- It’s honestly a really easy recipe. Mix up a marinade, let the chicken chill in it, then cook! I’ve included two cooking methods so you can have broiled or grilled Thai peanut chicken – your choice! I love the smokiness of the grilled chicken, but also the ease of the broiled chicken. They’re both delicious.
- With a few simple swaps, you can adapt this recipe to fit a variety of dietary needs. Even the rice can be swapped out for quinoa or cauliflower rice or zucchini noodles or palmini. Head to the notes section of the recipe card below for our suggested substitutions.
Chef’s Tips
- If you have a peanut allergy to accommodate, or if you’re paleo and can’t have peanuts, you can use almond butter or cashew butter instead. It won’t be peanut chicken, obviously, but it’ll be yummy.
- Marinate the chicken at least one hour so it can tenderize, but don’t let it marinate for more than 8 hours. Too long in the marinade and the acid in the lime juice will start to break down the chicken, making it tough instead of tender.
- Don’t let the red pepper flakes intimidate you. I promise this isn’t an overwhelmingly “hot” or “spicy” recipe. If you’re not convinced, start with just ¼ teaspoon red pepper flakes, then taste the sauce and adjust up from there, adding more flakes in ¼ teaspoon increments and tasting between each.
Check Out These Delicious Chicken Recipes Next
- Marry Me Chicken (Chicken in a Sun Dried Tomato Cream Sauce)
- Mexican Chicken and Rice Bake
- Chicken Egg Roll in a Bowl
- Instant Pot Bourbon Chicken
- Hibachi Chicken with Fried Rice and Vegetables
- Creamy Everything Bagel Chicken Soup
- Instant Pot Chicken Breast
- Garlic Butter Chicken
- The Best Crockpot Angel Chicken
- Mesquite Grilled Chicken
Thai Peanut Chicken
Equipment
- Medium bowl
- whisk
- small bowl with lid or plastic wrap to cover
- large baking dish or large mixing bowl, to marinate chicken
- tongs or silicone spatula
- Plastic wrap
- refrigerator
- Broiler or grill
- metal skewers or wooden skewers soaked in water 30 minutes; optional
- wire baking rack if not using skewers
- Cooking spray
- baking sheet
- internal meat thermometer
Ingredients
For the Peanut Sauce
- ½ cup creamy peanut butter
- 1 cup unsweetened, full-fat coconut milk from can, not carton; stirred well
- 2 tablespoons fresh lime juice juice from approximately 1 medium lime
- 2 tablespoons soy sauce or fish sauce
- 1 ½ packed tablespoons brown sugar dark preferred, see Notes
- 1 teaspoon ground ginger
- 1 tablespoon minced fresh garlic approximately 3 large cloves
- ½ teaspoon crushed red pepper flakes plus more to taste
For the Chicken
- 2 pounds boneless, skinless chicken thighs cut into bite-sized chunks
Serving Suggestions (All Optional)
- cooked white or brown rice
- 1 cup prepared peanut sauce made from ingredients listed above
- lime wedges to garnish
- whole or chopped peanuts to garnish
- chopped green onions to garnish
- chopped cilantro to garnish
Instructions
For the Peanut Sauce
- Add ½ cup creamy peanut butter, 1 cup unsweetened, full-fat coconut milk, 2 tablespoons fresh lime juice, 2 tablespoons soy sauce, 1 ½ packed tablespoons brown sugar, 1 teaspoon ground ginger, 1 tablespoon minced fresh garlic, and ½ teaspoon crushed red pepper flakes to medium bowl. Whisk ingredients together vigorously until fully combined.
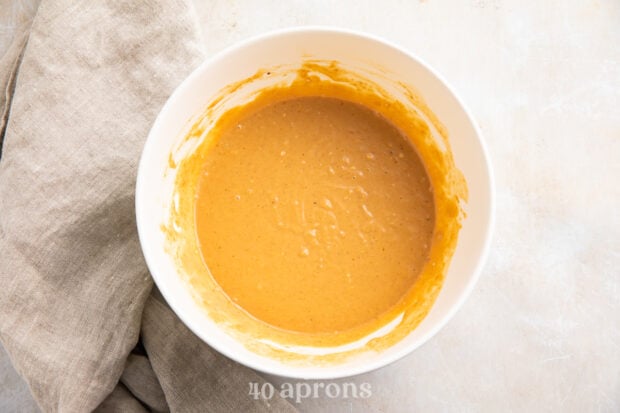
- Transfer 1 cup of prepared peanut sauce to small bowl. Cover bowl with lid or plastic wrap, then place bowl in refrigerator. Save remaining sauce (approximately ½ to 1 cup) to use as marinade for chicken.
- 15 minutes prior to serving, remove bowl from refrigerator and let sauce come to room temperature.
To Marinate the Chicken
- Place bite-sized chunks of 2 pounds boneless, skinless chicken thighs in baking dish.
- Pour remaining prepared peanut sauce over chicken, then toss or stir chicken until fully coated in peanut sauce.
- Cover dish with plastic wrap and refrigerate at least 1 hour and no more than 8 hours. Toss or stir chicken again at least once while marinating.
- After chicken has marinated for desired length of time, remove dish from fridge and uncover. Thread marinated chicken pieces onto skewers if using, then place on lightly-greased baking sheet. If not using skewers, fit baking sheet with wire baking rack and place marinated chicken pieces on top of rack.
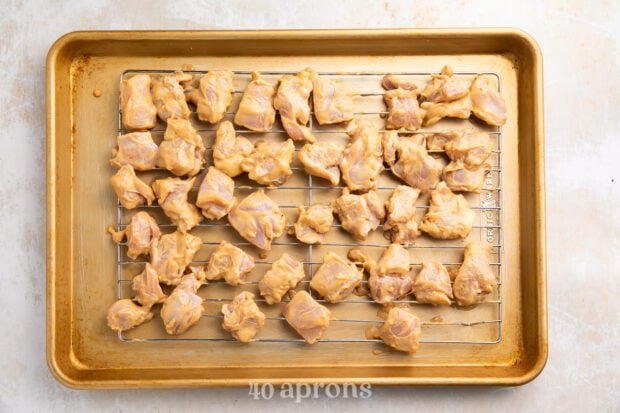
To Broil the Chicken
- Preheat broiler to high. When preheated, place baking sheet with chicken under broiler. Broil chicken 6 minutes or until internal temperature reaches 160° Fahrenheit.
- While chicken cooks, remove refrigerated sauce from fridge and bring to room temperature.
- When chicken reaches 160° Fahrenheit according to internal meat thermometer, carefully remove skewers from under broiler and let rest 5 minutes before serving.
To Grill the Chicken
- Preheat grill to medium-high heat, approximately 375° to 450° Fahrenheit. Lightly spray grill grate with cooking spray (optional).
- When grill reaches desired temperature, place chicken skewers directly on grill grates, over indirect heat, and close grill lid. Grill chicken 6 minutes, then flip chicken and grill another 6 to 10 minutes. Chicken is ready when internal temperature reaches 160° Fahrenheit internally and releases from grates easily.
- When chicken is ready, carefully remove skewers from grill and let rest 5 minutes before serving.
To Serve the Peanut Chicken
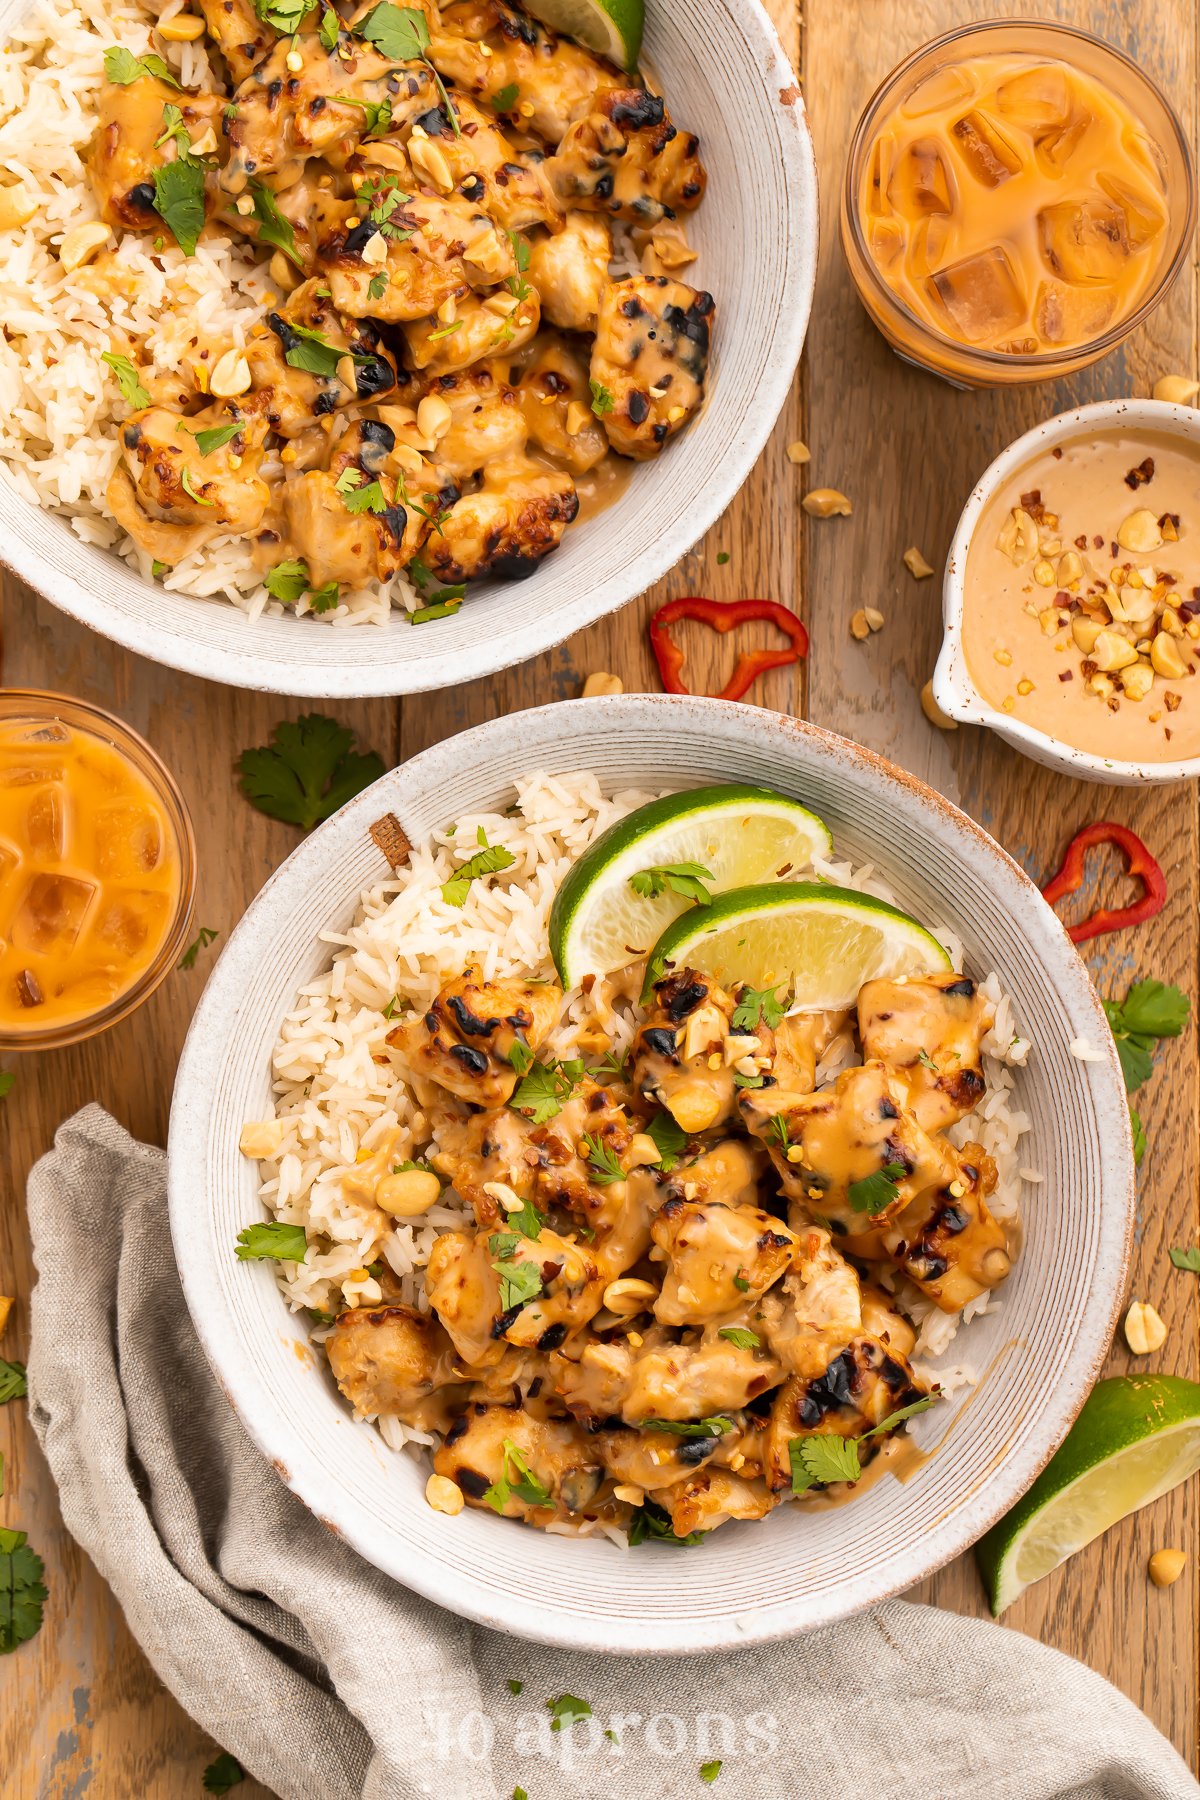
- After allowing chicken to rest 5 minutes, transfer chicken to serving plates. Serve chicken with cooked white or brown rice1 cup prepared peanut sauce, and lime wedges. Garnish dish with whole or chopped peanuts, chopped green onions, and chopped cilantro if desired.
- If you plan to serve the chicken on the skewers (rather than removing the skewers after cooking), you can either divide the skewers evenly onto individual plates, or transfer them all from the grill to a serving platter and let everyone grab their own.
- Make it Gluten Free: Use a gluten-free soy sauce or fish sauce, or use lite tamari.
- Make it Paleo: Use cashew or almond butter instead of peanut butter, and fish sauce or coconut aminos instead of soy sauce. Replace the brown sugar with coconut sugar.
- Make it Keto: Use a low-carb peanut butter that only contains peanuts and salt. Replace the brown sugar with Brown Swerve.
Approximate Information for One Serving
Nutrition Disclaimers
Number of total servings shown is approximate. Actual number of servings will depend on your preferred portion sizes.
Nutritional values shown are general guidelines and reflect information for 1 serving using the ingredients listed, not including any optional ingredients. Actual macros may vary slightly depending on specific brands and types of ingredients used.
To determine the weight of one serving, prepare the recipe as instructed. Weigh the finished recipe, then divide the weight of the finished recipe (not including the weight of the container the food is in) by the desired number of servings. Result will be the weight of one serving.
Did You Make This Recipe?
Tag @40aprons on Instagram and be sure to leave a review on the blog post!
Never Miss A Meal!
New Recipes Straight To Your Inbox
A curated selection of our most recent recipes, delivered straight to your inbox once a week.


I’m wondering if there’s another way to cook the chicken, if I can just broil them or stove top cook them (I don’t have skewers or wire wrack atm)
You could definitely broil or cook them on the stovetop! We have instructions on how to broil them in the recipe card. Let us know if you try it! 🙂
Can I use a homemade cashew cream instead of coconut milk?
Hi, Jen! We haven’t tried that yet, but I don’t see why it wouldn’t work! Let us know if you try it. 😊
Could you make this with reduced fat coconut milk instead?
You can, you’ll just end up with a thinner consistency.
Love love this recipe! I’ve made it 4 times now and it’s the perfect meal to take for a MealTrain or to prep in advance.
Ooh, this would be such a wonderful treat for a MealTrain! So glad you love it, Micah!
Hi! I’m wondering if I can do the chicken in the air fryer? Time & temp?
We didn’t test it that way, but I don’t see why it wouldn’t work! Since we haven’t tested it, we can’t recommend a definite time and temperature, but I would start with 380° Fahrenheit for 5 minutes, then check the doneness of the chicken with an internal meat thermometer and add more time as needed until they reach 160° Fahrenheit internally. Stop cooking when they hit that temp and let the chicken rest 5 minutes before serving.
Let us know how it turns out!
Scrumptious! My husband made this along with some Basil Fried Rice and it was outstanding. Our house smelled so good!
Basil fried rice sounds like a delicious pairing to this chicken! So glad you and your husband loved it. Thanks for sharing! 😊
was wondering if anyone has tried to make this with regular milk or cream?
We haven’t tried it with regular milk or cream because the coconut milk adds such a perfect flavor! However, heavy cream would probably work well. Hope this helps!
Curious if you have a good basil fried rice recipe!?
The sauce was really good but needed wayyy longer to cook. I did 8 minutes under the broiler, turned my pieces over for another 8 minutes and they still weren’t cooked through. Ended up baking them for awhile
Hm. We haven’t run into that before – I’m so sorry that was your experience, Michelle! Were the chicken pieces especially large and/or thick? Larger pieces would definitely need to cook longer. Also, were you aiming for the 160°F internal temperature? We recommend taking the chicken out before it’s fully cooked, then setting it aside so it can rest 5 minutes before serving. During that rest time, the residual heat finishes the cooking process, bringing the chicken up to a food-safe temperature while locking in the natural juices to keep the chicken moist.
1 and 1/2 what of Brown sugar?
Hey, Raquel! The recipe calls for 1 ½ packed tablespoons of brown sugar.
1 1/2 what? Teaspoons/cups??
Hi, Rebecca! In the previous comment I clarified that it’s “1.5 packed tablespoons” of brown sugar. That measurement is on the ingredients list of the recipe card as well for easy reference in the future! ☺️ Please let us know if you have any other questions!
My kids devoured this!! Super easy as well. Only change I would make next time is trying it with 1 cup brown sugar instead of 1 1/2, it was just a tad too sweet!!
The recipe calls for 1.5 tbsp of brown sugar not a cup and a half.
No wonder it was too sweet. Lol
This was SO GOOD! I made it exactly as written other than using light brown sugar instead of dark brown (because that’s what I had). Excellent! I served it with cilantro and green onions. Can’t wait to make it again.
That sounds great! Glad you enjoyed, Brenda! Thanks for the review!