
This Post May Contain Affiliate Links. Please Read Our Disclosure Policy.
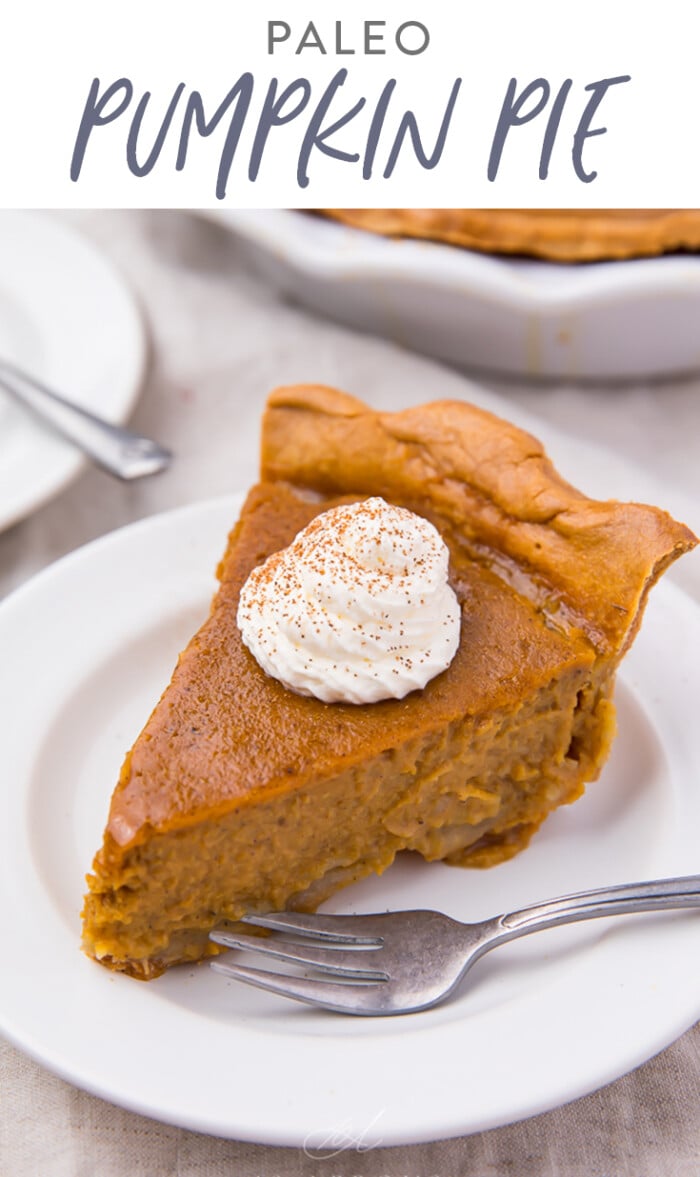
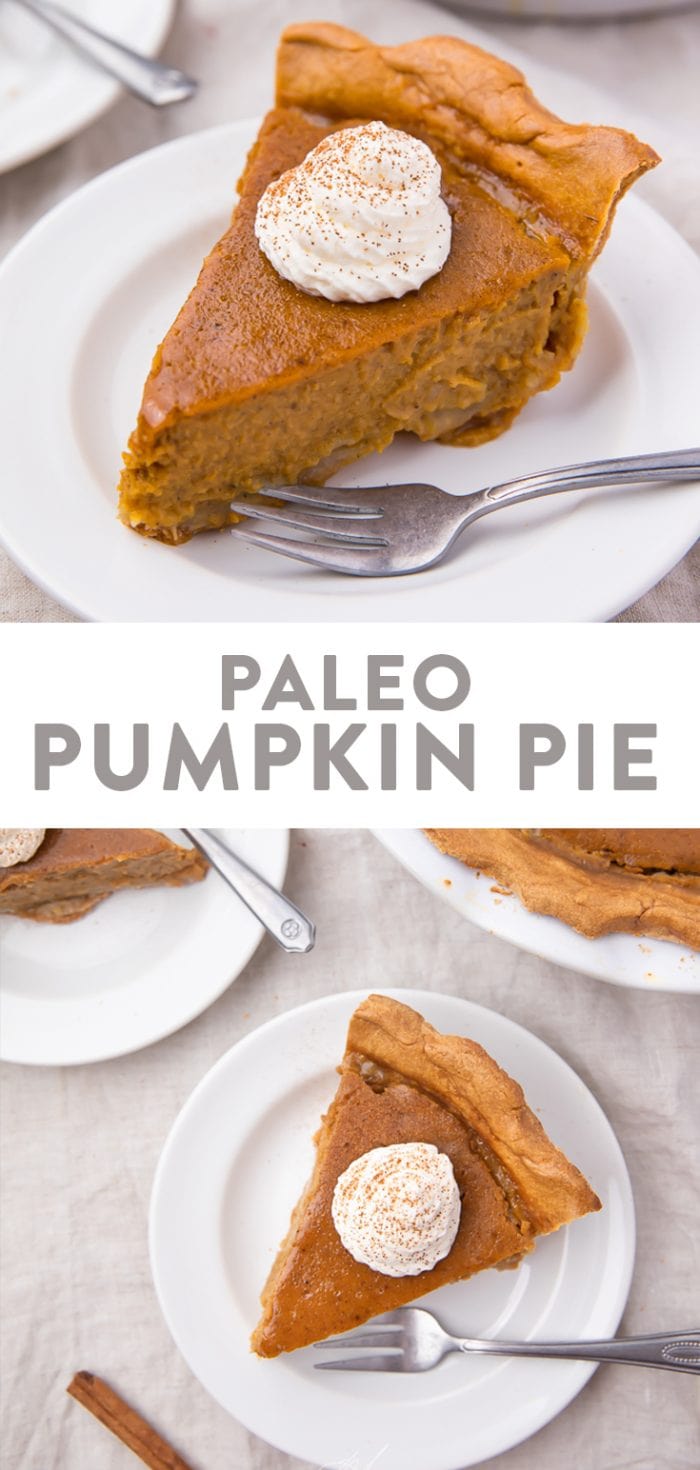
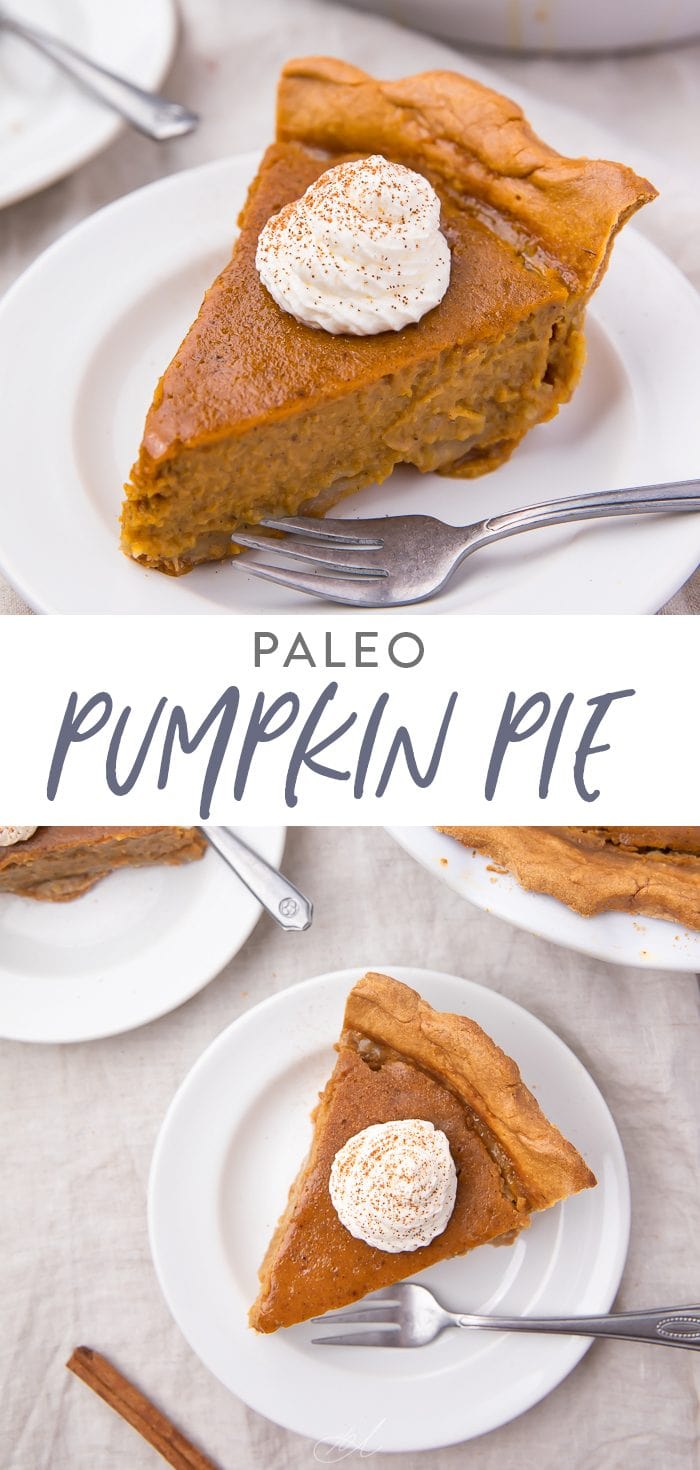
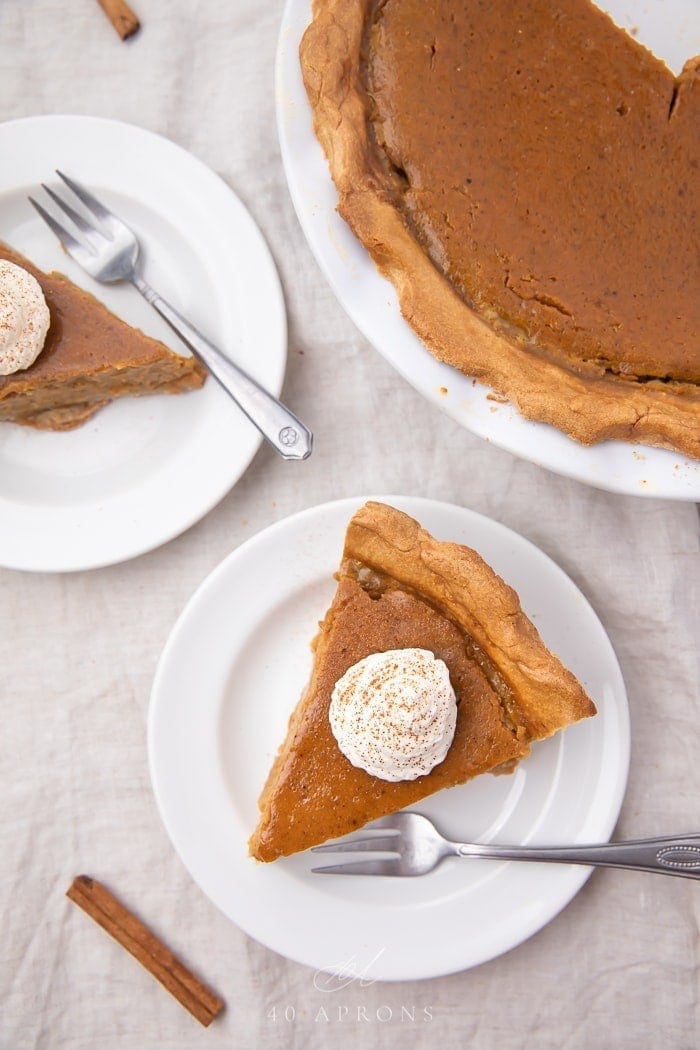
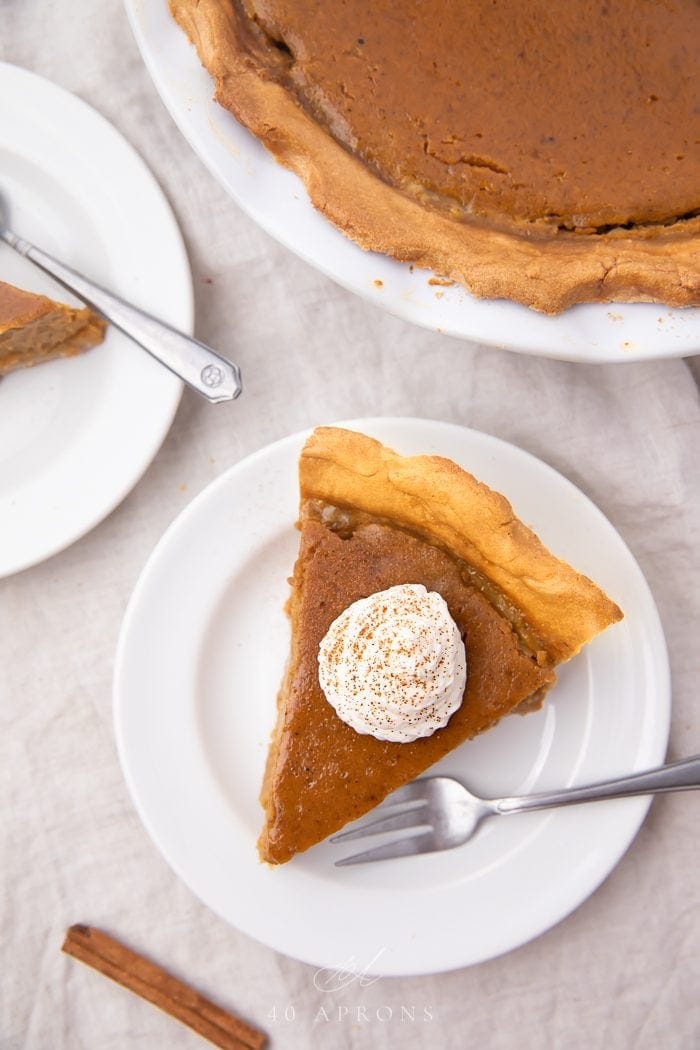
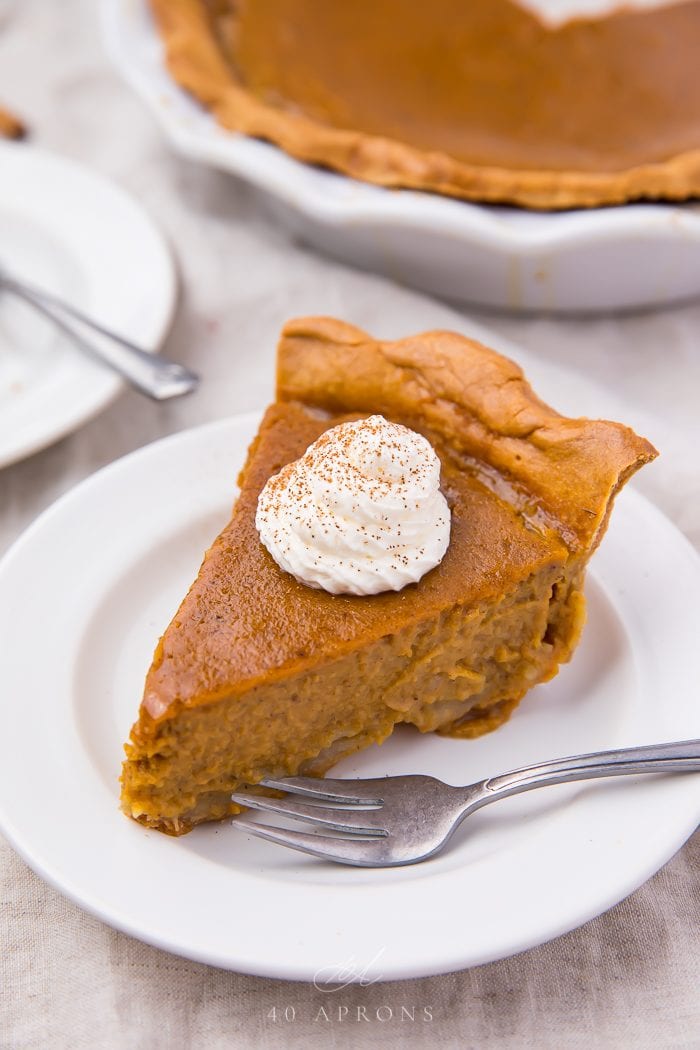
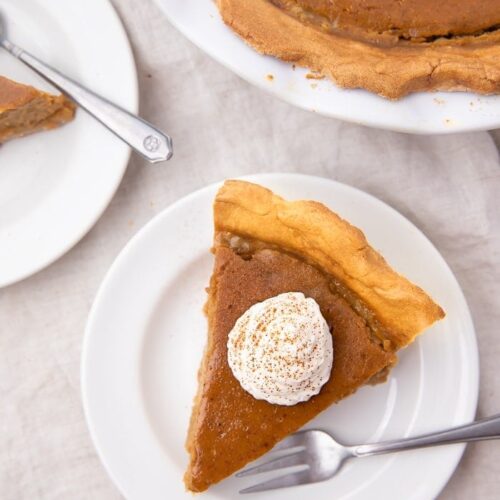
This paleo pumpkin pie is a must-have for any Thanksgiving or Christmas table! This recipe is a rich version of the holiday classic dessert, but it’s gluten-free, grain-free, dairy-free, and refined sugar-free. Made with a cassava flour crust.
Why This Recipe Is So Good
- This paleo pumpkin pie recipe tastes just as rich and flavorful as traditional homemade pumpkin pie. It has a light, flaky crust, a creamy pumpkin filling, and the deliciously warm and cozy flavors of pumpkin pie spice.
- It’s gluten-free, grain-free, dairy-free, and refined sugar free.
- This pumpkin pie is great for making ahead of time for an easy Thanksgiving dessert.

The Perfect Paleo Pie Crust!
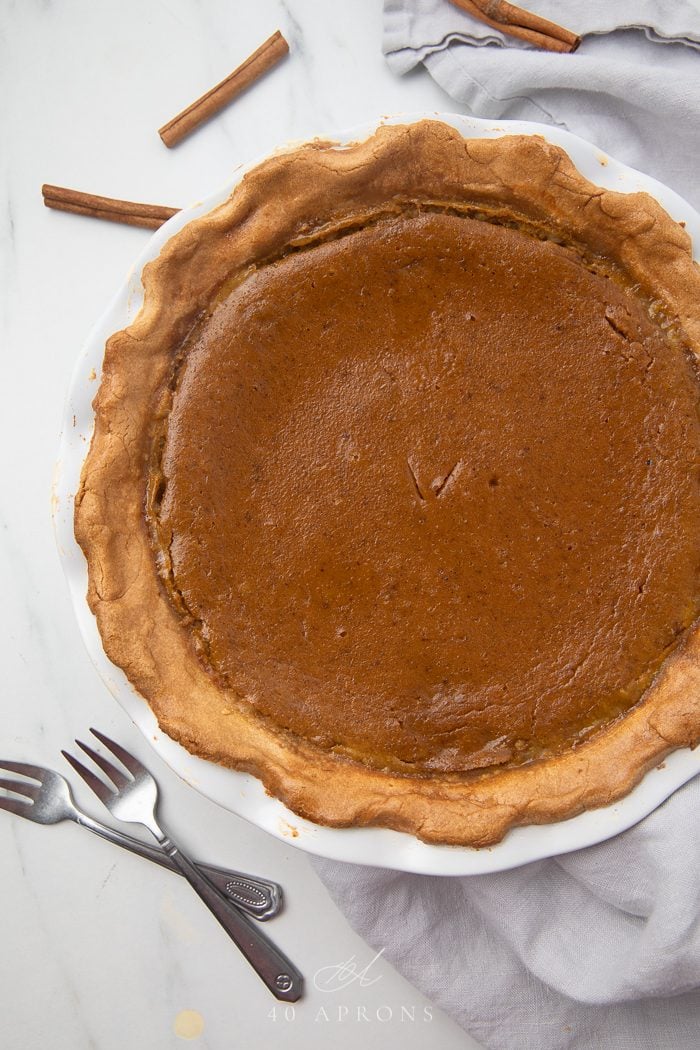
It really isn’t too tricky to make this paleo pumpkin pie crust. The crust comes together really easily, you really can’t tell the difference between this gluten free crust and a traditional one! All-purpose flour is replaced with cassava flour so that it is paleo compliant, as well as being grain and gluten-free. If you don’t have cassava flour, you can try the pie crust from this recipe.
Can You Make This Pie Ahead of Time?
Yes! You can make it the night before and keep it in the fridge, so you can easily get ahead of things.
A Classic Thanksgiving Dessert
I don’t know about you, but my Thanksgiving meal just wouldn’t be complete without a delicious pumpkin pie! The good news is, that if you are following a paleo diet or are gluten-free, you don’t have to go without. This paleo pumpkin pie is beautifully rich and flavored and your guests won’t know the difference!
Chef’s Tips
- After pulsing the dry ingredients, let them sit for about a minute to allow the flour to settle in the food processor.
- The pie crust will not bind together as a gluten pie crust would. To transfer easily after rolling, I used an upside down bowl that was the same diameter of the bottom of the pie pan essentially like a big cookie cutter. I cut a circle in the pie crust, then transferred it to the bottom of the pie pan. I then took pieces of the remaining rolled-out pie crust one at a time and pressed them into the sides of the pie pan.
- When you think you’re close to a playdough consistency when making the dough, roll a small piece of the dough into a ball and squish the ball between your forefinger and thumb. If the dough is ready, it will flatten, not crack or fall apart.
- Make sure the pie crust is not too thick! It will become very hard if so. If you use the inverted bowl method from above to help produce your pie crust, make sure the edges of the pie crust in the bottom are not overly thick, as the seams of the pie crust will be there.
- Don’t blind bake this pie crust. This makes the pie crust too hard, plus it’s just more work anyway!
- Heat the paleo pumpkin pie filling before transferring it to the pie crust. This helps melt the coconut cream for an even look, and it also helps deepen the richness of the filling.
More Better-for-You Baked Goods Recipes
- Paleo Frosted Cookies
- Gluten Free Pumpkin Bread
- Vegan Chocolate Truffles
- Pumpkin Muffins with a Spiced Crumb Topping
- Paleo and Vegan Nutella
- Paleo Carrot Cake with “Cream Cheese” Frosting (Gluten Free, Dairy Free)
- Gluten-Free Gingerbread Cookies
- Paleo Red Velvet Cake
- Perfect Paleo Brownies (Fudgy, Crackly Top, Gluten Free)
Paleo Pumpkin Pie
Ingredients
Pie Crust
- 1 ¾ cups cassava flour
- ½ cup tapioca flour
- 1 ½ teaspoon salt
- 1 ½ teaspoons coconut sugar
- ¾ cup cold vegetable shortening
- 2 eggs
- water as needed
Egg Wash – Optional but Recommended
- 1 egg
- 1 tablespoon water
Pie Filling
- ¾ cup maple syrup
- ½ teaspoon salt
- 2 teaspoons pumpkin pie spice store-bought or make your own
- 3 large eggs
- 1 ounce (15-ounce) can of pumpkin puree
- 2 teaspoons pure vanilla extract
- 1 (14-ounce) can coconut cream
- whipped coconut cream for serving, optional
Instructions
- Combine the dry ingredients in a food processor (be careful when dumping the cassava flour into the mixer, it billows quite easily). Give the dry ingredients a couple of pulses to ensure they’re well mixed and wait about a minute for the flour to settle in the food processor.
- Add the coconut oil or fat of choice and pulse the mixture a few times, until the dough begins to form small beads throughout the flour.
- Add the two eggs and pulse until the eggs are absorbed and a rough ball of dough has begun to form.
- Place the contents of the food processor into a bowl and knead the dough by hand, slowly adding cold water in 1 tablespoon increments. The dough should be a playdough consistency. When you think you’re close, roll a small piece of the dough into a ball and squish the ball between your forefinger and thumb. If the dough is ready, it will flatten, not crack or fall apart.
- Once you’ve reached the consistency, form the dough into a ball or disk and wrap tightly with plastic wrap. Refrigerate for an hour.
- Preheat oven to 400°F.
- Unwrap the dough and cut into half, place one half of the dough in the fridge.
- Lightly dust two pieces of parchment paper with cassava flour, and roll the dough out between them. The dough is incredibly delicate (no grains!) so try not to roll the dough out any thinner than it needs to be–12 inches for a 9-inch pie plate. If the dough cracks, press it back together and in place.
- Press the dough into the pie plate, return the pie to the fridge for 20 minutes.
- When pie crust is ready, combine pumpkin pie filling ingredients in a medium saucepan and heat over medium heat about 5 minutes, or until the coconut cream is totally melted and smooth. pour into prepared pie crust
- Bake in preheated 425° F oven for 15 minutes. Reduce temperature to 350° F; bake for 40 to 50 minutes or until knife inserted near center comes out clean. Cool on a wire rack for 2 hours. Serve immediately or refrigerate. Top with whipped coconut cream before serving.
- I used quite a lot of water, more than 1 cup, for the pie crust.
- Make sure the crust isn’t too thick.
- Use a bowl to cut out the bottom piece easily and prick the pie crust all over with fork to prevent puffing.
- The pie crust will not bind together like a gluten pie crust would. To transfer easily after rolling, I used a bowl, upside down, that was the same diameter of the bottom of the pie pan. I used it as a cookie cutter, essentially, to cut a circle in the pie crust and place it in the bottom of the pie pan. I then took pieces of the remaining rolled-out pie crust at a time and pressed them into the sides of the pie pan.
- Make sure the pie crust is not too thick. It will become very hard if so. If you use the inverted bowl method from above to help produce your pie crust, make sure the edges of the pie crust in the bottom are not overly thick, as the seams of the pie crust will be there.
- Don’t blind bake this pie crust. This creates much too hard of a pie crust, and it’s more work anyway!
- Heat the paleo pumpkin pie filling before transferring to the pie crust. This helps melt the coconut cream for an even look, and it also helps deepen the richness of the filling.
- If you don’t have cassava flour, you can try the pie crust from this recipe https://40aprons.com/paleo-american-flag-pie/
Approximate Information for One Serving
Nutrition Disclaimers
Number of total servings shown is approximate. Actual number of servings will depend on your preferred portion sizes.
Nutritional values shown are general guidelines and reflect information for 1 serving using the ingredients listed, not including any optional ingredients. Actual macros may vary slightly depending on specific brands and types of ingredients used.
To determine the weight of one serving, prepare the recipe as instructed. Weigh the finished recipe, then divide the weight of the finished recipe (not including the weight of the container the food is in) by the desired number of servings. Result will be the weight of one serving.
Did You Make This Recipe?
Tag @40aprons on Instagram and be sure to leave a review on the blog post!
Never Miss A Meal!
New Recipes Straight To Your Inbox
A curated selection of our most recent recipes, delivered straight to your inbox once a week.


I made this for Thanksgiving 2020, and it was superb! Even my family tried it and thought it was way better than store bought. I plan on making it again this year!
So glad y’all enjoyed it! Hope you enjoy it again this year. 🙂
If I was to make this in a store bought gluten free crust…how long would I bake this for?
Hey Sam, we’d recommend just following the directions on your store-bought crust! Typically, homemade gluten-free pie crusts need to cook for anywhere between 40 and 65 minutes, but store-bought will be different.
I love this recipe! It’s less sweet than traditional pumpkin pie which really lets the pumpkin flavor shine. I used the crust from the paleo pecan pie and it worked great!
We’re so glad you’ve enjoyed this recipe!