This Post May Contain Affiliate Links. Please Read Our Disclosure Policy.
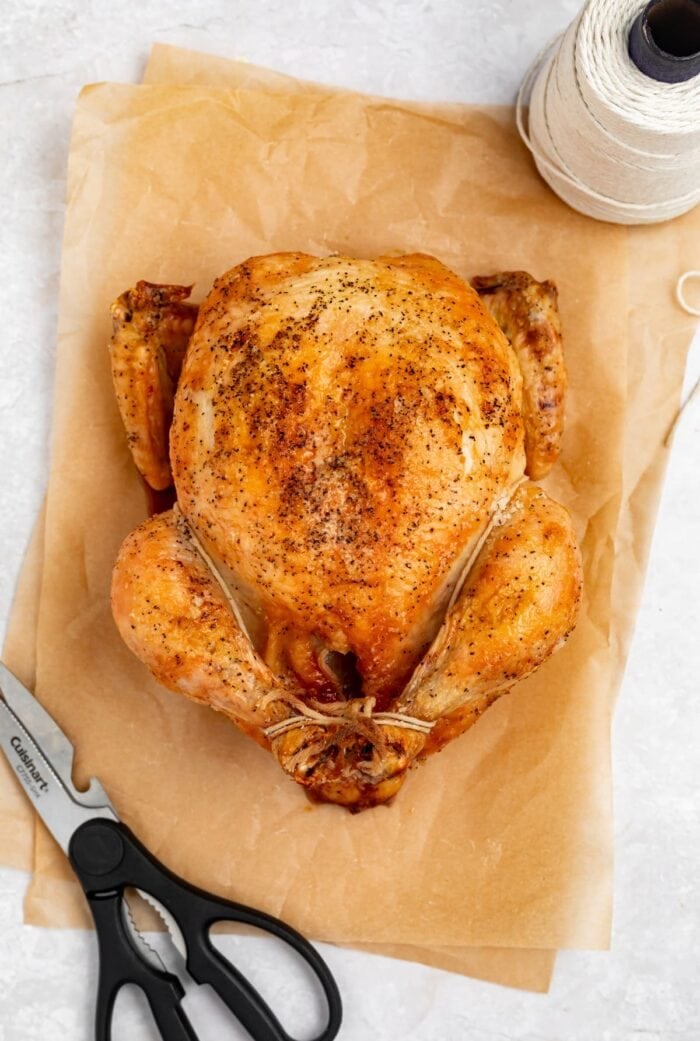
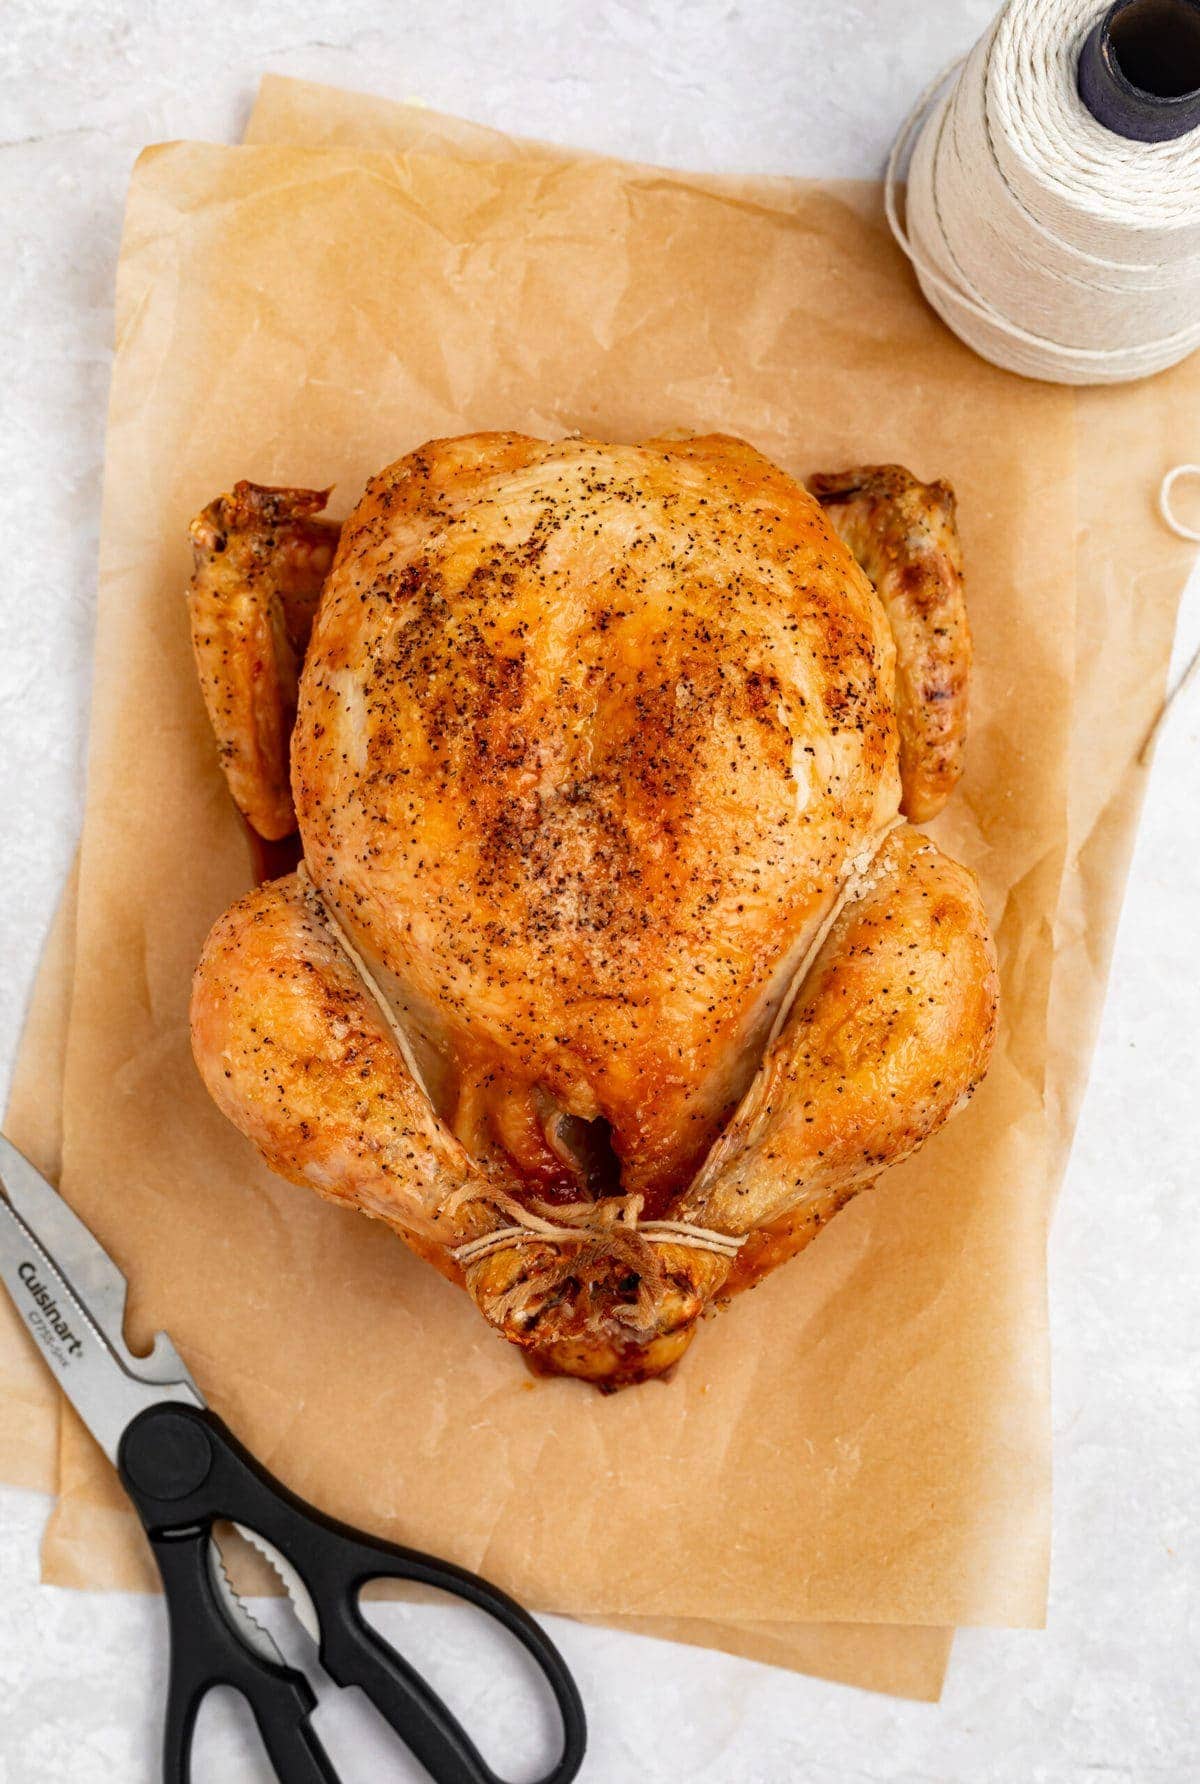
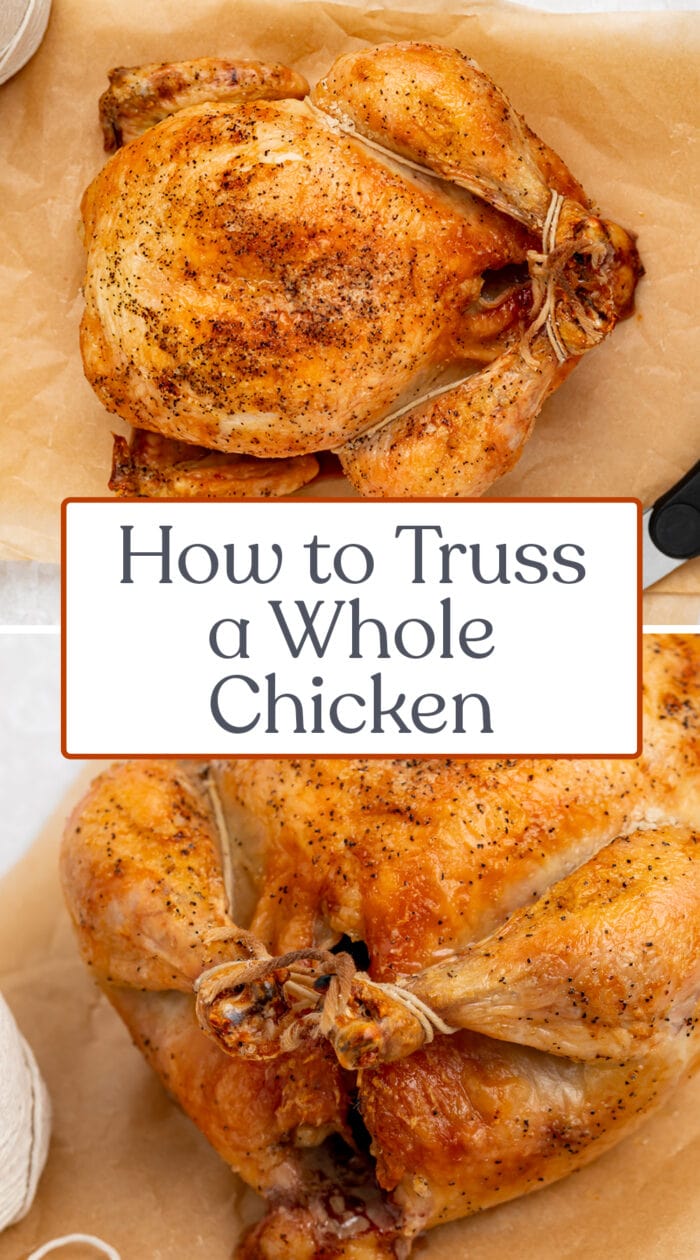
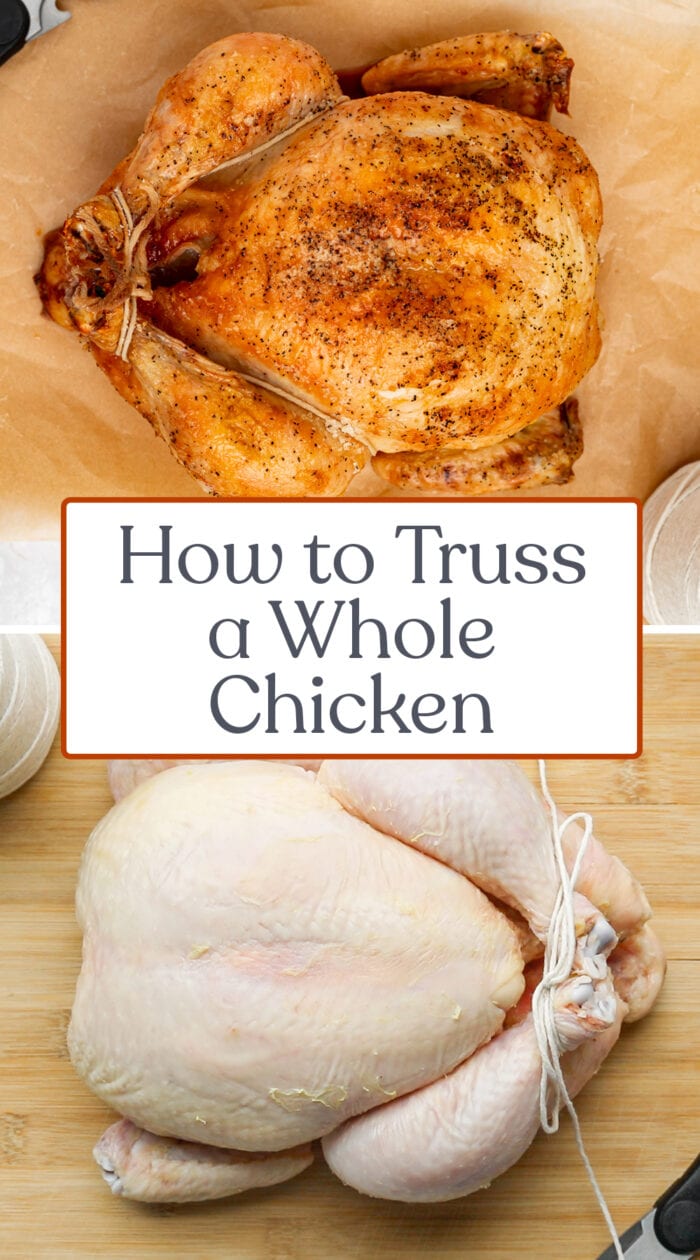
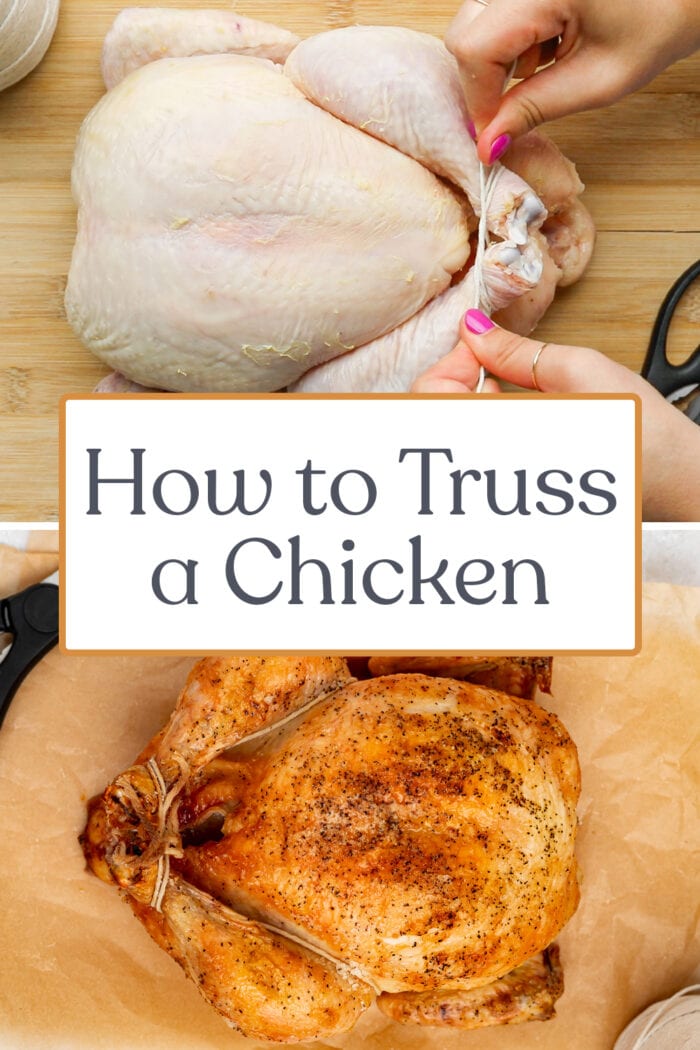
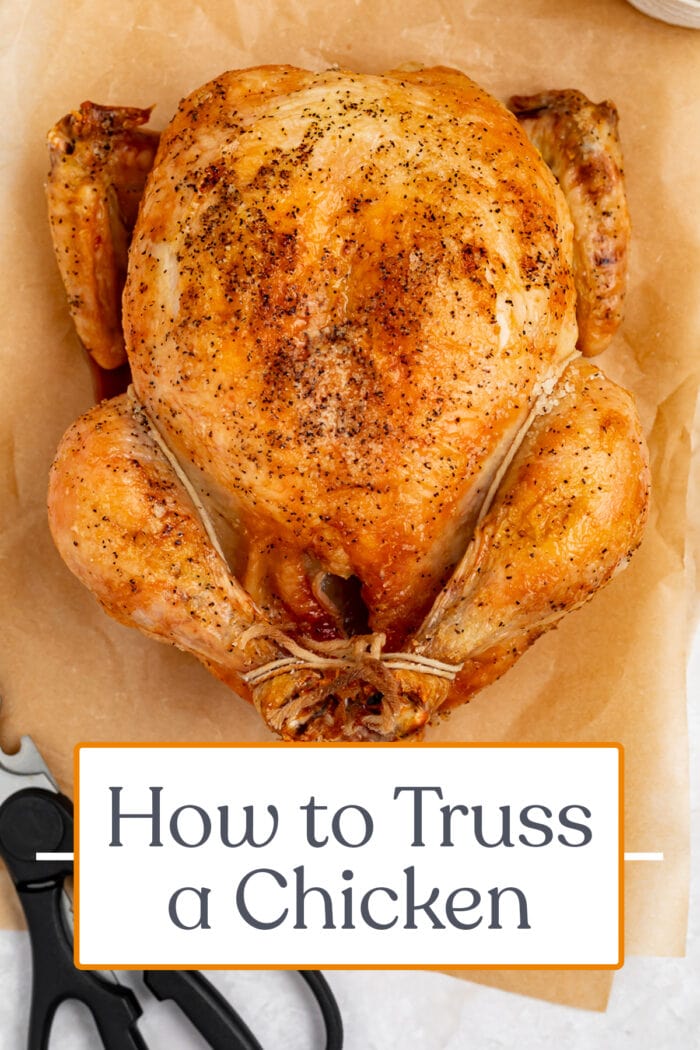
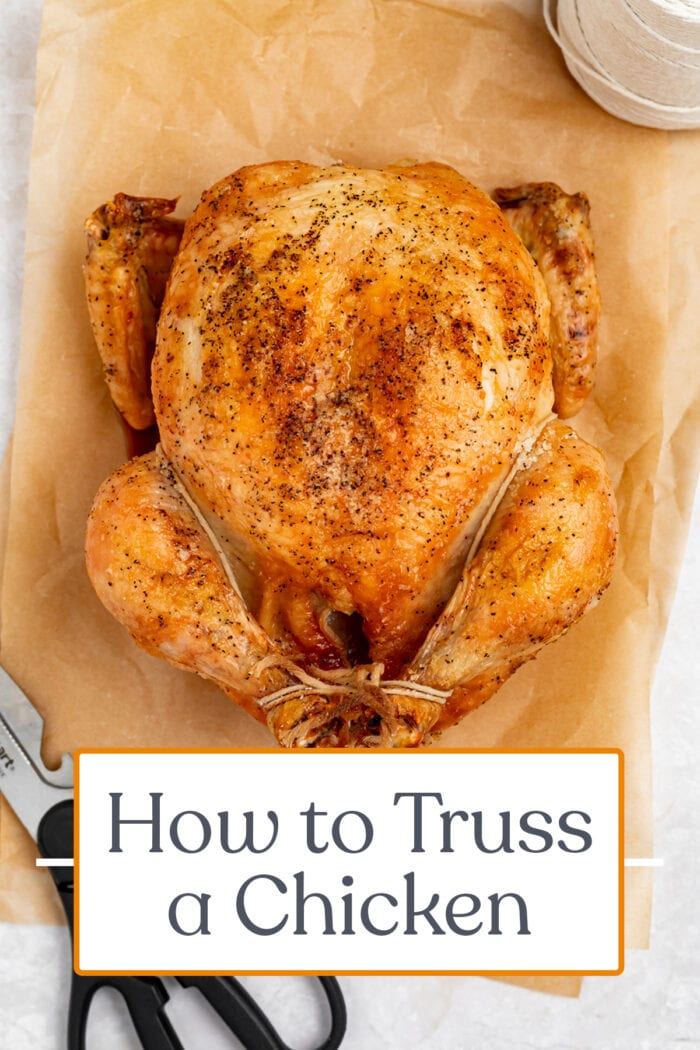
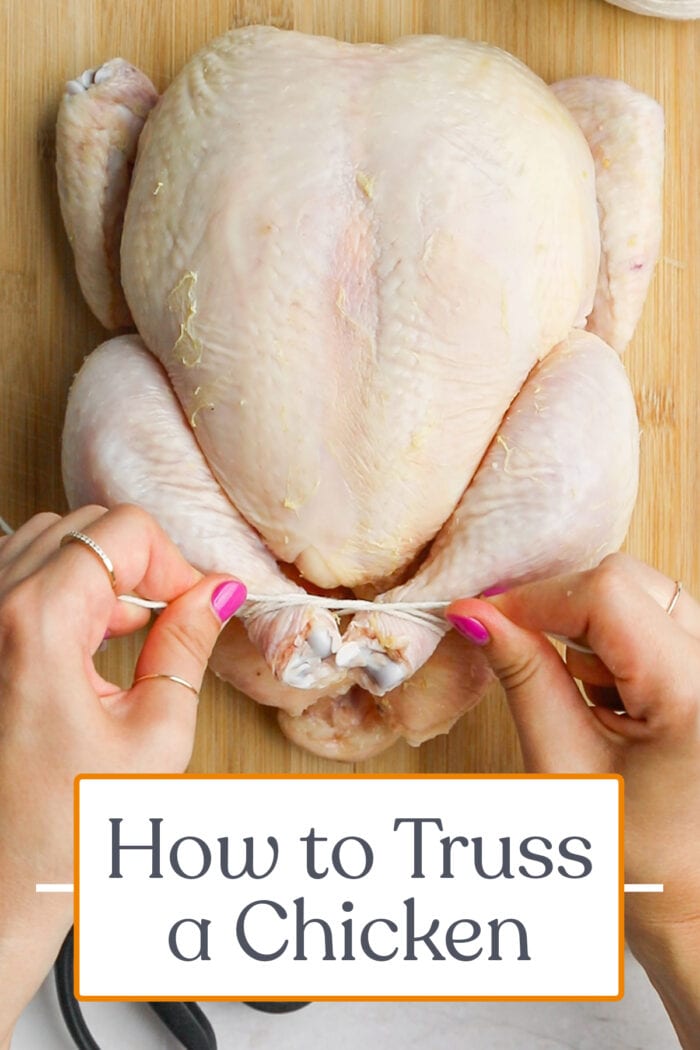
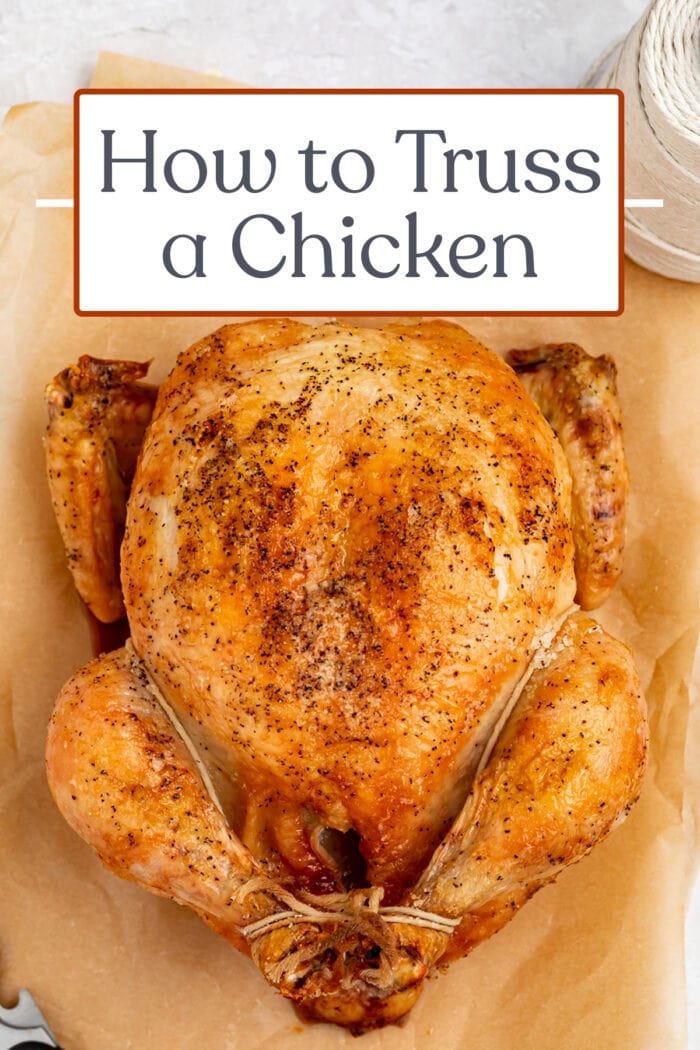
This simple method for how to truss a chicken takes just a few minutes! Once done, your chicken will cook more evenly and extra crispy.
Why You Should Master This Cooking Method
- Struggling to get your chicken to cook evenly or can’t seem to achieve the super crispy skin your heart desires? Well, this quick and easy trick will help with both of those things! Once a chicken is trussed, it will bake more evenly and the skin will get a whole lot crispier.
- It takes no more than a couple minutes to do! This method on how to truss a chicken is super fast and convenient. All you need is a whole chicken, some butcher’s twine, and very little effort.
- You can add this step to any whole roast chicken recipe you’d like! I chose to to simply season my chicken with a little bit of ghee, salt, and pepper (following this recipe) after I trussed it. However, you can season and cook your trussed chicken any way your heart desires!
What You Need to Truss a Chicken
Whole Chicken – Any sized bird will work here. I used a 3 ½ pound chicken and had great results, but you can truss any sized chicken you’d like. You can even use this how to truss a chicken method on a turkey! Come back to this post around the holidays and simply follow the same steps to truss your Thanksgiving turkey.
Butcher’s Twine – This 100% cotton, unbleached string is completely oven-safe. Do not try to use any other kind of string when cooking. Butcher’s twine is the only twine that is totally safe for culinary use. I recommend purchasing a large spool of butcher’s twine to last you years! You’ll have plenty of twine to truss all your chickens and for any other twine-necessary recipes that comes your way.
Chef’s Tips
- Practice this how to truss a chicken method a few times before tying and securing the twine. I always do one practice run on my bird before committing to a knot! However, if you do feel like you might’ve messed up – simply cut off the twine and try it again.
- Remember that you will get better with time! Trussing a chicken becomes almost muscle-memory after your first few tries. And once you see how much more evenly and crispy your chicken bakes when trussed, you’ll never want to not truss a chicken again.
- Trim the ends of your twine once you’ve tied the bow. Depending on the size of your chicken, you might have quite a bit of twine leftover. Remove any extra string with a simple snip of your scissors before baking!
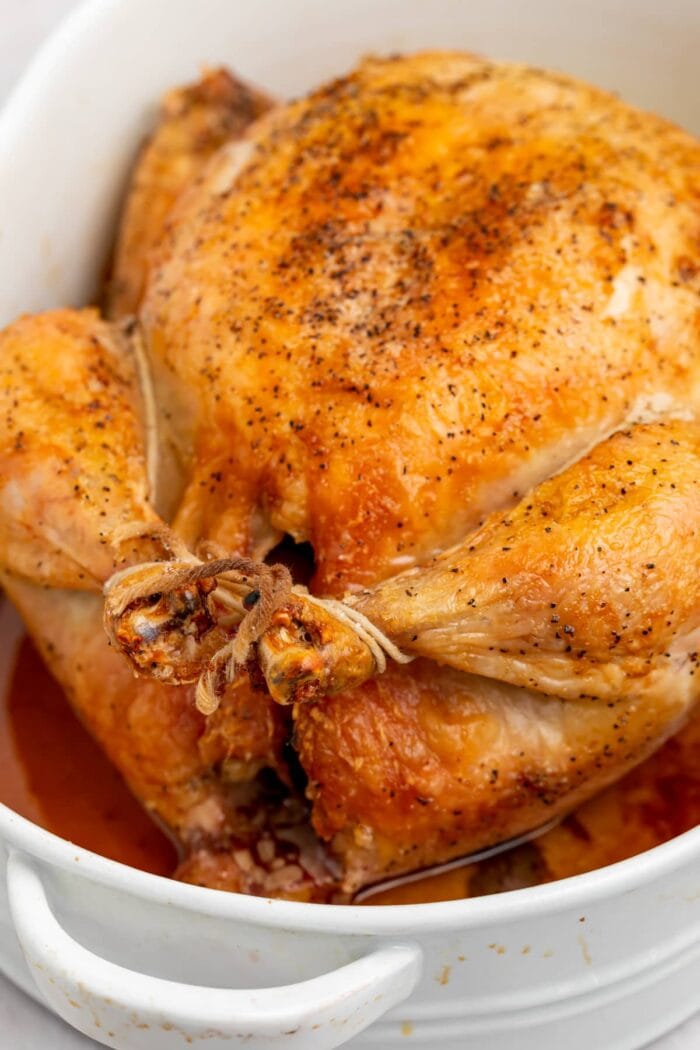
Whole Roast Chicken Recipes You’ll Love
- Slow Cooker Garlic Butter Whole Chicken with Gravy
- 30 Whole Chicken Recipes
- Spatchcock Chicken with Garlic Herb Butter
- Best Ever Easy Roast Chicken
- Quick Chicken Brine
- Mango Habanero Wings
How to Truss a Chicken
Equipment
- 3 ¼ feet (approximately 1 meter) butcher's twine
Ingredients
- 1 whole chicken
Instructions
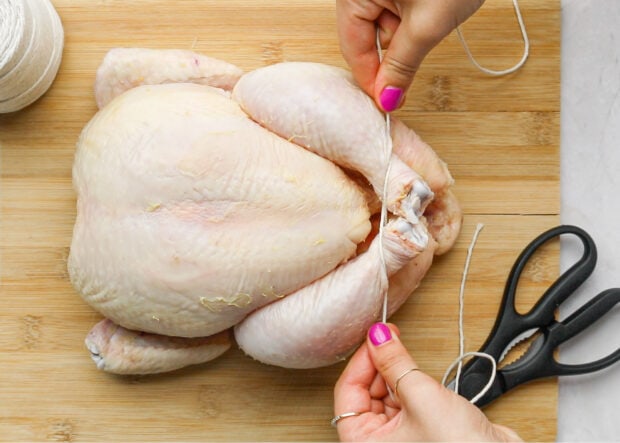
- Place a piece of kitchen twine about 1 meter long in the center of your work surface.
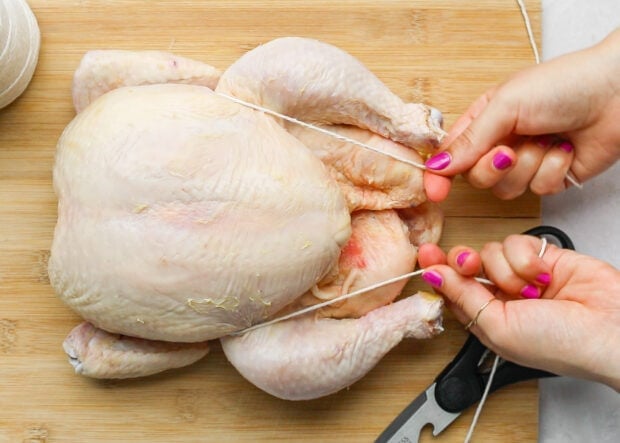
- Place the chicken on top, breast up, and bring the twine up and over the legs, down along the crease where the leg meets the body.
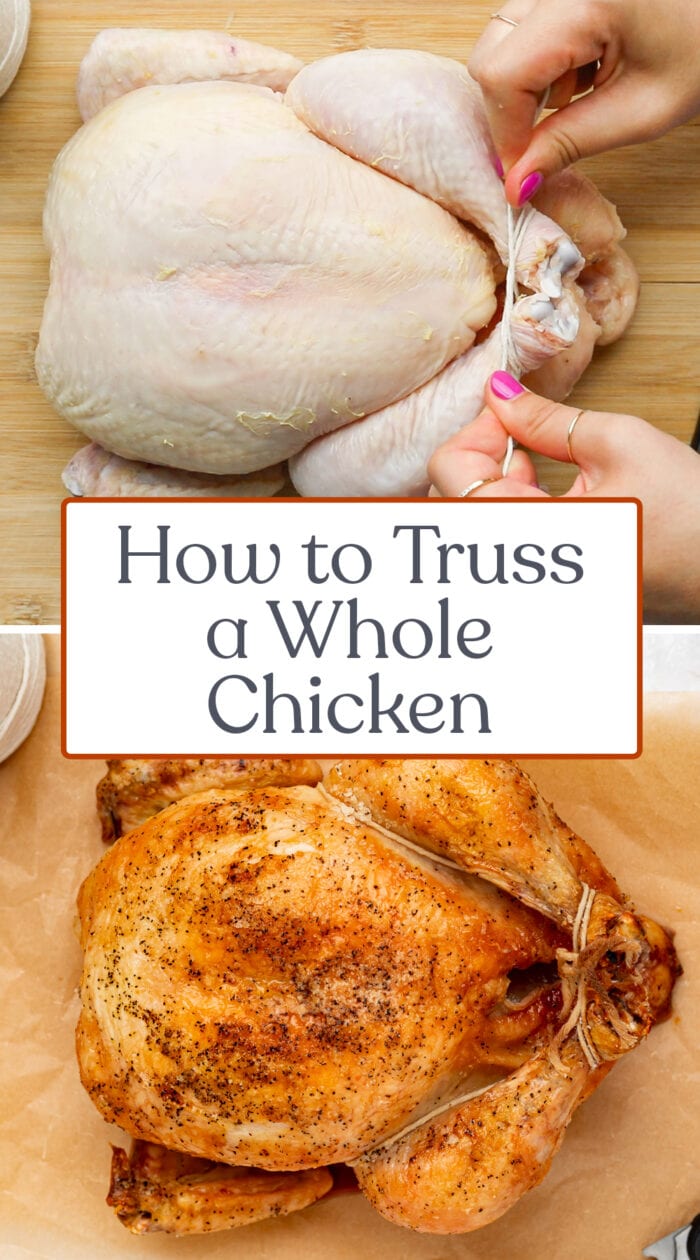
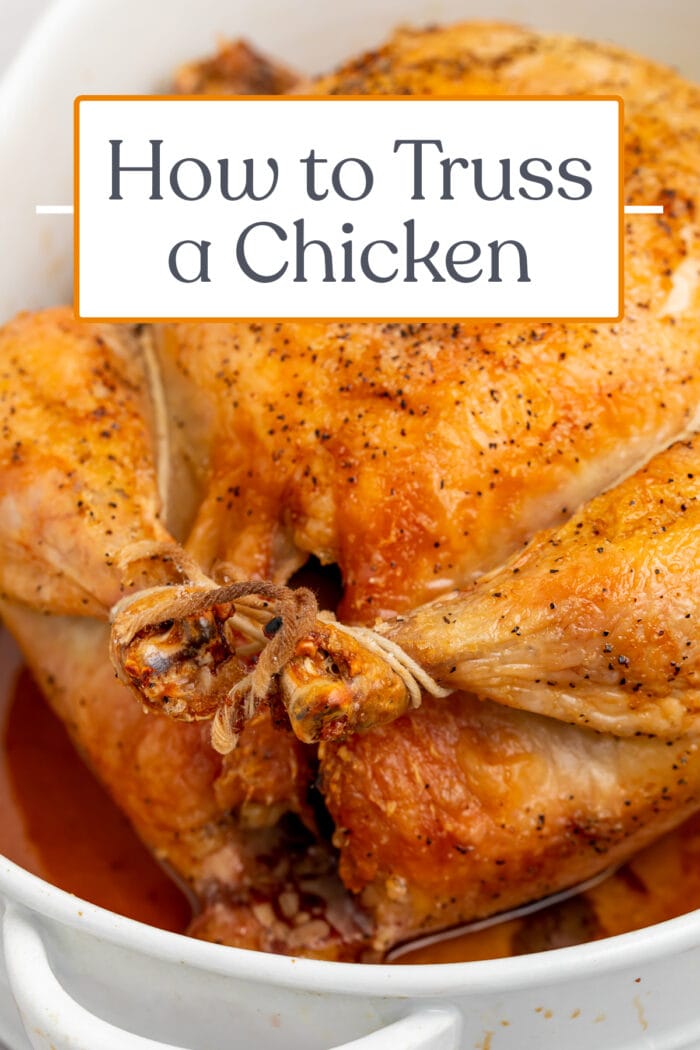
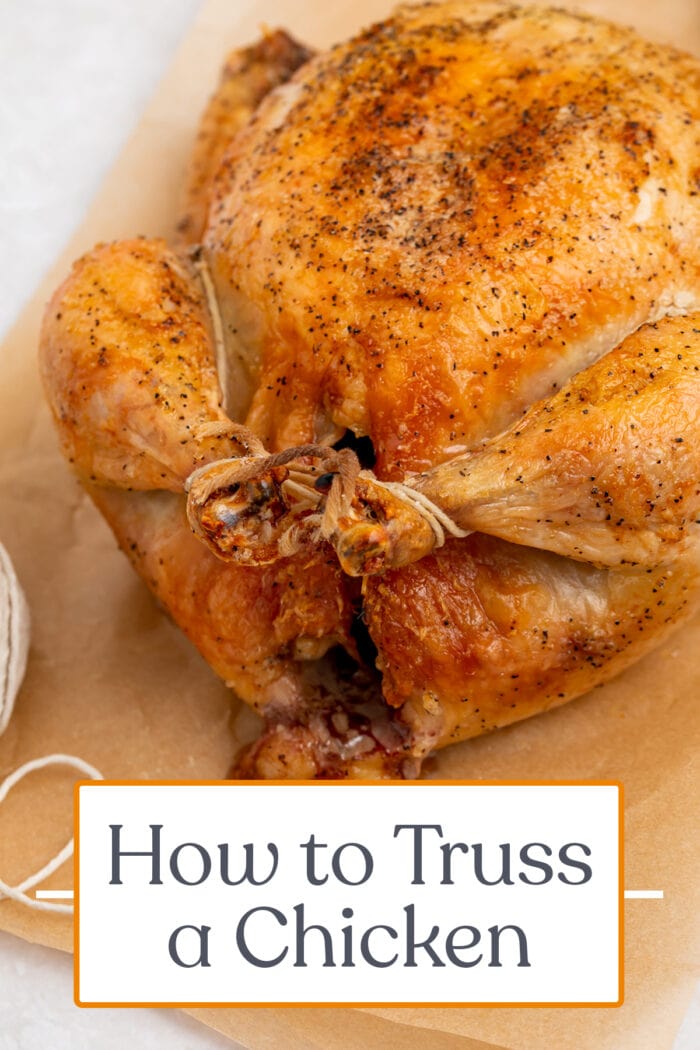
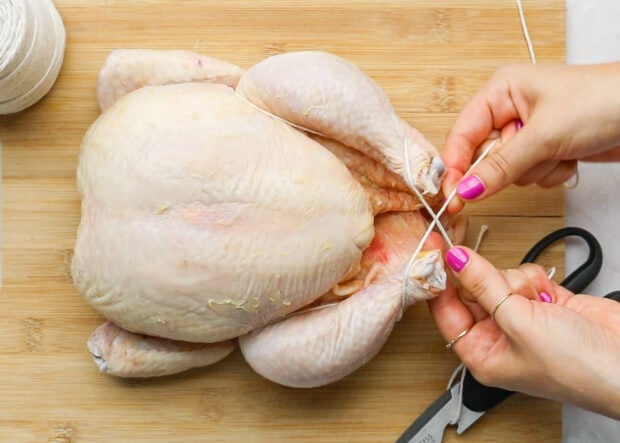
- Run twine under then over the ends of each leg. Bring strings toward each other and cross them over each other to form an X.
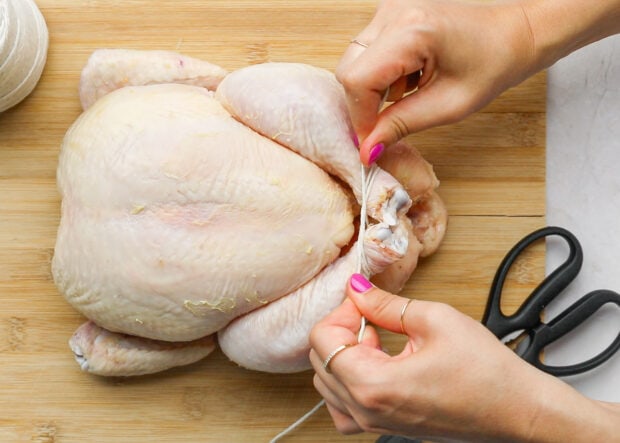
- Take each end of twine and pull it back underneath each leg, pulling tight to bring both legs close together.
- Lift twine up and over legs, meeting in the center and secure with a bow.
- Take wing tips and pull them up and behind the body of the chicken, tucking behind the body. Cook chicken as desired.
- I cooked my trussed chicken with the recipe from our Best Ever Easy Roast Chicken post!
- This method will also work with a turkey! Simply follow the same steps for how to truss a turkey instead.
Approximate Information for One Serving
Nutrition Disclaimers
Number of total servings shown is approximate. Actual number of servings will depend on your preferred portion sizes.
Nutritional values shown are general guidelines and reflect information for 1 serving using the ingredients listed, not including any optional ingredients. Actual macros may vary slightly depending on specific brands and types of ingredients used.
To determine the weight of one serving, prepare the recipe as instructed. Weigh the finished recipe, then divide the weight of the finished recipe (not including the weight of the container the food is in) by the desired number of servings. Result will be the weight of one serving.
Did You Make This Recipe?
Tag @40aprons on Instagram and be sure to leave a review on the blog post!



Never Miss A Meal!
New Recipes Straight To Your Inbox
A curated selection of our most recent recipes, delivered straight to your inbox once a week.
Thank you!
You have successfully joined our subscriber list.