
This Post May Contain Affiliate Links. Please Read Our Disclosure Policy.
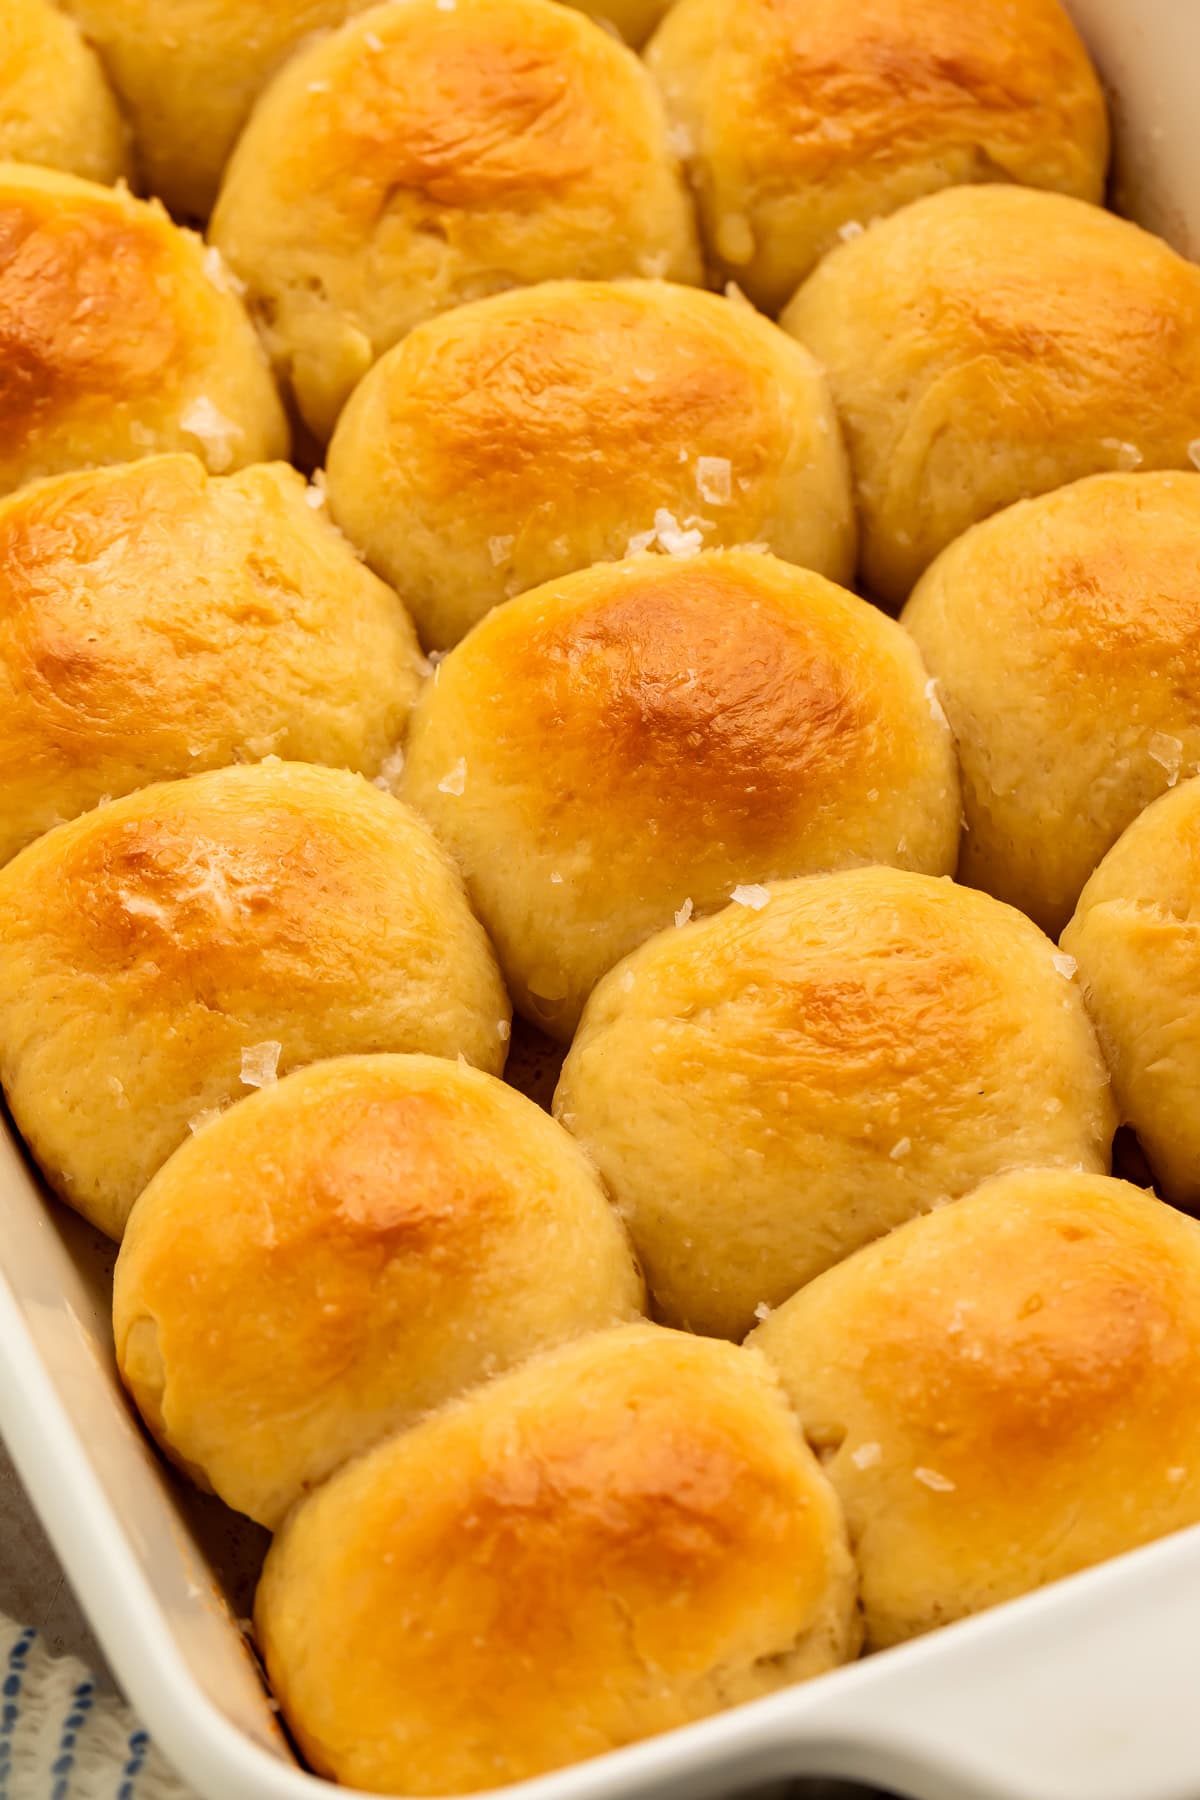
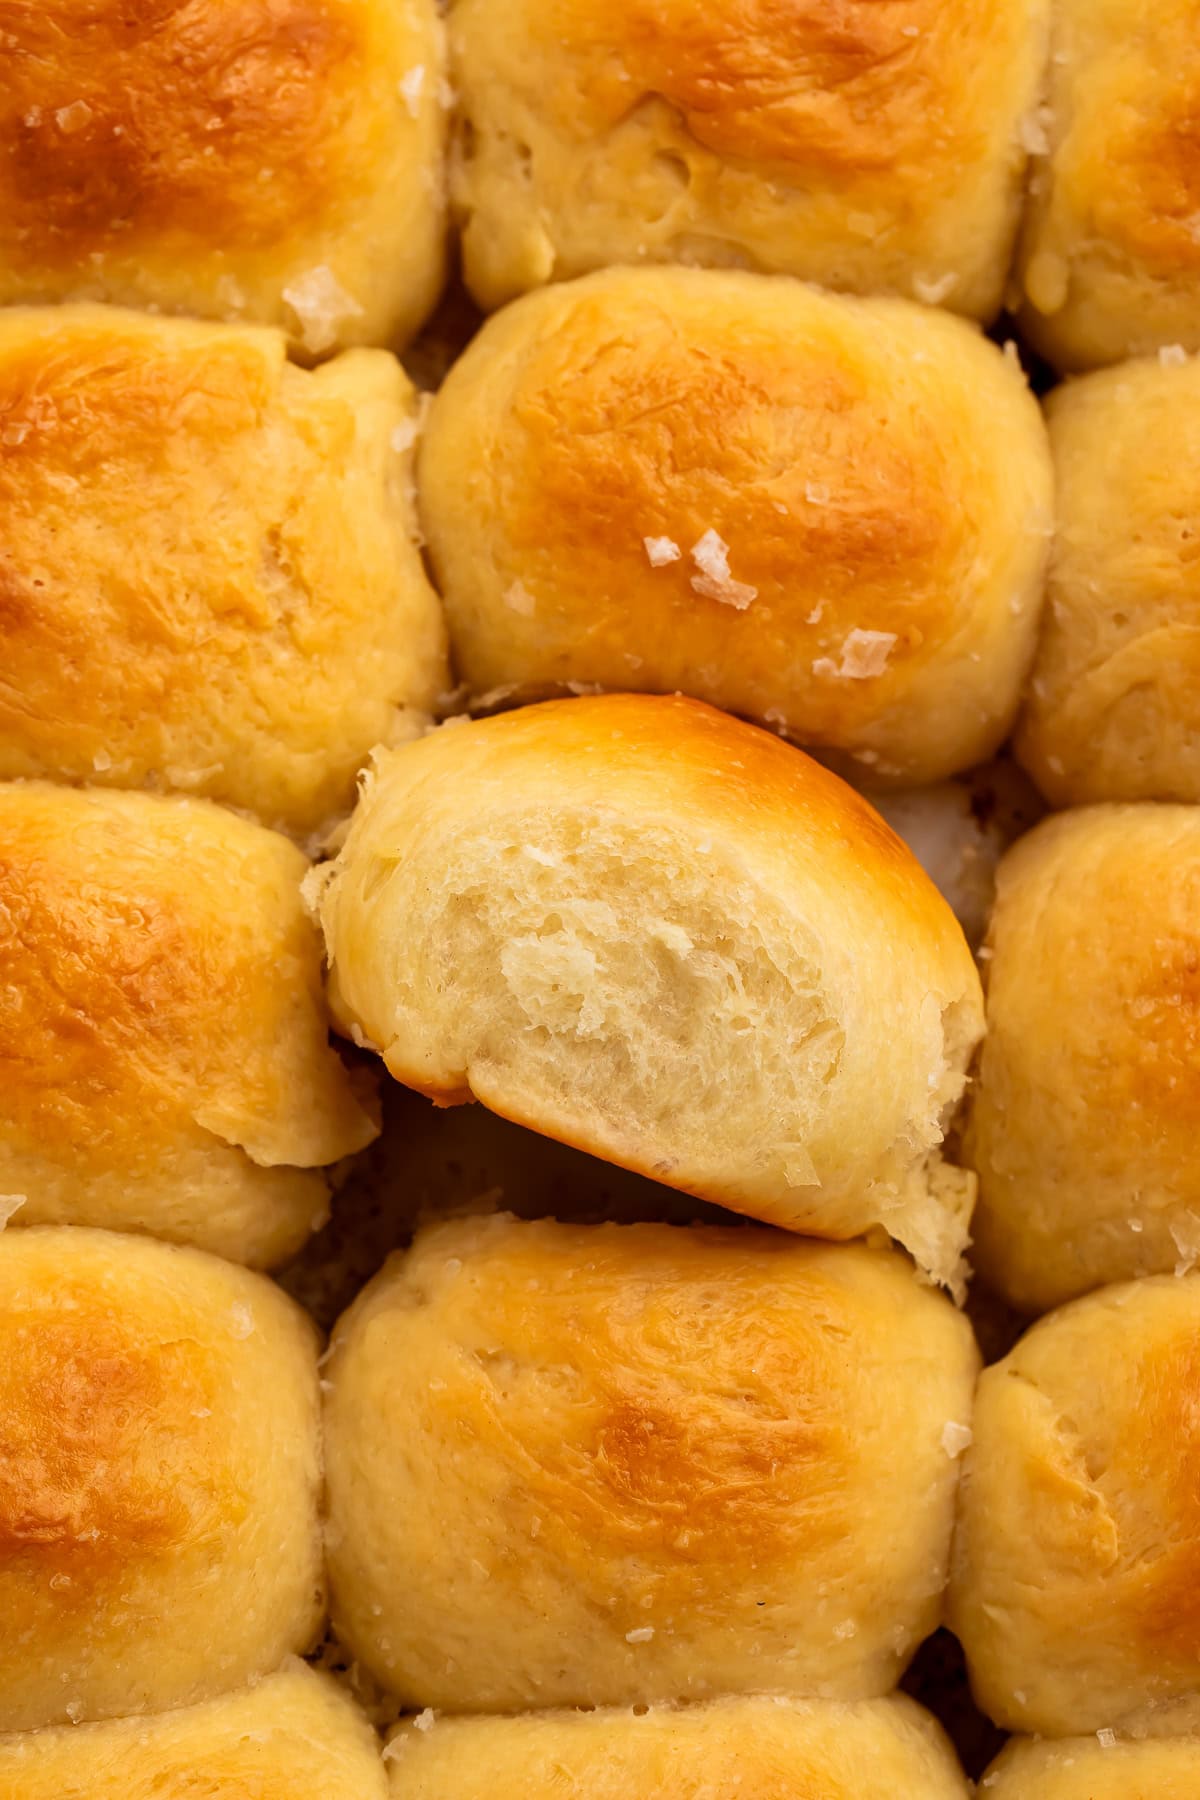
Pillowy, buttery, salty-topped, and shaped the night before these make-ahead Parker House Rolls will become your new Thanksgiving go-to — all you do on the big day is bake! With added instant potato flakes and plenty of butter they’re guaranteed to stay super soft for days without turning gummy or dry.
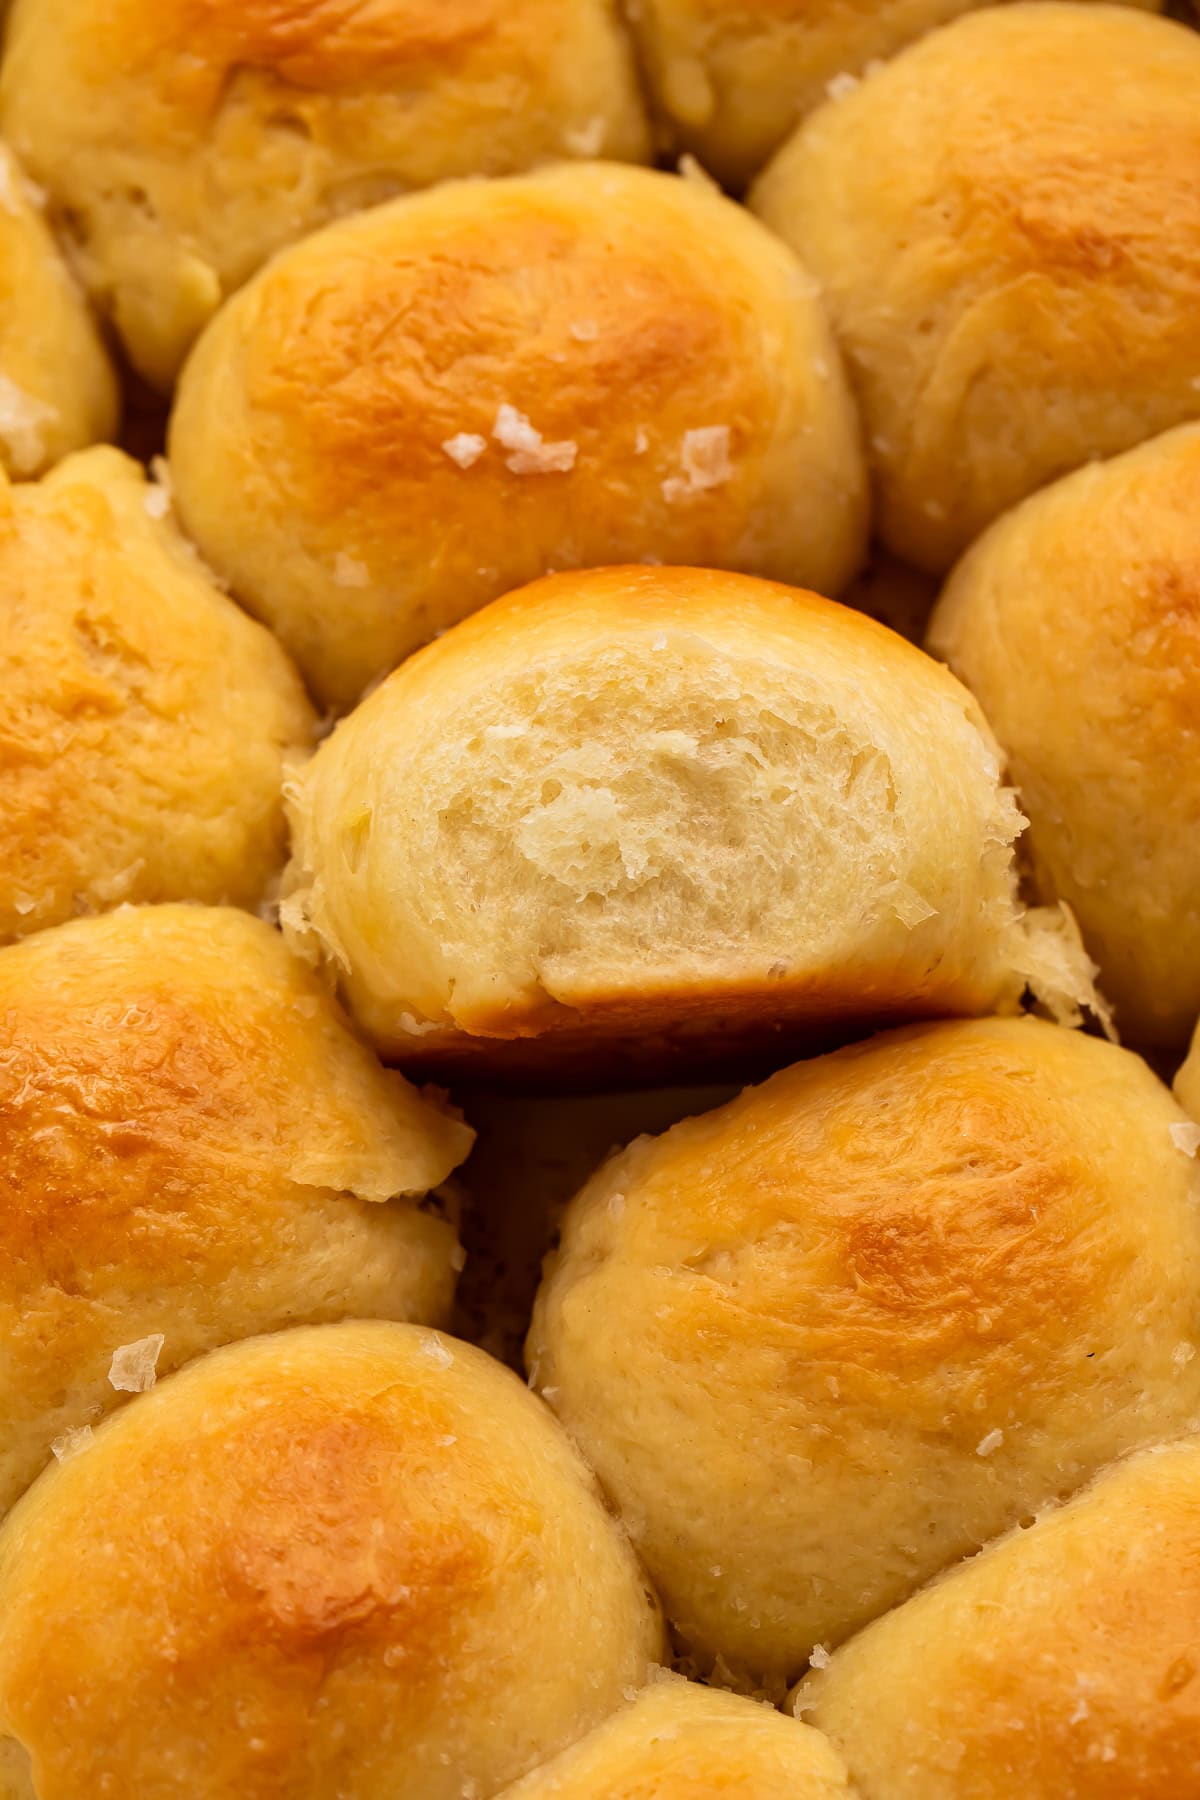
See recipe card below for full list of measurements, ingredients, and instructions.
Why These Are The Best Dinner Rolls For Your Holiday Table
- This is a recipe for classic Parker House rolls (a Thanksgiving must!) which you can make ahead either to bake the next day, or even to freeze for later. This recipe takes some of the stress out of Thanksgiving dinner, while still giving you a warm, buttery pan of soft, pillowy rolls for your holiday table.
- The addition of dried potato flakes to the dough is my secret to perfectly soft rolls that will stay soft for days without going dry, stale or gummy. Perfect for both getting ahead (though they’re obviously at their best when they’re still warm) and for leftovers. Thanksgiving leftover sandwiches anyone??
- We’re using both unsalted butter (plenty of butter in the pan is classic for Parker House rolls. It gives the bottoms a lightly crisp, buttery finish and keeps them from sticking!) and salted butter for the best flavored rolls without them turning out too salty.

What I Learned Testing This Recipe
- I know kitchen temperatures vary (I know mine does depending on what else I’ve been cooking!) so I’ve found a good visual cue for when they’re ready to bake is when they look visibly puffier, and they’ve almost doubled in size.
- If you’re finding the dough a bit too sticky to shape, add a tablespoon of flour at a time until the dough becomes manageable. But, be cautious doing this, as the more flour you add the tougher and denser your rolls will be. The dough should naturally be a bit tacky, so only do this if it is really wet and difficult to handle — this could be caused by the amount of moisture in the butter you’re using, and the temperature and humidity of your kitchen.
- Weighing the dough is key to get even sized rolls. It may seem a little fussy, but trust me it works!
Ingredients
Whole milk – Whole milk is best for baking bread as it gives the richest flavor. It is also one of the ingredients that will help keep your rolls soft for longer.
Instant yeast – This is the easiest yeast to use in home baking, and will hold up best to chilling and freezing compared to fresh yeast varieties. Active dry yeast will work, but you’ll need to leave more time for the dough to rise and rely on visual cues instead. It’s also usually the standard yeast carried at the grocery store. Make sure it is fresh for the fluffiest rolls, and toss it if it has expired as your rolls won’t rise using old yeast.
Granulated sugar – Not only does sugar add a touch of sweetness to the rolls, but it also feeds the yeast helping the dough rise.
Egg – Adding egg to bread dough helps making it lighter and fluffier. It also helps make the rolls richer, along with the butter it adds a bit of a brioche vibe.
Unsalted butter – You’ll want some softened to use in the rolls, and melted butter for the pan.
Salted butter – Melted, to brush the rolls. Salted butter will give the rolls the best flavor, but you won’t want to use it for the pan as that is a little too much salt, and it will be more likely to burn.
Instant potato flakes – This is our secret weapon to help keep the rolls soft for days!
All-purpose flour – Rather than bread flour, this will help make the rolls softer.
Flaky or course sea salt – For finishing the rolls. Maldon is the best but other brands will also give a nice finish.
Leftover & Storage Suggestions
To freeze ahead, shape the rolls in the buttered pan, wrap tightly in plastic and foil, and freeze for up to 1 month. Thaw overnight in the fridge, then let rise at room temperature and bake as directed.
To reheat baked rolls, wrap in foil and warm at 300°F for 10 minutes. They’re at their best up to 3 days after baking.
Frequently Asked Questions
I recommend sticking to the 8–24-hour window in this recipe. The dough continues to ferment slowly in the refrigerator, and leaving it for too long can lead to over-proofed rolls (they’ll look a bit too puffy then collapse and bake up less evenly!)
Cold temperatures slow the yeast down, so the rolls may not look dramatically different after an overnight rest. Don’t worry, this is why the final room-temperature proof is important! Other issues to troubleshoot would be if your yeast was in date (never bake with expired yeast!) or if your milk was too hot, which will harm the yeast in the dough.
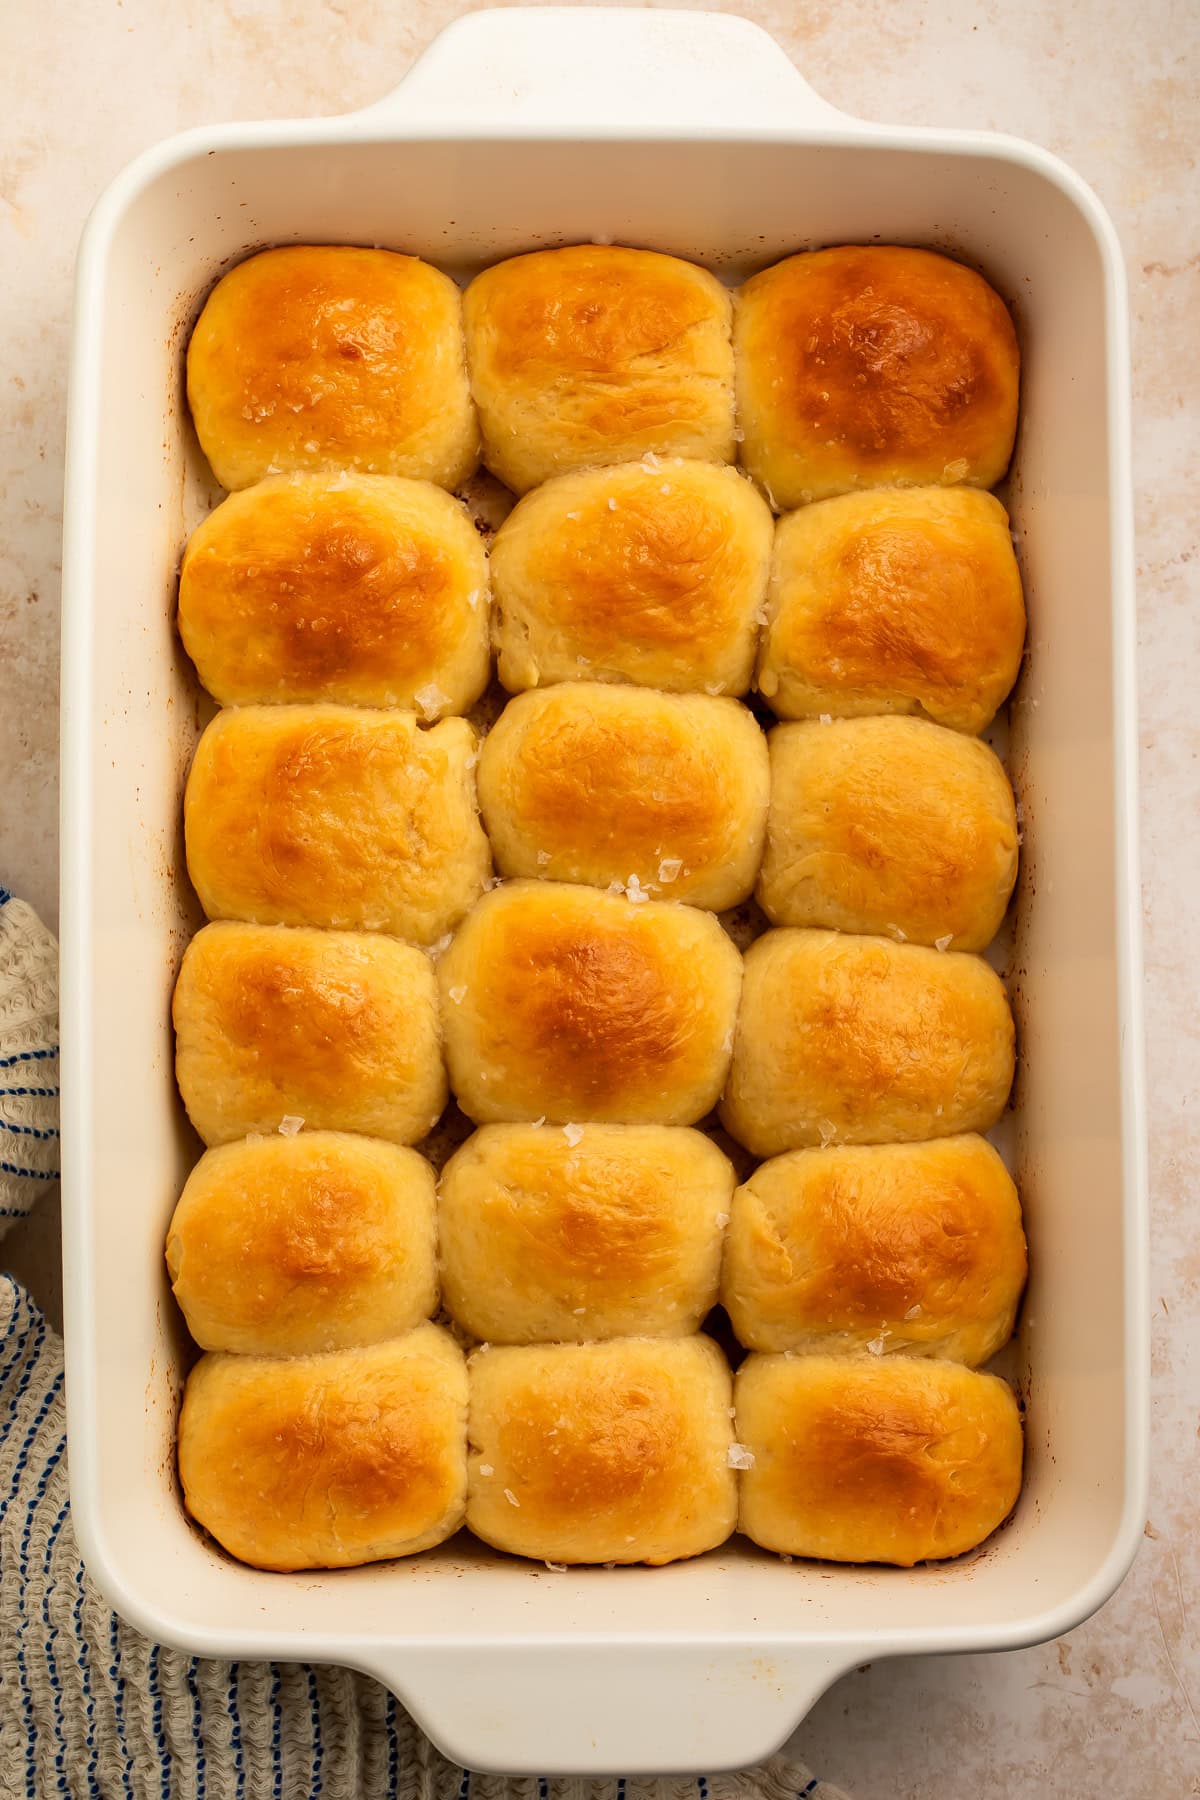
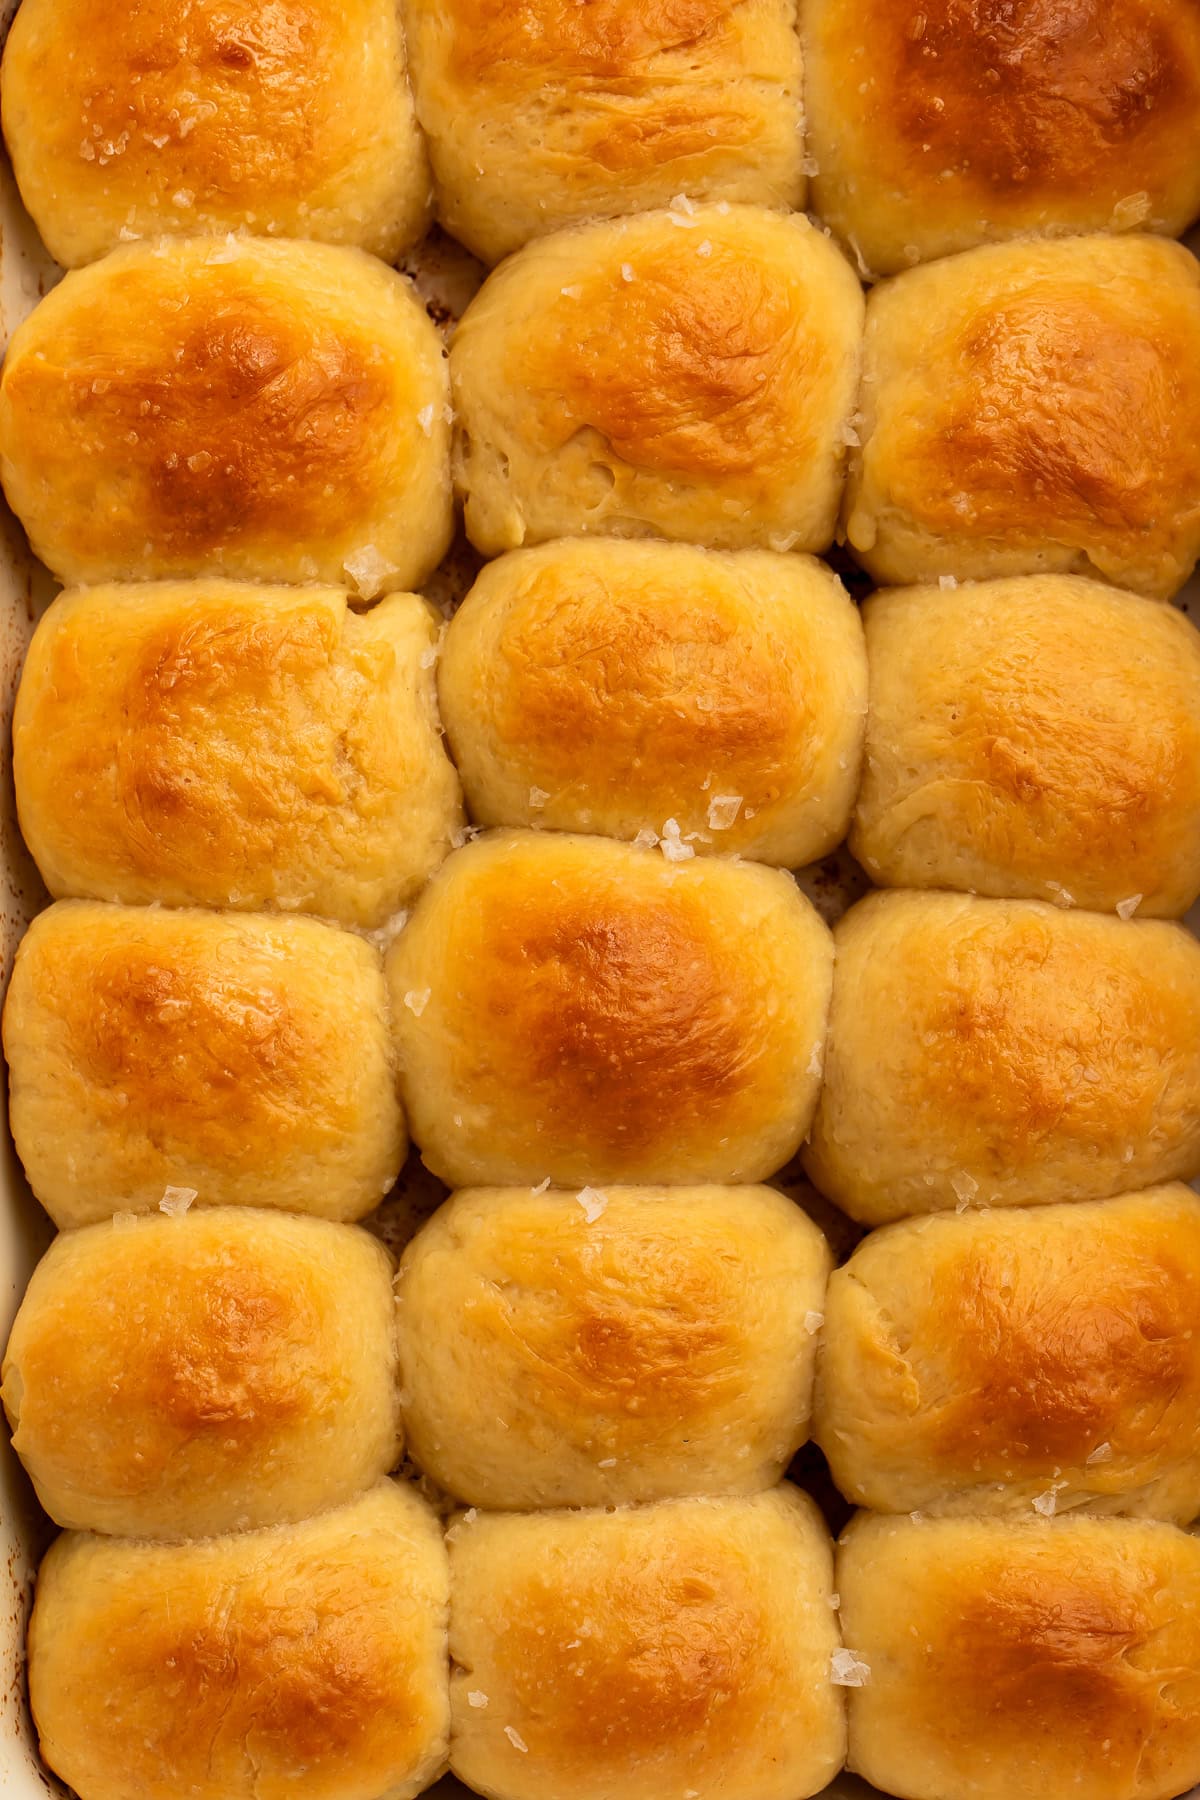
Look for golden-brown tops and check the centre of the rolls with an instant-read thermometer, their internal temperature should be approximately 190°F.
Making changes to a recipe can result in recipe failure. Any substitutions or variations listed are simple changes that I believe will work in this recipe, but results are not guaranteed.
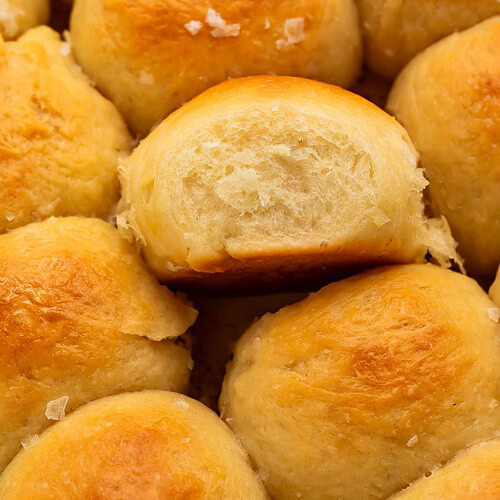
Buttery Parker House Rolls

Equipment
- cooking thermometer choose a probe thermometer if you want to use it to check the rolls for doneness
- stand mixer
- 9×13-inch baking pan
- Pastry brush
Ingredients
For the Dough
- 1 cup whole milk
- ¼ cup water
- 1 packet instant yeast 2 ¼ teaspoons
- 3 tablespoons granulated sugar
- 1 large egg room temperature
- 6 tablespoons unsalted butter softened
- ⅓ cup instant potato flakes
- 1½ teaspoons kosher salt
- 3¼ to 3½ cups all-purpose flour
For the Pan and Shaping
- 2 tablespoons unsalted butter melted, for the pan
- 2 tablespoons unsalted butter melted, for brushing before folding
For the Topping
- 3 tablespoons salted butter melted
- flaky or coarse sea salt

Instructions
- Warm the milk and water together until just warm to the touch, about 110°F. Pour into the bowl of a stand mixer and stir in the yeast and sugar. Let it sit for 5 minutes, until a little foamy.
- Add the egg, softened butter, potato flakes, and salt, then add 3 1/4 cups flour. Mix with the dough hook on low until it comes together, then knead on medium-low for 6 to 7 minutes. The dough should be soft, smooth, and slightly tacky, pulling away from the sides but still sticking a bit at the bottom. If it’s truly sticky, add more flour 1 tablespoon at a time. Resist adding too much; extra flour is what makes rolls dry.
- Cover the bowl and let rise in a warm spot until doubled, 1 to 1 1/2 hours.
- Pour 2 tablespoons melted butter into a 9×13-inch baking pan and brush it over the bottom and sides.
- Punch down the dough and divide it into 16 equal balls (about 50 grams each if you’re weighing). Flatten each ball into an oval about 4 inches long. Brush the top lightly with melted butter, then fold it in half lengthwise, not quite edge to edge, so the top half sits slightly back from the bottom. Press the fold gently to seal.
- Arrange the rolls in the pan in 2 rows of 8, shingled so each one leans on the next with the folded edge facing up.
- To make ahead, cover the pan tightly with plastic wrap and refrigerate for at least 8 hours and up to 24 hours. The slow, cold rise adds flavor and makes the timing easy.
- On baking day, take the pan out of the fridge and let the rolls sit at room temperature, still covered, until puffy and nearly doubled, 45 minutes to 1 1/2 hours depending on how warm your kitchen is.
- Heat the oven to 350°F. Bake for 25 minutes then pull out and brush tops with melted butter. Bake another 5 minutes or so, or until golden on top and 190°F in the center. Pull them as soon as they hit golden; a few extra minutes is the difference between tender and dry.
- Brush the hot rolls generously with the more melted butter if desired and sprinkle with flaky salt. Serve warm.
Approximate Information for One Serving
Nutrition Disclaimers
Number of total servings shown is approximate. Actual number of servings will depend on your preferred portion sizes.
Nutritional values shown are general guidelines and reflect information for 1 serving using the ingredients listed, not including any optional ingredients. Actual macros may vary slightly depending on specific brands and types of ingredients used.
To determine the weight of one serving, prepare the recipe as instructed. Weigh the finished recipe, then divide the weight of the finished recipe (not including the weight of the container the food is in) by the desired number of servings. Result will be the weight of one serving.
Did You Make This Recipe?
Tag @40aprons on Instagram and be sure to leave a review on the blog post!













Never Miss A Meal!
New Recipes Straight To Your Inbox
A curated selection of our most recent recipes, delivered straight to your inbox once a week.
Thank you!
You have successfully joined our subscriber list.