This Post May Contain Affiliate Links. Please Read Our Disclosure Policy.
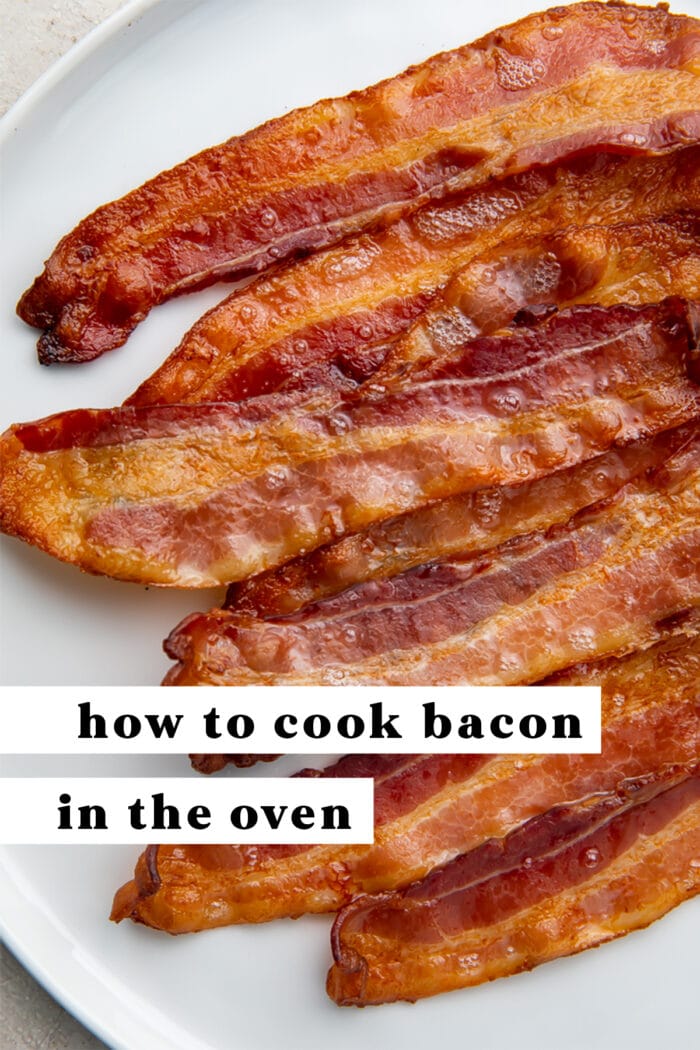
Learning how to cook bacon in the oven is a game changer: less mess, no splatter, and the extra fat drains away! This is our favorite way to cook bacon for big breakfasts or anytime I use bacon in a recipe. This method produces crisp, delicious bacon every time!
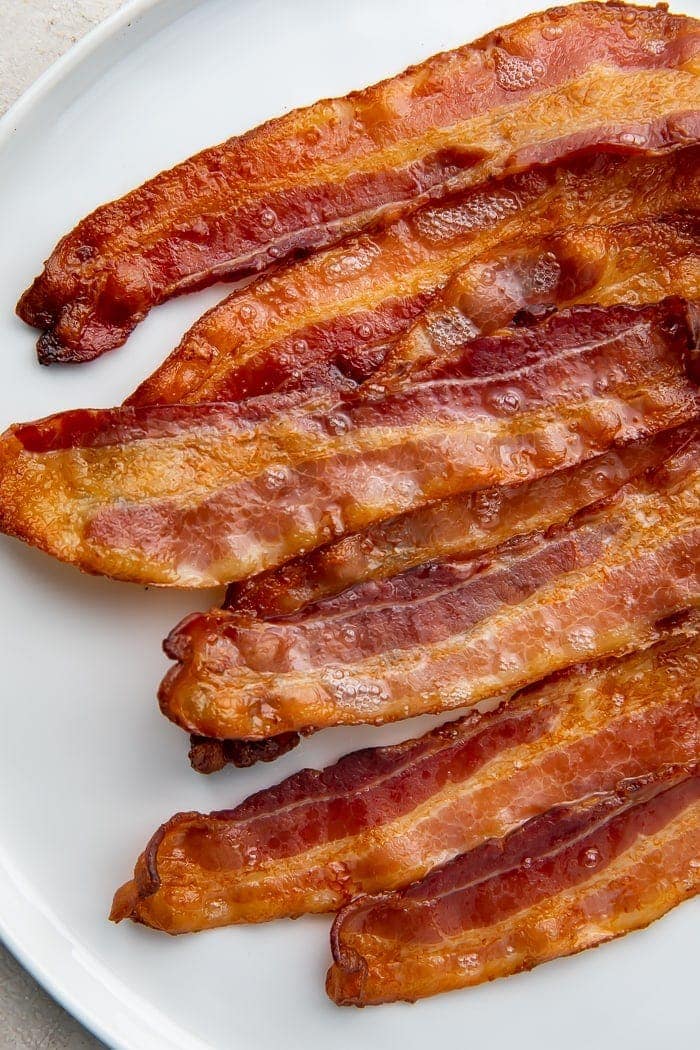
What’s Great About Oven-Cooked Bacon
- It’s so convenient, especially when you need to cook large batches of bacon. Cooking bacon in the oven means no standing over a hot pan full of grease popping and splattering for 30+ minutes.
- It’s consistent! Once you figure out the right method and cook times for your preferences, oven bacon won’t let you down. You’ll get perfect, crispy, evenly-cooked bacon every time.
- You can make great meal prepping bacon with this method! Oven-cooked bacon can be kept in the refrigerator for up to one week, and in the freezer for up to three months. Just reheat it in the microwave or oven when you’re ready to eat it!
How To Make It
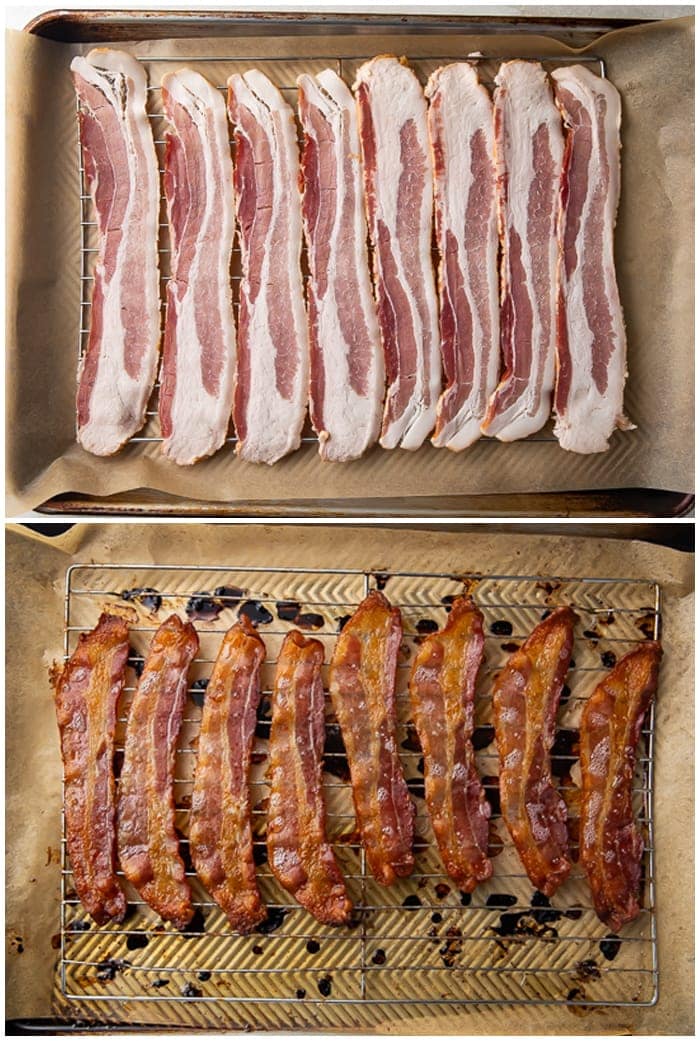
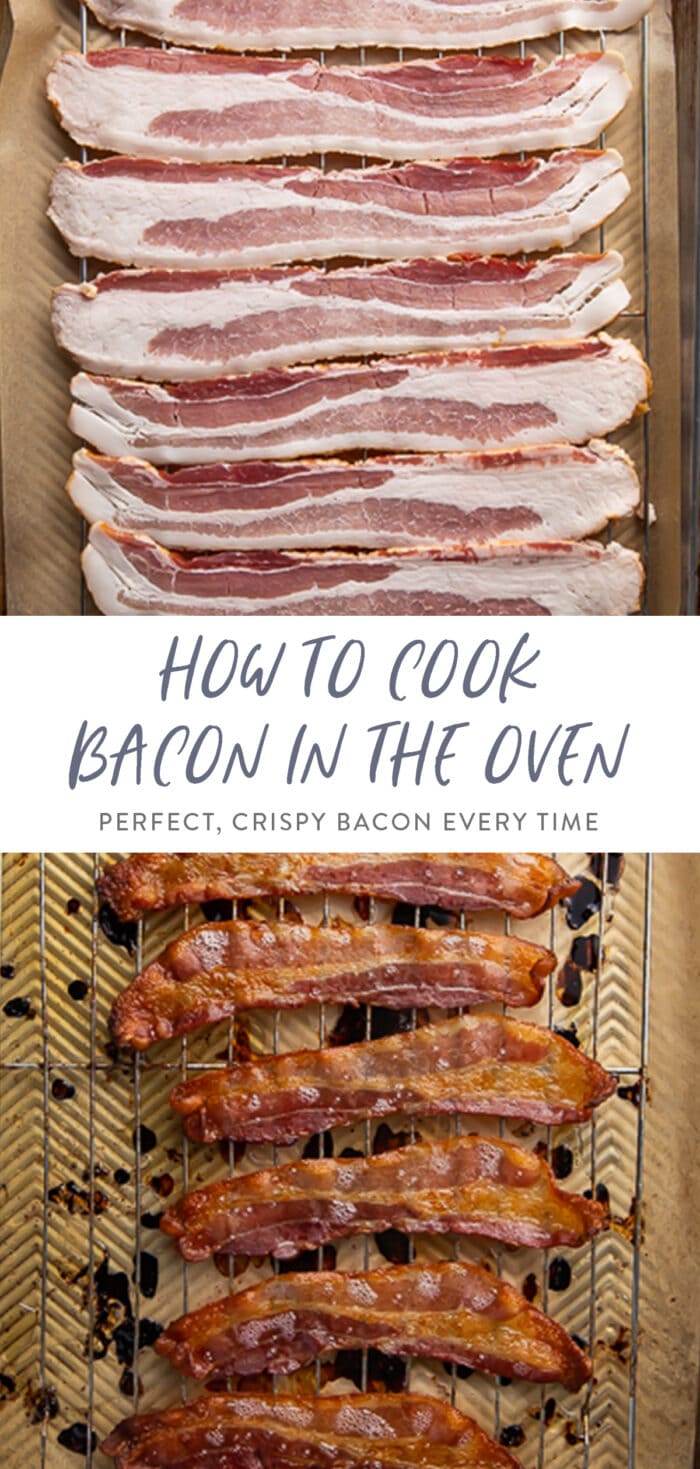
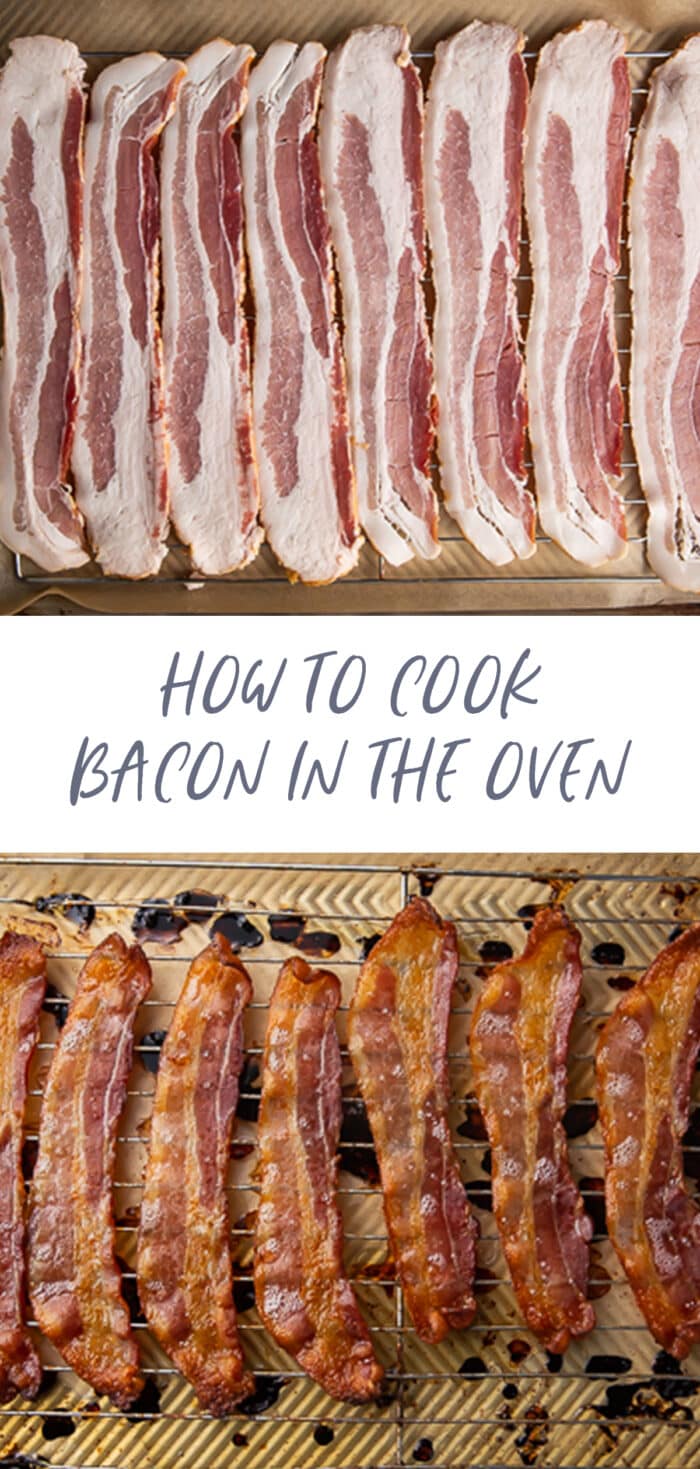
Start by lining your sheet pan with parchment paper, then lay your strips of bacon out side-by-side, across the paper. You want them to touch but not overlap. Bake for 18-24 minutes depending on the thickness of your bacon and your desired level of crunch.
That’s it! That’s all it takes for amazing, perfect, crispy oven bacon.
Chef’s Tips
- For extra flavor, sprinkle a little black pepper on the uncooked bacon.
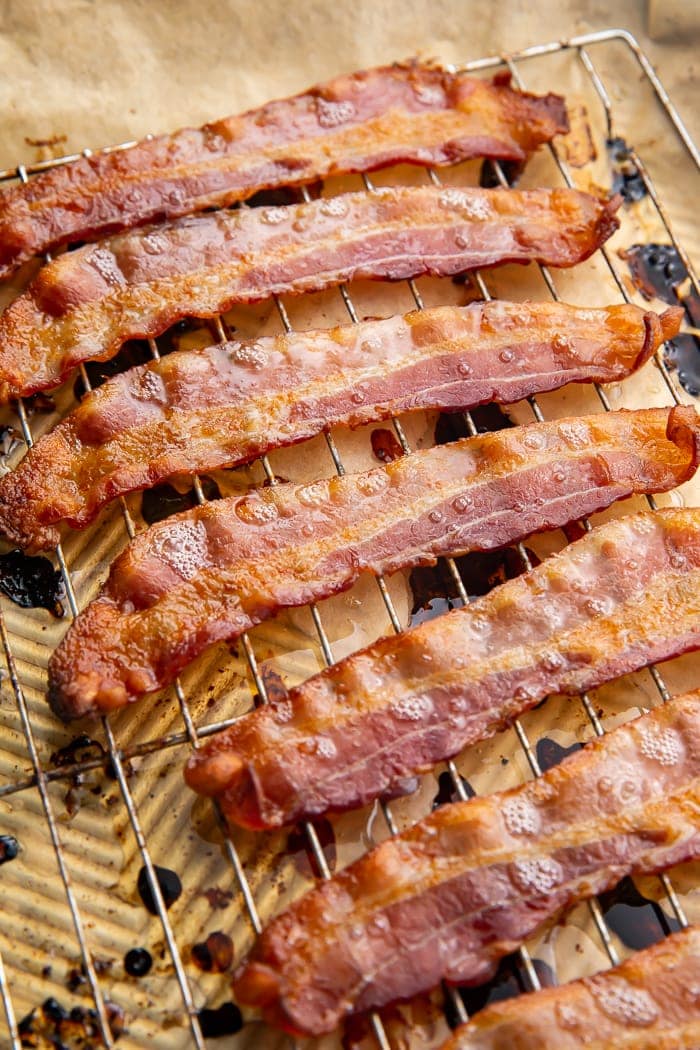
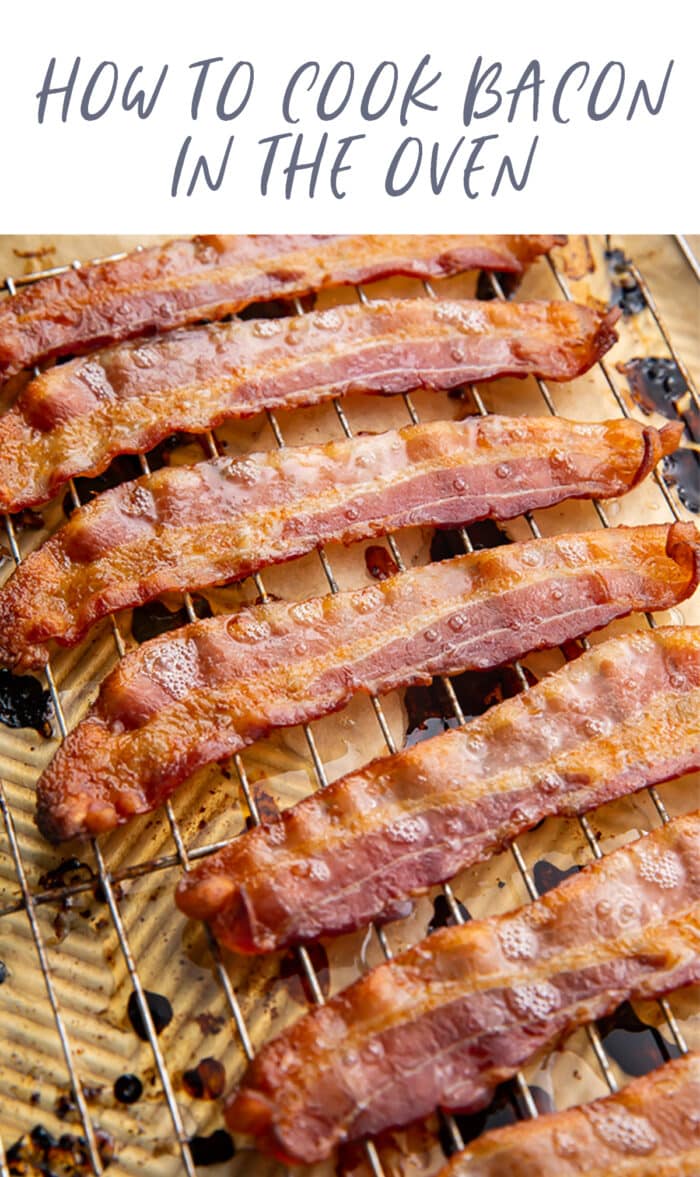
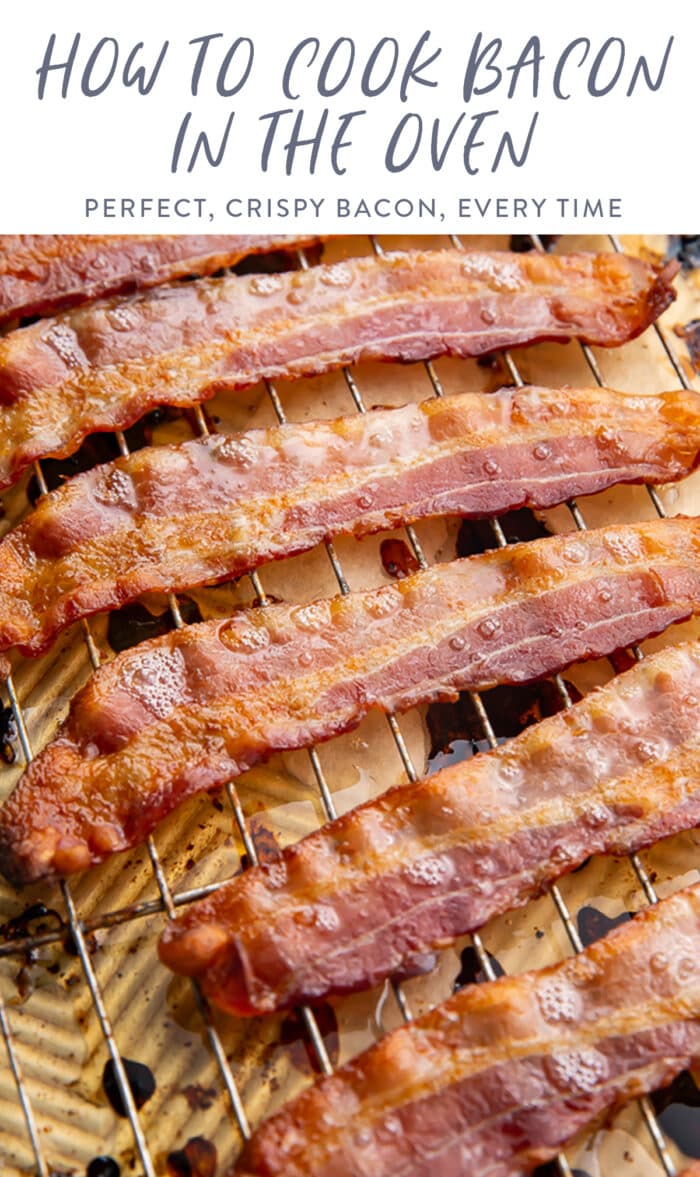
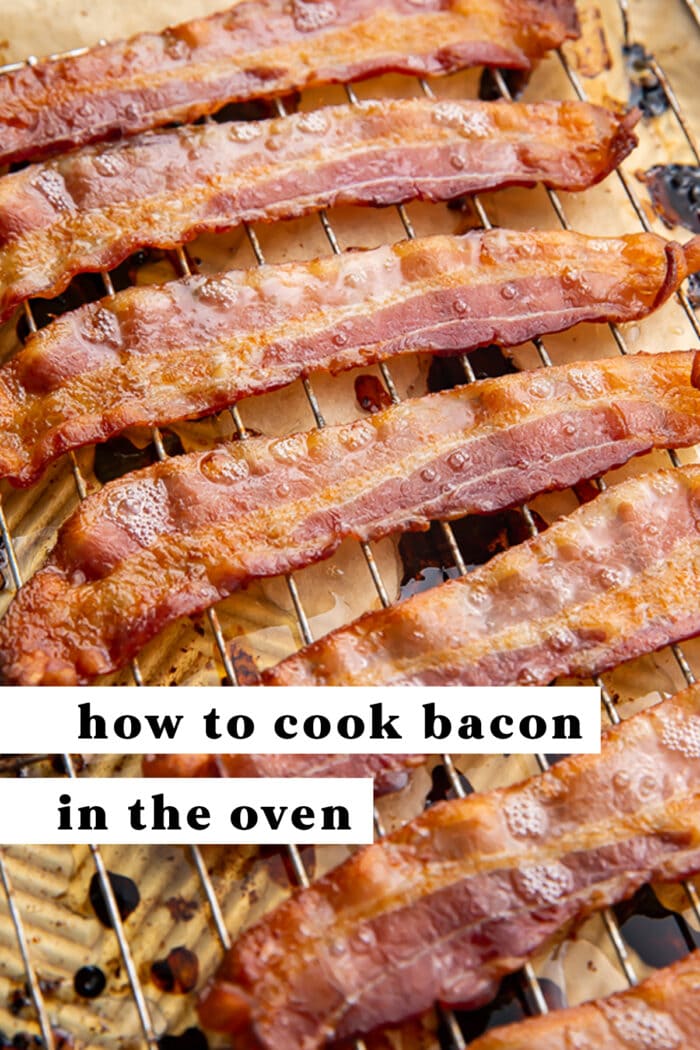
- Using a wire baking rack allows the oven air to better circulate around each strip of bacon, making them extra crispy. Place a wire cooling rack on top of the lined sheet pan and lay out your bacon on the rack. Check the bacon after 15 minutes in the oven to ensure it doesn’t burn.
- This method works for pork bacon and turkey bacon! If you’re using turkey bacon, I recommend cooking it for 15-20 minutes at 400 degrees Fahrenheit. For extra crispiness, flip the bacon after about 8 minutes.
- You can render the bacon fat to use again! Besides being a great way to reduce waste, rendered bacon fat adds extra flavor when cooking veggies. I like to use it for frying eggs and popping popcorn, too. Rendered bacon fat can be stored in the refrigerator for 6 months.
More Handy How-To Guides
- How To Roast Garlic
- How to Broil Lobster Tails + Garlic Butter Sauce
- How to Brine Chicken Wings
- How to Boil Artichokes + 3 Healthy Dipping Sauces
How to Cook Bacon in the Oven
Equipment
- large baking sheet
- parchment paper
- Large plate
- Paper towels
- Tongs
- wire cooling rack optional
- Fine mesh sieve optional
Ingredients
- 1 pound bacon uncooked
Instructions
- Preheat oven to 400 degrees Fahrenheit. Line baking pan with parchment paper. Place bacon on parchment side-by-side, but not overlapping.
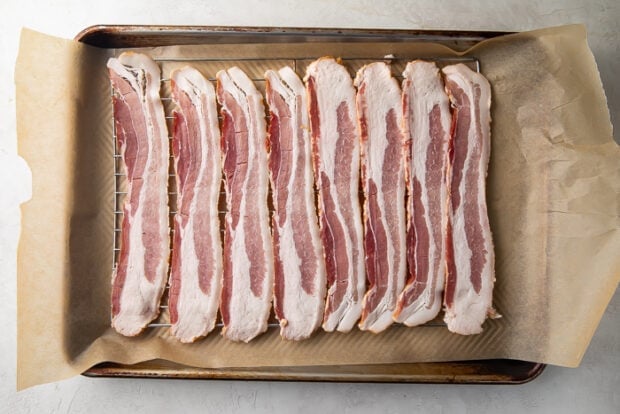
- Cook bacon 18-24 minutes or until desired level of crispiness is reached. Baking times will vary depending on thickness of bacon.
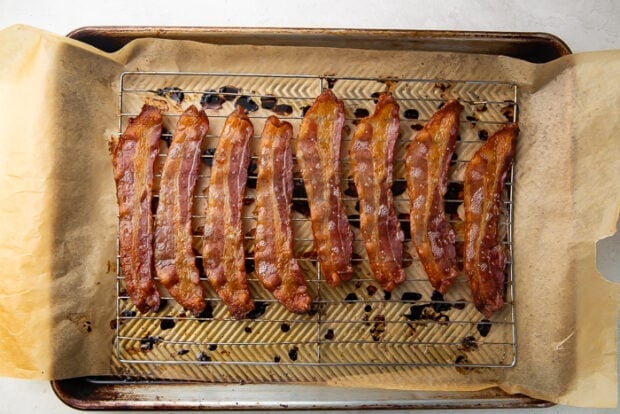
- Remove pan from oven and, using tongs, transfer bacon to paper-towel lined plate.
- For extra-crispy bacon: Place a metal cooling rack on your parchment paper lined sheet pan, then lay your bacon side-by-side on the rack. Cook as instructed above.
- Leftovers: Oven-cooked bacon can be stored (in a baggie or airtight container) in the refrigerator for up to 1 week, or in the freezer for up to 3 months. Reheat it in the microwave or oven.
- Rendering your bacon fat? Line a fine mesh sieve with a paper towel and place the sieve over a glass storage container. While the bacon fat is still hot, pour it from the sheet pan into the sieve. Let it cool completely, then place the covered glass container in the refrigerator until you need it. Rendered fat can be kept in the refrigerator for 6 months.
Approximate Information for One Serving
Nutrition Disclaimers
Number of total servings shown is approximate. Actual number of servings will depend on your preferred portion sizes.
Nutritional values shown are general guidelines and reflect information for 1 serving using the ingredients listed, not including any optional ingredients. Actual macros may vary slightly depending on specific brands and types of ingredients used.
To determine the weight of one serving, prepare the recipe as instructed. Weigh the finished recipe, then divide the weight of the finished recipe (not including the weight of the container the food is in) by the desired number of servings. Result will be the weight of one serving.
Did You Make This Recipe?
Tag @40aprons on Instagram and be sure to leave a review on the blog post!






Never Miss A Meal!
New Recipes Straight To Your Inbox
A curated selection of our most recent recipes, delivered straight to your inbox once a week.
Thank you!
You have successfully joined our subscriber list.